

Engineering Week Summer Camp Ideas
For many kids, building things seems to be second nature, from blocks to Legos to forts and treehouses, kids just have an innate sense for building and creating. Let’s fuel that fire with a jam packed, hands on extravaganza of a summer camp and get these kids engineering every day! This engineering summer camp will boost their critical thinking, problem solving and creativity every step of the way. By breaking down big concepts into simple, engaging activities, you can introduce fundamental engineering principles and give kids a week of summer camp they won’t forget!
Summer STEM Camp – Engineering Week Theme
Table of Contents

Disclaimer: This article may contain commission, paid partnerships, or affiliate links. We independently review everything we recommend. When you buy through our links, we may earn a commission from qualifying purchases.
The Scientific Method
Let’s start off strong by introducing or reviewing the STEM design process and Scientific Method with the kids. This will help kids to understand how to approach a STEM challenge in a strategic way that increases the likelihood of success.
- Our STEM Camp Engineers will want to:
- Look at what the challenge or question is and what you have to work with.
- Plan how you are going to complete the challenge or solve the problem.
- Go! Get to work putting your plan in place.
- Test it out – were you right? Did it work?
- Reflect and Redesign.
- Try it again!
Dive into the Scientific Method more with this resource.
Day 1: Structural Engineering
Structural engineering deals with design and construction of different structures and how those structures withstand various outside forces. Campers will learn about stability, load distribution, and the strength of different shapes.
Morning Challenge #1 – The Paper Stack Challenge
This simple challenge will give the kids some practice with the skills they will need for other challenges throughout the week. Each student or pair of students will get three pieces of paper, some tape, and some books. Their goal is to find out what type of shaped column will hold the most weight, in our case books stacked on them, without collapsing. The most common shapes are: a circle, a triangle, or a square.
Have each student or group make their shapes, one with each shape of paper. Don’t give them restrictions on how they make the shapes, see what they come up with. Some kids might make the shapes going right to the edge of the paper, others may overlap, let them be creative. We want that creativity so everyone can see the different designs and how they hold up which allows everyone to learn together.
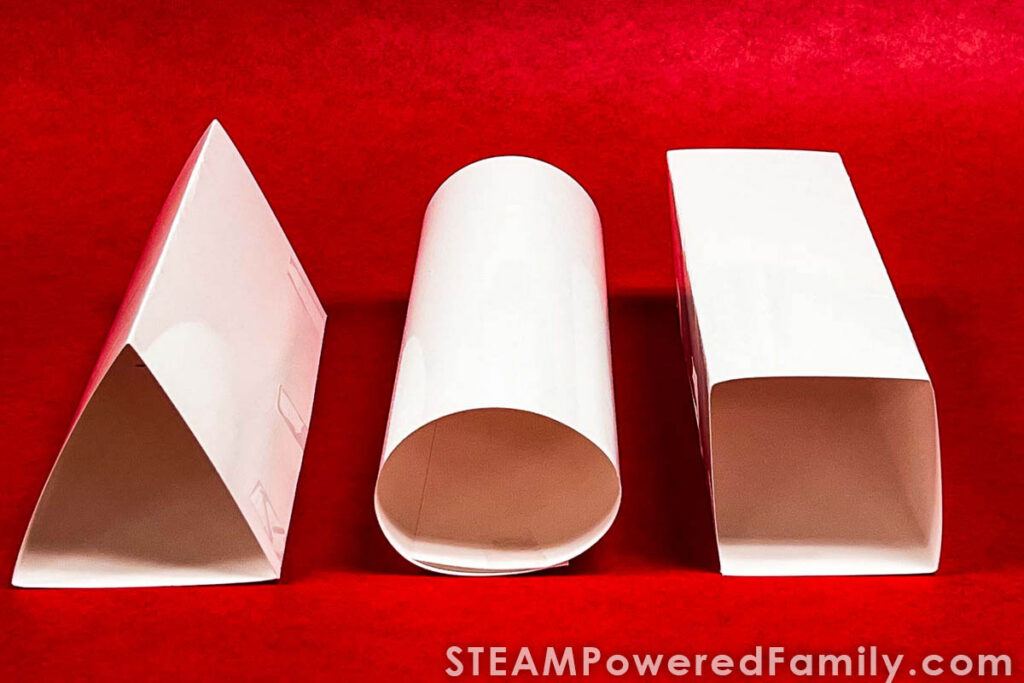
Once everyone is finished it is time to test the columns. The kids always love to watch this part. Start stacking the books. Make sure that the students use the same books for each shape so that they know the weight is the same across their three shapes. There is a lot of “oooooooos” and breath holding during this part.
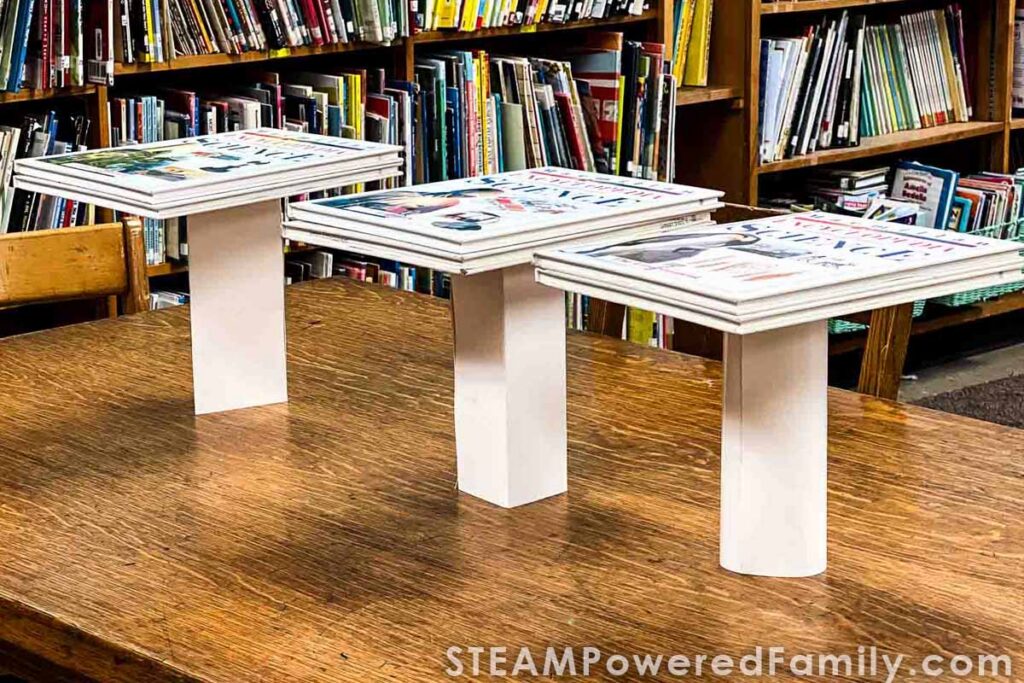
Have the kids keep a log:
- What shape worked the best?
- How many books did each column hold?
- Were the columns single thickness or did the paper overlap?
Making these observations rolls right into the next challenge.
Morning Challenge #2 – Tallest Tower
Using what they learned in the first challenge. Ask the students to build the tallest freestanding tower they can using only newspaper and masking tape. In the end it will need to hold a small toy on top without falling over.
Using 5 newspaper pages and masking tape, teams will compete to build the tallest freestanding tower that can support a small toy figure. This is a simple challenge that kids of all ages can tackle – but it emphasizes the important engineering concepts like a strong base foundation and bracing structures for strength and stability. As they build they will quickly realize that a tall structure without the proper elements will start to lean and will not be able to hold their toy at the end.
Morning Challenge #2 – Tallest Tower Index Cards (Alternate)
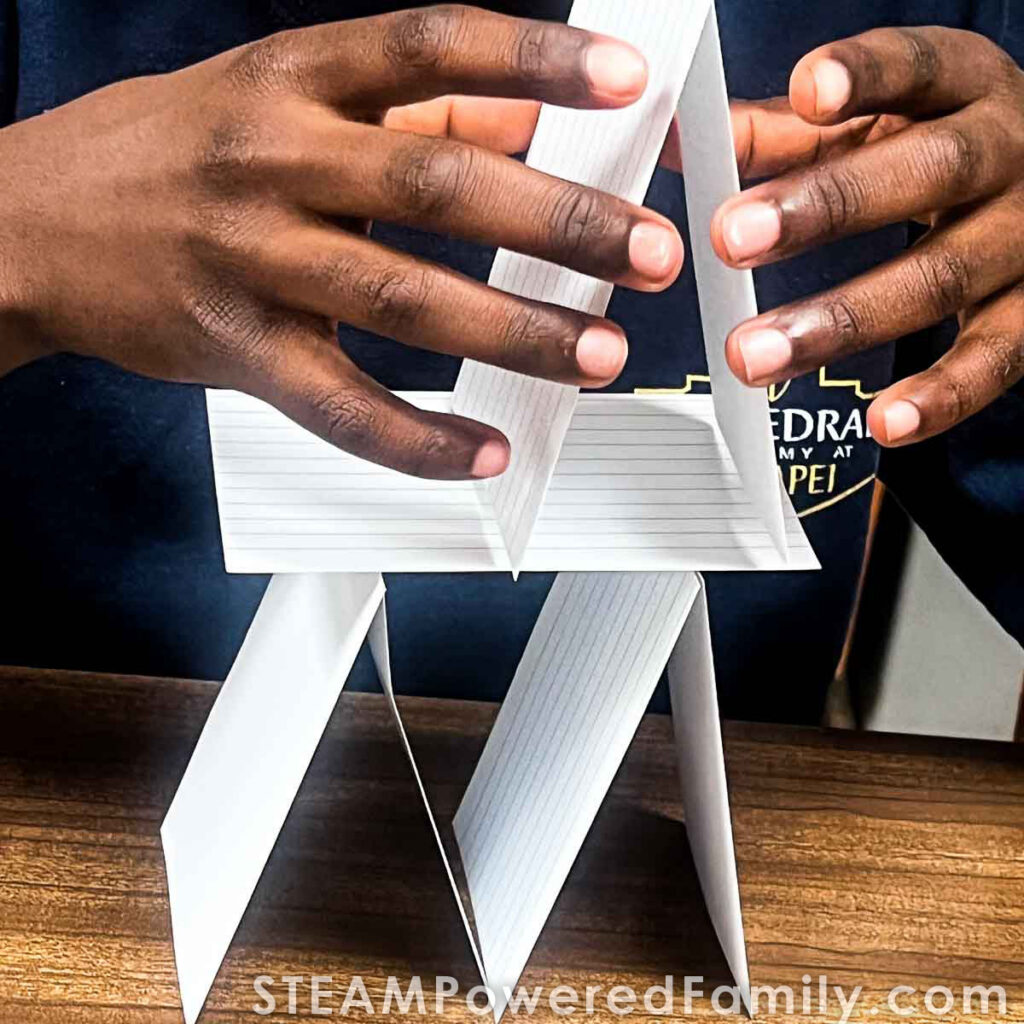
If you don’t feel like your group is ready for working with newspaper and tape – the index card tower challenge is a great alternative – all they need is index cards to build their towers, they can bend and stack but no need no tape or fasteners! For a more detailed explanation – check out Mini Building Challenges!
Afternoon Challenge – Reverse Build with Wooden Planks
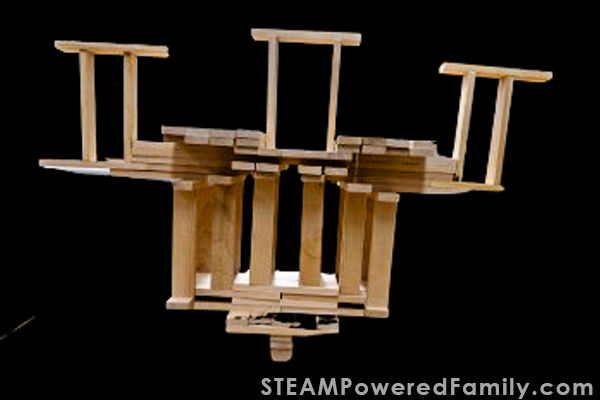
Wooden plank blocks (found as both montessori toys and under the brand name Keva planks) are a great engineering tool to have in your camp. They are easy to understand, easy to work with and allow kids to test, modify, test again!
One of my favorite structural challenges is to build a structure that is smaller on the bottom and gets wider as it gets taller. It takes a good amount of understanding about balance, load and foundation to make this work. This building challenge might feel tricky, but that’s what makes it awesome!
Scientific Concepts and Vocabulary
When the kids build a structure that starts small at the bottom and gets bigger at the top, they’re actually thinking like a real structural engineer. They will need to think about center of gravity (the taller the tower gets, and the wider it is at the top, the easier it is for it to tip over). That’s because the center of gravity is higher.
They will need to build carefully to keep the tower from falling. This can easily lead into a discussion on balance and symmetry. If one side is wider than the other or has more blocks than the other, your building can lean or crash. It’s a good idea to step back and look from different perspectives while building so you can spot potential problems. This way they can make sure that the structure is even on both sides which helps it stay strong. We also need to talk about weight distribution – or how weight is spread over the base. Remind the kids not to get frustrated if their building falls – try and try again is a core principle in engineering – they’re building their brain as they’re building their structures!
Day 2: Civil Engineering – Designing Our World!
Civil engineering is the branch that covers designing, building, and maintaining the infrastructure around us – from roads and buildings to water systems. Civil Engineering and Structural Engineering actually go hand in hand!
Morning Challenge – Bridge Building
Building bridges is a great way to highlight the importance of civil engineering. The fun thing is, you can use just about anything to make a bridge so you can decide what will work best for you and your students.
You can use materials like craft sticks, cardboard, uncooked pasta, marshmallows, paper, or even blocks or legos.
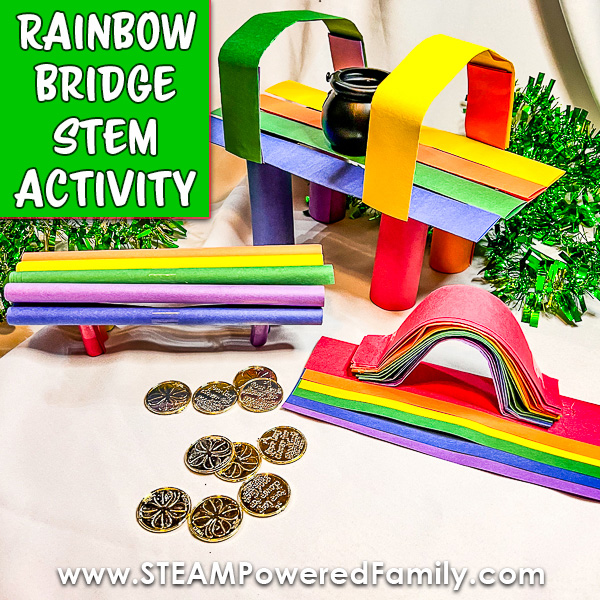
Have children design and build bridges to span a designated gap. When they’re finished, test their creations by adding weight or blowing wind (fan, hairdryer) to see how well their bridges hold up. Talk about how different bridge designs (ex: truss, arch, beam) distribute weight. For a more in depth project lesson, check out Rainbow Bridge Challenge! This project has an explanation about the different types of bridges and why they are used in different situations.
Afternoon Challenge – Earthquake-Proof Structures
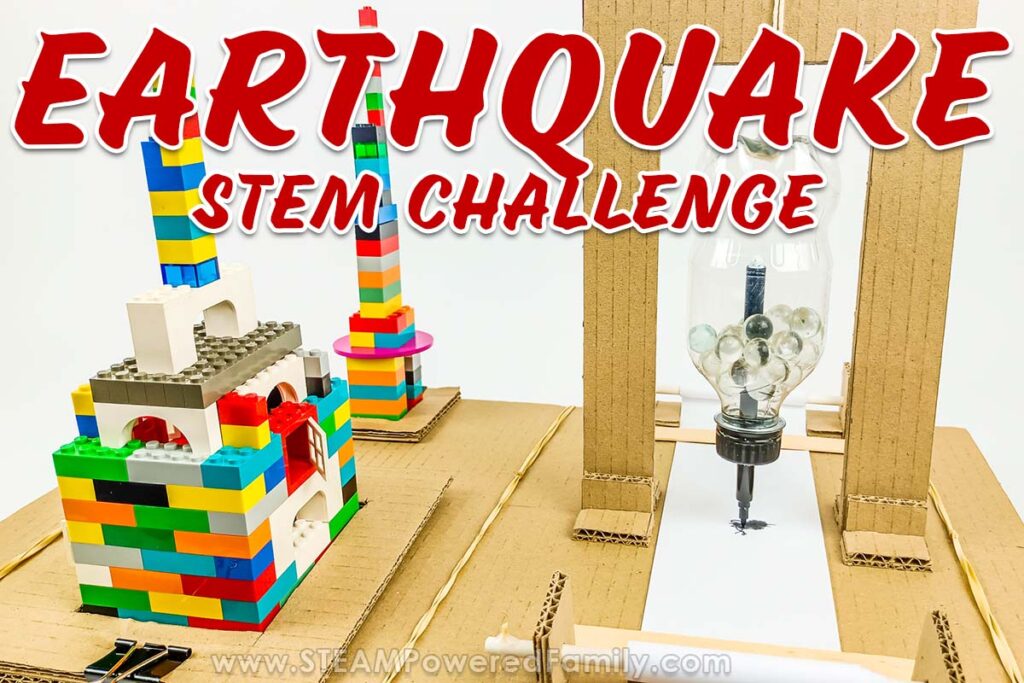
Can You Design a Building That Stays Standing During a Quake? Challenge teams of two to design and build a structure that is at least ten inches tall and survive a shake test! The shake test simulates an earthquake using a cardboard platform and some dowels.
Materials for each team:
20 wooden craft sticks or straws
20 toothpicks or spaghetti sticks
10 small rubber bands
1 5×5 inch piece of cardboard to use as their base 10 small binder clips or clothespins 20 marshmallows or playdough blobs to use as connectors
2 feet of masking tape
Scissors
I would highly recommend putting some parameters on the build:
- Build a free-standing structure on the provided base
- The structure must be at least 10 inches tall.
- You CANNOT tape the structure to the base
Each team gets one shake test—but if it falls, you can modify and test again!
If you really want to up the STEM learning, build an Earthquake Shake Table and Seismograph.
Some vocabulary to highlight for this project:
Civil Engineer: A person who designs roads, buildings and bridges
Bracing: Extra parts like triangles and rectangles that give support to a structure
Foundation: The base of a structure that gives it a strong footing
Flexibility: The ability to bend or move without breaking
Day 3: Mechanical Engineering – Making Things Move
Mechanical engineering is the science of making things move – it’s looking at the design and creation of machines! We’ll discover how simple machines make work easier and how parts work together to create movement.
Morning Challenge – Marble Mazes
Challenge your students to design and build a marble run that will have a marble travel from a starting point at the top of their structure to a specific target at a lower level, you can put parameters like – it needs to travel at least 5 seconds or it needs to turn at least two corners or needs to change direction in some way. Make it as challenges as you wish to meet the skill level of your kids.
Scientific Concepts and Vocabulary
Marble Mazes are a great way to teach mechanical engineering because they cover so many scientific concepts like:
Gravity: The primary force pulling the marble down the track.
Potential Energy: The stored energy the marble has at the top of the run.
Kinetic Energy: The energy of the marble when it’s moving.
Friction: The force that slows the marble down (e.g., rough surfaces, tight turns).
Momentum: How fast and heavy something is, and how hard it is to stop.
Inclined Planes: How slopes make things move.
Force & Motion: How pushing and pulling an object can affect movement.
Materials
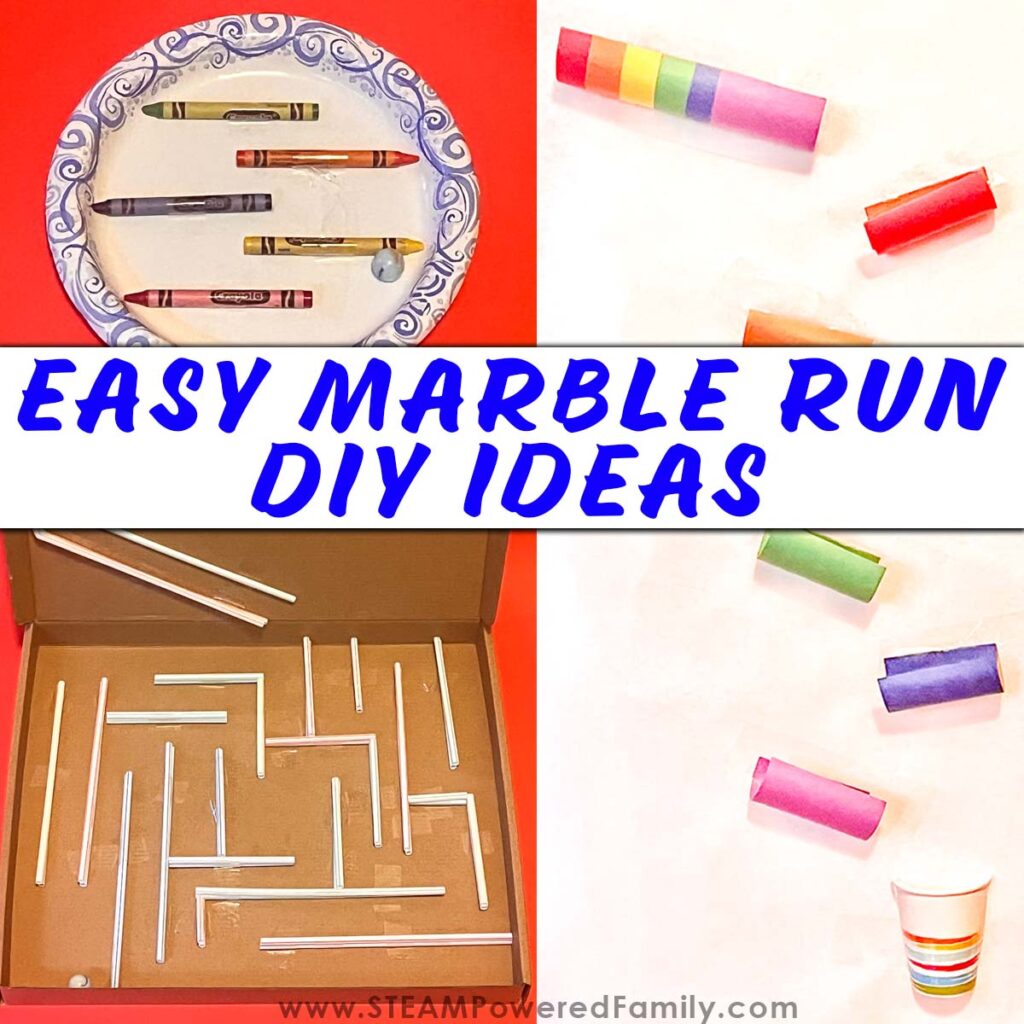
Potential Materials for the project are endless – raid the recycling bin! Try cardboard tubes, cardboard scraps, cereal boxes, shipping boxes, paper plates, plastic silverware, paper or plastic cups, recycled bottles, craft sticks, pipe cleaners, tape, cool temp glue guns (with adult supervision) or glue dots. Scissors and of course – marbles! If you have less time or don’t have access to these recycled materials – try building a marble run from blocks (the wooden planks from the structural engineering challenge are perfect for a marble run!), Legos or other toys you already have.
I would definitely work in a planning session for this challenge – have kids draw out what they want their marble run to look like, how they will meet the parameters you give them and what materials they think will work best. If you’re looking for inspiration, SPF has a bunch of fun marble mazes you can check out.
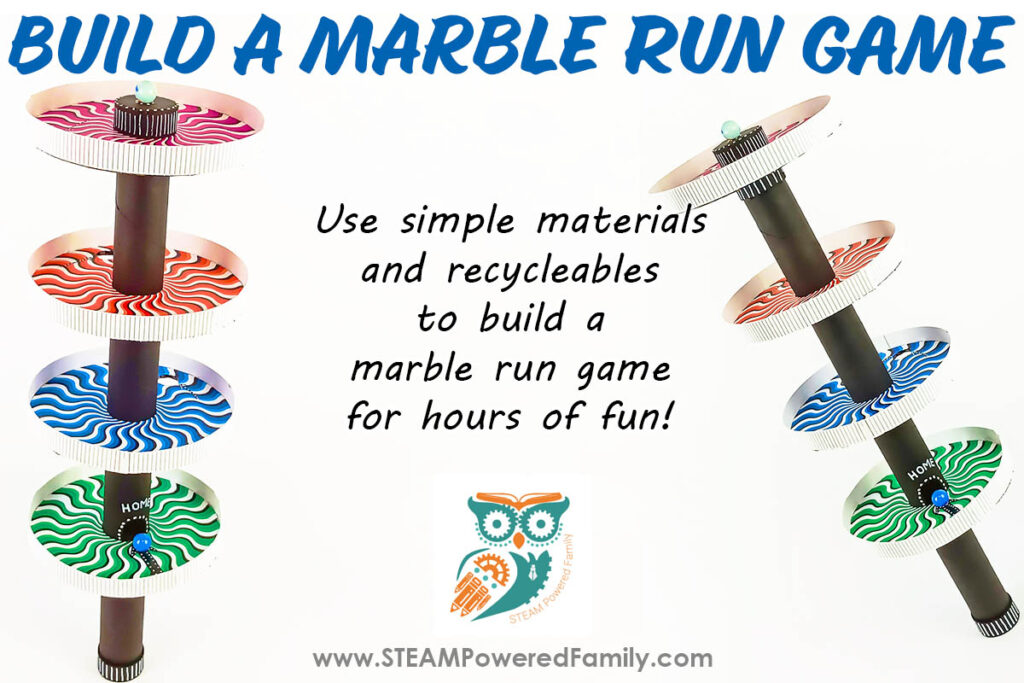
You can also challenge campers to make a Marble Run Game!
Afternoon Challenge: Catapults!
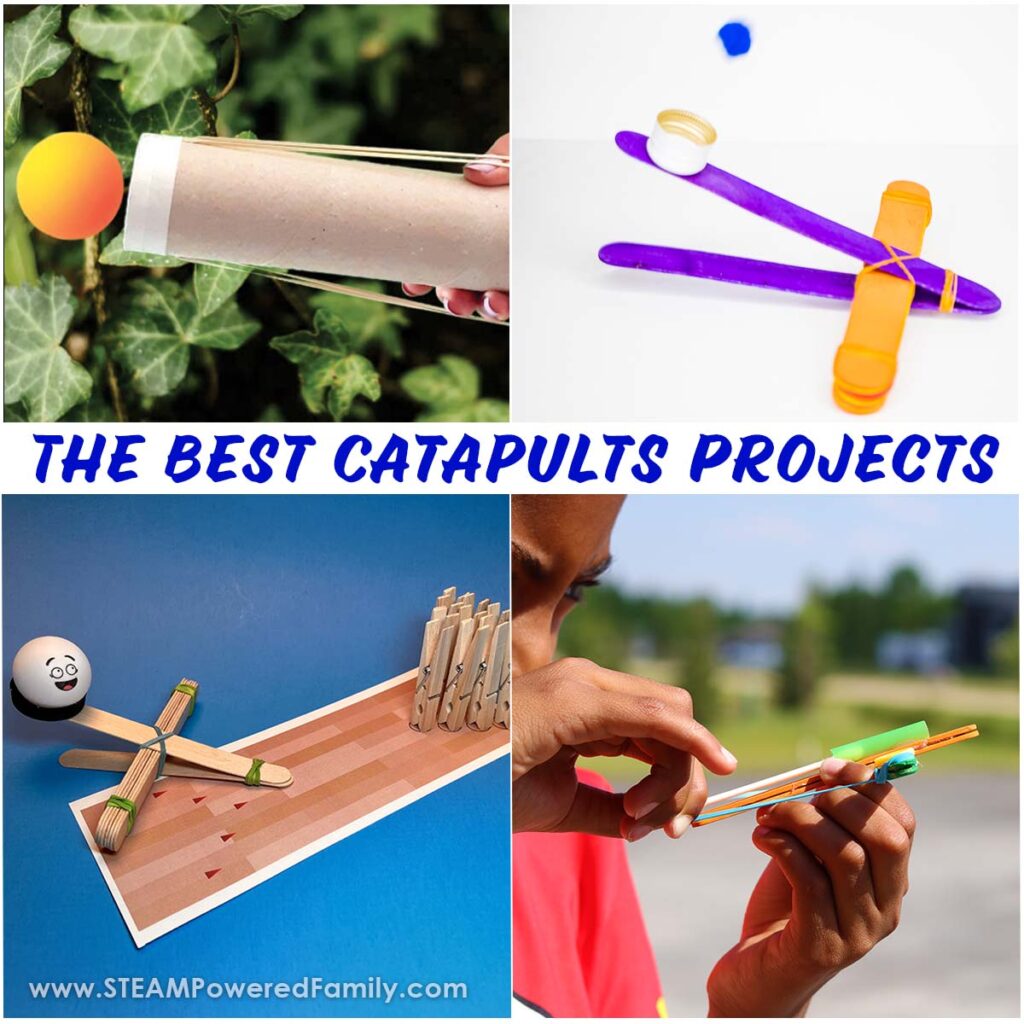
Something about kids and catapults is always fun! Kids can make simple catapults with craft sticks, rubber bands, and plastic spoons. Then they can then use pom-poms or marshmallows as their projectile and launch them at a specific target. Any catapult has three basic parts – the arm (including the bucket), an elastic force (elastic force most often uses tension – stretching force or torsion – a twisting force) and the base or fulcrum (the point where your force and arm meet). The physics behind a catapult are simple, pulling back on the arm creates stored or potential energy and when you release the arm it converts that energy to motion and flings your object through the air. For some ideas about some cool catapult designs with minimal resources, check out my Popsicle Stick Catapult Design Challenge or for even more amazing catapult challenges check out SPF best of catapults!
Day 4: Aerospace Engineering – Reaching for the Stars!
Today, we take flight with aerospace engineering, focusing on the design, construction, and science of aircraft and spacecraft. This day is perfect for exploring aerodynamics and propulsion.
Morning Challenge – Amazing Paper Airplanes
Demonstrate a couple of paper airplanes to help campers learn about different wing shapes, fuselage designs, and tail configurations to create paper airplanes that fly further, higher, or more accurately. This is a simple, yet effective, way to introduce aerodynamic principles.
Aerospace engineers work on designing things like airplanes, rockets, and spacecraft. When they build these machines, they have to think about how around it, aerodynamics.
This challenge is all about thinking like an aerospace engineer. Campers can try to make their planes fly the farthest, stay in the air the longest, and land the most accurately on a target.
Need tips on how to fold paper airplanes? Check out this resource.
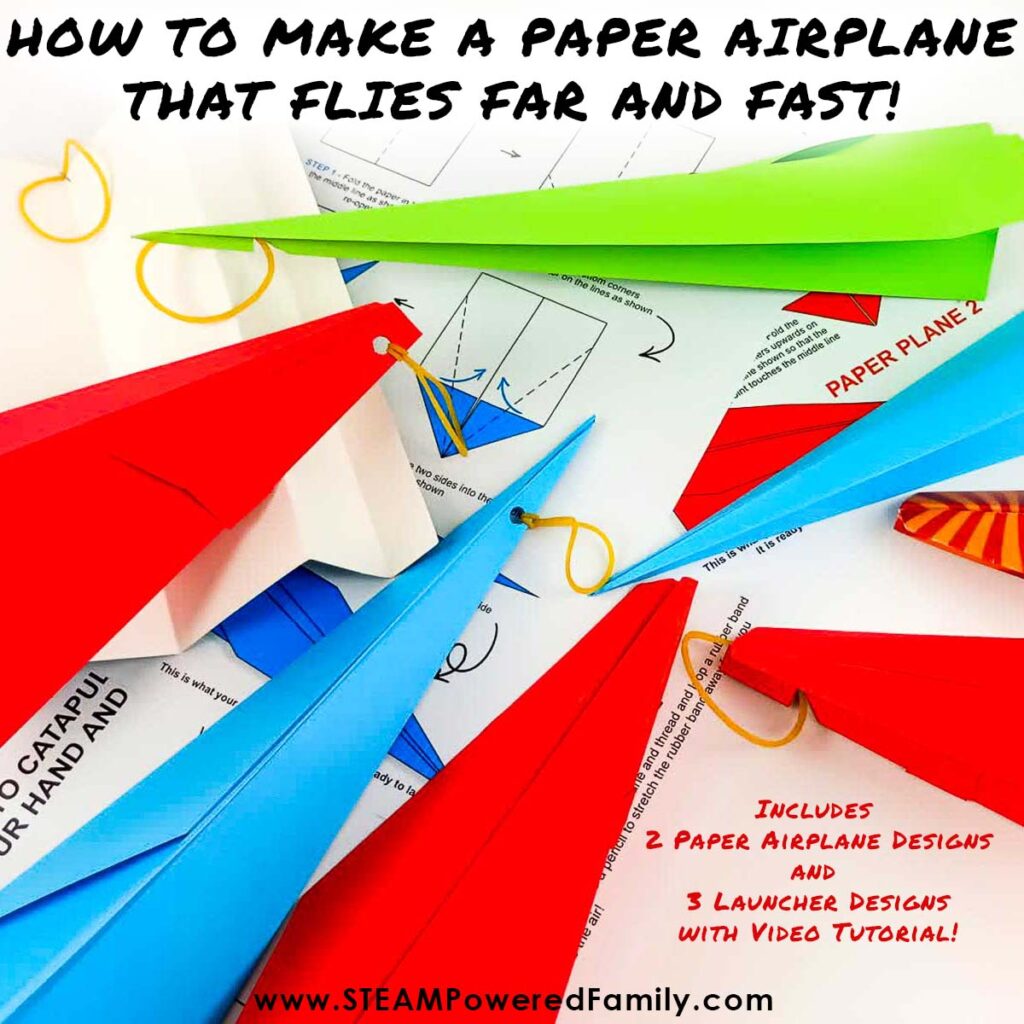
Want to power things up? Learn how to make a paper airplane with launcher.
Parts of a paper airplane:
- Wings: When designing your airplane keep in mind that wide wings can help a plane glide farther. Narrow wings may help it go faster. They could try to tilt them up or down to see how it affects the movement and flight of their plane.
- Fuselage: This is the body of a plane. In a paper airplane a long, skinny body might fly straighter. A short, wide one might make the plane flip or turn flips.
- Tail: Bending the paper into a tailpiece can help the plane stay balanced and fly straight. Cutting slits in the tail can change its flight as well.
Some vocabulary for a paper airplane challenge:
Aerodynamics: The way air moves around things
Lift: The upward force that helps a plane rise in the air
Drag: The air that pushes on a plane and slows it down
Afternoon Challenge – Parachute Drop
When we learn about how things fly – we also need to understand how things fall. Objects fall because gravity pulls it down toward the ground. A parachute slows a fall by catching the air. The air pushes up against the parachute, creating air resistance (or drag). This force helps slow down the object’s fall. Logic says the bigger the parachute, the more drag and resistance and the slower an object will fall. Parachutes help people and objects land gently and safely.
Check out our Egg Drop Challenge for ways we used the parachute in that challenge.
The challenge: Make and test several shapes and materials to see what makes the best and safest parachute.
Materials (per student or team):
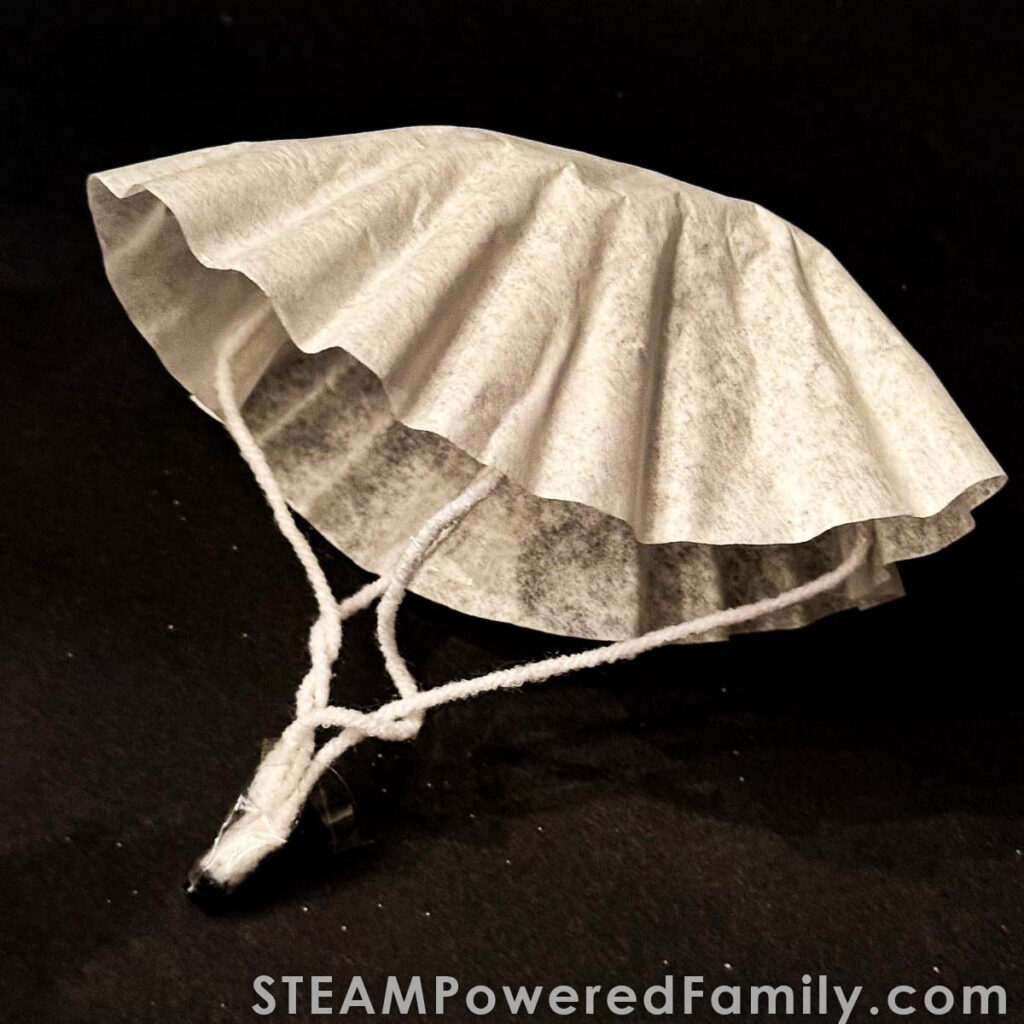
1 sheet of plastic (like a dollar store plastic tablecloth) Coffee Filters or heavy napkins or paper towels Scrap Fabric String or yarn (12–18 inches long)
1 small weight (a nut or washer, small toy, or mini figure)
Tape or hole punch
A hole punch Scissors
What do we do?
STEP 1: Cut your parachute canopy from the plastic, coffee filter or fabric. Start with a 12×12 square.
STEP 2: Use the hole punch to add holes for the string. Let the kids decide how many holes are best for their design.
STEP 3: Attach the strings. The kids can simply tie them off or they could tape them as reinforcement. STEP 4: Tie strings to the chosen weight so it hangs below the parachute.STEP 5: Have a designated adult drop the parachutes from a certain height while the kids watch and record the results.
STEP 6: Let the kids take into account how their designs worked and then adjust their design and materials and then test again!
Important Vocabulary:
Gravity: the force that pulls objects down toward the ground
Air resistance: the air pushing against something as it moves
Drag: a type of air resistance that slows objects down
Surface area: the amount of space an object covers on the outside
Canopy: the top part of a parachute that catches the air
Day 5: Environmental Engineering
The last day of camp explores On our final day, we explore environmental engineering, which focuses on protecting the environment sustainability, renewable energy, and creative solutions to environmental challenges.
Morning Challenge – Wind Turbine (Pinwheel)
Wind turbines use renewable energy, wind power, motion, force and energy transfer. Depending on the age of your kids, you can build a Wind Turbine or a more simple Pinwheel if your kids are younger.
Visit our Build a Wind Turbine resource to learn how to do that project, or read on to learn how to make a pinwheel.
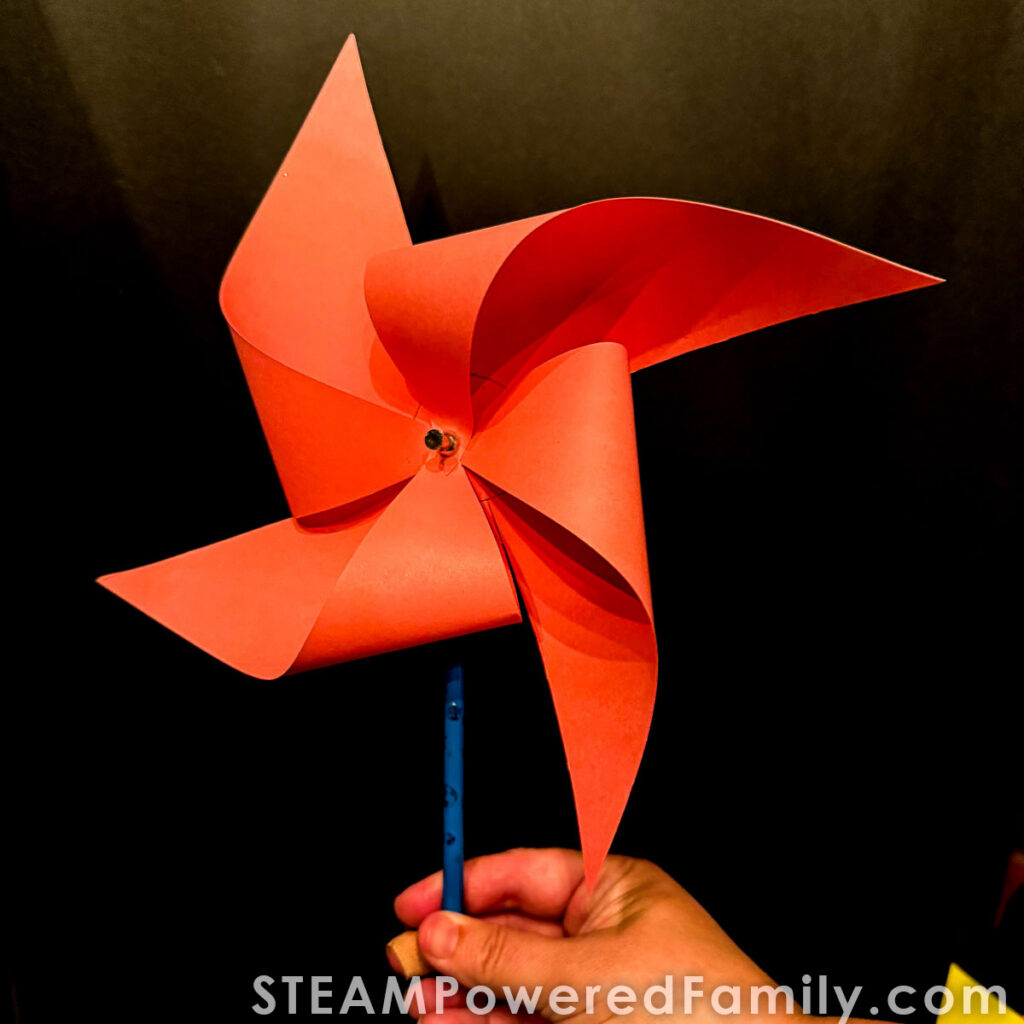
A pinwheel spins using only the power of the wind—no batteries, no gas, no pollution. This helps kids understand that we can harness natural forces to create movement or even generate electricity, just like real wind turbines do. Even in its basic form, the pinwheel shows energy being transferred: Blowing on the pinwheel pushes the blades which in turn creates motion.
You can talk about how in real turbines, the spinning motion powers generators and produces electricity.
To make a pinwheel you need:
1 square piece of paper
Scissors
Pencil with a new eraser
Straight pin, pushpin, or thumbtack
Ruler
Crayon or marker (optional, for decorating)
Directions
Step 1: Make your paper into a Square. If your paper isn’t already square, fold one corner diagonally to the opposite edge to form a triangle. Cut off the extra strip at the bottom.
Step 2: Decorate you don’t need to do this step, but it is fun!
Step 3: Cut Diagonals Lines. Use a ruler to lightly draw two diagonal lines corner to corner, forming an “X.” Draw a 1 inch circle in the middle (Tracing a circle is sometimes easier – it doesn’t need to be exact, it is more to give a visual so you don’t cut too far) Cut along each line toward the center, stopping about 1 inch from the middle.
Step 4: Fold the Corners. Pick up one corner from each triangle (every other point) and gently fold it toward the center. Don’t crease it—just curve it.
Step 5: Pin It Together. Hold the folded points in the center and use a pin or push pin to poke through all of them and through the center of the paper.
Step 6: Attach to the Pencil. Push the pin into the eraser of your pencil. Not too tight! You want to leave enough space so the pinwheel can spin.
Step 7: Test It! Blow on the pinwheel or stand in front of a fan—it should spin! (Depending on the thickness of your paper you may need to spin a few times manually to the hole isn’t too tight on the push pin)
Afternoon Challenge: Solar Oven
In this project we are going to use some reflection and retention of the sun! A solar oven uses light from the sun to cook food. It works by reflecting and trapping the sun’s heat – or thermal energy to cook something. We are going to use reflective material to bounce the sun’s rays in the direction we want and a black liner under the food to absorb and distribute that heat to cook our snacks! So the light energy that is reflected into the box is converted to heat energy needed to cook!
Materials
A box with a lid
Aluminum Foil
Clear Plastic Wrap like Saran Wrap
Scissors
Tape
A piece of black construction paper or fabric
You can find the full project here: How to Make a Solar Oven!
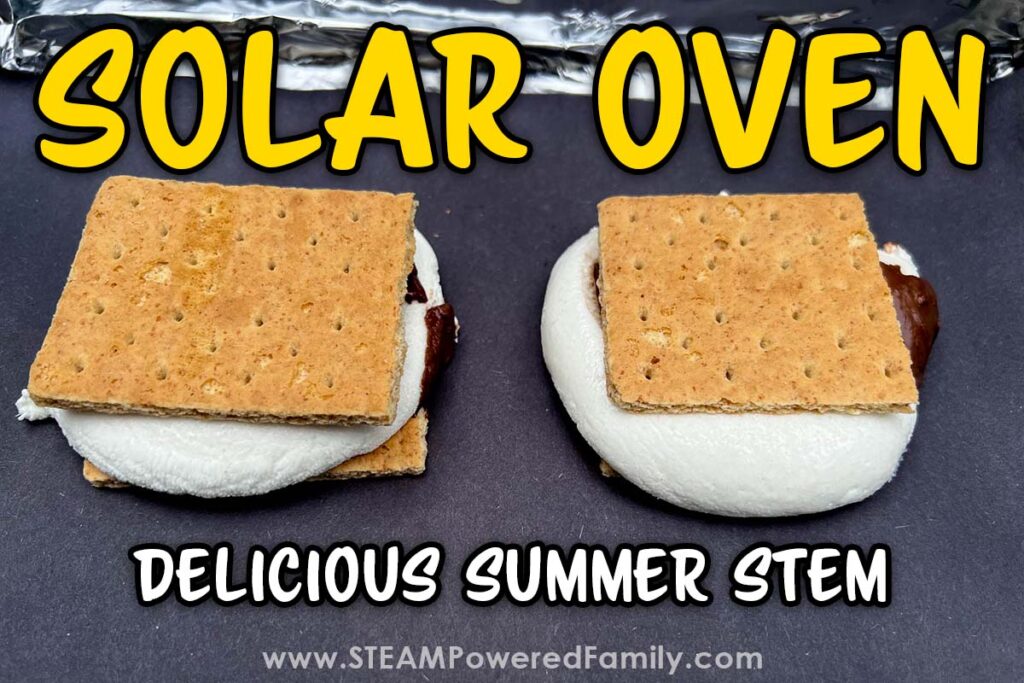
S’more in a solar oven – a truly delicious ending to a week of engineering fun.
Extension Ideas for Engineering Summer Camp
If you’re looking for more engineering projects take a minute to look through all of these truly engaging challenges. There is something for all ages and abilities here that you can work into your week to make it perfect.
Structural & Civil Engineering
Rainbow Bridge STEM Project: Great for understanding arch, beam, and truss bridges with simple materials.
da Vinci Bridge Design Challenge: Focuses on self-supporting structures and shear force.
Mini Building Challenges – No Prep STEM Engineering Projects: Includes tower challenges with index cards, cups, and linking cubes.
Earthquake STEM Challenge: How to build a basic seismograph and shaker table which is perfect for testing your earthquake proof designs.
Mechanical Engineering
Build a Marble Run Game STEM Challenge: Focuses on building a game with a marble run.
3 Easy Marble Run DIY Ideas Using Recycled Materials: Offers multiple approaches to building marble runs.
Rubber Band Car Project: Explores potential and kinetic energy in car design.
Rollback Can Experiment: Another fun way to explore potential and kinetic energy.
Water Powered Car STEM Challenge: Introduces water turbines and simple propulsion.
How to Build a Boat STEM Challenge: Covers buoyancy, lift, drag, and boat design.
Aerospace Engineering
How to Make a Paper Airplane: Covers basic aerodynamics and different folds.
How to Make a Paper Airplane with Launcher that Flies Far: Expands on paper airplane design with launchers.
DIY Hovercraft Project: Levitation has never been so fun!
Environmental & General Engineering
How To Make A Solar Oven: A fantastic project for renewable energy and heat transfer.
DIY Weathervane Project for Kids: Learn about wind power and simple mechanics.
Newton’s Cradle STEM Project: Uses recycled materials to demonstrate energy transfer, can spark discussions on sustainable design.
Easy No Prep STEM Activities with Paper: Contains several quick engineering challenges using paper, good for warm-ups or mini-challenges
More Summer Camp Themes


