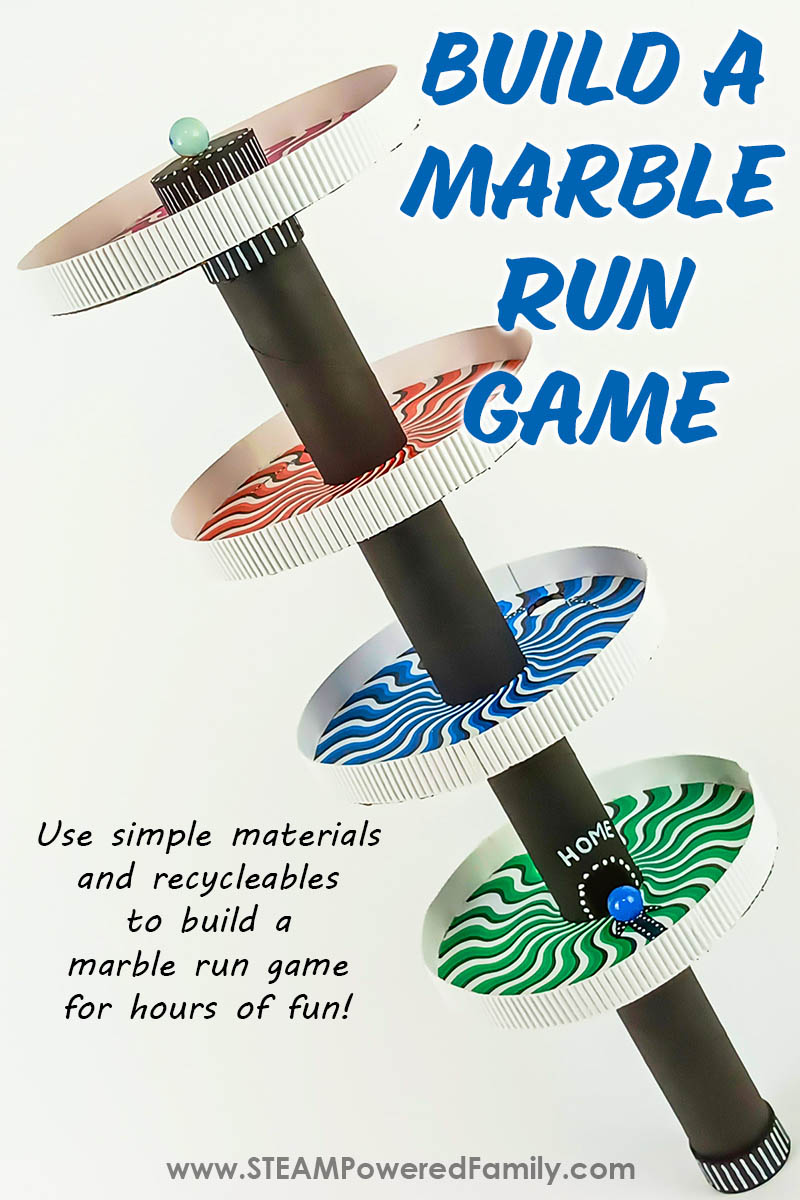
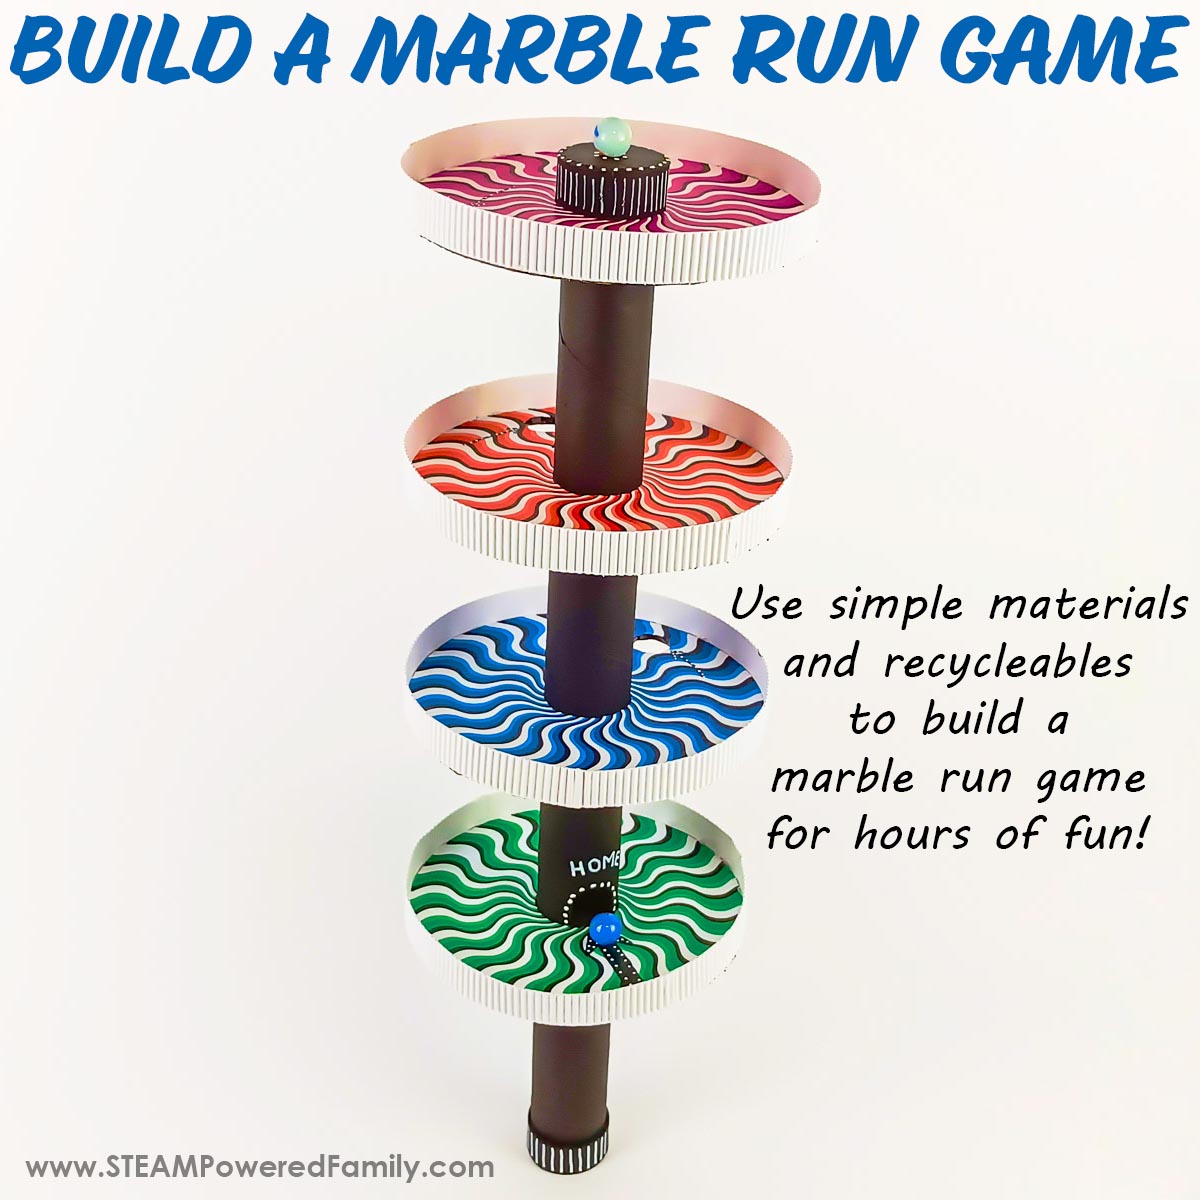
Build a Marble Run Game STEM Challenge
Marble Runs have been around for many, many years and a favourite of kids for many generations. Getting a marble through a small hole is not the easiest thing to do, but as you play with it, you find all the skills you need to play with the marble run like a pro! In this STEM Project, we are building a Marble Run Game that will build STEM skills and coordination skills as you play with physics!
Marble Run Race Game STEM Project
Disclaimer: This article may contain commission or affiliate links. As an Amazon Influencer I earn from qualifying purchases.
Not seeing our videos? Turn off any adblockers to ensure our video feed can be seen. Or visit our YouTube channel to see if the video has been uploaded there. We are slowly uploading our archives. Thanks!
DIY Marble Run STEM Activity Video
Watch our step-by-step tutorial to see exactly how we made this project. If you can’t see the video, please turn off your adblockers as they also block our video feed. You can also find this project on the STEAM Powered Family YouTube Channel. Then read on to get the step-by-step instructions.
What is a Marble Run?
A marble run is a fun way to practice the engineering design process and learn about the science behind the science of motion. The motion of the marbles as they roll along makes it easy to understand the different pushes and pulls that make objects move and the forces of friction and gravity needed to get the marbles from one place to another successfully.
This is hands on exploration with physics, which is a fantastic way to introduce students to these complex topics.
Need more simple marble run ideas? We have some great marble run projects for younger kids.
What are the benefits of playing with a Marble Run?
Marble runs are exceptional educational toys. Building your own Marble Run Game helps build STEAM (Science, Technology, Engineering, Art, Math) skills, and other skills like focus, visual tracking, dexterity, fine motor skills, hand-eye coordination, goal setting, problem-solving, and creativity.
This fun marble run is made from recycled materials and marbles that you have lying around your house. Making it a great, budget friendly project to do with your kids or students.
Best of all, if you have any Survivor fans, this game is very much like the challenges they do in Survivor. Making this a great project for a game day or Survivor inspired event.
How to Make A Marble Run Game
Materials & Tools
Single-wall cardboard – cereal box, small postage box, or heavy cardstock will also work
Glue gun
Glue stick
Ruler
Pencil or marker
Hobby knife
Small Exacto knife
An awl
Scissors
Two bendable straws
Marbles
Two cardboard tubes from kitchen towels
One cardboard tube that is slightly bigger and thicker than the other two (if you do not have one, the construction of the marble run will not be compromised)
DIY Marble Run Step-By-Step Instructions
Getting your pieces ready
Cut four circles out of the single-wall cardboard, measuring 17cm / 7¾ inches in diameter.
PRO TIP! Ensure that you make a mark in the centre of each circle
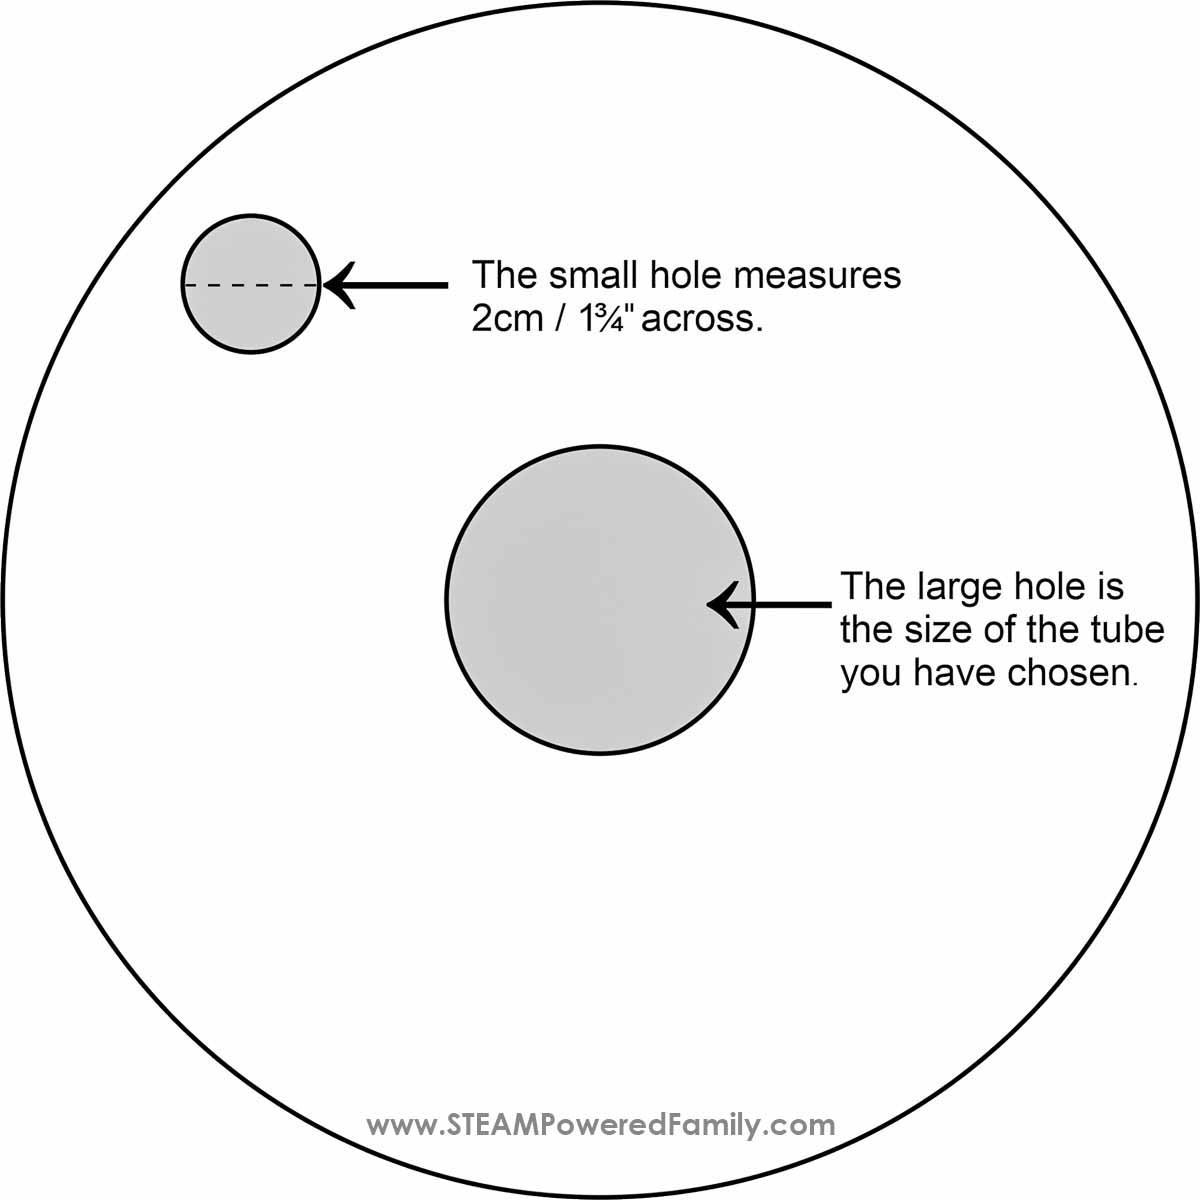
Use the end of the cardboard tube to trace a circle in the middle of each cardboard disc.
Draw small circles, large enough to easily fit a marble through, to the side of all the cardboard discs. See the diagram below:
Use a small Exacto knife to cut all the circles out of all four discs.
PRO TIP! A small Exacto knife makes cutting out the circles much easier. It is very sharp, so remember to keep your fingers away from the blade or ask an adult to help you.
Make little cuts around each circle like you are cutting up a pizza. Do this step twice.
Push the tip of the Exacto knife through the cardboard and slice through in a circular motion until the piece falls out.
Decorating the cardboard discs
You can print out some designs, and glue them on like we did, or you can use scraps of wall paper, craft paper scraps, or you can simply paint your marble runs.
If you are applying paper designs here are the steps for applying them to the cardboard. First, cut them out to the same size as your cardboard circles.
Using the glue stick, cover the whole cardboard disc with glue and stick one down, ensuring it is lined up correctly with the edges.
Smooth it down evenly with the palm of your hand.
Turn the cardboard circle upside down, and using the Exacto knife, cut lines through the template as in the diagram below:

PRO TIP! Make sure that all the cuts you make start and end right up against the circle in the cardboard.
These cuts make it easier to bend the paper through to the back of the cardboard.
Put a lot of glue around the hole and on the back of the cardboard disc.
Push each piece you cut gently through to the back and ensure that each is stuck down properly.
Repeat these steps for the small circle. You do not have to cut a small circle out of the strips you cut for this small circle.
Turn the disc the right way up, and you should have a disc with neatly covered holes.
Repeat all these steps for the other three discs.
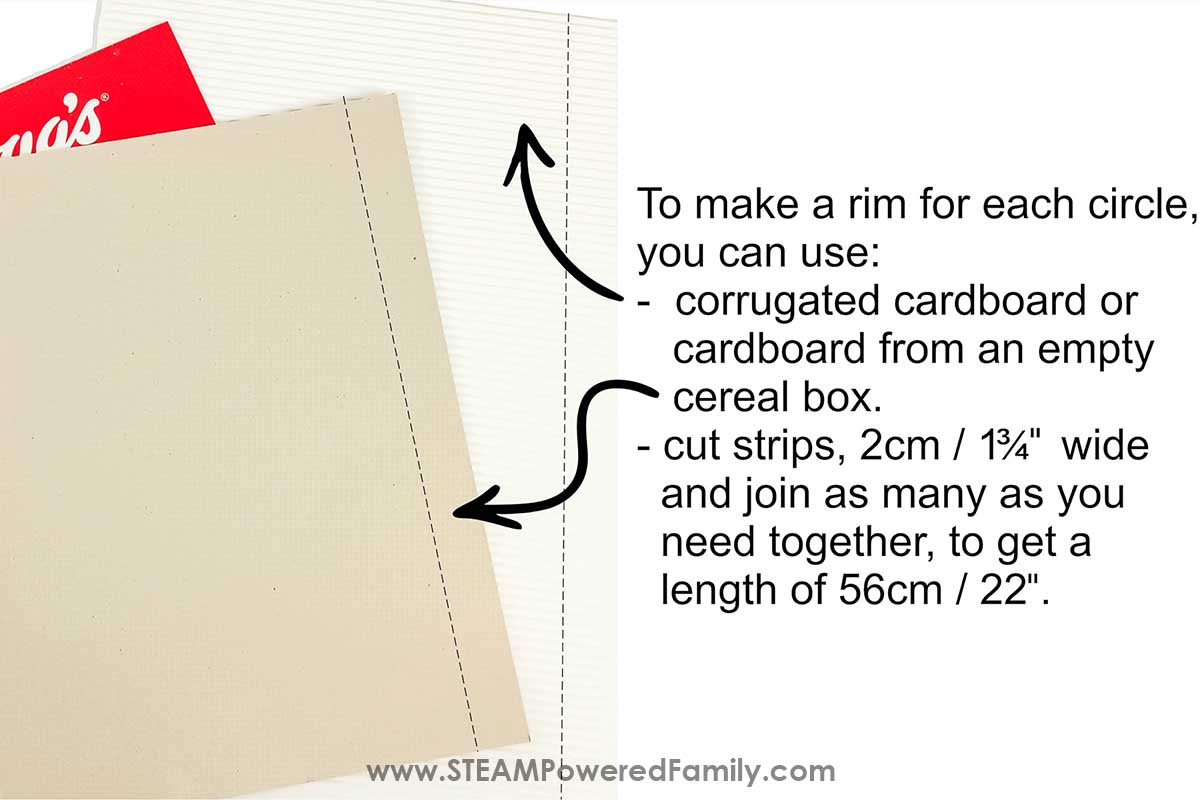
Making the rim for the discs
You can use corrugated cardboard or strips of an empty cereal box or cardstock for this next step.
Cut strips 2cm / 1¾ inches wide, and join as many pieces as you need to get a length of 56cm /22 in. Two strips seemed to be the correct length for me.
See the diagram below:
Gluing the rims onto the discs
Using a glue gun, glue the strips together for one disc and glue it onto the edge of the disc, overlapping slightly at the end.
PRO TIP! The glue gun is very hot! Please keep your fingers away from the end of the glue gun or ask an adult for help.
Repeat these steps for the other three discs.
Preparing the cardboard tubes, end caps, and the pieces that hold each disc up
Cut the tube slightly larger and thicker than the others into six pieces 2cm wide each.
These will make the pieces that hold up each disc and the end caps.
PRO TIP! If you do not have a thicker and larger tube, the Marble Run will still work without them. They may not be as stable, so just be a bit more careful with them.
Make the end caps by tracing the end of the tube you have on scrap pieces of single-wall cardboard and gluing them to the ends (top and bottom) of the marble run with the glue gun.
Next, make rings to hold the discs up by cutting 2cm / 1¾ in strips of an empty cereal box and using them the same way as described below. Don’t glue them closed before using them. Instead, glue them into place as you need to.
Make a slit into these 2cm pieces, place them around the cardboard tube, and cut off the excess until they fit around the tube snugly.
Remove them from the tube and glue the ends together with the glue gun.
Use two of these new rings for the end caps. Trace the inner circle of one of the rings onto scrap pieces of single-wall cardboard twice.
Cut out these circles with an Exacto knife and glue them into two of the rings, creating a “cap” for the top and bottom of the marble run.
Put these caps aside.
Gluing each disc onto the tubes
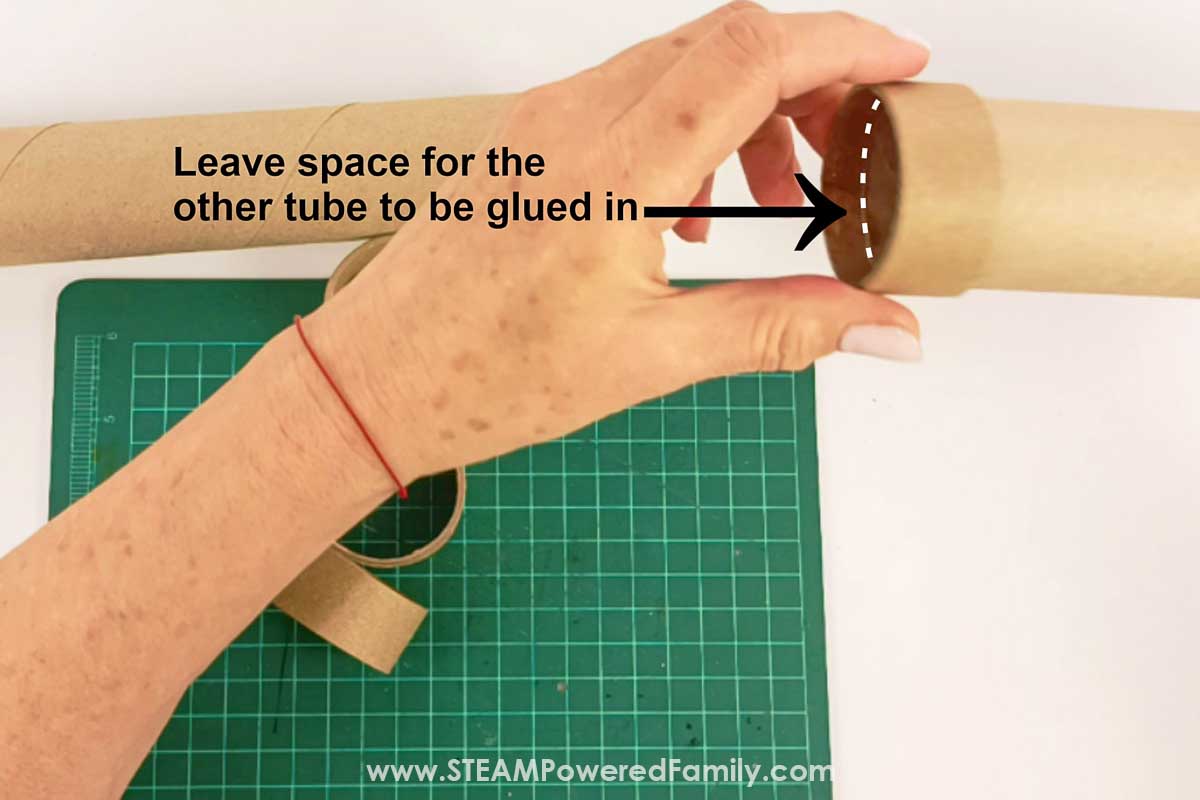
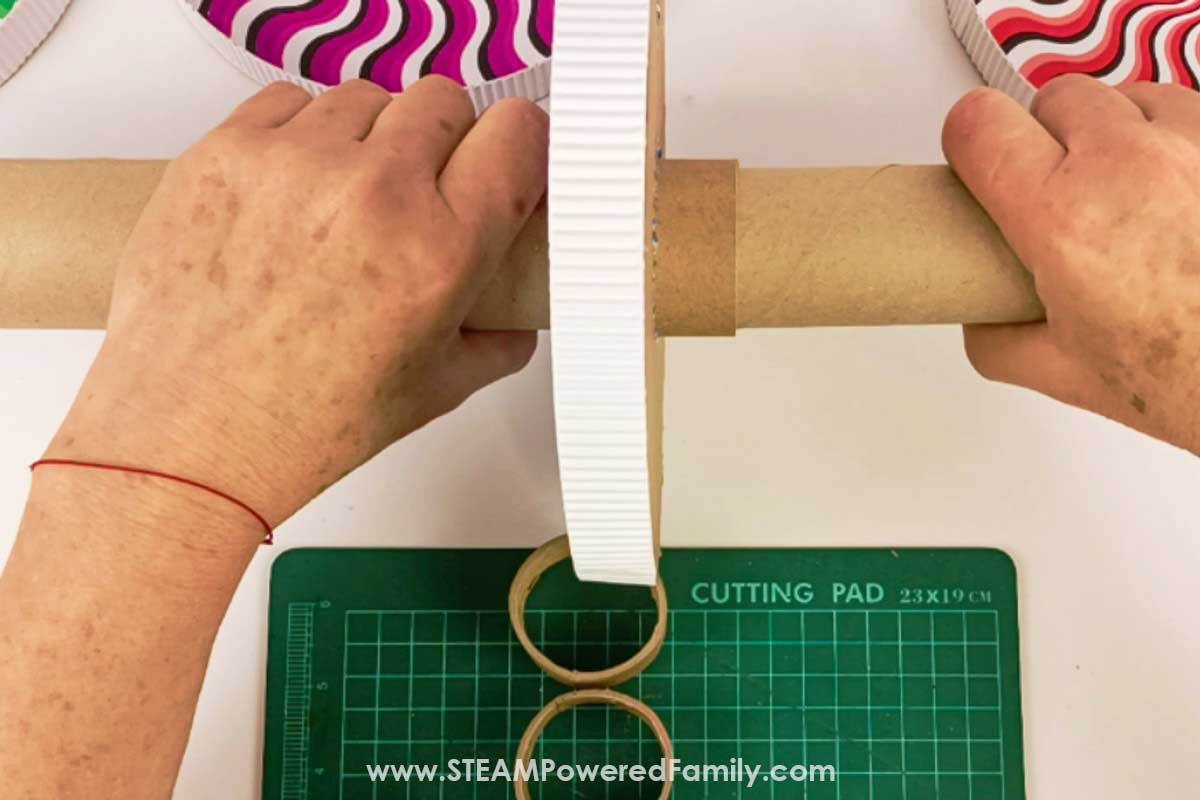
Glue the two primary tubes together using one of the rings you just made. See the photo below:
Take one of the discs and slide it onto the tube above the ring you just glued on.
Glue it in place on the underside with the glue gun. Push it up against the ring until it is dry.
Glue and stick on the other tube. See the photo below:
Slide the following two rings and discs onto the tube above the first one and place the top cap onto the tube.
Using a ruler, move the middle disc to be 12cm / 4¾ inches away from the first and top discs. Make a mark under each ring with a pencil, so you know where to glue them.
PRO TIP! Your tubes could be longer or shorter than mine. Ensure that the middle disc is precisely in the middle of the two discs, and mark their positions with a pencil.
Slide all the loose pieces away from the pencil marks you just made so you can apply glue with the glue gun easily.
VERY IMPORTANT! Rotate each disc before gluing so that the hole for the marble is not in the same place on each level.
When you are happy with the position of each disc, you may glue them all in place.
Slide the last disc onto the other tube, ensuring that it is 12cm / 4¾ in (or your measurement) away from the disc above it.
Slide the ring onto the tube underneath this disc. Make a mark under this ring and on the top of the disc. This mark is essential as it is the position of the “Home” hole that the marbles fall into at the end of each game.
Remove this disc and cut a hole using the Exacto knife for the “Home” hole. See the photo below:

Test to see that the marble fits through the hole easily.
Glue the last disc on, in line with the bottom of the “Home” hole, and then the ring underneath it.
Finally, glue the top and bottom caps on.
Your incredible Marble Run is ready! You can add extra decorative elements, like paint, adding bells, or other elements to add some extra flare! Or just start playing and having fun with your marble game!
Extension Ideas
Get a friend or family member, build two marble runs. Then have a marble run race! The winner is the first person to get their marble through the “home” hole, which is our finish line.
Who can manipulate their marble run to get the marble “home” in the shortest amount of time?
Try the marble run with more than one marble at a time. Is it easier or harder to get the marble’s “home”?
Build those reaction times to master this marble run game, by doing our Reaction Time Game STEM Project.
Troubleshooting
The only problem you might have, is that the holes for the marble on each level are in the same place. It makes playing the game too easy as the marble will drop through each hole instantly!
If you do this and have already glued everything together you will need to remake the whole thing. Make sure you double check each step before gluing to ensure your marble run game works perfectly!
Have a blast playing with your marble run game!
More Marble Run Fun!
Looking for even more marble run fun? One of our favourite Marble Run kits we have ever used is Gravitrax. This is not your typical marble run. It is an extremely high quality kit and includes all sorts of different physics boosters to help your kids build the most epic marble run ever! With towers, loops, chutes, marble tracks, and power boosters, Gravitrax is a favourite with STEAM Powered Family members!