3 Easy Marble Run DIY Ideas
Building a marble run with your kids or class is a timeless, simple and fun way to work on creativity, problem solving, critical thinking, hand eye coordination, logistics and cooperation. You can work in science concepts like gravity, slope and velocity. Math concepts like angles, parallel lines and intersecting lines. A marble maze really hits a ton of STEAM buttons, plus it’s fun and in my opinion that is the best way to learn!
Marble Runs Mazes and More!
Disclaimer: This article may contain commission or affiliate links. As an Amazon Influencer I earn from qualifying purchases.
Not seeing our videos? Turn off any adblockers to ensure our video feed can be seen. Or visit our YouTube channel to see if the video has been uploaded there. We are slowly uploading our archives. Thanks!
A Classic STEM Project
Building marble runs is one of those classic STEM projects that all kids should try at least once. Other classics are building catapults, bottle rockets, solar ovens, egg drop challenges, bridge building challenges, and wind powered STEM.
What do you need if you want to build a marble run? So many options! The most important thing is creativity and letting students explore, test, and practice their STEM skills.
Material Ideas for DIY Marble Runs
The best way to approach this project is to gather up supplies you likely already have around your classroom or home. Then let your creativity go wild and see what your kids come up with. Here are some ideas for things you can gather up.
Toilet Paper, Paper Towel and Wrapping Paper Rolls
Construction Paper
Boxes
Building Blocks
Legos
Play Dough
File Folders
Craft Sticks
Cups
Straws
Glow Sticks
Pool Noodles
PVC Pipes
Paper Plates & Cups
Crayons & Markers
Glue Sticks and Clear Tape
Scissors
Marble Run Ideas for the Classroom
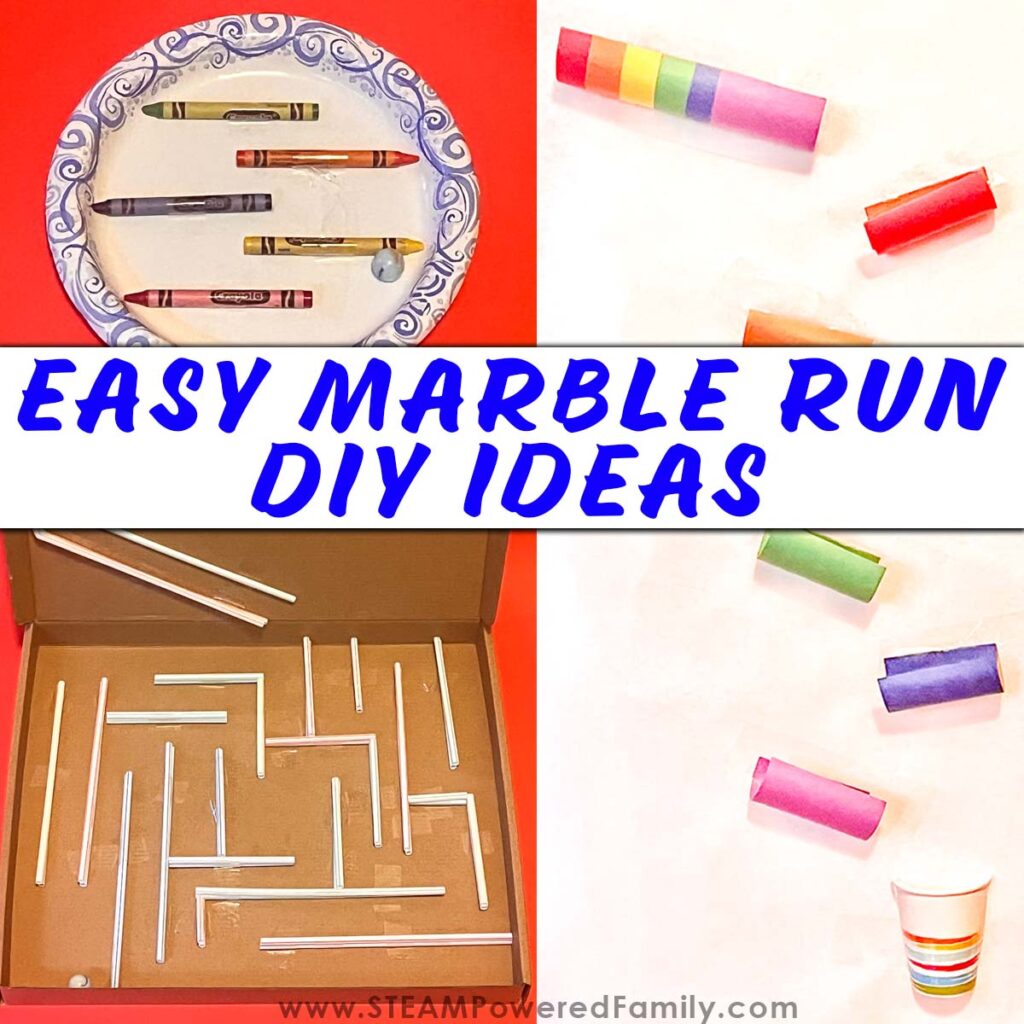
I have three super simple marble run ideas for you that I made with minimal materials, some of them recycled and all of which I already had in my classroom and in my house so they were low prep and inexpensive as well!
These ideas are perfect for the 10 and under crowd, with one idea being perfect for preschool/kindergarten students. Use these ideas to start exploring and playing, and see where you kids will take their designs.
Check out the video of our three designs in action. If you can’t see the video, check it out on the STEAM Powered Family YouTube Channel.
Marble Maze in a Box
Materials
A box – we like using a box with a lid like a pizza box, shoe box, etc. but any will work.
Straws
Clear Tape
Scissors
A Marble
Directions
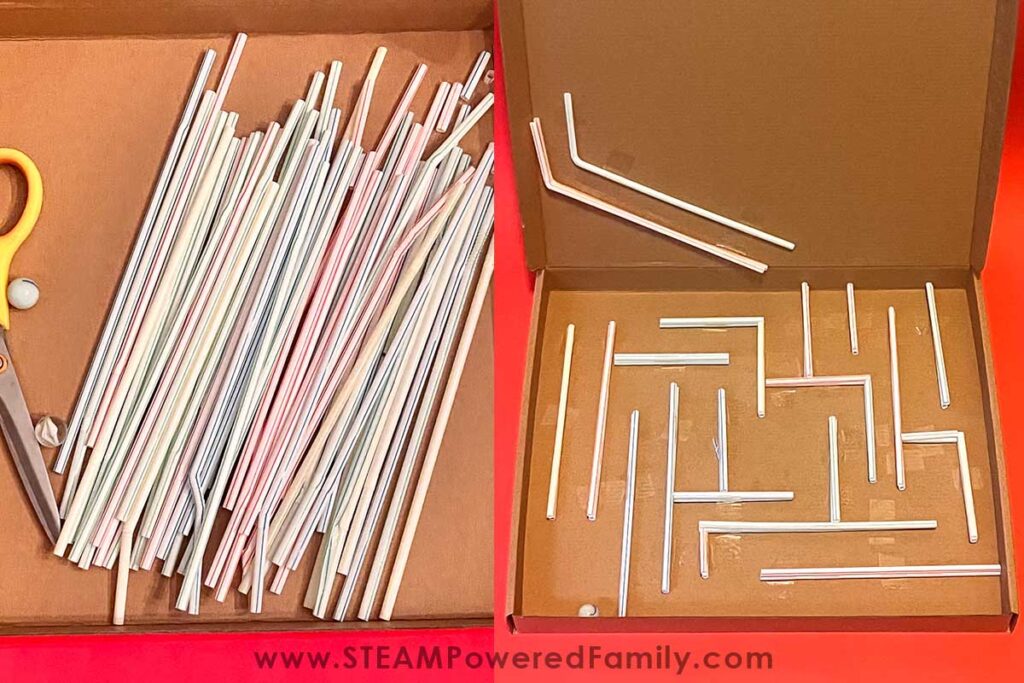
STEP 1: I taped my straws together two at a time to give the maze more stability and make it less likely for marbles to “hop” the walls of the maze.
STEP 2: Choose a starting point and start building your maze. It is helpful for the kids to work in pairs so they can talk out their design, and one can hold the straws while the other tapes them down. Remind kids that you want the tape as close as you can to the straws so they are secure and the marble doesn’t get stuck in excess tape.
STEP 3: Work your way around the box reminding students to keep pathways wide enough for the marble to pass through and that they should work in some dead ends so the maze itself is a challenge for the person using it.
STEP 4: Add your marble and get to playing!
Recycled Crayon Maze
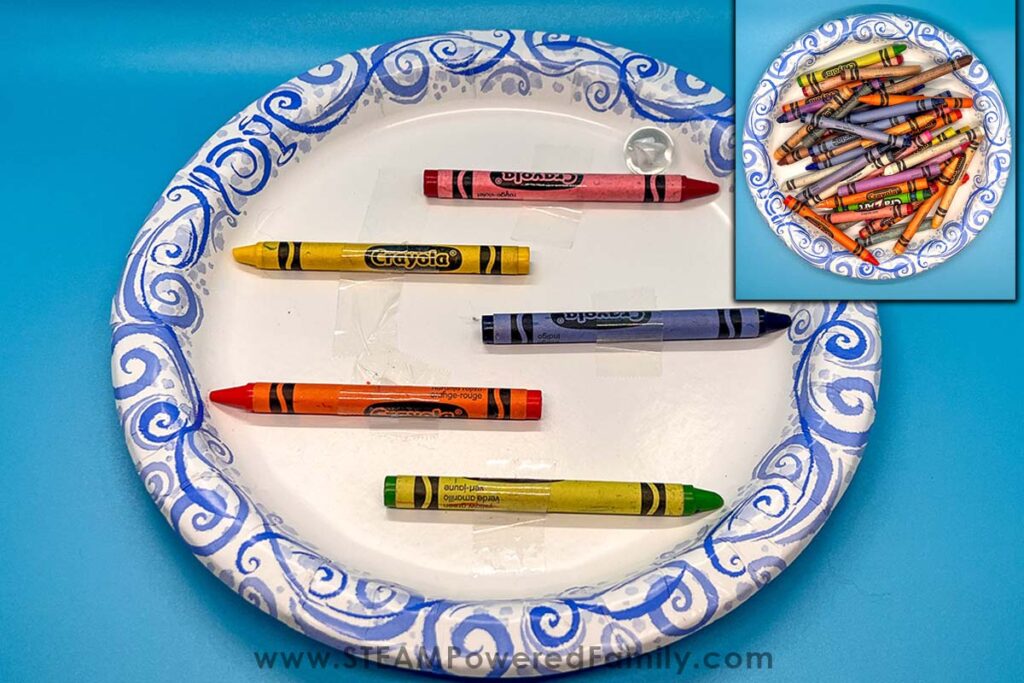
This cute and colorful marble run would work great for younger kids. It is simple and straightforward while still being a challenge for the littles because it will take hand / eye coordination to complete, plus they will need to carefully consider the placement of the crayons to ensure their marble goes where they want it to go.
Materials
Old Crayons
A paper plate with a lip
Clear Tape
A Marble
Directions
STEP 1: Choose your crayons and have your students lay out the crayons the way they would like, because they’re not crayons they necessarily need again they can break them if they want smaller pieces. I opted to go with whole crayons and simply alternate sides of the plate and keep the crayons parallel to one another.
STEP 2: Tape down the crayons. I found the crayons tilted a little when I put the tape in the middle so you may want to put a piece on each end.
STEP 3: All set – have the kids try to guide the marble through the maze.
Wall Mounted Gravity Run
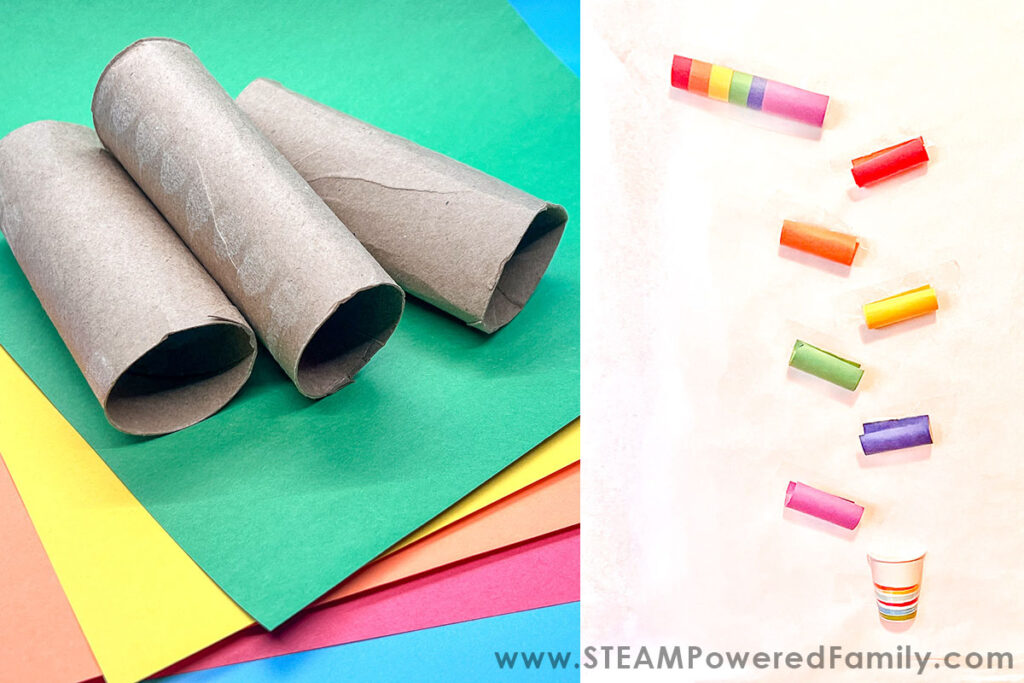
Materials
Cardboard Tubes
Construction Paper
Glue Stick
Scissors
Packing Tape
Paper Cup
Marble
Directions
STEP 1: Cut an opening along the side of each cardboard tube, I cut out about a half inch strip.
STEP 2: Use the strips to measure the width of the tube onto colorful construction paper. Next, cut out strips to wrap each tube.
STEP 3: Glue the colored paper onto the tubes and let the glue dry.
STEP 4: Start taping your tubes to the wall. If you don’t want to tape onto the wall you could use a table turned on its side or even a cardboard trifold presentation board. (When taping the tubes, I used a strip of packing tape the whole length of the tube). This is where you can talk about gravity, slope and velocity. Holding a tube in place and having students test the speed it travels through the tube and where it exits will help you choose the placement of the next tube.
STEP 5: Tape all of the tubes in place. Test the marble after each tube you place.
STEP 6: Cut a paper cup in half and tape it to the bottom of the run to catch the marble at the end.
STEP 7: Have at it! You could try a small rubber ball in place of the marble and see how the velocity differs between the balls.
These simple, low prep, high engagement marble runs and mazes are a fun way to teach STEAM concepts and make a memorable lesson. Keep them up and accessible to the student after you’re done and use them as play and reinforcing the lessons they’ve learned! Have a “marbleous” time!
Extension Ideas
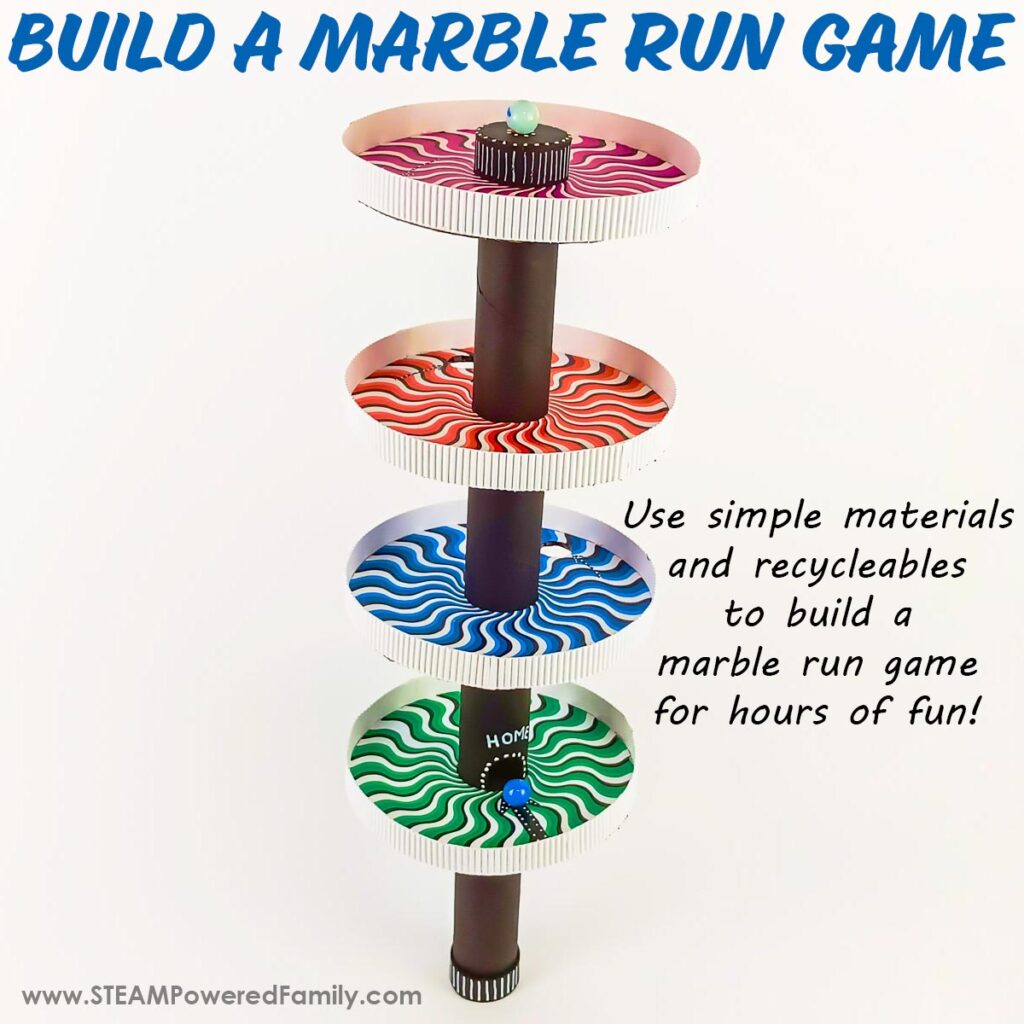
If you have older students or ones who need an extra challenge, try building this more advanced Marble Run Game.
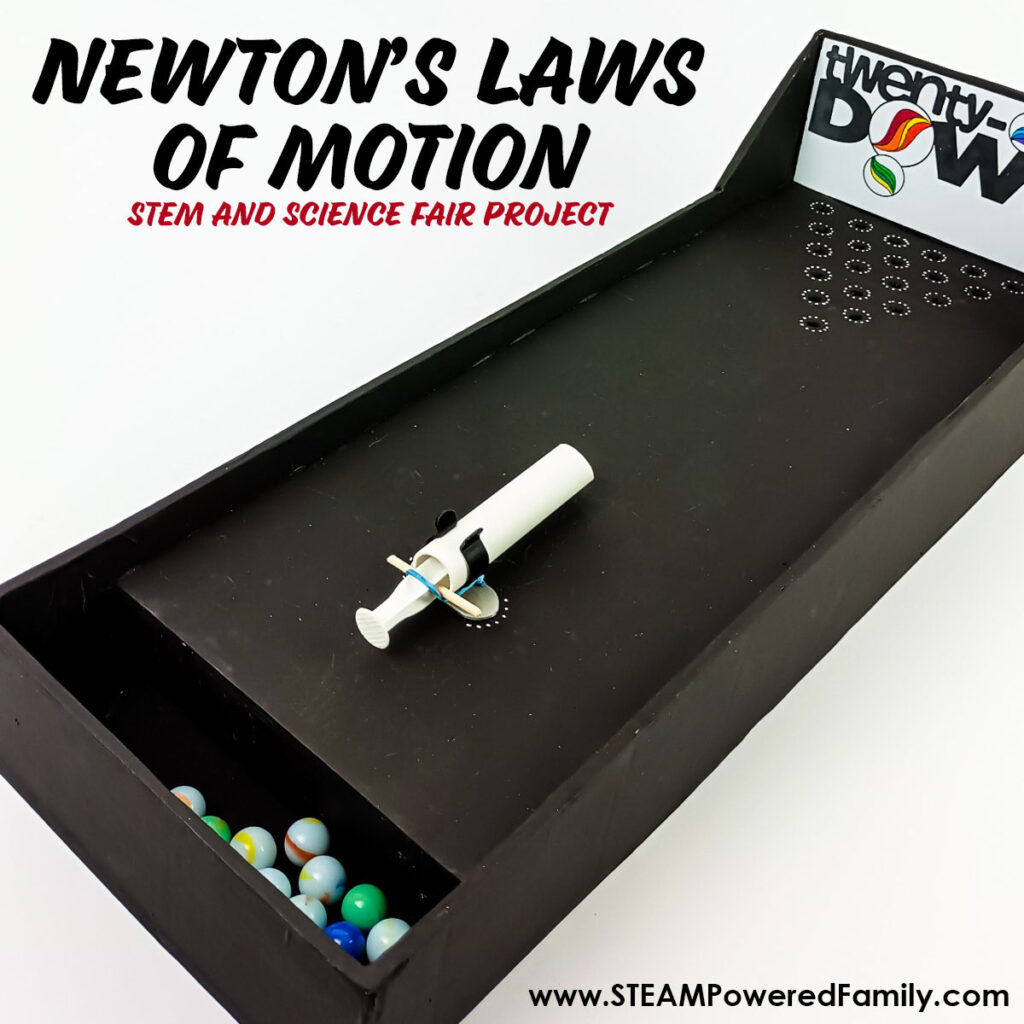
Or, for an even bigger challenge, build a pinball inspired game that also explores Newtons Laws of Motion.


