

Bottle Rockets
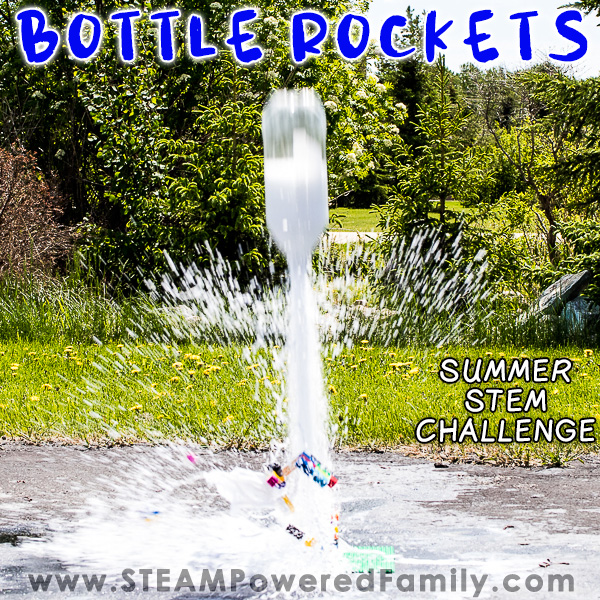
Bottle Rockets. Those two simple words turned a boring summer day into one filled with, fun, excitement and learning. I’m not sure if your kids are getting a bit bored this summer, but recently when my boys were complaining I mentioned those two little words and suddenly everything changed! As soon as they heard that there would be rockets, chemistry and explosions (well kind of!), they were very enthusiastic.
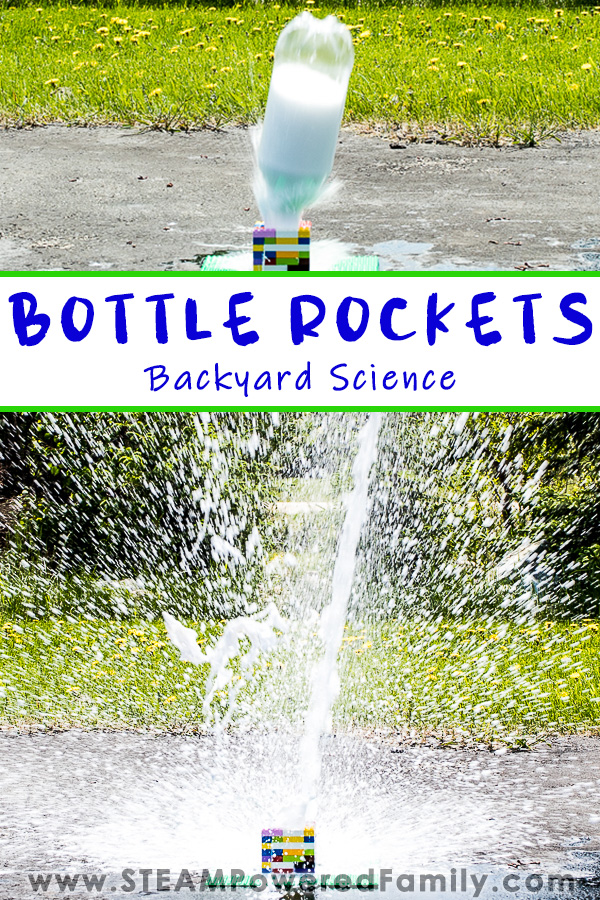
Bottle Rockets Backyard Science
Table of Contents
Disclaimer: This article may contain commission, paid partnerships, or affiliate links. We independently review everything we recommend. When you buy through our links, we may earn a commission from qualifying purchases.
What is it about making big epic reactions that makes all kids REALLY love science? We have done bottle rockets so many times during the years. In fact this is one of the very first activities we shared at STEAM Powered Family. I have now updated it with better pictures and video. But even though my kids are teens now, they still LOVE setting off rockets in the backyard!
After watching a recent launch from NASA as they sent more astronauts to the International Space Station, my kids turned to me and said it was time to break out the bottle rockets again. So here we go, time for launch!
How to Build a Bottle Rocket
STEP 1 – Build a Launch Pad
There are a few ways you can build a launch pad. The key engineering components the kids need to address, no matter what materials they use, is that it needs to be stable and just the right size to hold our rocket (an upside-down 2 litre pop bottle) without it slipping through.
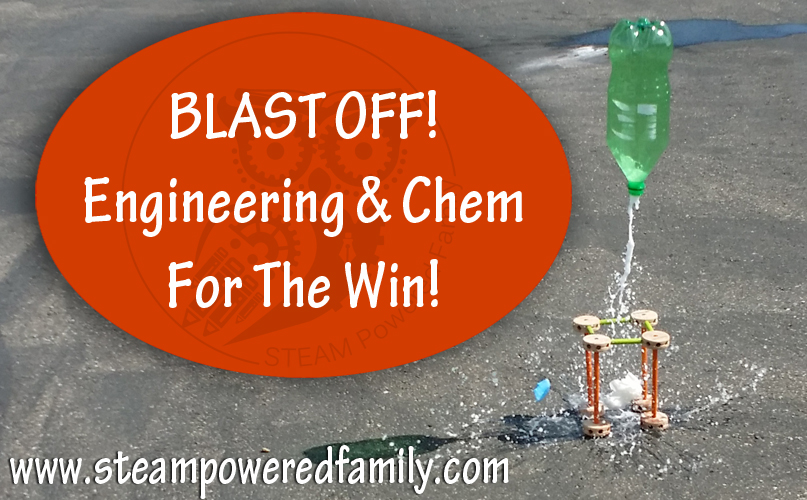
We have built rocket launch pads using tinker toys, craft sticks and LEGO. I have to admit using LEGO was a BIG hit. Now the boys are bigger they are using more ingredients to get bigger reactions and, as you can see in this photo, they loved not only launching their rockets but blowing their launch pads to smithereens!
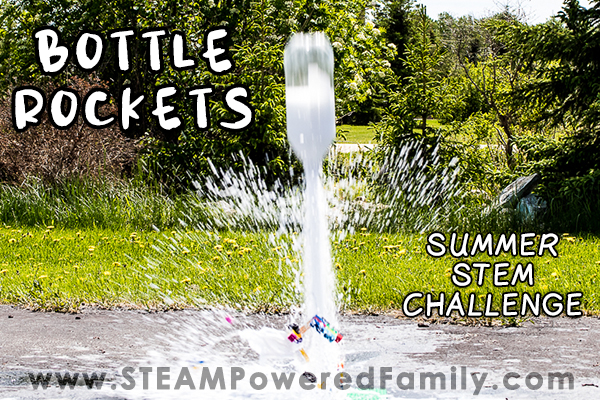
Building the launchpad works on both math skills (measurements and fitting a round thing in a square hole), and engineering (stability and strength in the construction are key).
Building the Rocket
To do this you will need the following supplies:
An empty, rinsed pop bottle (I believe my American friends call it soda!)
Baking Soda (aka sodium bicarbonate)
Vinegar
Paper towel
A cork (or substitute something like a pool noodle piece, a cork will give more power to your launch!)
Your newly constructed launchpad
A nice big open space
Preparing for Launch
You will want to do this in a fairly open area. Our rockets hit anywhere from 30 to 50 feet in height (as a rough estimate based on the height of our house), and the wind can pick it up and cause it to fly pretty far sideways too.
Take a clean bottle. Feel free to decorate it and make it really look like a rocket.
Set your launchpad in a nice big open area, on nice solid ground.
Fuel Up The Rocket
Place approximately 1 – 2 cups of vinegar in the bottle.
Take a piece of paper towel and cut it to about 4 inches square.
Place about a tablespoon (we used a HEAPING tablespoon… my teens love a BIG blast off!) of baking soda in the centre of the paper towel. Fold up the paper towel so the baking soda is wrapped up inside and it fits snugly inside the mouth of the bottle.
Insert a wine cork into the mouth of the pop bottle, make sure it is in there tightly.
3… 2… 1… BLAST OFF!
You need to move quickly for this next part. Flip the bottle over, place it in the launchpad and move back quickly!
The Science of Bottle Rockets
This is an incredible STEM activity but can easily be turned into a STEAM activity.
With this Bottle Rocket project we learned about:
- Engineering, measurements (math) and some physics to create a base that is functional, strong and stable.
- Chemical reactions with our all time favourite reaction: baking soda and vinegar (base and acid). We learned about how this particular chemical reaction has one important product: Carbon Dioxide Gas.
- Then we learned about physics and how when you trap that gas from the chemical reaction pressure builds up and when finally released it has enough force to cause thrust, therefore launching our rocket “into the clouds!”
More on the chemical reaction
This activity explores the popular baking soda and vinegar reaction, which is a simple acid-base chemical reaction. Vinegar or Acetic Acid has the chemical formula CH3COOH . Baking soda is a base also known as Sodium Bicarbonate and has the chemical formula NaHCO3 . During this reaction the products are sodium acetate ( C2H3NaO2 ). Sodium acetate is made of 1 sodium ion, 2 carbon atoms, 3 hydrogen atoms, and 2 oxygen atoms. The other products are water ( H2O) and carbon dioxide ( CO2 ). Carbon dioxide is the gas that causes the bubbling during the reaction.
Here is the chemical formula of this reaction
C2H4O2 + NaHCO3 -> NaC2H3O2 + H2O + CO2
vinegar + sodium bicarbonate -> sodium acetate + water + carbon dioxide
Clean Up
After you are done setting off your rockets, make sure you rinse everything with lots of water. As we learned in the science, vinegar is an acid. So any vinegar that is not neutralized by the reaction with the sodium bicarbonate (baking soda) needs to be diluted so it doesn’t damage anything. Lawns in particular can be damaged by acid.
Do this for everything that came in contact with the vinegar. Including all your Lego or Tinker Toys (or whatever you used to engineer your base), plus the area where you set off your reaction.
Safety Note:
My teens are old enough to do this project by themselves, but it is important that there is always adult supervision.
With younger kids I highly recommend they watch and cheer for this project from a safe distance while an adult loads and launches the rockets.
We were often sprayed with vinegar, so ensure all appropriate safety gear and clothing is worn to protect you from any spray.
Don’t ever get too close to an armed bottle rocket. Arm it, place it immediately into the launchpad and move away quickly!
Most of all, have fun learning about science in your backyard this summer!
More STEM Projects and Resources

FAQ
With precautions in place, this is a safe and fun activity for older kids, but adult supervision is still needed. If you have younger children, they can participate in this activity, but an adult should load and launch the rockets while they watch from a distance.
You will likely get sprayed by the vinegar, so it’s a good idea to wear eye safety gear and old clothing.
DIY Bottle Rocket Activity for Kids
See how simple it can be to make your own bottle rocket at home. Perfect for a fun STEM learning activity for kids.
Supplies
- An empty, rinsed pop bottle
- Baking Soda
- Vinegar
- Paper towel
- A cork
- Your newly constructed launchpad
- A nice big open space
Instructions
Build a Launch Pad
-
There are a few ways you can build a launch pad. The key engineering components the kids need to address, no matter what materials they use, is that it needs to be stable and just the right size to hold our rocket (an upside-down 2 litre pop bottle) without it slipping through.
Building the Rocket
-
See the supplies above to build the rocket.
Preparing for Launch
-
You will want to do this in a fairly open area.
-
Take a clean bottle. Feel free to decorate it and make it really look like a rocket.
-
Set your launchpad in a nice big open area, on nice solid ground.
Fuel Up The Rocket
-
Place approximately 1 – 2 cups of vinegar in the bottle.
-
Take a piece of paper towel and cut it to about 4 inches square.
-
Place about a tablespoon (we used a HEAPING tablespoon… my teens love a BIG blast off!) of baking soda in the centre of the paper towel. Fold up the paper towel so the baking soda is wrapped up inside and it fits snugly inside the mouth of the bottle.
-
Insert a wine cork into the mouth of the pop bottle, make sure it is in there tightly.
Blast Off
-
You need to move quickly for this next part. Flip the bottle over, place it in the launchpad and move back quickly!