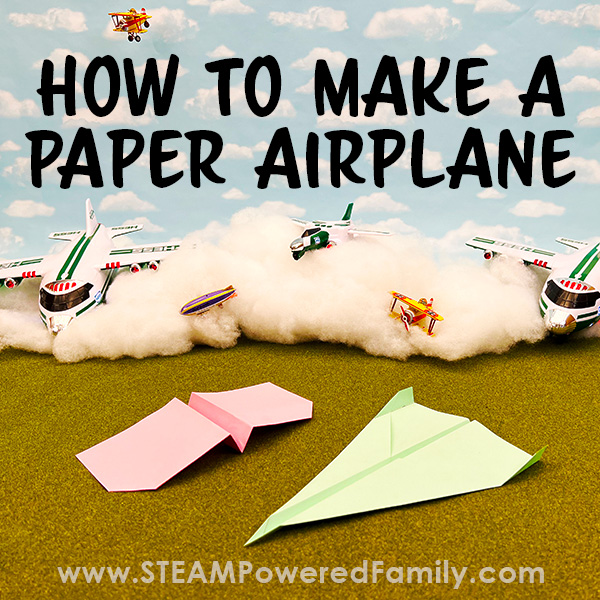
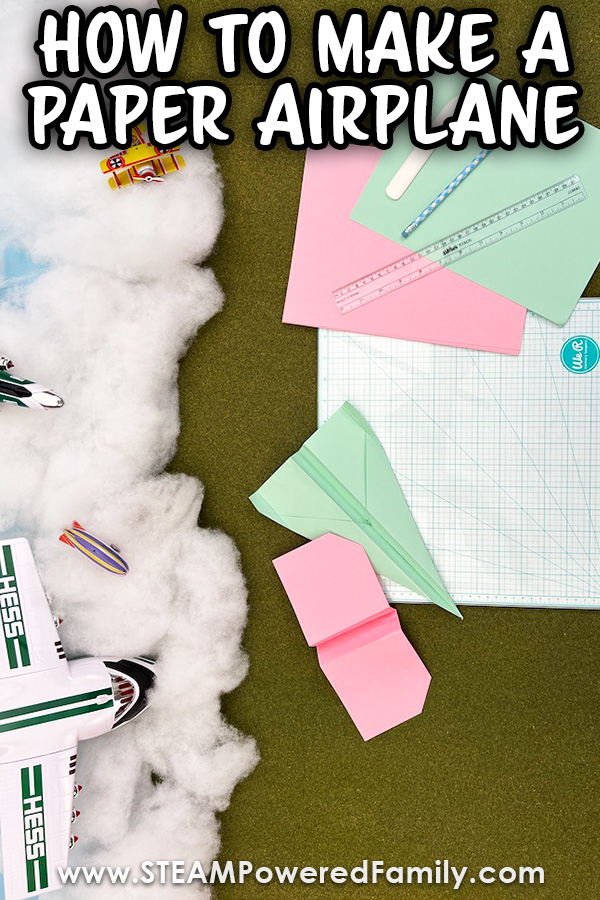
How to Make a Paper Airplane
Want to know more about flight and how it works? Paper airplane models were used to test flight theory in the early 1900’s before man took flight for the first time. They may have even inspired the Wright brothers, who in 1903, were the first people ever to fly a plane! In this Paper Airplane STEM project, you’ll learn how to build two different kinds of paper airplanes, test them, and learn the science behind why they fly.
PAPER AIRPLANE STEM PROJECT
Disclaimer: This article may contain commission or affiliate links. As an Amazon Influencer I earn from qualifying purchases.
Not seeing our videos? Turn off any adblockers to ensure our video feed can be seen. Or visit our YouTube channel to see if the video has been uploaded there. We are slowly uploading our archives. Thanks!
While there’s much to learn and read about flight, why not make your own paper planes and see what happens as you fly them? The well-known and loved design – “The Classic” – is a great one to start with. As long as you take the time to build and fold it with care, it will fly very well! Next, we’ll build a slower-flying, long-range paper plane. Test both planes with different launching techniques and make gentle adjustments for even better results!
Supplies
Plain white (or colored) copy paper, standard size
Ruler (can double as a creasing tool)
Pencil
Paperclip (optional – can help with weight distribution)
Directions
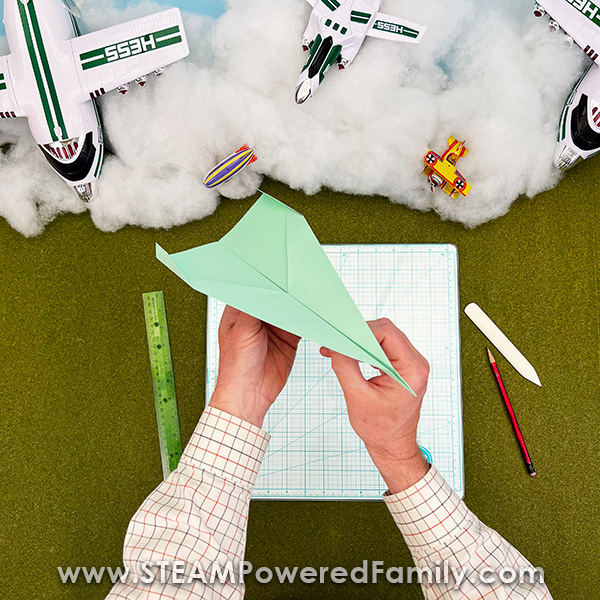
The easiest way to learn how to make a paper airplane is to watch someone do it! Check out this video demonstrating how to make both of our paper airplane designs. Then read below for written step by step directions.
Note: if you can not see the video, please turn off any adblockers, they also block our video feed. Or you can check out the STEAM Powered Family YouTube Channel to find this and other SPF videos. Thanks.
The Classic Paper Airplane Design
Holding a sheet of paper horizontally, fold it in half lengthwise (to make a crease) and then open again.
Next, fold the top corner to the center crease. Repeat on the other side.
Fold corners over again so that they meet in the middle.
Make the body of the plane about 1” deep and the flaps about .75 inch high. Make sure the folds are bent at right angles.
The Bomber
Holding a sheet of paper horizontally, fold it in half widthwise and crease.
Next, fold the corners in.
Fold the point down to the lower edge.
Then, open it out to make a crease.
Fold the point over to the crease made in Step 3 and leave it folded.
Next, create a fold so that the point meets the crease made in Step 3.
Fold the edge again so that the crease made in Step 3 now turns into a fold.
Fold the point over to the crease in Step 3.
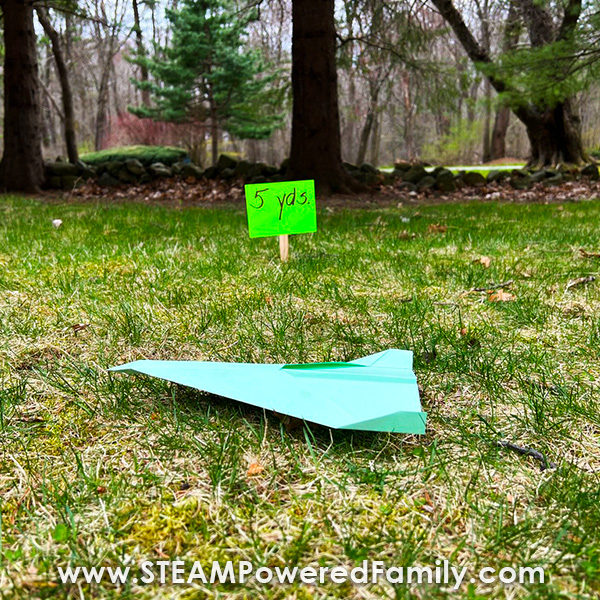
Paper Airplane Test Results
Test Results revealed that the “Classic Paper Airplane” design and the “Bomber” both flew the same distance although the “Classic Airplane” design flew a bit faster.
Additional research shows that, in general, paper planes with wider wings glide slower while airplanes with skinny wings will go faster and further.
Tips & Tricks to Help Your Plane Fly Its Best
Make sure you fold carefully and precisely. Run your finger or the edge of a ruler over each fold to make sure they’re crisp.
Symmetry is very important when folding paper airplanes because the smallest imperfection can derail your airplane and cause it to spin out of control.
Sometimes a paper airplane can be improved by adding a small piece of clear tape to keep the body of the plane from unfolding.
A small paper clip can be added to the nose or body to adjust the center of mass (where the airplane balances from front to back).
Different paper airplane designs respond to different ways of being launched. Some planes respond better to a “gentle push” rather than a “hard throw”. Experiment to find out what works best for your paper airplane.
If your plane dives sharply towards the ground, slightly bend UP the back edges of the wings. This helps the nose point more upwards in flight and give the plane more lift.
If your plane flies sharply upwards and then falls backwards towards the ground, adjust the back edges of the wings DOWN to straighten its flight path.
Small adjustments can make a big difference!
Want to really power up your designs? Try making a Paper Airplane Launcher and watch your planes fly far and fast!
The Science Behind Paper Airplane Flight
To help a paper airplane fly, we need to create “lift” to counter the weight of the plane. The same principle applies to both powered and unpowered flight. Real airplanes are an example of powered flight – the engine is provided for extra lift to counteract the heavy weight of the plane.
Gliders are made of very lightweight materials so they can fly without power. Paper airplanes are gliders too, needing only your arm to launch them! To achieve lift, an aircraft’s wings are angled so that the front edges are higher than the back edges. This makes the air speed up as it goes over the curved top of the wings.
The air going under the wing slows down because it meets the back of the wing that‘s been tilted down. The difference in the speed that the air travels above and below the wing is what creates the lift.
“Drag” and “thrust” also influence flight. The thrust of your throw propels your plane forward, but once it’s been launched, air resistance creates drag, pushing against the airplane’s forward motion.
Once you’ve made your paper airplane, you can experiment with its flying pattern by making tiny adjustments to its wing and/or tail shapes.
Have a blast learn how to make a paper airplane!
More STEM Projects for Kids