How to Build a Boat STEM Challenge
In this How to Build a Boat project we are exploring buoyancy, gravity, lift, force plus engineering and creativity skills. Kids will be challenged to take what they learn about how sailboats work, then build their own boats that we then set sail to find the best designs. This is a fantastic Summer STEM Project that can be done at camp, at the lake, while camping with family, or at home.
Come Sail Away!
Sail Boat Building Challenge for Kids
Table of Contents
Disclaimer: This article may contain commission, paid partnerships, or affiliate links. We independently review everything we recommend. When you buy through our links, we may earn a commission from qualifying purchases.
Recently we took a family trip to the lake where we got to see a sailboat just drifting along the lake. We all watched for a while as the boat moved along with the wind gliding over the water. We talked about how the wind filled and pushed the sail and how making adjustments to the sail helped the boat maneuver in different directions. The next morning when I got up it was dreary and rainy which can be a challenge at the lake – but I thought back to the sailboat and it put some wind in my sails! I thought that we could use the rainy day to build our own sailboats and then launch them on the lake when the weather cleared.
How long have sailboats been around?
The origin of sailboats can be traced back to ancient Egypt where the Egyptians used fabric connected to masts to move long boats along the rivers. The use of sails can be found all throughout history. Viking Ships, the Greeks, European explorers – they all had sailing vessels in common. Some used more square or rectangular sails, some triangles but all of them used the wind to move their ships through the water.
If you’re interested in learning about how to find the direction of the wind, check out our weathervane project here.
How does a sailboat work?
Sailboats in their simplest form have three basic components:
- Hull – The hull is the body of the boat that floats on the water. It’s the part that keeps the boat from sinking (through the science of buoyancy). The hull is designed to be smooth and curved, so it can move through the water with very little resistance.
- Mast – a large pole that stands upright to hold the sail.
- A Sail – The sail is like a big, flat piece of fabric, and it’s usually made of strong material like cloth or plastic. When the wind blows against the sail, it catches the wind (which creates force), just like how a kite catches the wind in the sky. The wind pushes against the sail which moves the boat through the water.
Sailboats work using the force of the wind to create lift in the sails.
What is lift?
Lift is the push that occurs when the wind meets the sails and creates pressure or force that thrusts the boat forward. When a boat is moving through the water the pressure that the water puts on the hull or the body of the boat is called drag, this will affect how well a boat can move and how fast it can go. The shape, weight and material of a boat all contribute to drag and how it is able to move through the water. These are important things to take into consideration when constructing a boat.
Want to know more about how Sailboats work? Check out this cool educational video from MIT.
How to Build a Sailboat for Kids
Now we know all about how sailboats work, it is time for our fun build a boat challenge. The best part about this challenge is that you can build so many different designs. The only limit is your children’s imagination!
Here are a few of our designs to help inspire your creations.
Materials and Supplies
Really this is up to you. The best thing is to raid your tinker toolkit and recycle bins and encourage that creativity! If you are camping, save all of those plastic drink bottles and food containers for this challenge. Kids can build an aluminum foil boat, a pool noodle boat, build a cardboard boat, or even build a paper boat. The options are endless!
Paper
Cardboard
Paper Plates, Bowls
Hot Dog Trays
Aluminum Foil
Popsicle Sticks
Paper Mask
Plastic Silverware
Play Dough
Pencils
String
Bottles
Cans
Yogurt Cups or other recycled containers
Rubberbands
Glue
Tape
Markers
Scissors
Other Ideas:
Corks
Legos
Pool Noodles
Directions
Everyone was given access to the pile of materials and asked to build a boat that would sail on the lake. Each boat had to have a hull, a mast and a sail. Check back at the photos above to see how our creations look. In each step we explain how we used different materials to create each part of the different boats.
Step 1:
Create the hull. Each boat needs a hull that can be placed in the water. The hull is what will ensure the boat is able to float. The hulls that we came up with:
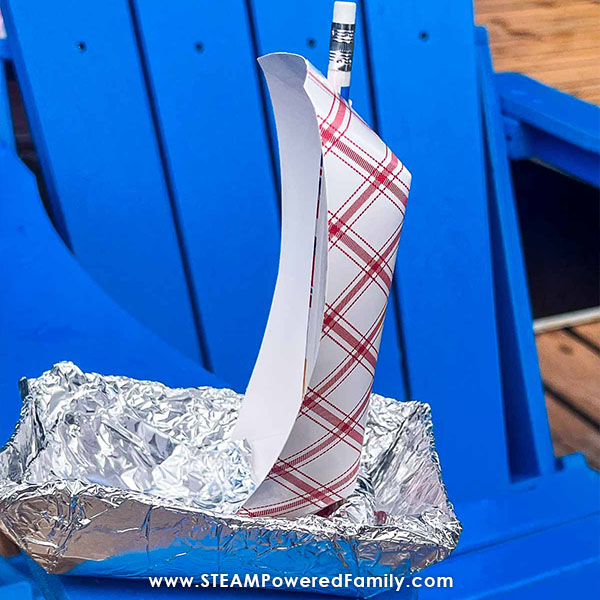
- Hotdog basket wrapped in aluminum foil to make it watertight.
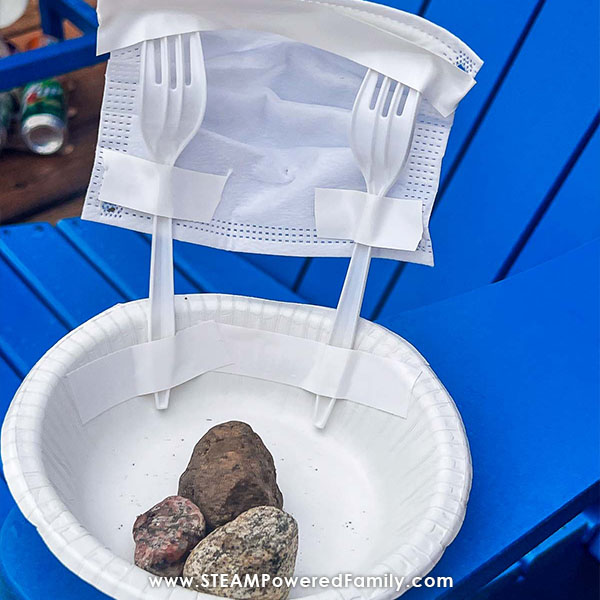
- Paper bowl
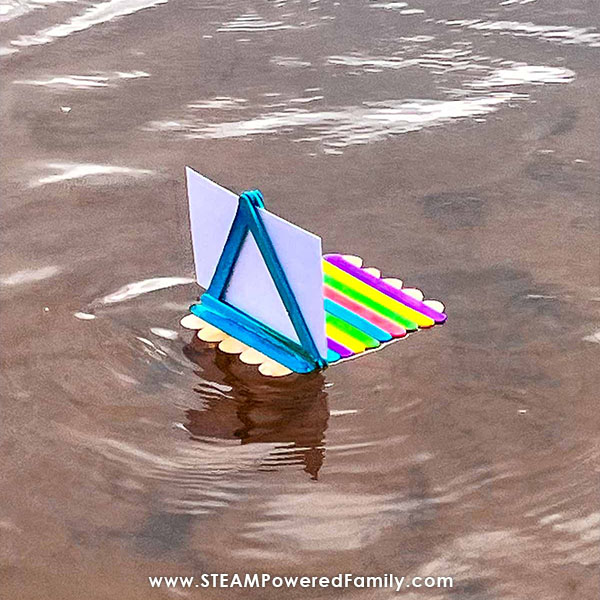
- Raft made of popsicle sticks
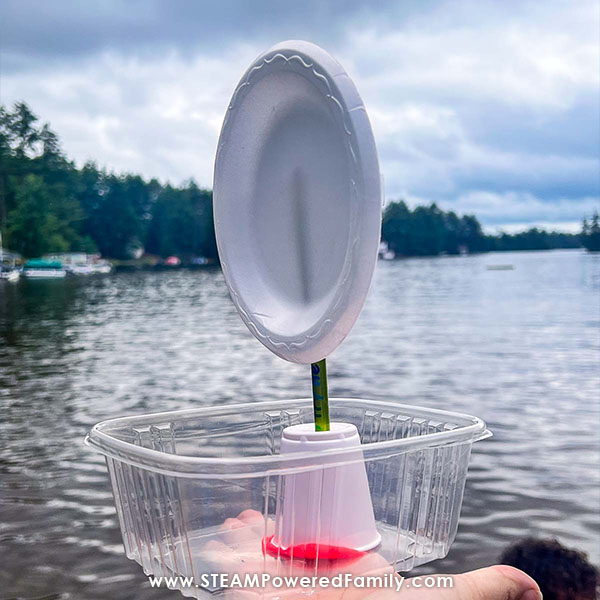
- Plastic container that candy had been in
- Yogurt cup.
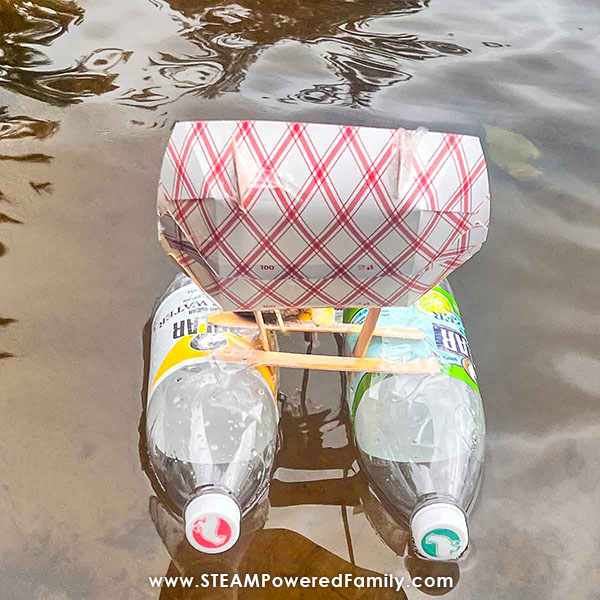
- Two one liter plastic bottles
Step 2:
Create a mast. The mast is what will hold the sail so it needed to be sturdy and there had to be a way to hold it in place. The masts we came up with:
- Pencil mounted in play dough and wrapped and secured with foil
- Pair of plastic forks secured with tape
- Triangle constructed of popsicle sticks
- Popsicle stick pushed through a plastic cup and mounted in play dough
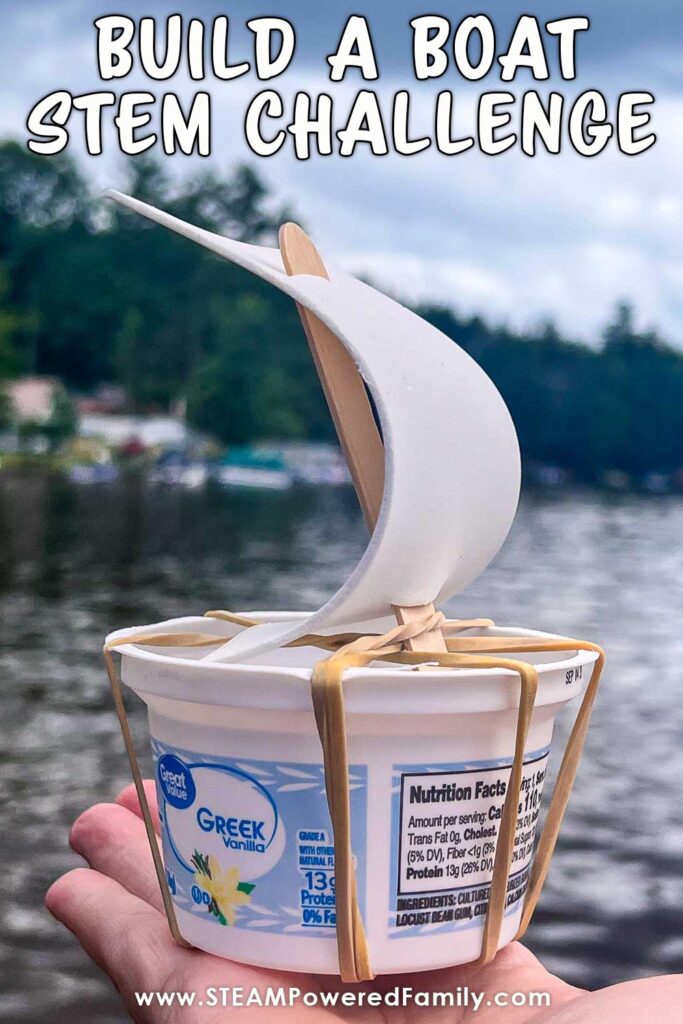
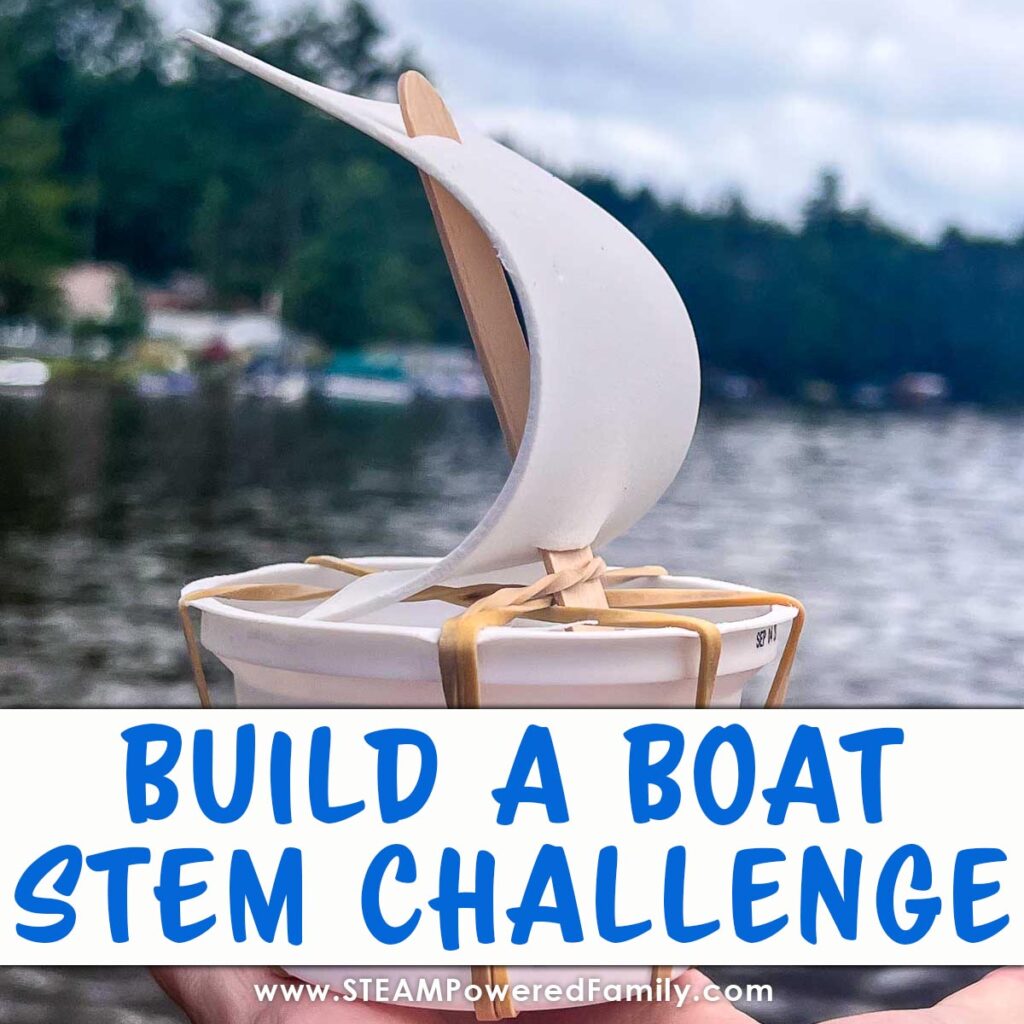
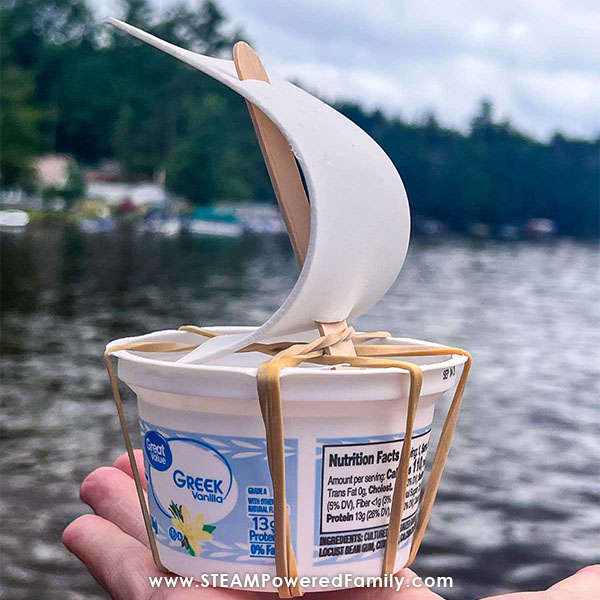
- Popsicle stick secured in place with multiple rubber bands
- Two popsicles sticks – one mounted to each bottle
Step 3:
Create your sails. The sail is what will catch the wind and create the lift necessary to move the boat through the water. The sails we used:
- A second hot dog basket with the pencil mast poked through the top and bottom.
- Paper mask mounted across the two forks
- An index card sized piece of paper slipped through the popsicle stick triangle
- Paper plate glued to the popsicle stick mast
- A piece of foam craft sheet with two slits to mount it to the popsicle stick mast.
- Two hotdog baskets taped together to make a larger square sail and mounted to the popsicle sticks.
Step 4:
Set sail! If you are not lucky enough to be near a lake you can test this in a swimming pool or bath tub.
Remember to always practice safety around water!
Results
Our build a boat challenge was a ton of fun and even more fun to test. We built a wind vane to test the direction of the wind so we knew where to set sail.
We decided that because of the water movement and waves caused by the wind and motor boat activity out in the water, we would walk the boats out a ways and then launch from the water.
Before setting sail, challenge your kids to make some predictions. Ask them which design they think will float the best, the farthest, and the fastest. Then set sail and record the results.
The fastest boat ended up being the little bowl with the two fork mast and the paper mask sail! The strongest – was also the biggest (the bottle boat), the one we thought would work the best, the hot dog boat did ok – it sailed well but didn’t hold up like we thought it would. The little yogurt cup and popsicle stick raft were cute and definitely moved through the water but wasn’t super sturdy when put up against the lake water waves.
This was a really fun STEM challenge on the water and the testing was even better. I think one of the best parts was watching the creativity flow and the cooperation that I got to see as the kids built their STEM skills as they learned how to build a boat!