Easy No Prep STEM Activities with Paper
Whether you’re looking for a quick and easy project to wow your kids or you need a last-minute STEM challenge for the classroom or summer camps you really don’t need to look any further than plain old paper! A simple piece of paper has endless possibilities when it comes to STEM. Here are some of my favorite easy STEM activities with paper that require no prep work.
STEM Activities with Just Paper
Table of Contents
Disclaimer: This article may contain commission, paid partnerships, or affiliate links. We independently review everything we recommend. When you buy through our links, we may earn a commission from qualifying purchases.
The STEM Design Process
For these challenges, you’ll want to review the STEM design process and Scientific Method with the kids. This helps to remind them how to approach a STEM challenge in a strategic way that increases the likelihood of success.
- Look at what the challenge or question is and what you have to work with.
- Plan how you are going to complete the challenge or solve the problem.
- Go! Get to work putting your plan in place.
- Test it out – were you right? Did it work?
- Reflect and Redesign.
- Try it again!

Reminding kids that missteps and failed attempts are part of the process will give them a little more confidence to just jump in and try.
Want some No Prep STEM with Popsicle Sticks? We have those too!
Let’s go!!
NOTE: If you feel having a simple template to help with the index card and helicopter challenge would be helpful, we have one available for our STEAM Powered Family mailing list members. Simply enter your email here to unlock the printable template and pre-made lesson plans for all 5 activities shared in this post.
Can You Fit Through An Index Card?
Can you fit yourself through an index card? (Or at least fit your head)?
This is such a fun challenge that helps build problem solving skills and creative thinking. This one is actually a part of our No Prep STEM Lab. There are 10 similar, low prep experiments in this pack that include teacher guides and NGSS ratings for each lab.
Ask the kids – can you fit through an index card? Undoubtedly the answer will be no. Then ask “What if I gave you a pair of scissors? Then could you fit?” Let’s try.
Have the kids think about how they might accomplish the task and try out their theories. Any luck?
The Math Explanation
Let’s talk about a little math. When we look at the perimeter of an object like an index card we would simply add the length of all the sides. For an index card that would mean 3+3+5+5=16 or 3×2+5×2=16.
Can we use scissors to change the perimeter to make the card bigger? YES.

This might seem a bit confusing, so here is a video demonstrating how to cut the index card. If you can’t see the video, please ensure your adblockers are turned off as they also block our video feed. Watch to the end so you can see the paper helicopter flying too!
Show the kids the first three steps:
1. Fold the card in half – lengthwise.
2. Make 2 cuts on the folded edge about a quarter inch from the outside and almost all the way through.
3. Cut along the length of the remaining folded edge.
Now look again. What do you notice? How did the card change? What is the new perimeter? Can we do it again? Revisit the planning stage. How can you fit all the way through the card?
The Solution
You can show the kids that it is in fact possible to fit through an index card. By making specific cuts you can change the perimeter enough that the opening will allow you to step through it.
1 Fold the card in half – lengthwise.
2. Make 2 cuts on the folded edge about a quarter inch from the outside and almost all the way through.
3. Cut along the length of the remaining folded edge.
4 Flip the paper over and make another cut about a quarter inch from the first.
5. Continue flipping the paper and cutting until you reach the other side. Be careful not to cut all the way through the paper at any time.
6. Carefully unfold the paper and step through! (If you are working with older students they may only be able to fit their heads through the card).
If you would like to tie in a little more math – have the kids figure out the perimeter of the new card! Easy, engaging, and truly zero prep!
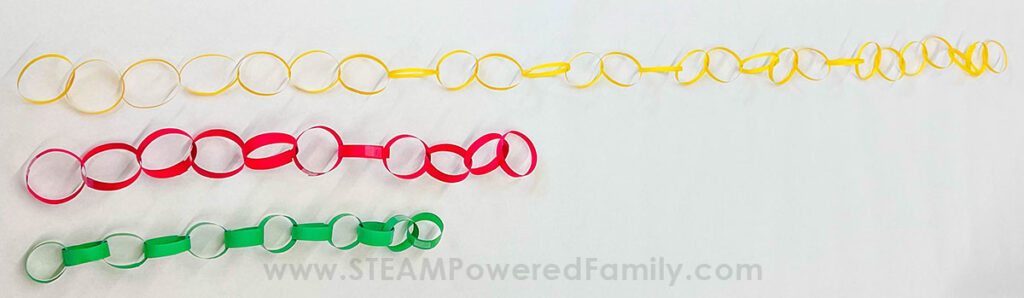
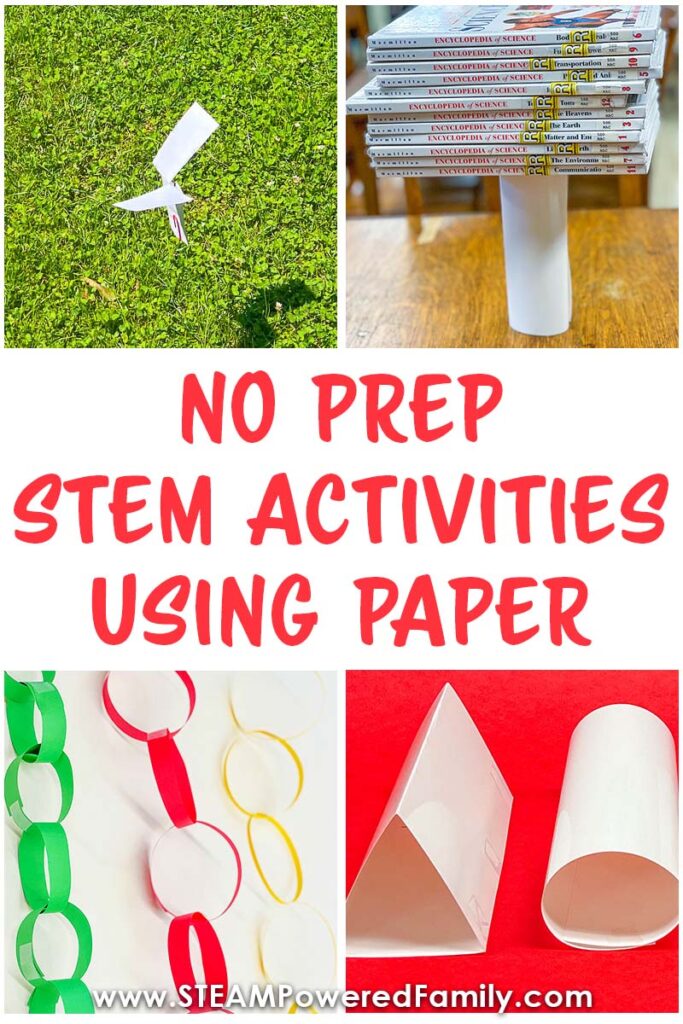
Paper Chain STEM Challenge
What about the Longest Paper Chain you can create from one sheet of paper?
This is an exciting project to watch the kids reason out. I’m sure most everyone has made a paper chain at some point. My daughter loves to make them as a countdown to holidays, birthdays, the end of school, and days until vacation! This easy no prep activity will really get the kids thinking and the great thing is they could work in groups or individually – whichever works best for your situation.
The Paper Chain Challenge
With only a pair of scissors, a glue stick or some tape, and one sheet of paper make the longest paper chain that you can in say 20-30 minutes.
Take the first five minutes to think the challenge through and plan your strategy. Promise them that thinking it through will give them an advantage over someone who just dives in and goes to work. When the time is up the students will need to transport and lay out their chain for measuring without it falling apart.
The Solution
The thinner the strips of paper and the closer to the ends they are glued together the longer the chain will be – however the thinner and closer to the ends the weaker the chain is overall and it may not transport. These are the critical thinking moments that we want the kids to recognize.
The STEM
While engineering the chain is itself part of the process there are some great math tie-ins as well. Obviously, we can count the links in the longest chain, we can also measure how long the chains are – add them together – subtract the difference. For older kids, you could have them convert from inches to feet to yards – have them estimate if a chain is this long – how many pieces of paper would we need to cross the room, or go the length of the hallway or to the next town. You could have the kids graph their results. There are so many amazing possibilities with just that little sheet of paper.
Paper Columns – Which paper shape is the strongest?
These hands-on STEM projects are a fantastic way for kids of all ages to build engineering skills, creativity, and explore physics.
The Paper Stack Challenge
Give your students 3 pieces of paper, some tape, and some books. We want to see what shape column can hold the most books without collapsing a circle, a triangle, or a square.
First, have the kids do some hypothesizing. Play around with the paper but don’t tape anything yet – looking at the shapes and different ways you might make them, what do you think will be the strongest and why? Record your results.
Have each student or group make their shapes. Don’t give them restrictions on how they make the shapes, see what they come up with. Some kids might make the shapes going right to the edge of the paper – others may overlap – that is perfect because seeing the different designs and how they hold up is part of the process.
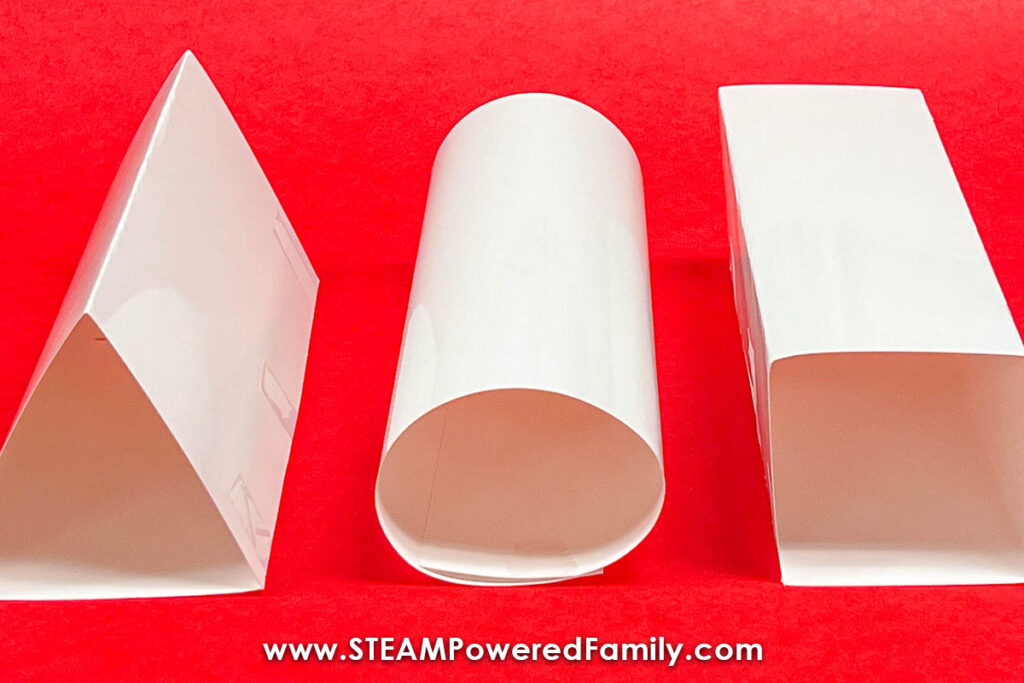
Test and Observe
Once the shapes are constructed – start stacking the books. Make sure that the students use the same books for each shape so that they know the weight is the same across their three shapes. How much did each hold? What was the strongest?

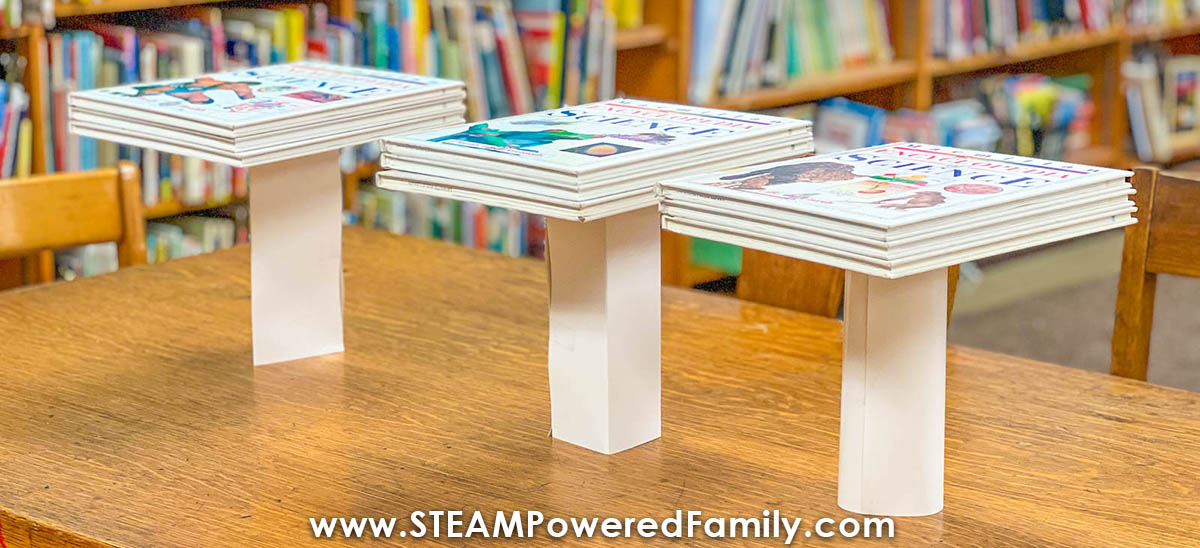
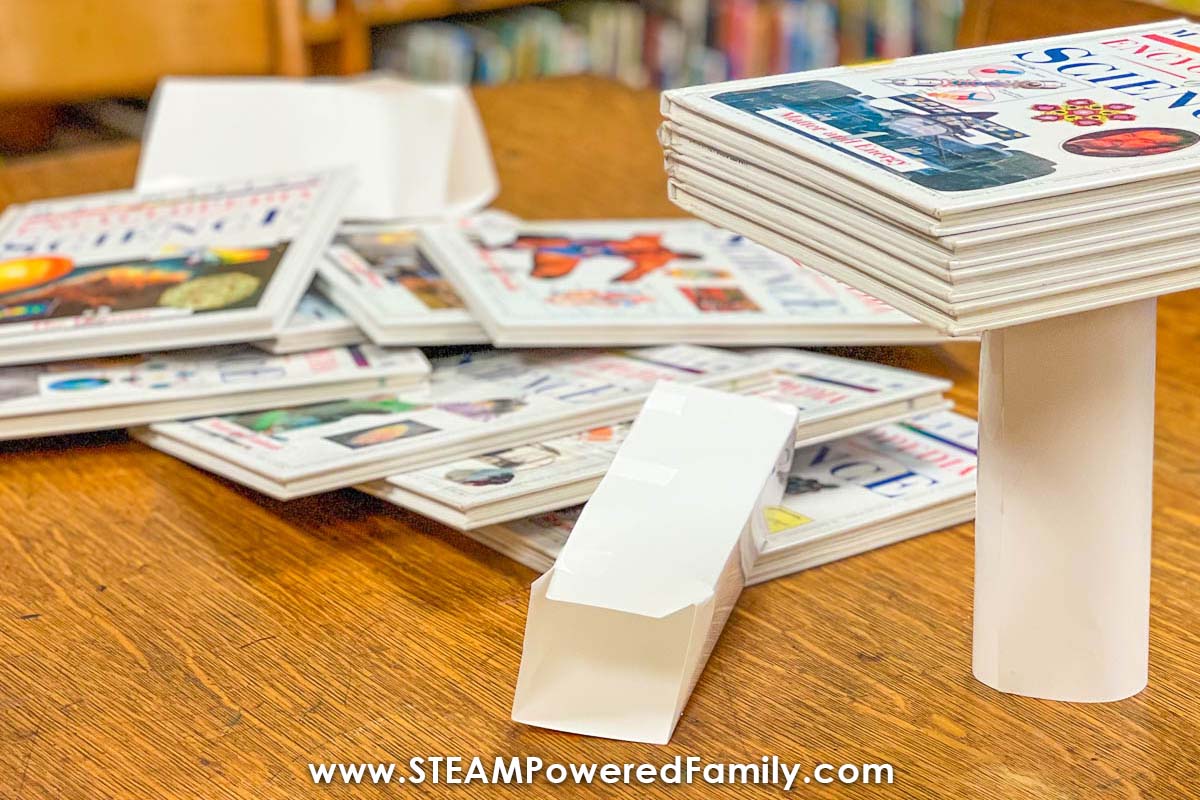
The Results
All groups should find that their circular shape is the strongest. Both the square and the triangle hold weight along their edges and corners so they will shift and collapse more easily. The circular column has no edges and corners so all of the weight is distributed evenly.
You could also compare across groups – did one method of making the shape result in a stronger shape than another.
Tie in math by averaging how many books each shape could hold.
Extension Activities
Explain to the kids that columns have been used in architecture across the ages. Depending on the age of your students you could show them examples or you could have them research the use of columns in different structures and present their findings to the class.
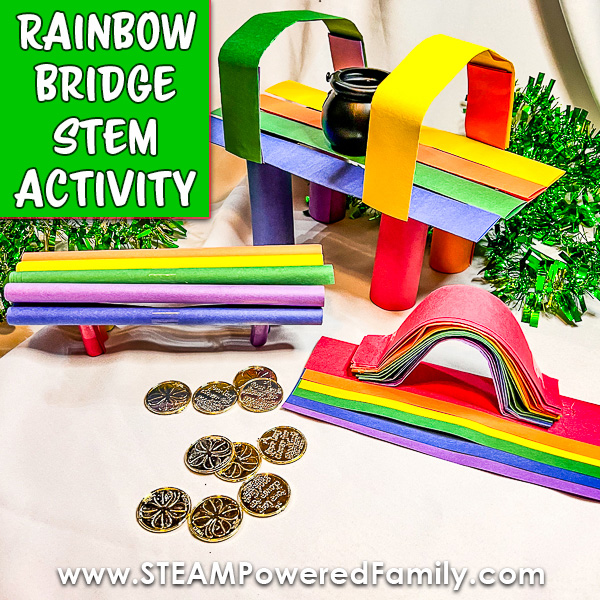
Build a Paper Bridge
Another variation on this activity is one we have done in the past, building a bridge out of paper. This is a great way to demonstrate how you can build strong structures with paper and can spin off into some really great engineering projects.
Paper Helicopter Project and Challenge
This is another quick and easy paper activity the kids will love! Each student will need one sheet of paper, a pair of scissors, and 3 paper clips of different weights and sizes. For example, a plastic clip, a small wire clip, and a large one.
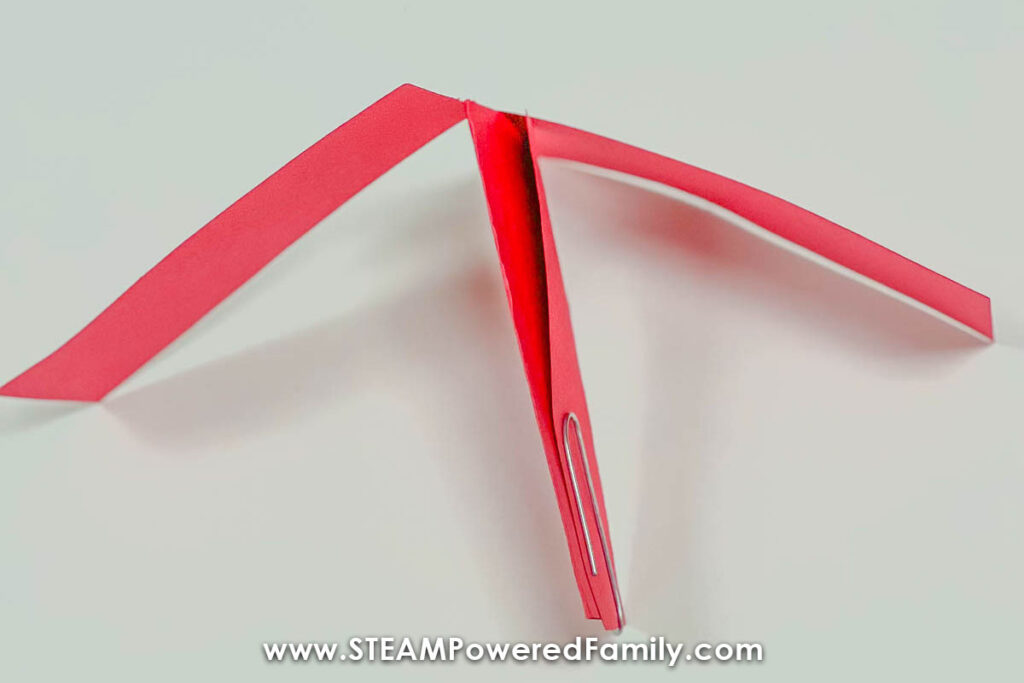
Paper Helicopter Directions
Fold your one piece of paper into three equal sections along its longest side so you end up with three sections of approximately 8.5×3.5 inches.
Cut the pieces along the folds. From there you need to fold each of those pieces in half short end to short end and then unfold it.
Cut one end of the paper along the center from the end to almost to the middle fold.
Flip it around and cut 2 small slits on either side at the fold about a third of the way in and fold both of those sides to the center.
Clip those folds together along the bottom edge with a paperclip.
Now, flip it back over to the top and fold those 2 flaps away from each other to form the propellers.
Holding it by the paper clip, toss it gently into the air, and watch it start to spin!
Note, you can see a video of the helicopter in flight at the end of the index card cutting video above.
The STEM connection
Paper helicopters can lead to a discussion about lift: which is when the air that is under your propeller is pushing up on it harder than the air on top pushing down. This slows the pull of gravity and makes the helicopter spin.
Here is a great science experiment idea involving gravity. Have the students repeat the cutting and folding process with the two other pieces of paper clipping each with a different paper clip. Launch all three from the same spot. Which lands first – do you know why? How does the weight and size of the paperclip affect the pull of gravity on the helicopter? The heavier the object the greater the gravitational pull and the faster it will fall. What if we used a different type of paper? Like a heavier cardstock? How will that affect lift and gravity?
That is it! A few quick and easy no or low prep STEM activities using plain old paper! Perfect for a classroom, camp, homeschooling or just for some fun and memorable activities with the kids on a rainy day.
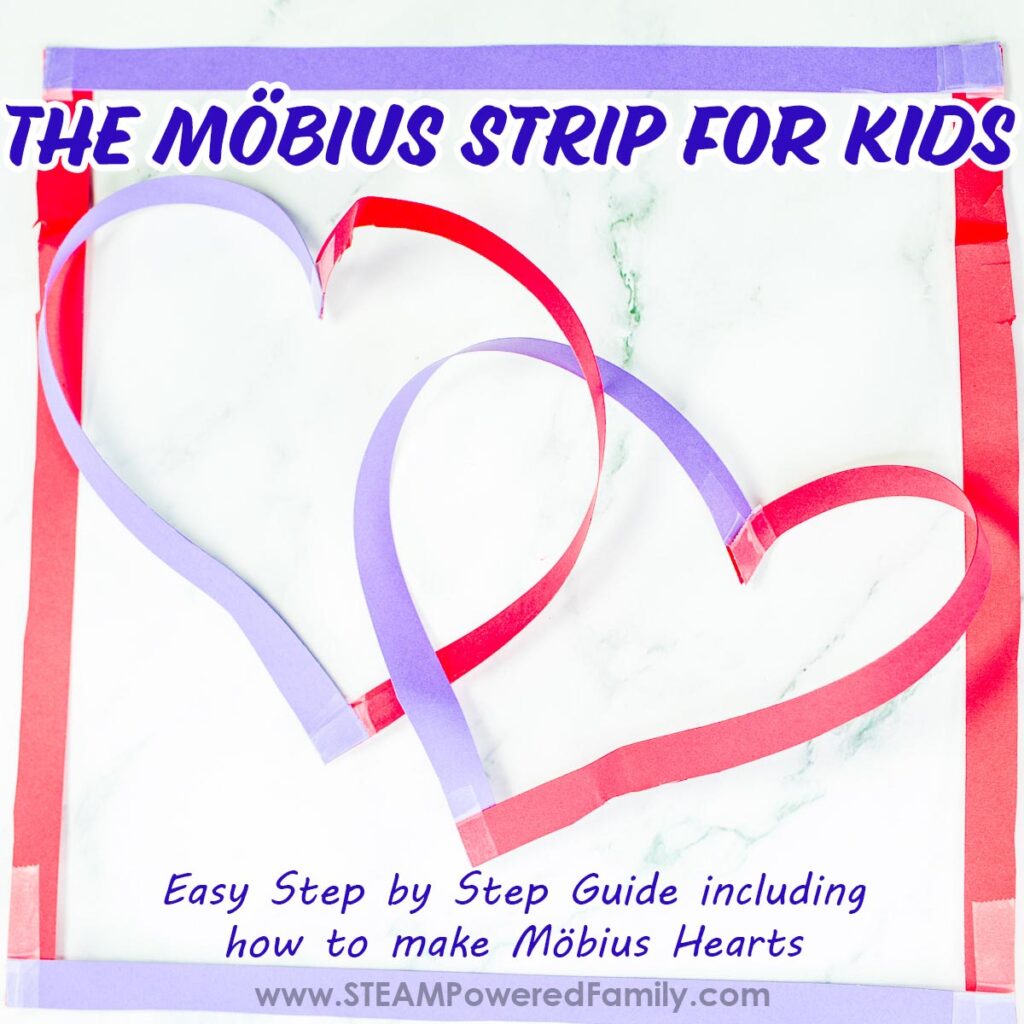
Möbius Strip Challenge
Take on a Möbius Strip challenge and explore the mathematical concepts of topology. Using just paper, tape and scissors students make an one-sided infinite loop. Then explore that concept in depth by also making Möbius Hearts and more.
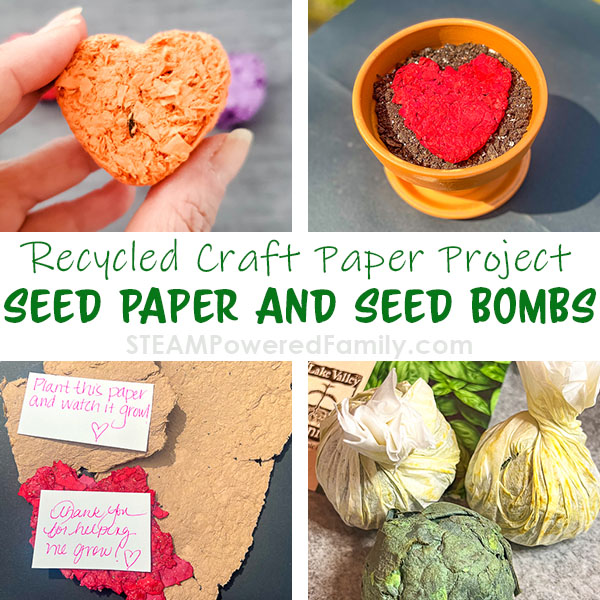
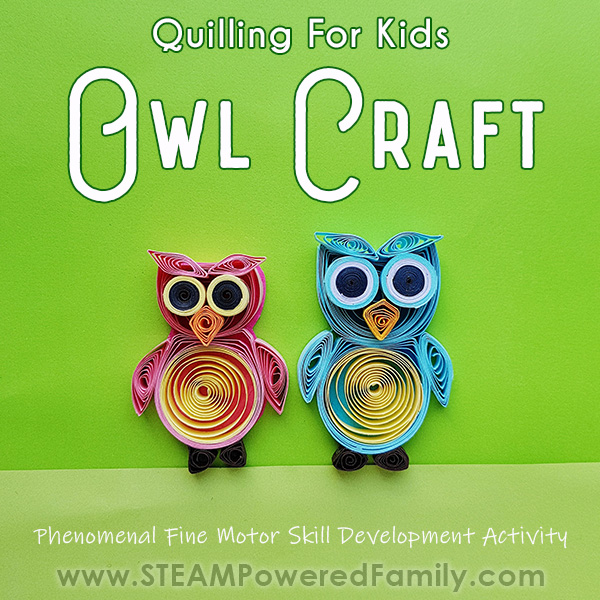
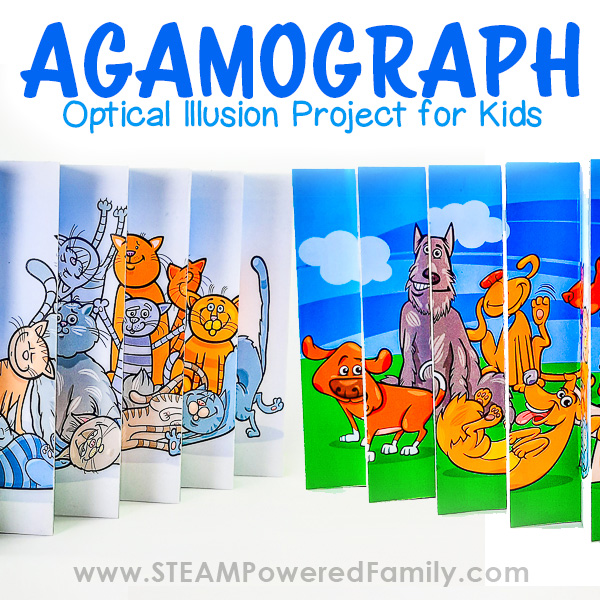
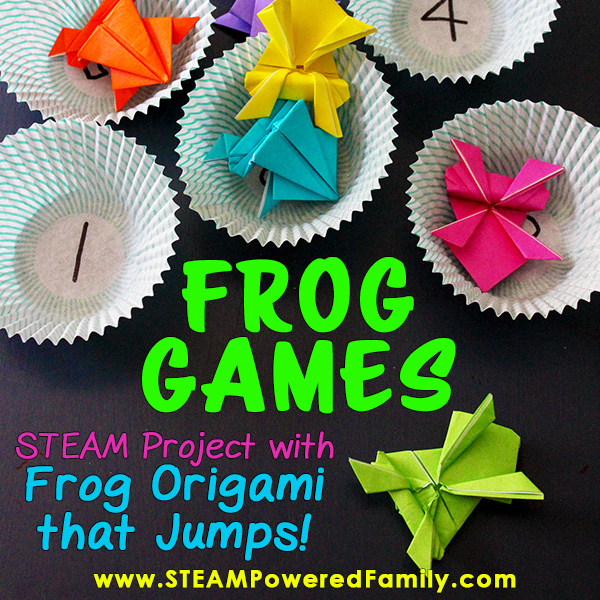
EVEN MORE PAPER STEM IDEAS
Looking for more Paper STEM and Toy Making inspiration? Check out these additional resources for even more ideas for how to use paper for fun STEM activities!


FAQ
As long as parents or guardians are helping supervise, these activities can be for a variety of ages.
Paper and scissors are really all that is needed. An index card for durability is helpful, but really, all that you’ll need is some thicker paper to get started.
Absolutely. Construction paper is a great option because of its thickness, but it’s also fun to use because of the variety of colors.