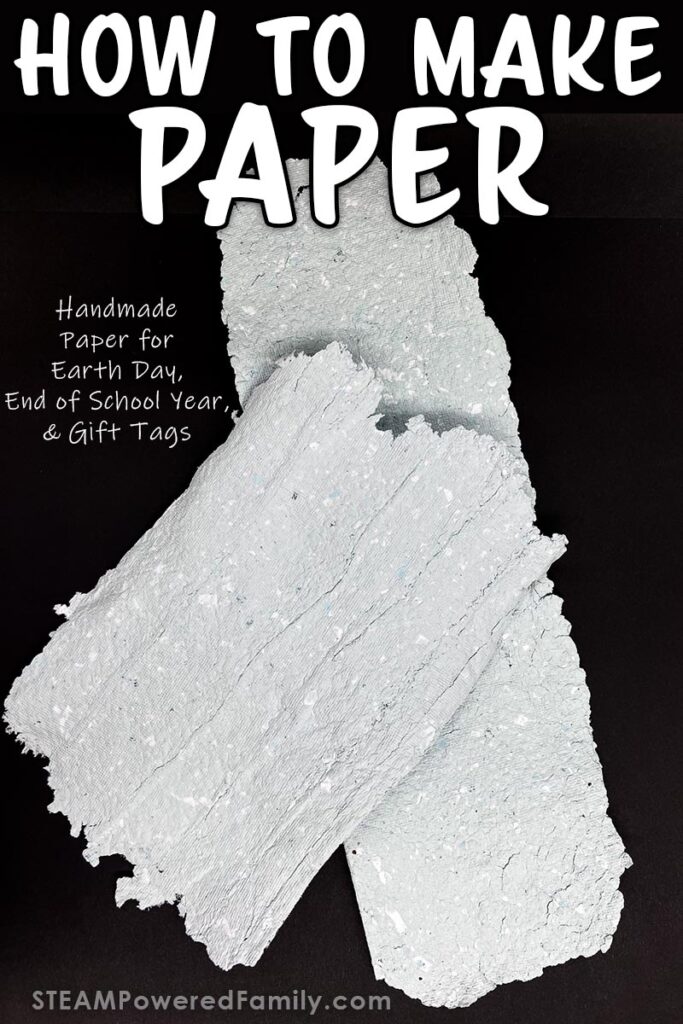
How to Make Paper – A Recycling Craft for Kids
Have you ever wondered how to craft paper? Yes – you read that right – you can DIY paper by making recycled paper from paper scraps. This is a really fun project to do with your kids or your class. It is a straightforward and easy process and the paper is perfect for one-of-a-kind gifts, art projects, tags and so much more. The possibilities are endless.
Making Paper from Paper – A Recycling Project
Table of Contents
Disclaimer: This article may contain commission, paid partnerships, or affiliate links. We independently review everything we recommend. When you buy through our links, we may earn a commission from qualifying purchases.
How do you make paper?
It’s simple really, first, you need to gather some supplies that you more than likely already have on hand.
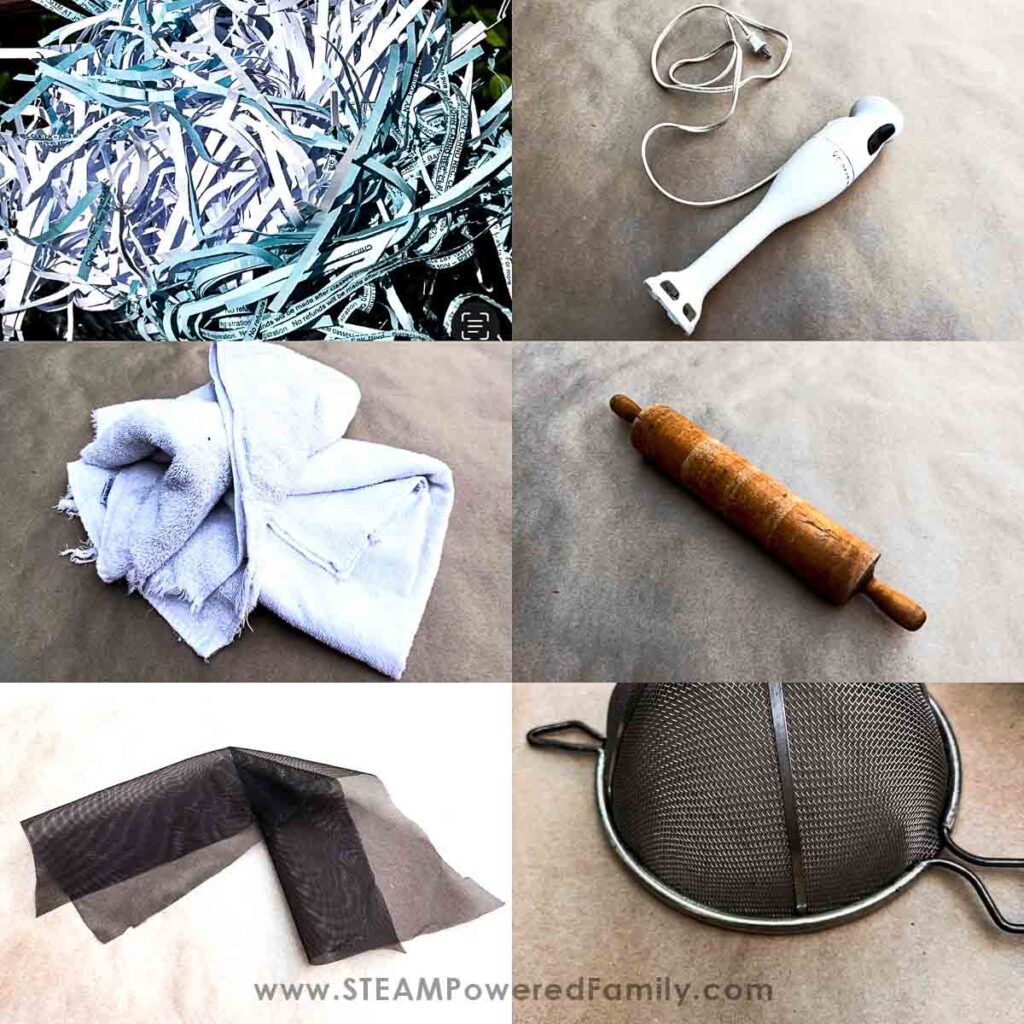
Supplies
Scrap Paper – You will need a lot and any kind will work – we are using misprints from the copy machine at school but you can use any kind of paper that you want! Scrap paper from crafting projects are fantastic for this, and you can use them at the end of the year to make recycled paper.
Large Bowl or Bin – Something big enough to hold your paper and be able to cover it all with water.
Hot Water – It doesn’t need to be super hot it just speeds the process a little.
Immersion Blender or Blender – you need to be able to break down the paper you soak into pulp form. I like the immersion blender because you can move it around, but a blender will absolutely work. Depending on how much paper you are making, you may need to work in batches in a traditional blender.
Screen Material– you can use some screen you have on hand or pick up a roll online or at your local home improvement store.
Old Towels
Rolling Pin
Strainer (optional)
Cookie sheet (optional)
Cookie cutters, glitter, seeds, dye, etc. are optional but great fun for customizing your paper.
Simple DIY Recycled Paper Instructions
While this project is simple and straightforward it will take some time and patience to complete. If you’re working in a school, I highly suggest you do Steps 1 and 2 on a Friday and the rest the following week! This will make the waiting a little more bearable!
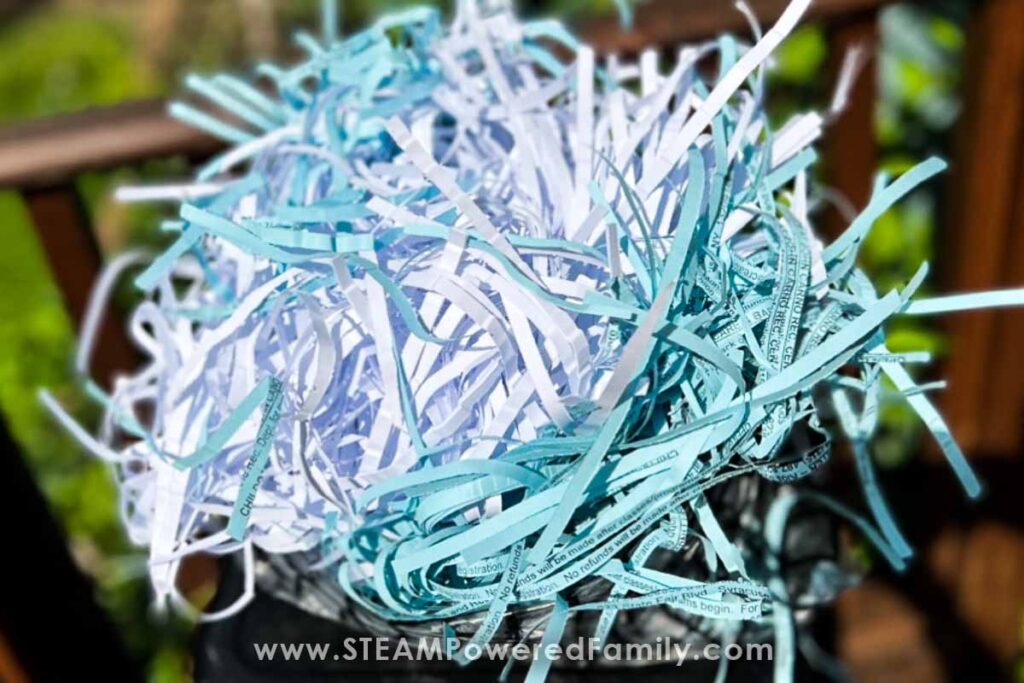
Step 1: Collect and Cut
The first thing you need is a pile of paper – this is a fun way to show the kids that even though we have paper that was misprinted or used – we can make something beautiful by recycling it. I opted to use the office paper shredder for this project but you can just as easily have kids cut or rip the paper into small pieces or strips.
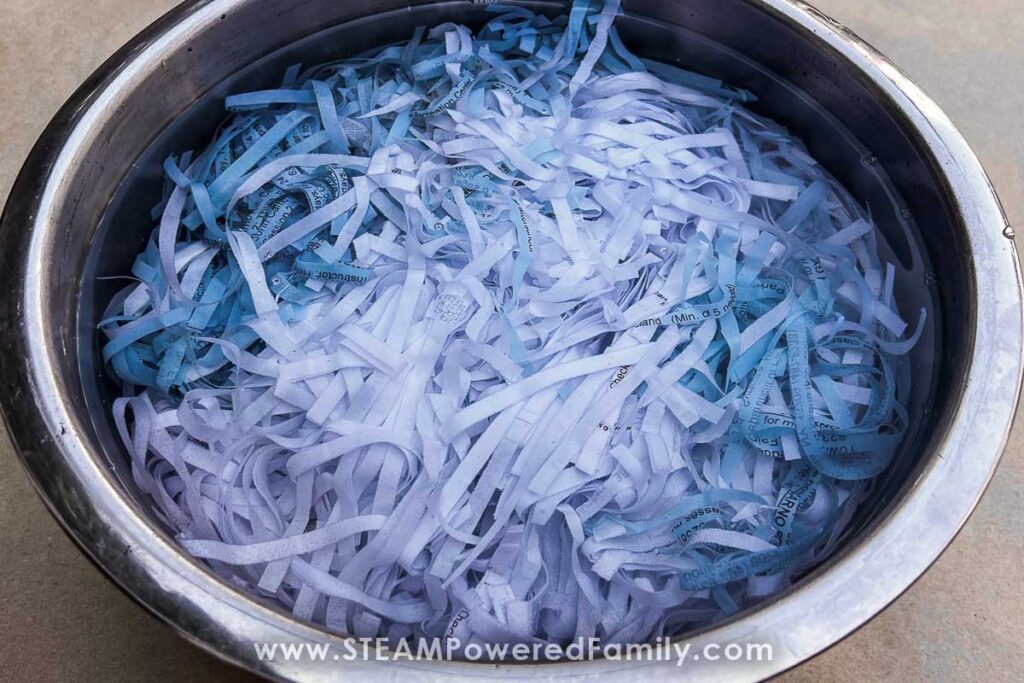
Step 2: Soak, Soak, Soak
Put your paper in a large bowl or bin and cover it with hot water. Let the paper soak at least overnight, if not for a full weekend. The longer the paper is allowed to soak the easier it will be to blend it down into a pulp.
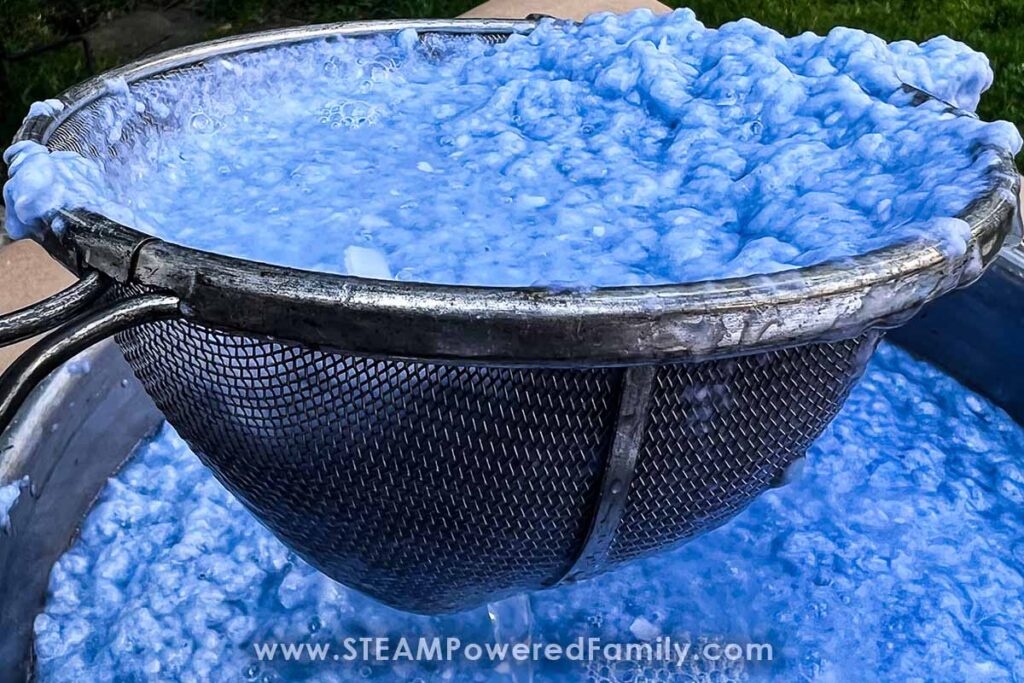
Step 3: Blend it Up
Using your immersion blender, press it into the soaked paper and blend it up until it’s all lumpy and resembles a bowl of oatmeal. It will be super wet and mushy – this is exactly what you want. If you’re working with a traditional blender – I would do about a cup of paper shreds at a time and then dump them into a second bowl. Too much of the paper shreds at a time will clog up the blender. Small batches = better pulp!

Step 4: Prep the Towels and Screen
Layer your old towels into a rectangle so that you can fold them over each other to help absorb the excess water from your paper. Lay your screening material on top of the towels. I am trying to make a rectangular sheet of paper so I chose to lay the screen so that I can put the pulp on one side and flip the screen over the top of it – then the towels over that. You can do it any way that works for your project – if you wanted to do specific shapes you could even cut the screening to fit your needs.
Step 5: Place the Pulp
Spread your paper pulp over the screen, I use a handheld strainer to scoop the pulp out of my bowl so some of the excess water can drain off. Once the pulp is on the screen, spread it out into a thin layer. Make sure that you fill in any spaces so your sheet is nice and even.
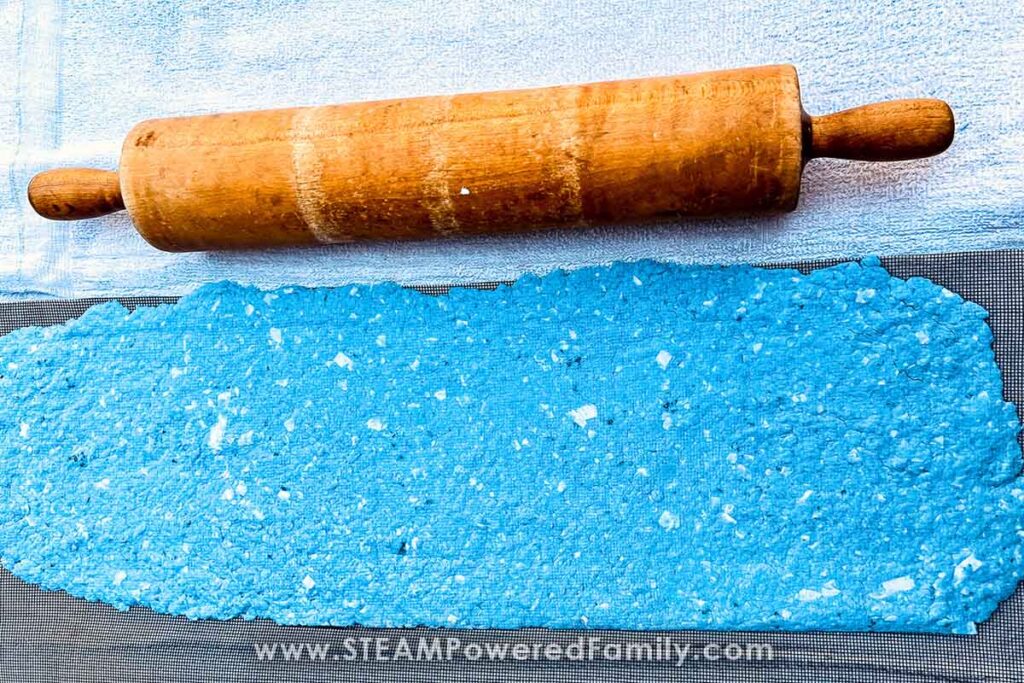
Step 6: Squeeze out the Excess
Fold the remaining screen over the pulp, and fold the towels over that. You should end up with layers – towels, screen, pulp, screen, towels. Once you have everything set, use your rolling pin to roll over the layers forcing the excess water out of the pulp, through the screen, and into the towels. Press hard to be sure that you’re getting out as much water as you can!
Step 7: Uncover and Let it All Dry
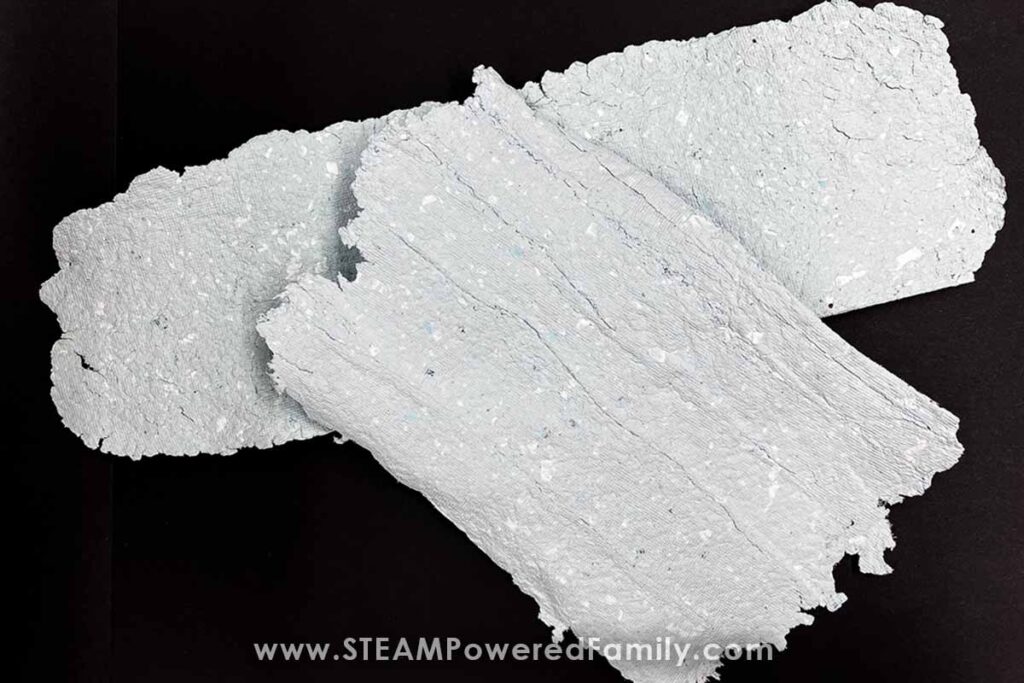
Unfold all of your layers and carefully move the paper on the screen to a safe space to dry completely – this will most likely take all day – maybe overnight. It will really depend on the weather where you are working.
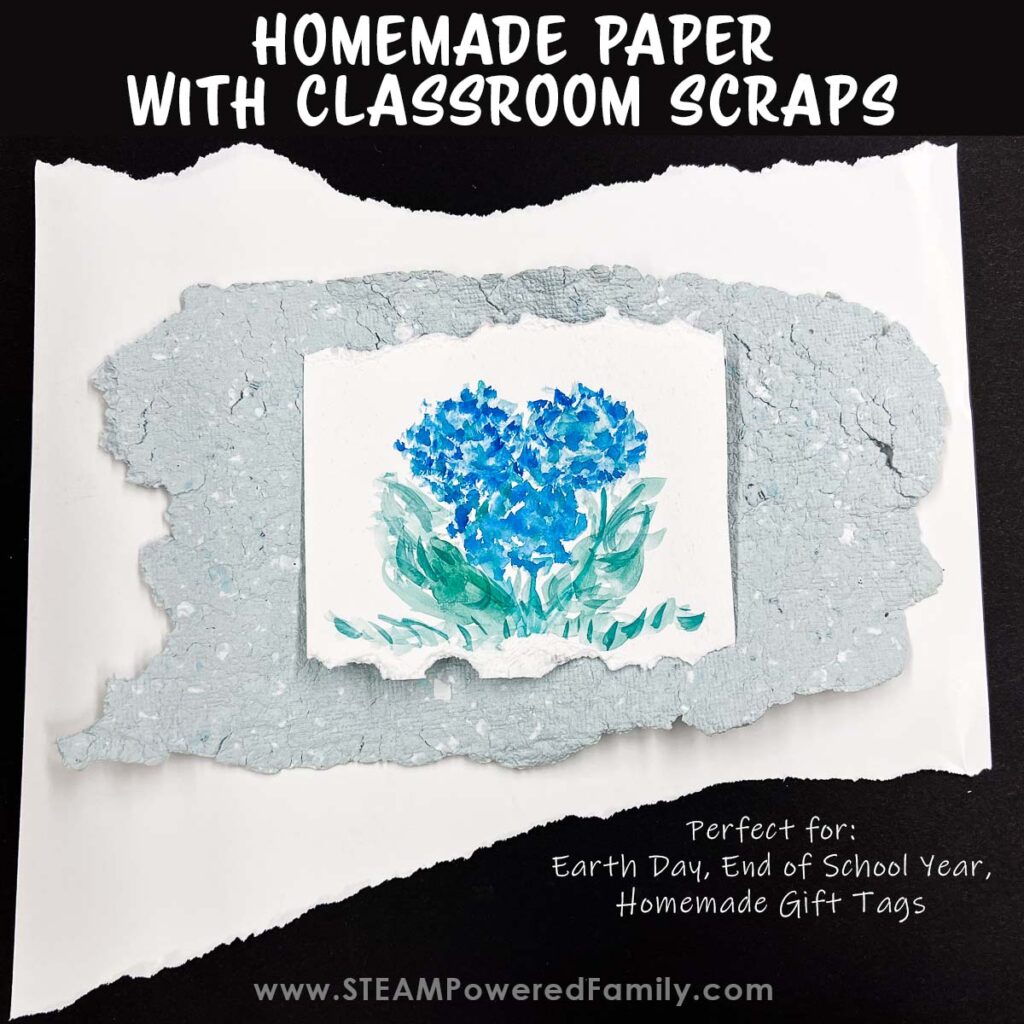
Homemade Paper Project Ideas
Once it is completely dry you can use the paper! I love to use it as a photo mat, gift tags, cards, layered art collages or even backgrounds and sets for an Earth Day stop motion animation! There are lots of great projects your kids can do with their recycled paper.
Customize Your Paper
When you are making paper you can do some really cool things to customize it. You can mix in wildflower seeds and plant your seeds to grow beautiful flowers. Check out our Seed Paper DIY for all the details.
Or add some eco-friendly glitter for a festive touch to your paper.
You can also colour the paper with either veggie dyes or some paint or even food colouring. Simply mix it into the pulp.
Another idea is to shape your paper by placing the pulp into silicone molds or cookie cutters. This is a great way to make unique gift tags.
What other cool ideas do you have for recycled paper?
Making homemade paper with scraps is a fantastic end of school year activity, for the holidays, or as a really cool Earth Day project.
More Innovative Projects for Kids