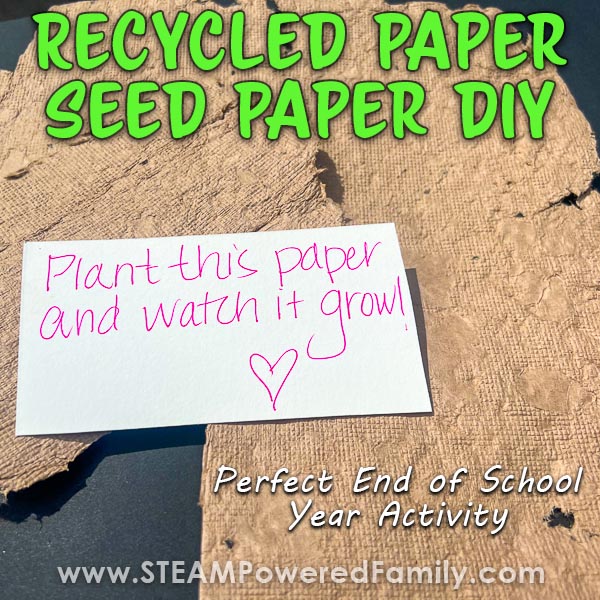
Recycled Seed Paper and Seed Bombs
Learn 4 different ways to use classroom paper scraps to make seed paper and seed bombs as an end of year school project.
Spring has sprung and that means planting season is upon us! Gardening with kids is always a fun project. Letting them see the fruits (or vegetables or flowers) of their labor is such a rewarding endeavor. One of my favorite projects with kids is making seed bombs and seed paper by reusing paper scraps, junk mail, and even brown paper lunch bags. Reusing something we would otherwise throw away is a great lesson in recycling and caring for the earth – perfect for Earth Day or to celebrate the end of the school year!
DIY Seed Paper Project For End of School Year
Disclaimer: This article may contain commission or affiliate links. As an Amazon Influencer I earn from qualifying purchases.
Not seeing our videos? Turn off any adblockers to ensure our video feed can be seen. Or visit our YouTube channel to see if the video has been uploaded there. We are slowly uploading our archives. Thanks!
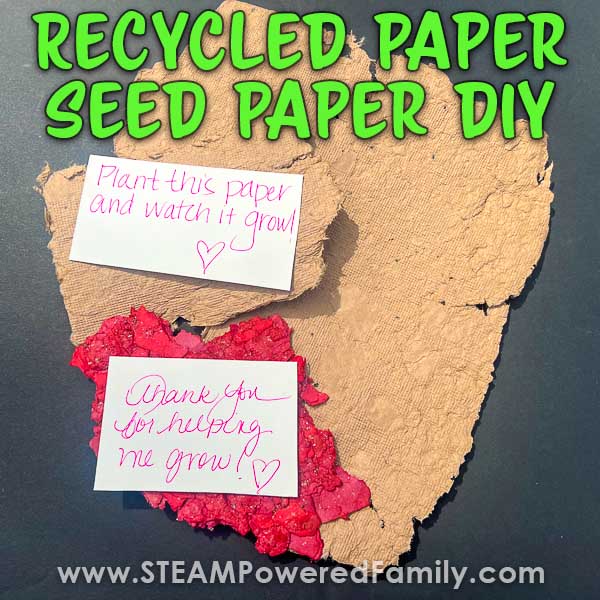
This project is a fantastic end of school year project. Make sure you save all all the construction paper and colored paper scraps from the school year for this special project. You can use this paper waste to create new paper, or these amazing seed paper creations. The resulting plantable seed paper can be used as special gifts the kids can take home and plant so they can watch their beautiful wildflowers grow over the summer.
Making these seed bombs and seed paper is a really easy process. The seed bombs project can be done with students as young as preschool aged, but is also a fun project for teens. The seed paper is a little more involved so that might be a better choice for older kids and teens. You can also use seed paper to make other projects with your older kids, like book marks, cards, etc.
End of School Year Seed Paper and Seed Bombs Project
Supplies
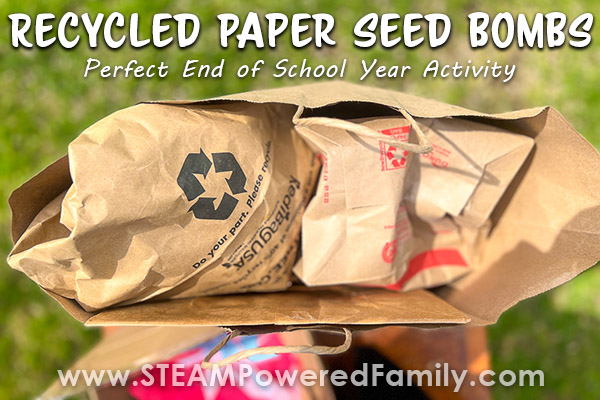
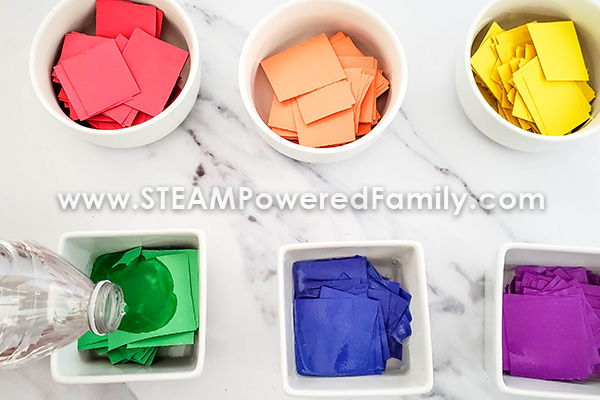
Recycled Paper – construction and crafting paper, paper lunch bags, etc.
Water
Bins or bowls
Blender, an immersion blender, or a food processor
Wildflower Seeds (native to your area) or Herbs/Vegetable Seeds
Fork
Paper Towels
Old dish towels or bath towels that you won’t mind getting stained
Old baking trays
Some mesh screening
Strainer
Coffee Filters – optional
Cookie Cutters – optional
Silicone Molds – optional
Food Coloring – optional if you want to color your paper
Wax Paper
Optional Supplies for Getting Creative:
Pots
Potting Soil
Ribbon
Envelopes
Hole Punch
Directions
Whether you want to make recycled paper seed bombs or seed paper, the initial preparation steps are the same.
Step 1:
Gather your paper. One easy way to ensure you have a ready supply of paper is to keep a paper scraps bin in your classroom or art space. Cut-offs from art projects, a paper that got bent, or even discolored from sitting in the sun are all fair game. Don’t forget to also save paper lunch bags and paper shopping bags, they work too!
Group your paper into similar colored piles.
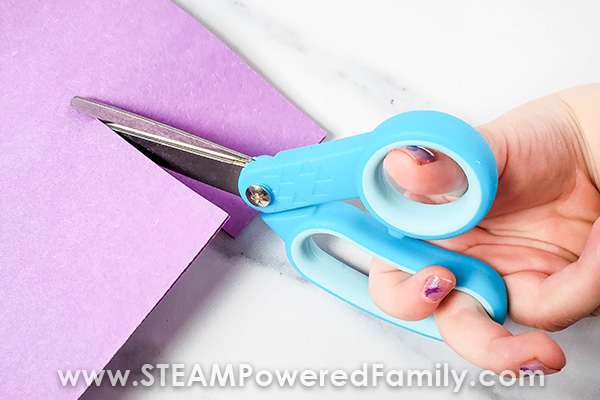
Have the kids tear or cut up all of the paper scraps into tiny pieces. The smaller the paper, the easier it will be to blend up later on.
Put your small pieces of paper into a bin or large bowl and cover it with warm water so that all of the paper is covered with water. You will want to let the paper sit in the bowl of water for at least a few hours, overnight would be even better. If you are working in your classroom maybe plan the tearing part for the end of the day and the making the seed paper or bombs for the following morning.
Step 2:
After the paper has soaked you need to blend it up to break down the paper fibers. Use an old blender, an immersion blender, or a food processor. Keep some of the water with the soaked paper scraps so that the process doesn’t burn out your motor. If you have a lot of paper you will want to work in batches for the same reason. It will take some work to break down this paper. You want to blend it until it turns into pulp, it should be about the consistency of oatmeal.
Step 3:
Once you’ve pulped the paper you need to drain off and press out any excess water from the mixture. Line your strainer with coffee filters so you can gather it up and squeeze out excess or you can put it all in a big spaghetti strainer and press out the excess liquid with a spoon or your palms.
Step 4:
Once you have it good and strained you can transfer the pulp back to the bin.
Step 5:
Mix your seeds into your pulp.
Reminder – it is very important that you choose seeds that are native to your area. You don’t want to inadvertently introduce an invasive species or cause damage to the ecosystem.
Sprinkle a good amount of your seeds over the top of the pulp and use a fork to mix the seeds through the pulp so it is evenly dispersed.
Now it’s time to make your seed paper or bombs!
Seed Paper Steps
To make a sheet of paper, start by covering an old baking sheet with a couple of dishtowels.
Lay a piece of mesh screening over the towels. You will want enough screen that you can cover the top of the paper as well as the bottom.

Pour some of your pulp over the mesh and use your fork to spread an even layer over the screen. Once you’re done spreading it out, fold the rest of the screen over your pulp and begin to press down, and carefully roll the towel, the screen, and the paper pulp to squeeze out even more of the trapped water. Gently squeeze the rolled-up paper to get as much water out as you can. When you’re done, unroll and pull out the wet towels while leaving the paper pulp in between the two layers of screen.
Set it out somewhere safe to dry. You could choose a sunny window, outdoors, or even a spot near a dehumidifier if you’re having some bad weather. Ensure the seed paper dries completely. This process could take a couple of days so plan accordingly!
Once dry you can cut it up into shapes.
Making Seed Bombs Steps – 3 Different Ways
Think about how you could use these bombs to spread the news about earth day, give as a gift, or simply spread some love.
There are three different styles of seed bombs you can make with recycled paper.
Recycled Seed Bomb Style 1 – Free Form
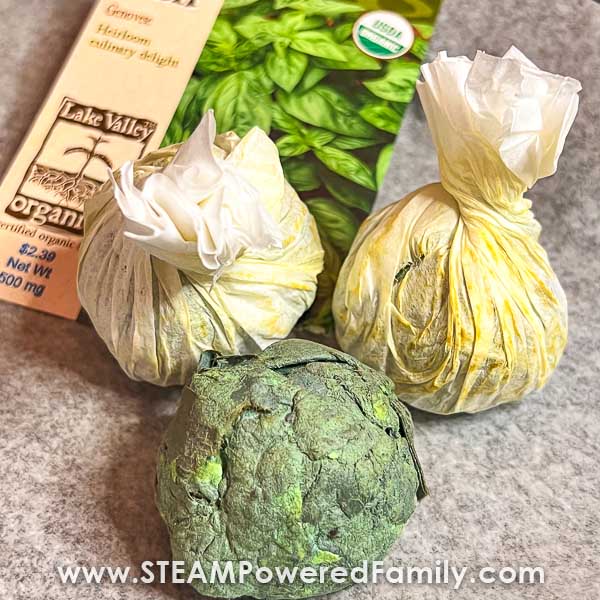
The first approach is perfect for a classroom as it requires little to no additional supplies. You can free form the pulp into balls, squeezing out excess water as you form the bombs. For little hands wrapping your ball in a coffee filter to squeeze and shape can help control the mess! Alternatively, do this outside and embrace the messy fun!
Recycled Seed Bomb Style 2 – Cookie Cutter
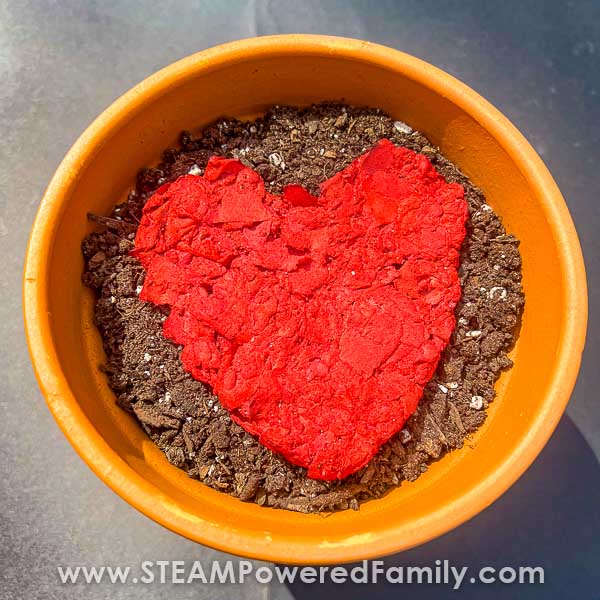
Another idea that is especially fun with little ones is to press the pulp into cookie cutters so that your seed bomb comes out in a shape. I think a heart is a perfect shape for these.
This style is like a cross between a seed bomb and seed paper.
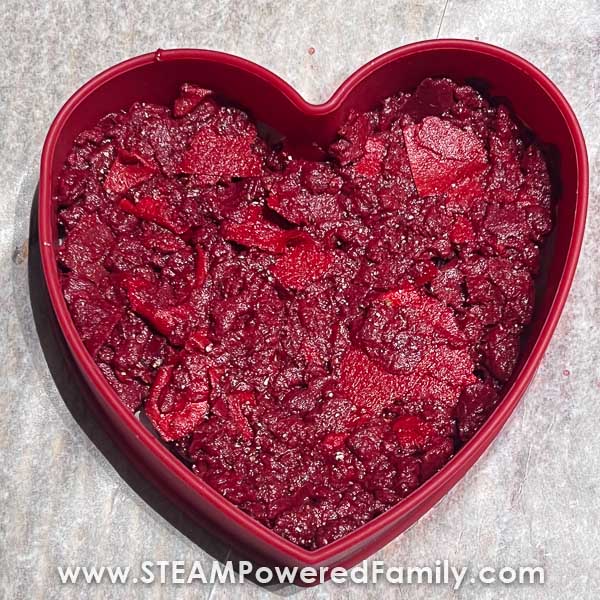
To use a cookie cutter, line a cookie sheet with wax paper and lay your cookie cutter out on the sheet. Scoop some pulp into the center of the cookie cutter and use your fork to distribute it to the sides. You can use a wad of paper towels to flatten the top and soak up any excess water. Remove the cutter, and then repeat this process until you have used all of your pulp. Set these out to dry for about 24 hours.
Recycled Seed Bomb Style 3 – Molds
The final technique is to use silicone molds to make your seed bombs into cool shapes. Once again we used hearts.
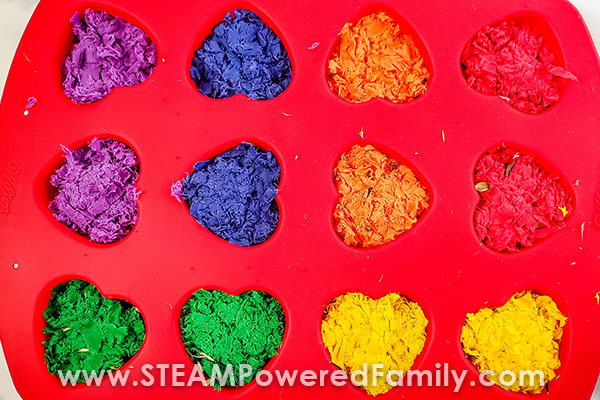
To use silicone molds, pack the molds with the pulp. Set it to dry for 48 hours. Remove from the molds and let it dry for another 24 hours.

An Edible Seed Paper Alternative
Instead of using wildflower seeds, you can also use vegetable seeds or herb seeds. Then encourage your students to plant the seed paper and grow their own vegetables or herbs. Carrots are always a great hit and can easily be grown in a pot.
Using Seed Paper or Seed Bombs
One of my favorite things to do with these bombs is to give them as gifts. I love to set the seed bomb on top of a pot of soil and wrap it up with a little note about what you made. For the seed paper, you could write a little note and attach it to the paper with instructions on how to plant the paper. Maybe add a little poem or quote about the Earth. These would also make adorable gifts for Mother’s Day or Father’s Day or as holiday cards.
However, you choose to use your seed bombs students will enjoy watching them grow and learn a little bit more about nature.
Have fun recycling and turning your year of hard work into something that gives back to nature.
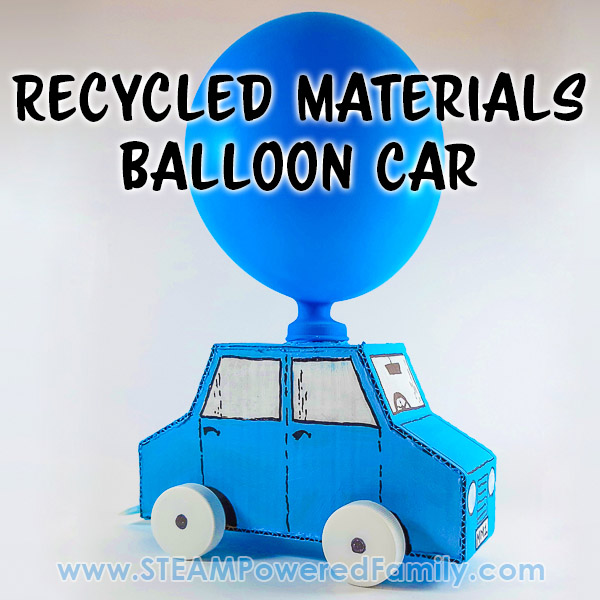
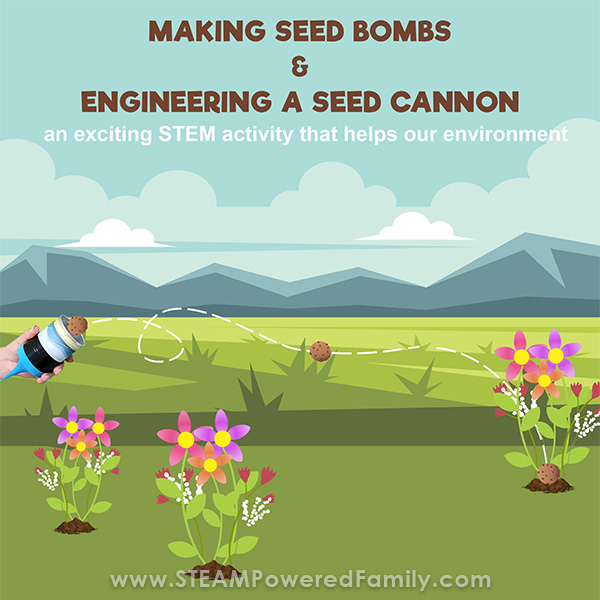
Looking for a STEM addition to this project? Check out our Seed Bombs and Seed Bomb Launcher STEM project!
More Recycled STEM Projects for Kids