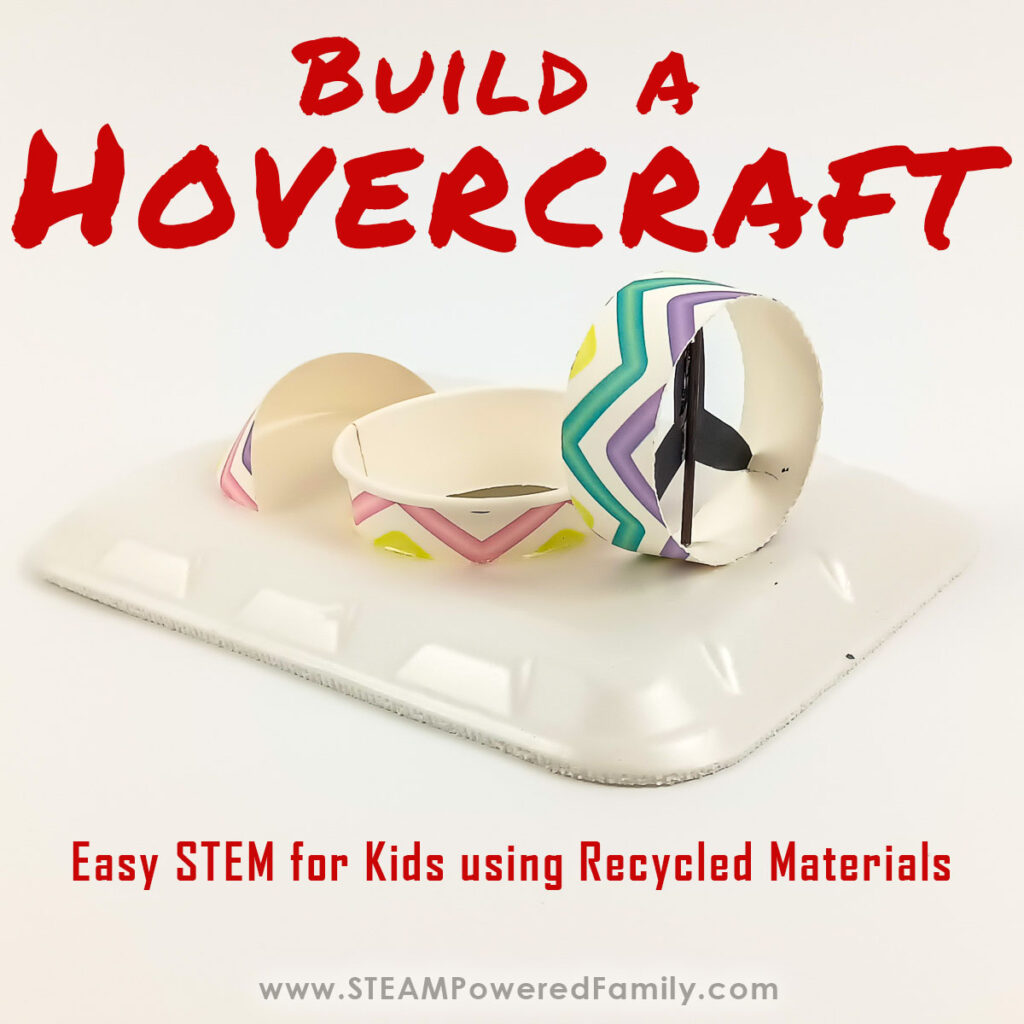
DIY Hovercraft Project
Ready to dive into the world of science and engineering with a project that will shock and amaze your kids? Get ready for the excitement as they watch their homemade hovercraft glide effortlessly across the floor, defying gravity with every move. This STEM activity is part science, part DIY fun, and all about creating those memories that kids will still be talking about years from now. Today, we’re going to show you how to build a fantastic hovercraft using an easy design and recycled materials that will not only educate kids about the principles of air pressure and motion but also provides hours of entertainment. So, roll up your sleeves and get ready to soar into the world of hovercraft building – a STEM adventure that will thrill and educate!
DIY HOVERCRAFT STEM PROJECT
Table of Contents
Disclaimer: This article may contain commission, paid partnerships, or affiliate links. We independently review everything we recommend. When you buy through our links, we may earn a commission from qualifying purchases.
Imagine owning a vehicle that can travel over any surface that is reasonably level, using huge and powerful fans that blow air downward.
A British inventor, Christopher Cockerell, tried with great difficulty to get his design of such a vehicle taken seriously. The Navy called it a plane, not a boat, and the Air Force called it a boat, not a plane.
In 1959, it successfully made it across the English Channel, and then in the 1960s, people finally took notice of this fantastic vehicle called a Hovercraft.
People realized that the hovercraft was an invaluable form of transport that could carry people and heavy objects over water, ice, mud, and land.
How is that possible, you ask? The hovercraft does this by moving along on an air cushion so it doesn’t touch the surface below.
Let’s explore the science of a hovercraft before you build your own in this quick, inexpensive, and fun project.
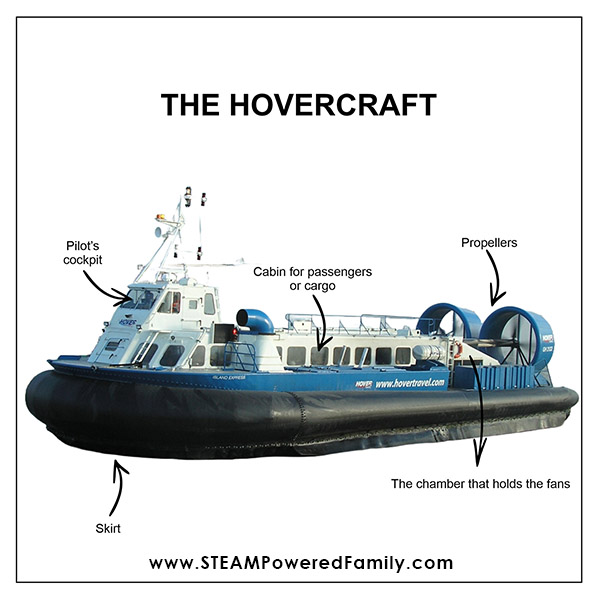
The Science of the Hovercraft
Like an airplane, a hovercraft uses powerful propellers that blow air downward onto fans housed in a chamber at the back of the hovercraft and help move the hovercraft forward, sideways, or even backward.
This air blast from the fans is caught by a “skirt” made of rubber underneath the hovercraft that lifts the craft above the surface thanks to air pressure. The air then escapes through the sides under the lower edges of the skirt.
This clever design reduces friction with whatever surface the craft is hovering over, making it extremely easy to move around.
What is Friction?
Friction is a force that resists motion when two objects are in contact.
Here is an example of friction in a car – a vehicle’s tires are made from rubber, which creates friction with the road surface. When the wheels turn, friction allows the wheels to exert a force on the road, propelling the car forward.
Reducing friction can make it easier to get things moving. In ice hockey, the puck needs to be able to slide across the ice quickly. The ice needs to be smooth for the puck to move smoothly. To help reduce friction, the players sweep the ice in front of the moving puck with their sticks.
When a player hits the puck, it shoots across the rink because the force of the stick is stronger than the force of friction trying to keep the puck in place. So, the forces used in this action become unbalanced, and the puck flies!
This impressive science is all thanks to Isaac Newton’s first law of motion. This law says that: objects will stay still unless unbalanced forces act on them.
Forces are at the heart of everything that happens. A force is a push or a pull. It makes things accelerate, which means that it makes objects change speed or direction. Nothing would ever happen without forces because all things can stay still until they are forced to move!
As you can see now, the science of friction, force, and motion plays a role in many different things in our lives.
Check out this video of a hovercraft in action.
Now that you understand what a hovercraft is and how it operates let’s make it!
Making a Simple Hovercraft
In this project, you will learn how air from a hairdryer creates a force that makes motion by lifting the hovercraft off a surface and allowing it to travel in any direction.
Hovercraft Project Video Tutorial
Watch how we made this quick and easy hovercraft project in our video tutorial. If you can’t see the video, your adblockers or firewall are blocking the feed. You can find this video, with closed captioning on the STEAM Powered Family YouTube Channel.
Materials & Tools
Food tray – approximately 16 x 22cm (8″) polystyrene or cardboard just make sure it has a lip.
Paper cup
Glue-gun
Ruler
Pencil
Box cutter
Exacto knife
Black permanent marker (we love Sharpies!)
Sandpaper
A thin wooden skewer
Polystyrene glue (or regular glue if using cardboard trays)
Hairdryer
Hovercraft DIY Directions
Cut the pieces
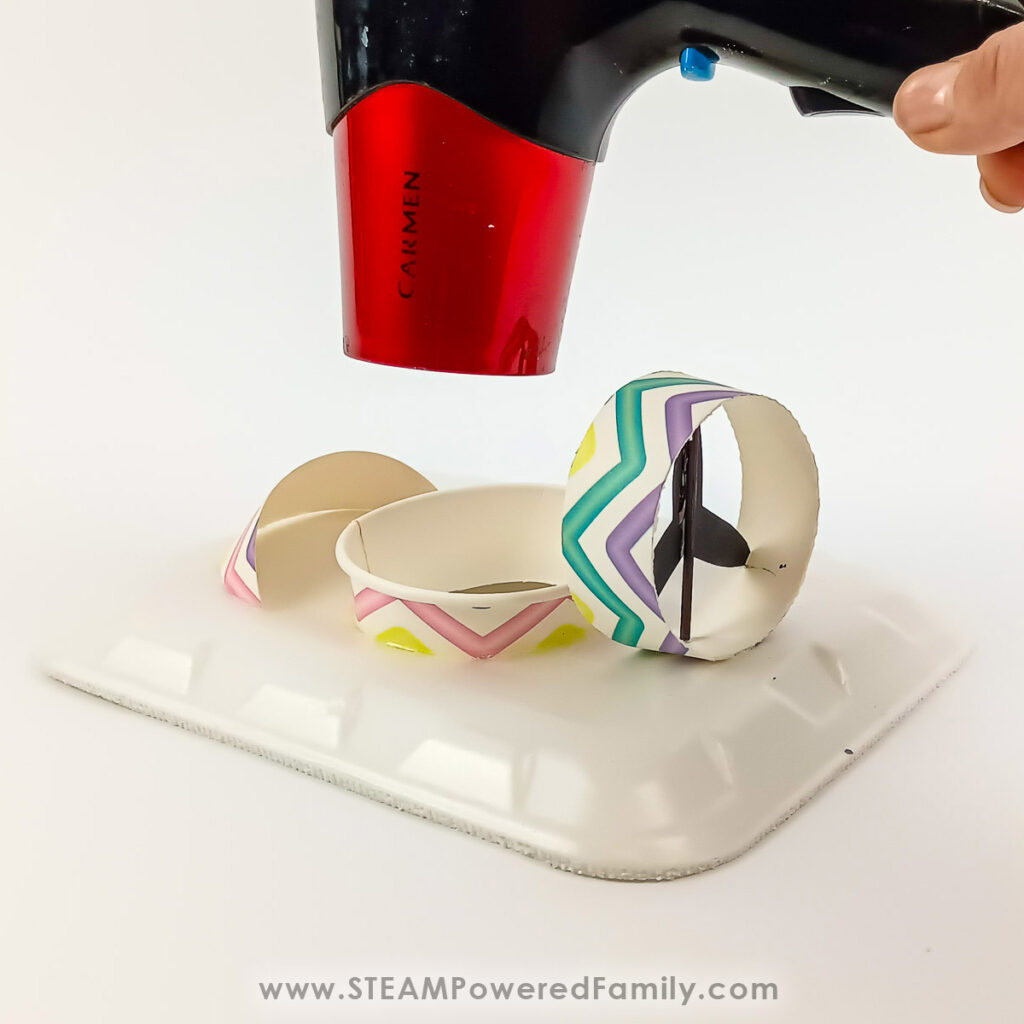
Using a ruler measure 2.5 cm from the top of the paper cup and make a mark with a pencil all the way around. Cut off the top so you have one ring. Then repeat, measuring down 2.5cm from the top again, and cutting another ring.
Next, cut an oblong half circle from the remaining bottom section of the cup. This will become the windshield.
Pro Tip! When cutting the cup, do not push down too hard if using an exacto knife, and do it slowly.
SAFETY NOTE: The Exacto knife is very sharp or remember to keep your fingers away from the blade. An adult should do this step for younger kids, older kids should be closely supervised.
Place the top piece of the cup onto the bottom of the polystyrene tray in the middle and trace around the cup with a pencil.
Cut the circle out with the Exacto knife.
Check that the top of the cup fits snugly into the circle.
Assemble the propeller
NOTE: The propeller is decorative only and will not spin or turn. For older kids, challenge them to create a design where the propeller turns too! For younger kids, if they are struggling with this step, you can skip it.
Cut the wooden skewer to fit exactly across the cup. Start by measuring the diameter of the cup. In our case it was 6.4cm. So we cut our skewer to 6.4cm. You may need to cut yours to a slightly different length to fit your cup.
Lightly sand the ends of the skewer and make it black using a black permanent marker.
Drop the skewer into the middle section of the cup to see if your skewer is the correct length. It needs to touch the sides and not distort the shape.
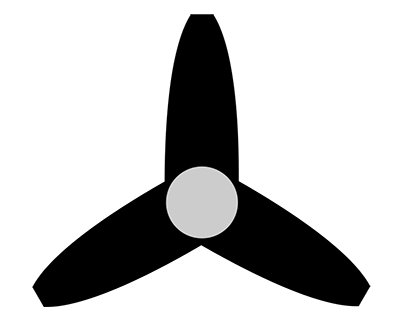
Using some black construction paper cut out a 3 fan propeller shape. It should look something like this:
Using the glue gun, glue the propeller blades onto the skewer.
Place a small ball of glue onto each end of the skewer and drop it into the middle section of the cup.
Glue it together
Using the polystyrene glue, glue the top of the cup into the hole by putting a line of glue around the cup on the top and underside.
Next, glue the windscreen onto the front of the hovercraft and the propeller onto the back. Ensure the glue is completely dry and set.
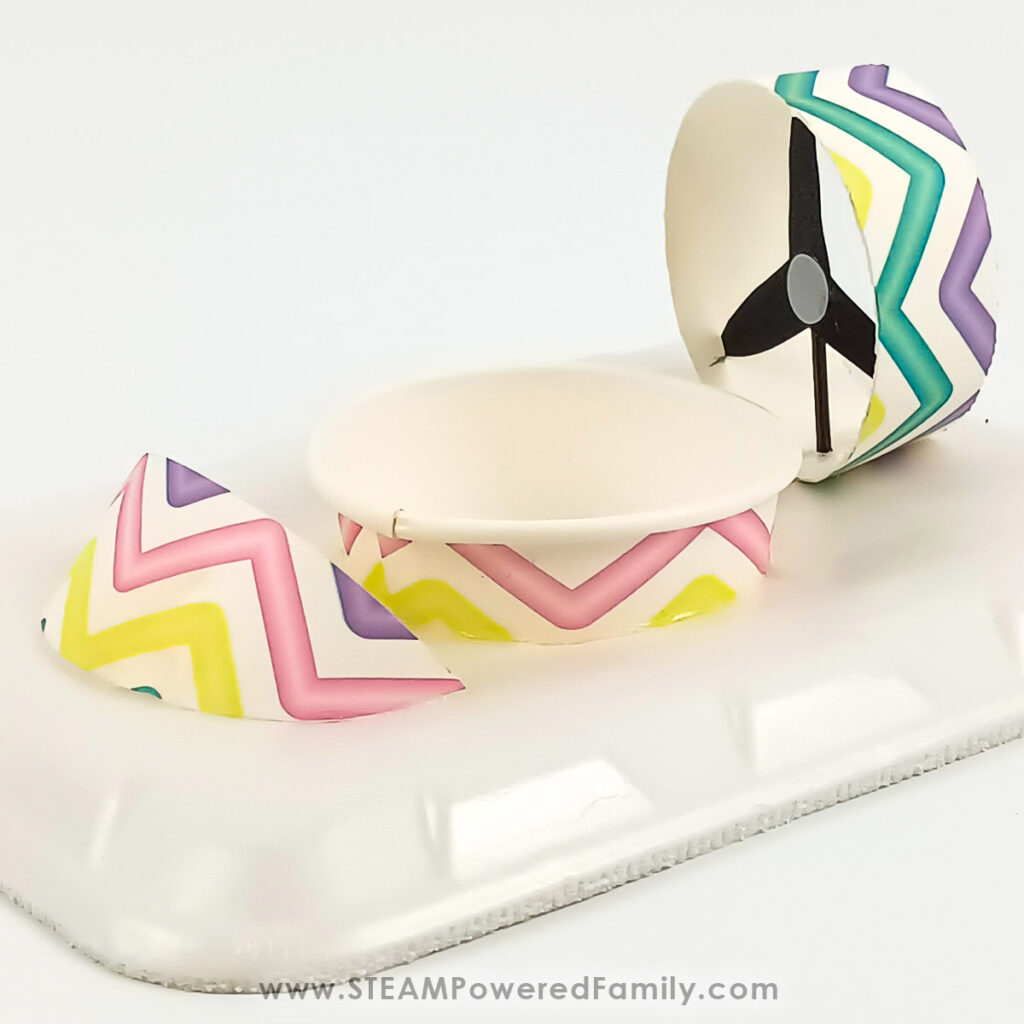
Your hovercraft is ready! You can encourage your kids to color or paint or add stickers to decorate their hovercrafts. Or, add a driver behind the windshield. A small figurine or Lego mini-fig is the perfect size.
Driving the Hovercraft
Time to put your hovercraft to the test!
Plug in your hairdryer and find a hard, smooth surface to test your hovercraft.
PRO TIP! Do not use the hairdryer on the hot setting, as this could melt the polystyrene tray!
You need the correct pressure, distance and angle of the air coming out of the hairdryer to get the hovercraft moving! Play with it until you find the perfect way to propel your hovercraft around.
Remember, practice makes perfect!
SAFETY NOTE: A hairdryer uses electricity, never use a hairdryer around water. Test your hovercraft on solid surfaces only. Want to play on water? Try our Sailboat Building Challenge. Or challenge your students to come up with a hovercraft design that is powered without electricity.
Troubleshooting
You may need to add weight to your hovercraft if it isn’t moving correctly. I tried putting another polystyrene tray underneath the top one. The weight of the extra tray helped get a smoother, longer hover.
You could also try gluing some plastic bottle tops to the underside too.
Extension ideas
Get all your students together and have a hovercraft race! See which designs are fastest and challenge your students to discover why some may be faster than others. You may need a stopwatch for this.
Test different surfaces to see how it affects your hovercraft. Measure the distance that your hovercraft travels on each of the different surfaces. If there is a difference, what could be the cause of this?
What would happen if you used a smaller cup? Or turned the hairdryer onto high?
What other design alterations can your kids make to make their hovercrafts better? What about adding a bigger lip to the tray? Adding more weight? Distributing the weight differently? What about different surfaces? Let your kids experiment and discover!
Check out this Balloon-Powered Car Project that works on a similar principle, using air to get the vehicle moving. Challenge your kids to come up with a hovercraft project that uses air from a balloon to power it.
Have a blast building a hovercraft!