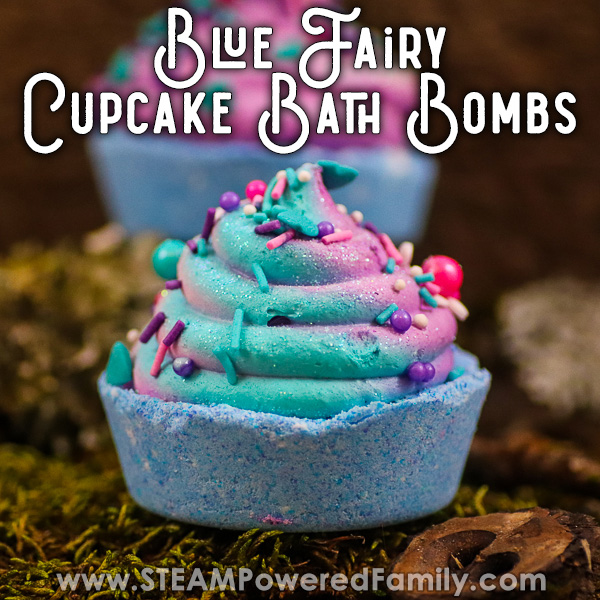
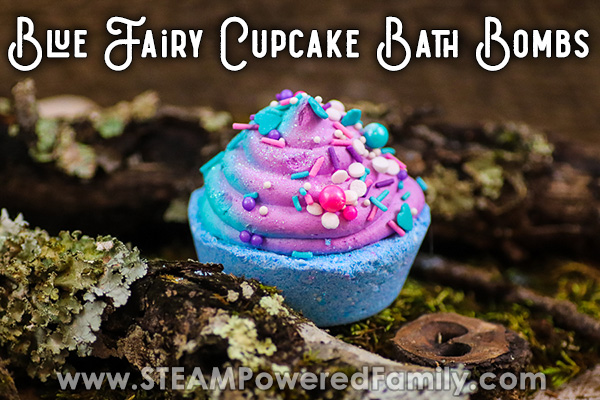
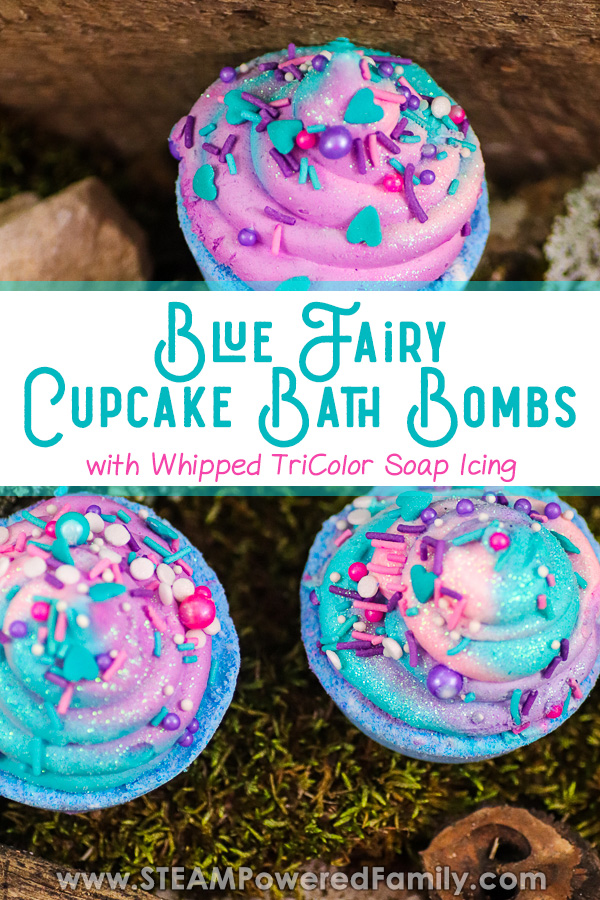
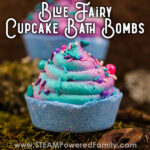
Enchanting Blue Fairy Cupcake Bath Bombs
These blue fairy cupcake bath bombs are simply magical! The best part is that you can make them your self with your kids and work in a fascinating science lesson, along with some life skills. Making your own bath bombs is incredibly satisfying and saves you so much money. Plus, you can gift a little magical fairy bath bomb into the day of someone who needs a little magic. How special is that?
Fairy Cupcake Bath Bomb Recipe and Science Lesson
Table of Contents
Disclaimer: This article may contain commission, paid partnerships, or affiliate links. We independently review everything we recommend. When you buy through our links, we may earn a commission from qualifying purchases.
Have you noticed we love making bath bombs? Especially with kids? Why? Well let me tell you!
I’ve discovered that one of the ways to empower kids and help them take ownership of their learning is by letting them have some say in the process. This means I need to provide ways of learning that are…. wait for it… interesting! For many kids that means getting hands on and active while learning.
I’m sure you’ve heard it before, but one of the best ways for kids to learn is by having fun and playing. By finding projects that ignite kids passions and creativity we can make lessons fun. And when they are having fun, they are learning in ways that will actually stay with them!
These are the lessons they will remember years from now.
Bath bombs offer unlimited creativity. There is a bath bomb idea for almost any passion, interest or fandom. You simply need to think it, and know a bit of the science and process of bath bomb making, to make it happen.
So far we have made Harry Potter inspired bath bombs, Halloween bath bombs, Dragon bath bombs, Christmas bath bombs and so many more!
This week we wanted a little magic. A sprinkling of fairy dust to make our day sparkle with happiness!
That’s how these blue fairy bath bombs came to be. All it took was a little creativity, a bit of passion and a dash of fairy dust magic.
Making Blue Fairy Cupcake Bath Bombs With Whipped Tri-Colour Icing Soap Topping
This is definitely what I would classify as a more advanced bath bomb making project. But once you start making bath bombs, especially with your passionate, highly creative teens I know they are going to embrace this challenge!
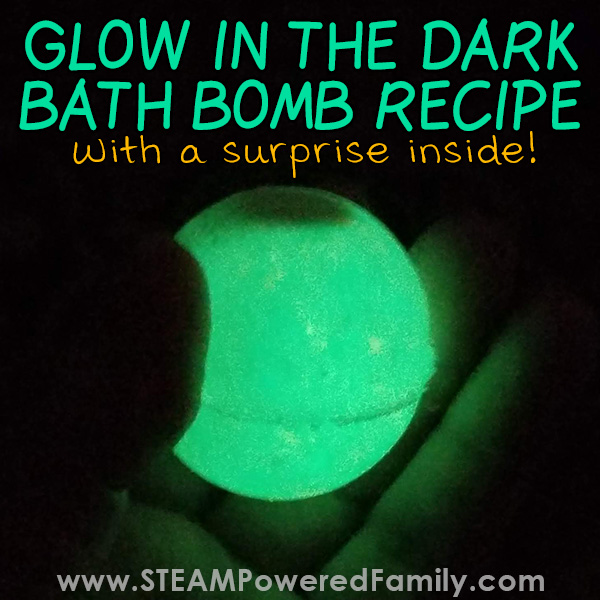
We did a similar bath bomb project when we made our Fiery Dragon Bath Bombs and our Glow in the Dark Cupcake Bath Bombs.
You will make these bath bombs in two stages. The first stage is to make the cupcake bath bomb base. Once this is made and hardened (which takes one or two days), you are ready for stage two. In the second step we make and apply the tri-coloured whipped soap icing and add sprinkles.
One of the things we love about these cupcake bath bombs is that the icing soap is great for cleaning yourself in the tub as it pops off quickly and easily in the water.
Plus they look amazing!
BLUE FAIRY Cupcake BATH BOMB RECIPE
To make 12 regular sized cupcake bath bombs you will need the following ingredients and tools:
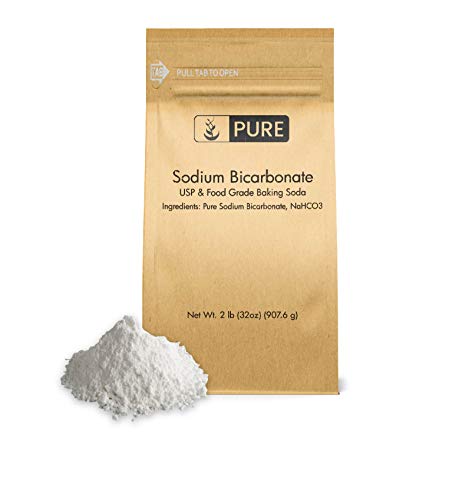
1 1/2 cups baking soda
1 cup citric acid
1/4 cup Coconut Oil Epsom salts
1/2 cup cornstarch
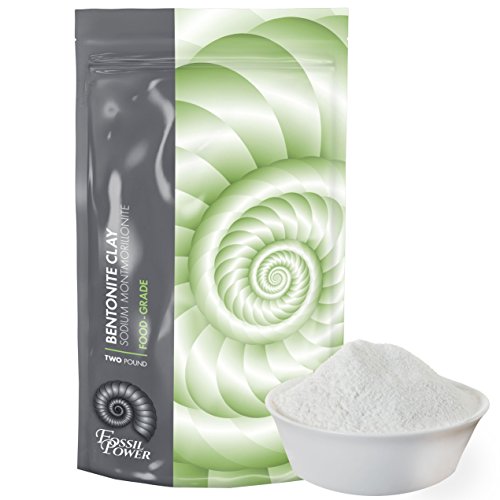
1/4 cup Bentonite Clay
1/4 cup coconut oil
2 teaspoons polysorbate 80
1-2 drops of Ocean Breeze scented oil
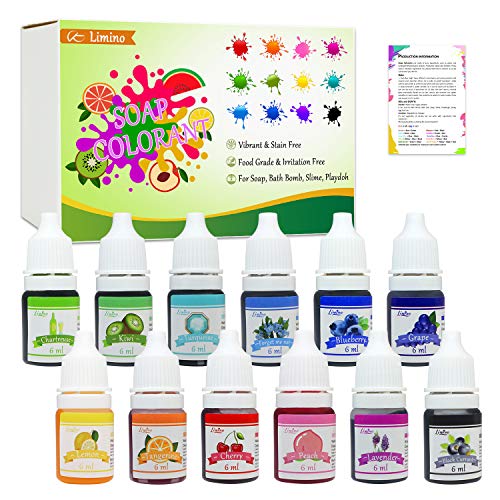
2-3 drops blue soap colorant
Mermaid sprinkles
1 large mixing bowl
1 microwave safe cup or bowl
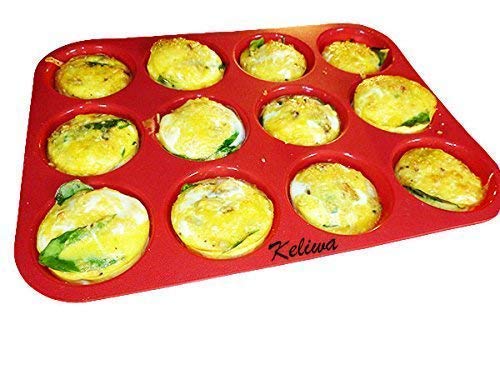
Muffin mold
Microwave
Disposable gloves (optional)


Cupcake Bath Bomb Directions
In a large mixing bowl, add the baking soda, citric acid, Bentonite Clay, Epsom Salts and cornstarch. Mix the dry ingredients together.
In the microwave safe cup melt the coconut oil for a few seconds in the microwave until it is just liquid.
Add the Polysorbate 80, scented oil and blue colorant. Mix together.
Add the wet mixture to the large bowl of dry mix. Mix everything together. You will want to use your hands and may want to use disposable gloves so you don’t color your hands. Make sure you break down all the lumps and it is really well mixed. It will feel like wet sand once it is completely mixed.
If you want a darker color, add 1-2 more drops and mix well. Repeat until you get the color you want.
Using an ice cream scoop or spoon, fill each cavity of the muffin mold. Press down firmly. Add more until the cavity is filled to the top. (Note: in the pictures I used a muffin tin, but I discovered silicone molds work much better).
Set them in a warm, dry place to set up and harden for a minimum of 24 hours. You may need to wait 48 hours depending on your climate. My rule of thumb is that when it is hard to the touch, they are ready. Gently pop each bomb free of the mold once it is hard. You are now ready for icing!
Blue Fairy Tri-Color Whipped Soap Icing Recipe
Now it’s time to whip up some magical soap frosting! You will need the following ingredients and supplies:
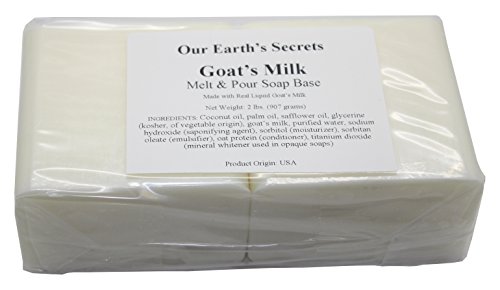
1/4 cup clear or white melt and pour soap base
1 tablespoon glycerin
1 tablespoon corn starch
3/4 cup whipped soap base
2-3 drops each of pink, purple and teal soap colorant
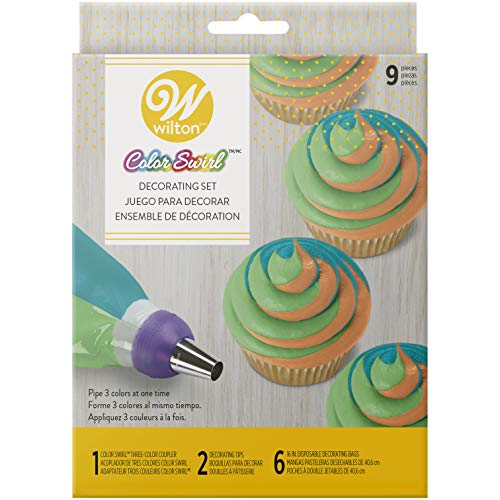
Tri-color frosting kit
1 large mixing bowl
3 small mixing bowls
Mixer (regular or hand will work)


DIRECTIONS TO MAKE WHIPPED TRI-COLOR SOAP BATH BOMB ICING
Add whipped soap base, scented oil and glycerin to mixing bowl. Mix on low speed until fluffy, or about 1 minute.
Melt your soap base in microwave safe bowl in 30-second intervals, stirring after each until melted. Allow to cool for about a minute.
Mix in melted soap base and cornstarch and mix on high speed for 1 minute or until the mixture forms peaks, like when you make a meringue. If your frosting is not stiff enough, add a bit more cornstarch and mix in. Repeat until the mixture is nice and firm.
Divide whipped soap into 3 small mixing bowls and add pink color to one bowl, purple to another and teal to the last bowl. Start with 1-2 drops of color and mix it in. If you want a darker color, add 1-2 more drops and repeat until you get the color you want.
Add one of each color frosting to each of the 3 piping bags. Hold bags together so all sides of the tips meet. Add frosting tip and the coupler.
Holding all three bags tightly in your dominant hand, frost cupcake bombs as you would an edible cupcake. Add a few candy sprinkles for your “fairy dust”. The sugar will easily melt in your warm bath water.
PRO TIP! After 2-3 days, your frosting will harden enough that you can easily remove it from the cupcake and use the soap once you have enjoyed your soak in the tub with your bath bomb!
Make sure you store your bath bombs in an airtight container until ready to use. I recommend using your bath bombs within a few months. After that time you may notice a decrease in the fizziness. But honestly, my kids can never wait that long! Bath bombs are just too much fun!
Bath Bombs SCIENCE Lesson
One of the most fascinating part of making bath bombs is the science! It is a wonderful way to engage even your most reluctant young scientist.
So first up, what happens when you mix oil and water?
I think everyone knows this answer from Kindergarten. The oil floats on the water because it is less dense.
What do you notice about the bath bomb ingredient list? Yup, lots of oil in there.
Now no one wants to have a bath where all the oils and colors float on the top in a layer of colorful scum. Sticking to everything it touches and generally making a big old mess. That’s not fun or relaxing for anyone! So what do we do?
We use an emulsifier known as polysorbate 80. This makes all those oils mix with our bath water turning it a gorgeous fragrant color that we want to relax in!
But what about that Bath Bomb Fizz?
Bath bombs fizz due to an acid-base reaction between the baking soda and citric acid. While in their dry, powdered form they will not react, but the moment you add water… BUBBLY FUN!
That’s why I say it is so important to make and set your bath bombs somewhere warm and dry. Any water exposure, even from humidity in the air, will start triggering a reaction.
There is much more cool science behind bath bombs, but those are a couple of the most interesting parts at play.
I hope you have a magical time making fairy bath bombs!
MORE BATH BOMBS FOR KIDS

Blue Fairy Bath Bomb Recipe
A magical blue cupcake bath bomb making project
Supplies
Cupcake Bath Bomb Ingredients
- 1.5 cups baking soda
- 1 cup citric acid
- 0.25 cup coconut oil epsom salts
- 0.5 cup cornstarch
- 0.25 cup Bentonite Clay
- 0.25 cup coconut oil
- 2 tsp polysorbate 80
- 1-2 drops Ocean Breeze fragrance oil
- 2-3 drops blue soap colorant
- Mermaid Sprinkles
Whipped Tricolor Soap Icing
- 1/4 cup melt and pour soap base
- 1 tbsp glycerin
- 1 tbsp cornstarch
- 3/4 cup whipped soap base
- 2-3 drops each of pink, purple and teal soap colorant
Instructions
Making the cupcake bath bombs
-
In a large mixing bowl, add the baking soda, citric acid, Bentonite Clay, Epsom Salts and cornstarch. Mix the dry ingredients together.
-
In the microwave safe cup melt the coconut oil for a few seconds in the microwave until it is just liquid. Add the Polysorbate 80, scented oil and blue colorant. Mix together.
-
Add the wet mixture to the large bowl of dry mix. Mix everything together. You will want to use your hands and may want to use disposable gloves so you don't color your hands. Make sure you break down all the lumps and it is really well mixed. It will feel like wet sand once it is completely mixed.
-
Fill each cavity of the muffin mold. Press down firmly.
-
Let set for 24 to 48 hours.
Whipped Tricolor Soap Icing
-
Add whipped soap base, scented oil and glycerin to mixing bowl. Mix on low speed until fluffy, or about 1 minute.
-
Melt your soap base in microwave safe bowl in 30-second intervals, stirring after each until melted. Allow to cool for about a minute.
-
Mix in melted soap base and cornstarch and mix on high speed for 1 minute or until the mixture forms peaks, like when you make a meringue. If your frosting is not stiff enough, add a bit more cornstarch and mix in. Repeat until the mixture is nice and firm.
-
Divide whipped soap into 3 small mixing bowls and add pink color to one bowl, purple to another and teal to the last bowl. Start with 1-2 drops of color and mix it in. If you want a darker color, add 1-2 more drops and repeat until you get the color you want.
-
Add one of each color frosting to each of the 3 piping bags. Hold bags together so all sides of the tips meet. Add frosting tip and the coupler.
-
Holding all three bags tightly, frost cupcake bombs as you would an edible cupcake. Add a few candy sprinkles for your "fairy dust".