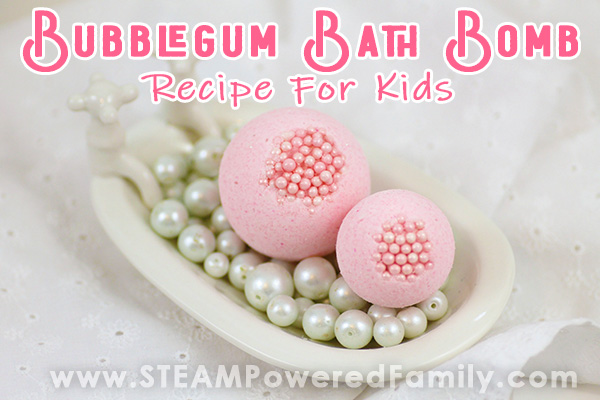
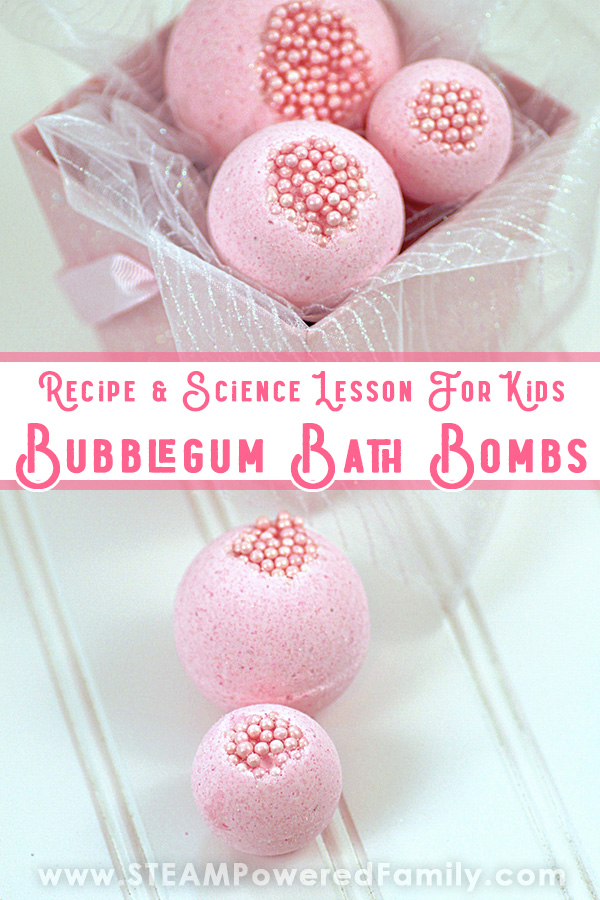
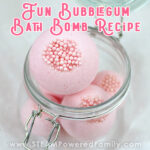
Bubble Gum Bath Bombs Recipe
Growing up I loved Bubble Gum. I remember having so many bubble blowing contests with my friends. I still smile when I see my own boys having bubble blowing contests, although now, as the parent, I see how messy and spittle filled those contests could be! With our latest bath bomb making project, I wanted to embrace that childhood passion. So this week we are making Bubble Gum Bath Bombs for Kids! And as always, science is always included.
Bath Bombs For Kids – BubbleGum Recipe
Table of Contents

Disclaimer: This article may contain commission, paid partnerships, or affiliate links. We independently review everything we recommend. When you buy through our links, we may earn a commission from qualifying purchases.
Why Make Bath Bombs With Kids?
If you take a look around, you will notice we make a lot of bath bombs around here. You might be wondering why we do this and if it is something you should try with your kids. There are a few reasons I make bath bombs with the kids.
Cost Savings
A big reason to make bath bombs is that it will save you a whole lot of money if you have bath bomb loving kids. Around here, bath bombs sell for $5 to over $10 each! My son loves using bath bombs, so making them for less than a dollar each is much more budget friendly.
Hands On Practice Science Lessons
Making bath bombs involves some fascinating science. Not only is there the chemical reactions and emulsifiers, but by making so many bath bombs we can experiment with the recipe and use the scientific method to see how altering ingredients or ratios changes the outcomes. It is some of the best, real life, science application you can do with kids. And it can be done easily, in small increments over time. Plus you will be amazed how what they learn making bath bombs, can help in other areas, like when we created our own recipe for Moon Dough. Our previous experiments and discoveries played a huge role in our ideas behind that recipe.
Creativity with Zero Waste
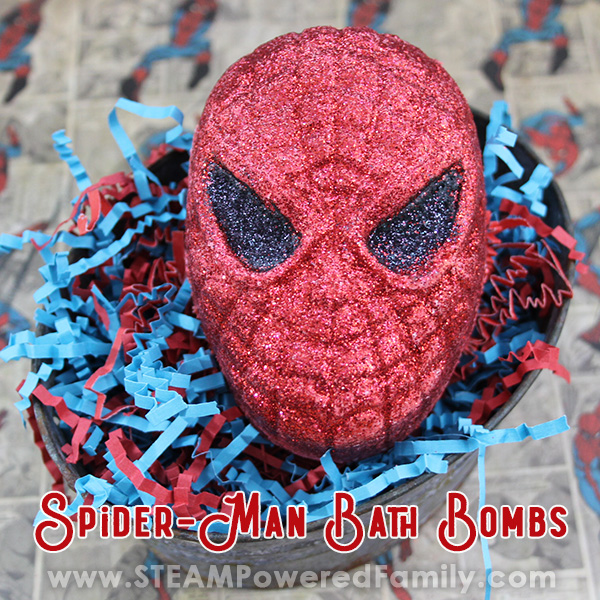
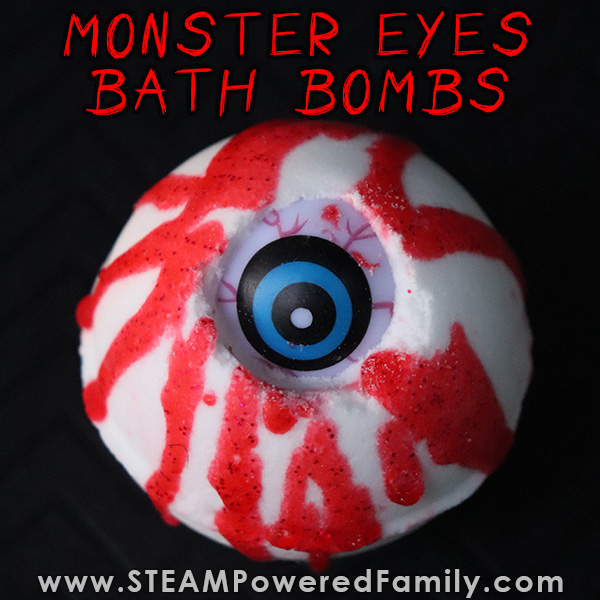
Just take a few moments to check out all the bath bombs we have made on this site. There is an incredibly diverse collection of ideas that show an immense amount of creativity. Here are just a few: winged snitch bath bombs from Harry Potter, Glow in the Dark bath bombs with surprises inside, Dinosaur Egg Bath Bombs that release a baby dino, Black Hole Bath Bombs, Grinch Heart Bath Bombs and even Monster Eyes Bath Bombs.
I know we can creative in other ways, but environmental impact is something that weighs on me with our projects. So I love that these creations will be used and consumed, not added to the landfill or the clutter in our home.
Fun Kid Made Gifts
Once your kids master making bath bombs, they make fantastic gifts that everyone loves getting! Use them as party favours, teacher gifts, stocking stuffers, or just because you are awesome gifts!
Connections
Connecting with your kid, talking and being with them is so important. This can be accomplished in many ways, but we really enjoy connecting while making a batch of bath bombs. Talking about not only the science but also things that are on their minds, their thoughts, ideas, passions, and dreams. It all becomes so much easier to talk about when your hands are busy, working together.
So what are you waiting for? Why no try making bath bombs with your kids? This Bubble Gum Bath Bombs Recipe is the perfect place to start.
Bubble Gum Bath Bombs Ingredients & Supplies
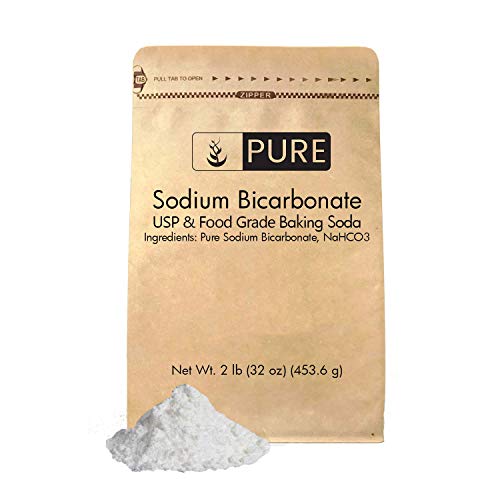
2 cups baking soda
1 cup citric acid
1/4 cup cornstarch
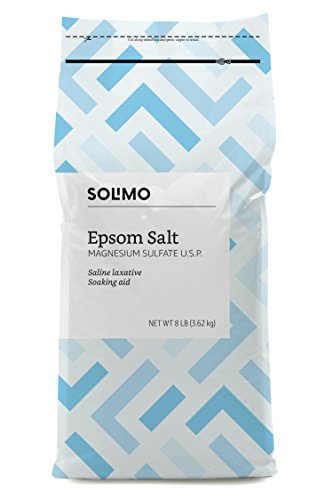
2 tablespoons Epsom salts
1/3 cup coconut oil
1 teaspoon polysorbate 80
1 teaspoons bubblegum scented oil
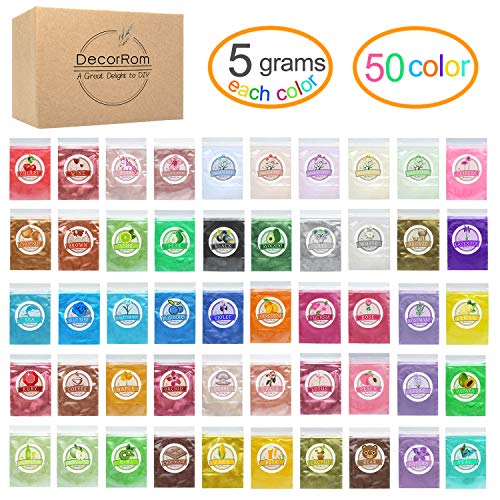
1-2 tablespoons of pink mica colorant
1 teaspoons of pink cosmetic biodegradable glitter*
Edible pink sugar pearls
Stainless steel bath bomb molds
1 large mixing bowl
1 microwave safe bowl or cup
Microwave
Mixing spoons
Measuring cups and spoons


*A NOTE ON GLITTER – Glitter has become very controversial due to the negative impacts on the environment, but I know many of you still love a little sparkle in your projects! When it comes to glitter, I believe it is always optional. None of my projects require it. But if you decide you do want a little sparkle and shine in your creations, I highly recommend using a biodegradeable glitter. There are lots of fantastic options available.
How To Make Bubble Gum Bath Bombs – Step by Step Directions
In a large mixing bowl, add the baking soda, citric acid, Epsom salts and cornstarch. Mix dry ingredients together. Use caution when mixing and pouring citric acid. It likes to become airborne and can be a bit irritating. I always recommend making bath bombs in a well ventilated area. And I usually pour and mix the citric acid in. My kids often get too enthusiastic and I find once it is airborne it irritates my nose and eyes. If you are gentle, it won’t become airborne and you won’t have any issues at all.
In a microwave safe cup melt the coconut oil in the microwave until it is liquid.
Add the polysorbate 80 and bubblegum scented oil to the coconut oil and mix well.
Pour the liquids into the dry mix. Using your hands, start mixing it all together. You may want to use disposable gloves. It is up to you.
Make sure all the lumps are broken down and everything is mixed together really well. The mixture is perfect when it holds together when you press it into your hands and feels like wet sand.
Mix in 1 tablespoon of the pink powdered mica colorant and pink glitter. Mix well. If the colour is not dark enough, add another tablespoon of mica until your desired colour is reached.
Now it’s time to pack the molds!
Sprinkle a bit of the pink pearls into one side of the bath bomb molds. Add the bath bomb mixture on top until the mixture is heaped up. Fill the other side with the bath bombs mixture until it is also loosely heaped. Press the two halves of the molds together and grind gently to remove any excess mixture. Gently tap each side of the mold to release the bombs.
Allow the bath bombs to dry for at least 24 hours in a warm, dry area.
Pro tip! Place your newly formed bath bombs in a mini-muffin tray, so it is easy to carry them around without them rolling and dropping. You can leave them to cure and set in the tray too!
Storing and using homemade bath bombs
Once the bath bombs are cured and hard, place them in an airtight container until you are ready to use them.
When you are ready to use them, run a warm bath and add the bath bomb to the tub to enjoy the bubbly reaction.
Bath bombs should be used within 2 to 3 months. The older the bath bomb, the less fizzy reaction you will get. Eventually, if the bath bomb is old enough or not stored properly, you will not get any reaction. In our house, our bath bombs never last more than 2 weeks, and we always have lots of fizzy fun!
The Science of Bath Bombs
Earlier we talked about how bath bombs are a great way to learn science in a hands on way. Here is a bit of the science behind bath bombs.
The bath bomb fizz is caused by an acid-base reaction. In this recipe this is the Citric Acid and Sodium Bicarbonate reacting with each other. While those ingredients are dry they will not react, they need water to trigger the reaction.
You can learn more about the science behind water temperature and the chemical reaction in bath bombs in our Bath Bomb Science Fair project here.
There are other ingredients you can use to create this acid-base reaction, like buttermilk and cream of tartar. We’ve tried them all, and find the best fizz comes from citric acid.
Finally, we also have the amazing polysorbate 80. Oil and water do not mix, unless you use an emulsifier. Polysorbate 80 is an emulsifier that makes the coconut oil, scents and colours mix into the water, rather than floating on the top of the water like a layer of scum, sticking to the bather and tub. No one wants that in their bath! So don’t forget the emulsifier!
You can see a great demonstration of the powers of polysorbate 80 in our Moon Dough making video. View it here.
Happy Bath Bomb Making!
More Bath Bomb Ideas

Bubble Gum Bath Bombs
A fun bath bomb recipe for kids
Supplies
- 2 cups sodium bicarbonate aka baking soda
- 1 cup citric acid
- 1/4 cup cornstarch
- 2 tbsp Epsom salts
- 1/3 cup coconut oil
- 1 tsp polysorbate 80
- 1 tsp bubble gum scented oil
- 1-2 tbsp pink mica powder
- 1 tsp biodegradeable cosmetic glitter
- 1 tbsp edible pink sugar pearls
Instructions
-
In a large mixing bowl, add the baking soda, citric acid, Epsom salts and cornstarch. Mix dry ingredients together.
-
In a microwave safe cup melt the coconut oil in the microwave until it is liquid.
-
Add the polysorbate 80 and bubblegum scented oil to the coconut oil and mix well.
-
Pour the liquids into the dry mix. Using your hands, start mixing it all together. You may want to use disposable gloves. It is up to you.
-
Make sure all the lumps are broken down and everything is mixed together really well. The mixture is perfect when it holds together when you press it into your hands and feels like wet sand.
-
Mix in 1 tablespoon of the pink powdered mica colorant and pink glitter. Mix well.
-
Sprinkle a bit of the pink pearls into one side of the bath bomb molds. Add the bath bomb mixture on top until the mixture is heaped up. Fill the other side with the bath bombs mixture until it is also loosely heaped. Press the two halves of the molds together and grind gently to remove any excess mixture. Gently tap each side of the mold to release the bombs.
-
Allow the bath bombs to dry for at least 24 hours in a warm, dry area.