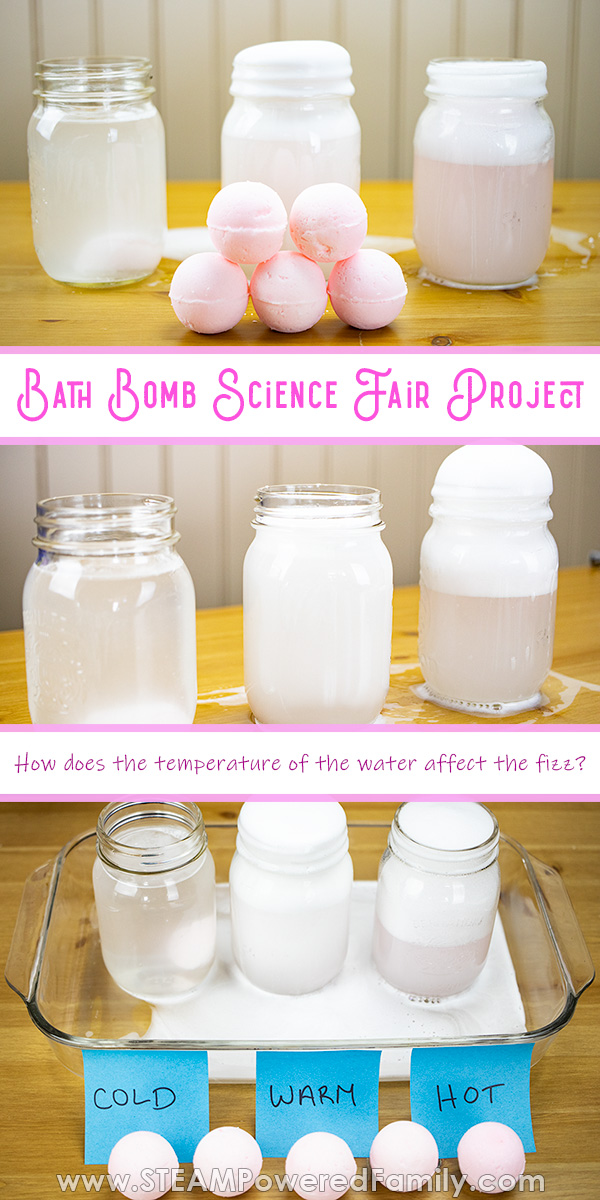
Fascinating Bath Bomb Science Fair Project
You know we love a good bath bomb project around here. It’s a fantastic way to explore science, and specifically chemistry, in a hands on, real life way. Kids love making bath bombs, and most of all erupting bath bombs! That fizz is irresistible. But recently we were working on some bath bombs and an interesting question came up. A question that was perfect for a Bath Bomb Science Fair Project!
BATH BOMB SCIENCE LAB
Disclaimer: This article may contain commission or affiliate links. As an Amazon Influencer I earn from qualifying purchases.
Not seeing our videos? Turn off any adblockers to ensure our video feed can be seen. Or visit our YouTube channel to see if the video has been uploaded there. We are slowly uploading our archives. Thanks!
If you have spent any time at all here on STEAM Powered Family you know we love child led inquiry. When a child has a great question, my inclination is always to listen, consider, and then work with them to find the solution. Science in particular is a fascinating field for kids and the questions lead to some amazing things!
Recently we were making some cauldron bath bombs. I had my kids helping me get some pictures and when they went to pour some water from the tap on the bath bombs…. nothing happened. A few little bubbles escaped through the water, but essentially they just sat there doing nothing.
At first we thought we had forgotten something important in our bath bomb recipe, but then we had an idea, what if the water wasn’t warm enough?
Sure enough, we used hot water the second time around and those bath bomb cauldrons fizzed like crazy!
We looked at each other, our eyes glimmering with excitement. We knew we had just uncovered something really cool.
My kid marched out of the room, hand in the air announcing, “Science time!”
Bath Bomb Science Fair Video
Check out the video we took of our experiment. The results are so fun!
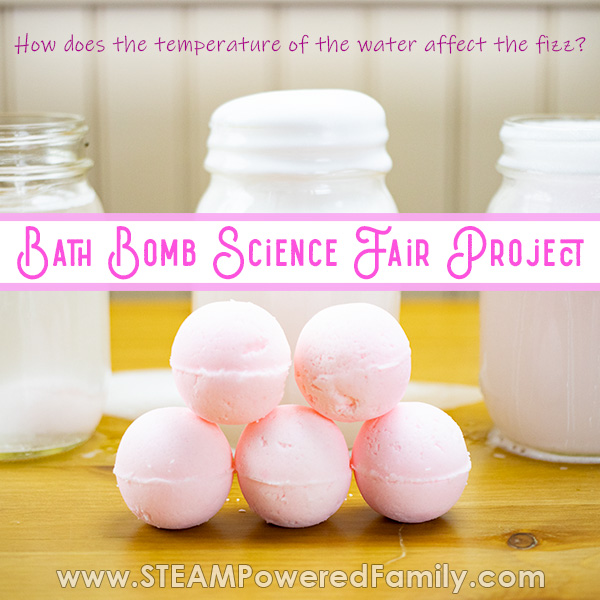
Bath Bomb Science Fair Project
Bath Bomb science time didn’t happen that day, but we did start discussing how we should do our investigation. We used the scientific method and decided to set it up just like a Science Fair project.
Topic Question
We obviously had our topic and our question came easily: How does water temperature affect the fizz and eruption of bath bombs?
Research
We did a bit of research, but from our previous heat transfer projects we had an idea about how temperature might be impacting the eruptions. Plus of course we had already done a little preliminary testing!
Hypothesis
Our hypothesis was that temperature would have a dramatic impact in how quickly a bath bomb fizzed. We felt the best way to measure this would be to time the bath bombs to see how long they would take to completely finish erupting.
Bath Bomb Science Experiment
For our experiment we started by making bath bombs. We made a large batch of small bath bombs, so we could weight the final products once they set up, and make sure we picked ones that were very close in size.
Get some great bath bomb recipes for kids here.
You could definitely use store bought bath bombs for this project, simply make sure you buy the same types to ensure your constant.
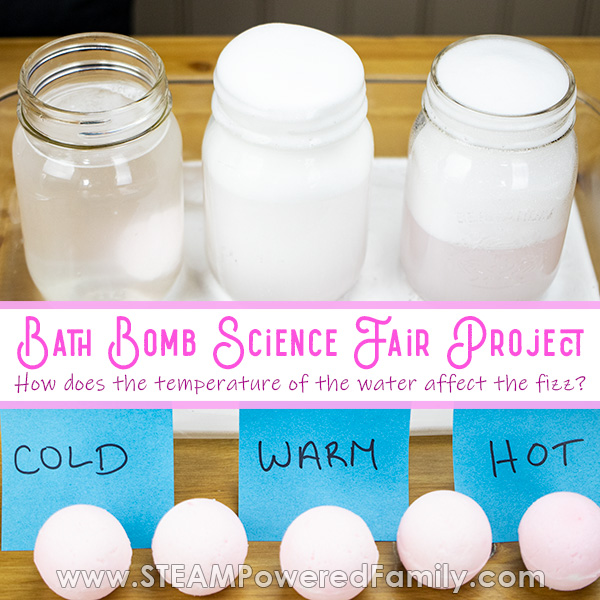
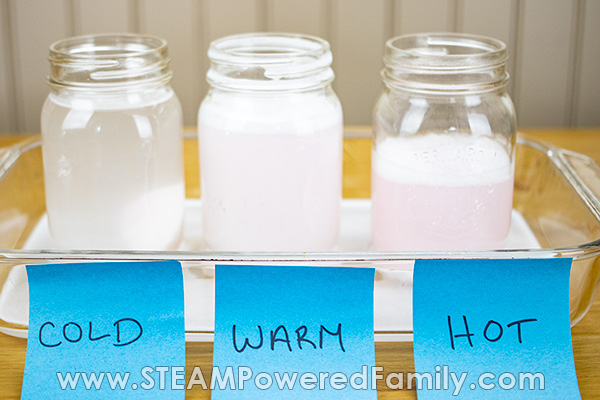
Once we had our bath bombs, we filled three mason jars with water. One was cold from the fridge, one was warm from the tap (approximately what we estimated bath water would be), and the other was fairly freshly boiled from the kettle.
Using a digital thermometer we took the temperature of each jar of water.
Then on the count of three we dropped one bath bomb into each mason jar at the same time.
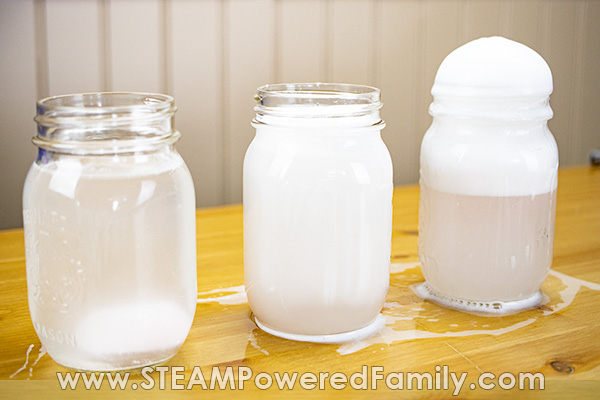
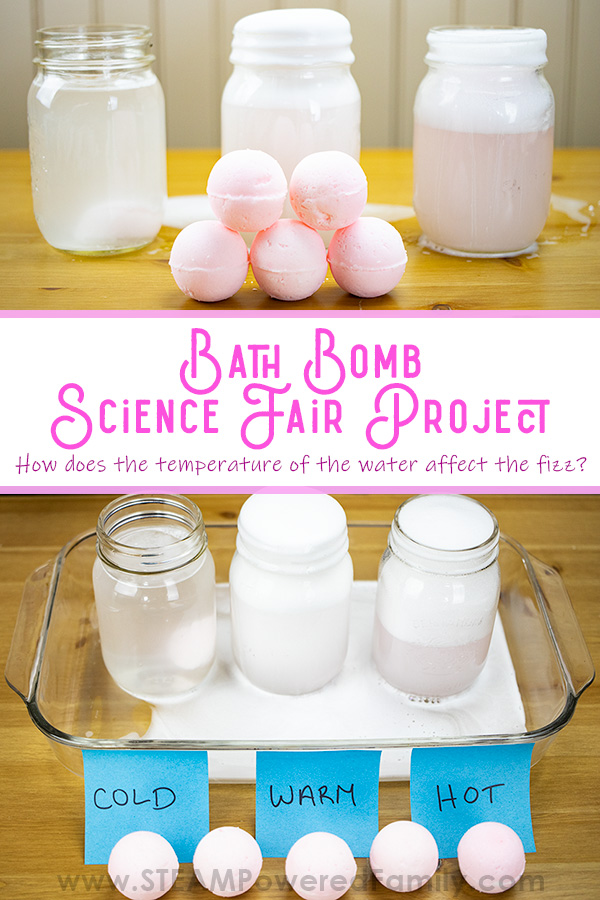
The result was spectacular! And far more impressive, and messy, than we expected. We actually had to abort the test and set up again using a casserole dish to catch the mess the second time.
Evaluate & Draw Conclusion
It was very easy to see what a difference temperature made on the bath bomb eruption. The hot immediately fizzed and overflowed everywhere! The luke warm water fizzed slowly and lasted a long time. Hitting full foamy fizz, and overflowing a bit, after a few minutes. The cold water barely did anything with only a few bubbles escaping every once and a while.
Another thing we noted was that once the reaction died down, the amount of water lost varied significantly between the jars.
Bath Bomb Science
So what is going on? The science behind this is quite simple, and something we have explored a lot in various Heat Transfer activities, Bottle Crush is a fantastic example of this concept. The hotter the water the more energy it has. Higher temperature means more energy.
Heat energy is how much those water molecules are moving about, and in the almost boiling water they are moving so rapidly that when the water was boiling you get the bubbles and boiling action and visible movement in the water.
We have talked a lot in the past about why bath bombs erupt and fizz. In a nutshell, it is an acid-base reaction. When the ingredients are dry they don’t react, they need water molecules to trigger the reaction between the acid and base.
The hotter the water, the more those water molecules are moving about, triggering reactions between the acid and base, one product of this reaction is the release of CO2 gas which creates the bubbles and fizz.
HOW TO MAKE BATH BOMBS
Ready to try this experiment yourself? Here is how we made our bath bombs.
First, since we wanted to ensure our bath bombs had the same weight, we made two types, round ones in the standard bath bomb mold, plus some semi circle ones in a silicone mold.
EASY BATH BOMB RECIPE
2 cups baking soda
1/2 cup citric acid
1 cup cornstarch
3 tablespoons coconut oil
1 tablespoon polysorbate 80
Essential oil if desired
Mica powder (if desired, we used pink)
1 large mixing bowl
1 microwave safe bowl
Molds (we used 2 types)
Directions
In the large bowl mix the baking soda, citric acid and cornstarch together.
In the microwave safe bowl, melt the coconut oil until it is liquid. Add polysorbate 80, essential oils if desired and the mica powder. Mix.
Add the wet ingredients to the dry ingredients. Using your hands (wear disposable gloves to protect your hands if desired), work the mixture together until it becomes like wet sand and can be molded.
Pack the molds. My son took some video of me packing the round bath bomb molds with my preferred technique of heaping and squishing. You can watch it here.
For the silicone molds, simply pack the mix into the mold firmly but without pressing so hard that you crack the mix.
Let sit for 24 to 48 hours in a warm, dry place. For the silicone molds, I removed the bath bombs after 24 hours, then let them sit for another 24 hours.
You are now ready for science! Make sure you store your bath bombs in an airtight container until you are ready to conduct the experiment.
We had a lot of fun with this bath bomb science fair project! It also gave us some ideas for future experiments using bath bombs. Those will be coming soon!
