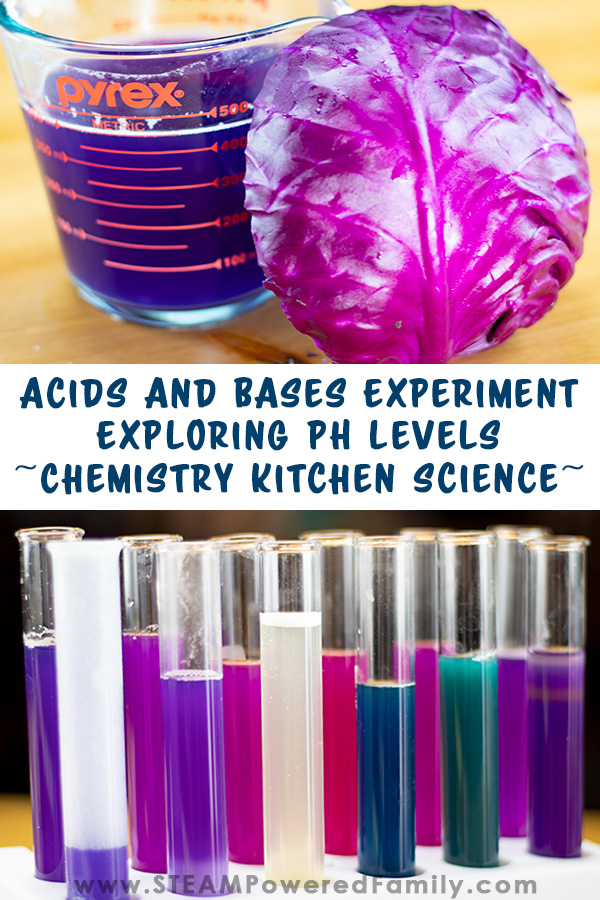
Acids and Bases Experiment Exploring pH Levels
Using items from the kitchen this fascinating experiment explores Acids and Bases and pH Levels. Kids will love digging through the pantry to test out whether items are an acid or a base, and explore pH levels of every day items. An excellent elementary chemistry experiment for hands-on with science with lots of further studies.
Acids and Bases Chemistry Experiment Exploring pH Levels
Table of Contents
My kids LOVE cabbage. I know, that isn’t something you hear every day, but they do! So when I mentioned one day that we could use their beloved cabbage for science, my kids were instantly curious. The idea that one of their favourite foods could do really cool things, other than taste good, was exciting.
This experiment is best done in the kitchen, but could be easily adapted for classroom use too. It takes about 30 to 45 minutes to complete and can be easily done as a demonstration with a group.
Acids and Bases Experiment Supplies
Red Cabbage (it’s actually purple… just in case you were confused)
Knife
Cutting board
Hot water
Blender
Fine Mesh Strainer
Large container (I used a 2 cup Pyrex glass measuring cup)
Test tubes (because it’s cool, but small glasses would work too)
Pipettes
Variety of items to test
Preparing pH Indicator
Coarsely chop the red cabbage. I found 2 good sized slices was enough.
Add cabbage to the blender. Add hot water, the amount is pretty flexible. Just aim for about how much pH solution you need.
You can see how the water immediately starts to turn a beautiful blue colour.
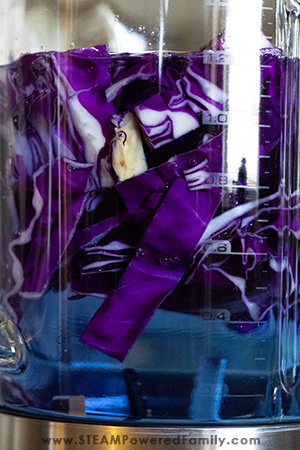
Blend.
Pour the blended mixture through the fine mesh strainer into a container like pyrex so it is easy to pour. Let cool.
If it is too dark, feel free to add some water to dilute it and lighten the colour.
The pH indicator water can be prepared ahead of time for classroom use. We saved ours for a few days with no problems.
Testing Acids and Bases
The next step is the coolest part, testing items to determine their pH. For this I let the kids go crazy picking items from the kitchen.
We tested:
- Lemon juice
- Vinegar
- Baking Soda
- Baking Powder (Big surprise here!)
- Corn Starch (Oops! Guess what this made?)
- Juice
- Ginger Ale
- Castille Soap
- Dish Soap
- Laundry Soap
- Rubbing alcohol
- Ammonia
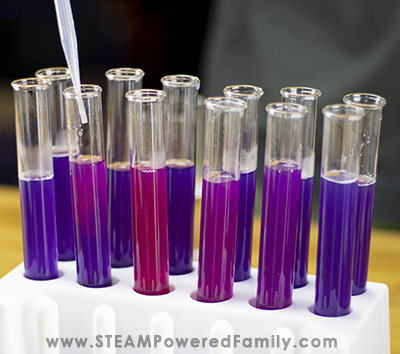
For our experiment we set out all the items we wanted to test. We used pipettes for the liquids and a small spoon for the powders. Make sure you clean your pipettes if you need to reuse them. It is best if you can have one pipette for each liquid.
After filling our test tubes with pH indicator we started adding our items. For anything we were not 100% sure about or that were a chemical, I did the testing for safety reasons.
And the results were amazing!!!
Acids, Bases and pH Levels Experiment
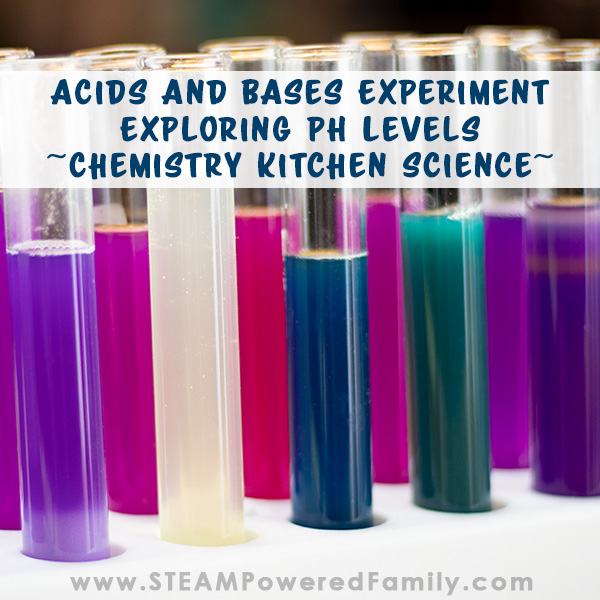
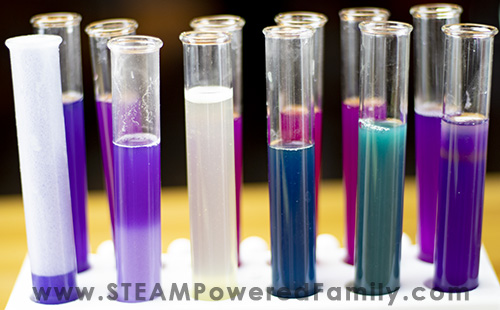
The pH solution starts out purple at a neutral pH of 7. Once we started adding other items, the colours started changing immediately.
Acids changed to a variety of pinks and reds.
While bases turned our indicator to a variety of greens, blues and even yellow!
There were some surprises.
First, adding corn starch to our pH indicator solution created… yup… oobleck. But that lead to the idea to try another experiment – Color Changing Oobleck that even gave us some more scientific surprises.
Second, some of our test tubes didn’t mix, so we ended up with a blend of colours where the liquids with various densities floated on top of one another.
Third, and this one surprised us all… did you know Baking Powder erupts, releasing CO2 gas bubbles when mixed with water? We didn’t, so that was a BIG surprise! Turns out Baking Powder is both an acid and a base, but it requires water be added before the acids and bases react to produce CO2 gas. We ended up doing a follow up scientific investigation into Baking Powder vs Baking Soda here.
See, you never know what you might learn in an experiment! In fact this discovery was so much fun for my kids that they set up a Baking Powder experiment where they tested adding it to a variety of liquids to see how it changed the reactions.
I swear, sometimes it’s like science multiples on itself around here.
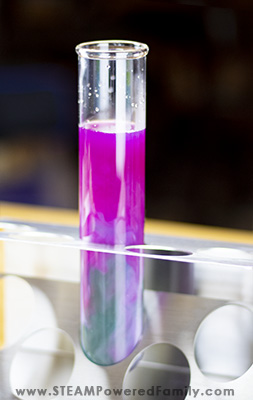
pH Indicator Rainbow
Speaking of new experiments, we decided to try making our own pH rainbow and layer the reaction by adding a base at the bottom of a large test tube filled with pH indicator, and acid to the top. The result was kind of cool and swirly.
This experiment was a HUGE success and led to so many questions and new experiments and studies. Plus we used items from our kitchen. And Kitchen Science is always awesome!
Try more fun with pH indicators in this Invisible Ink Experiment.