Glow in the Dark Cupcake Bath Bombs
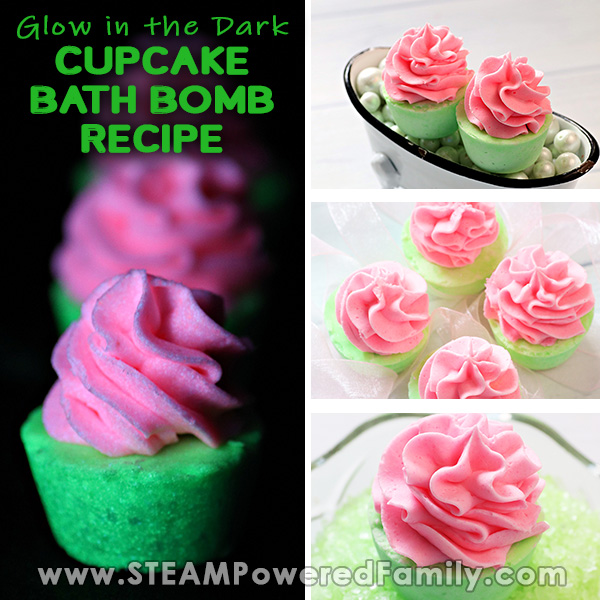
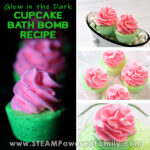
We love anything that glows in the dark! Last year we made glow in the dark bath bombs for the very first time with a hidden surprise inside! They were so much fun for Halloween. So this year we decided to try some new glow in the dark bath bombs. Today we are sharing a Glow in the Dark Cupcake Bath Bomb Recipe! But stay tuned for a fun donut version too.
Cupcake Bath Bombs Recipe with Glow Power
Disclaimer: This article may contain commission or affiliate links. As an Amazon Influencer I earn from qualifying purchases.
Not seeing our videos? Turn off any adblockers to ensure our video feed can be seen. Or visit our YouTube channel to see if the video has been uploaded there. We are slowly uploading our archives. Thanks!
If you have spent any time at all on STEAM Powered Family you know we really enjoy making bath bombs. They are a wonderful way to explore hands on science and chemistry principles. What kids understand the power of emulsifiers and practical applications of an acid-base reaction? Ones who have made bath bombs!
These kinds of practical, real life, hands on science projects provide lessons that stick with kids. Not only will they remember these lessons, they will love using and gifting their creations.
For those looking for environmentally friendly projects, another facet we love about soap making and bath bomb making is that it is creative crafting and science, but with zero waste as their creations will always be proudly put to use.
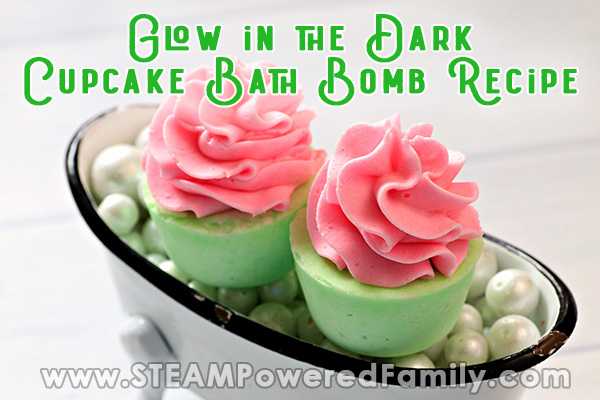
Glow in the Dark Cupcake Bath Bomb Recipe
This recipe will make 12 mini cupcake sized glow in the dark cupcake bath bombs. If you wish to make full sized ones, it will make 6 bath bombs.
MAKING THE CUPCAKE BATH BOMBS – Ingredients
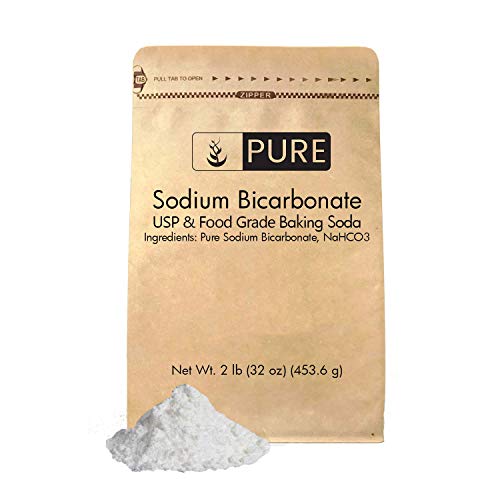
2 cups baking soda (sodium bicarbonate)
1/4 cup cornstarch
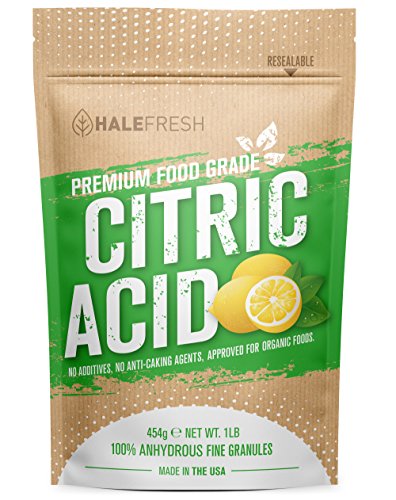
1 cup citric acid
1/4 cup white Kaolin clay
1/4 cup pink Himalayan Epsom salts
1/3 cup coconut oil
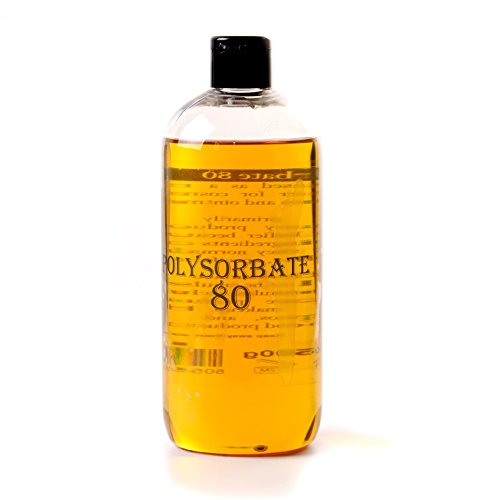
1 teaspoon polysorbate 80
1 teaspoon cupcake scented oil
1/2 tablespoons of non-toxic green glow in the dark colorant
2 teaspoons of green glow in the dark cosmetic glitter
Mini silicone muffin mould
Spray bottle filled with rubbing alcohol
1 large mixing bowl
1 microwave safe measuring cup or bowl
DIrections – making cupcake bath bomb bases
In a large mixing bowl, add the baking soda, citric acid, cornstarch, pink Himalayan Epsom salts and kaolin clay. Mix the dry ingredients.
In the microwave safe measuring cup melt the coconut oil until it is liquid. Add the polysorbate 80 and the cupcake scented oil. Mix.
Add the liquid mix to the dry mix bowl. Mix everything together really well. Use your hands to break down any lumps and make sure everything is mixed in. The mixture is perfect when it holds together when you press it into your hands and feels like wet sand.
Mix in 1-1/2 tablespoons of the green glow in the dark colorant and 2 teaspoons of the cosmetic glitter. Mix until blended completely.
Add the mixture into each cavity of the muffin mould until the mixture is packed in firmly. Fill right to the top. We used a mini rolling pin to get the tops more even.
Set the muffin try somewhere warm and dry and allow the bath bombs to set for a minimum of 24 hours. If they are not 100% dry they will break when you try to remove them from the mould. Remember, moisture is the enemy in bath bomb making. So ensure you set them in a low humidity place to allow them to cure.
Once they are completely dry, carefully pop them out of the mould. You are now ready for the glow in the dark whipped soap icing on top!
MAKING GLOW IN THE DARK WHIPPED SOAP ICING – INGREDIENTS
3/4 cup whipped soap base
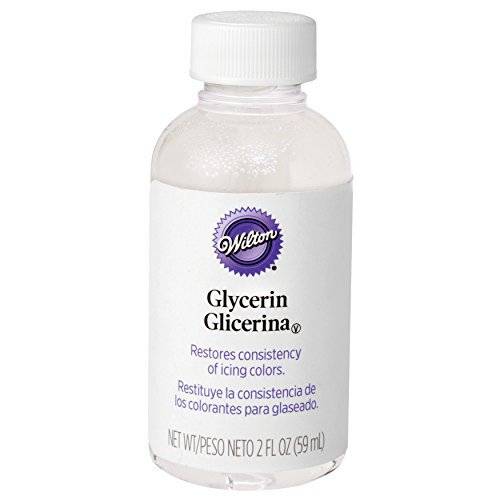
1 tablespoon glycerin
1 teaspoon polysorbate 80
1/2 teaspoon cupcake scented oil
1 tablespoon corn starch
1/4 cup white melt and pour soap base
1 tablespoon of non-toxic pink glow in the dark colorant
1-2 teaspoons of pink glow in the dark cosmetic glitter
Piping kit
1 large mixing bowl
Microwave safe measuring cup or bowl
Mixer
DIRECTIONS FOR MAKING WHIPPED SOAP ICING
Add the whipped soap base, polysorbate 80 and glycerin to the mixing bowl. Mix on low speed until fluffy (this takes approximately 1 minute).
Fold in cornstarch. Mix on low for 30 seconds.
Melt the melt and pour soap base in the microwave safe bowl in 30-second intervals, stirring after each interval until melted.
Allow it to cool for about a minute then mix in the liquid melt and pour soap base, scented oil, pink glowing colorant and glitter. Mix on high speed for 1 minute or until the mixture forms peaks, like when you make a meringue. If your frosting is not stiff enough, add a bit more cornstarch and mix in. Repeat until the mixture is nice and firm.
Add the whipped soap into the piping bag. Use a larger tip than you would on a cupcake because the soap mixture is thicker than edible frosting. Frost the cupcake bombs as you would an edible cupcake. Just work fairly quickly as it can stiffen up and become hard to pipe if you take too long.
Set your Glow in the Dark Cupcake Bath Bombs to the side to set up.
After 2-3 days, your frosting will harden enough that you can easily remove it from the cupcake and use the soap to get nice and clean in the bath tub! But you don’t need to wait until that happens, you can use your cupcake bath bombs anytime!
The Science Behind Glow in the Dark Bath Bombs – The Glow and The Fizz
The key ingredients in our recipe that cause our fizz are baking soda and citric acid. From our previous chemistry studies we know that baking soda is a base and citric acid is obviously an acid. When a base and an acid combined, we get a reaction. Just like in our Naked Eggs Experiment or our many other Baking Soda and Vinegar Experiments.
Our astute young scientists will notice something special about our bath bomb making chemical reactions. There is no chemical reaction during the making of the bath bomb (unless we mistakenly add water). The dry powder form of citric acid and baking soda have no visible reaction at all.
With bath bombs we need one more ingredient to make the reaction happen, and that’s water. In our previous experiments we often use vinegar as the acid. Vinegar already has water in it, so there was no need to add water too. Our bath bomb need water, and we discovered in our Science Fair Bath Bomb study, that the warmer the water the bigger the fizzy eruption reaction! The bubbles that make the bath water so fizzy are carbon dioxide gas.
Another important ingredient in our bath bombs is the emulsifier. Polysorbate 80 is the emulsifier we use when making bath bombs. It allows the oils in the bath bombs to mix with the water. For a fantastic demonstration on how polysorbate works, check out the video on how we make Moon Dough so vibrant using the power of emulsifiers. You can see it here:
THE SCIENCE BEHIND THE GLOW
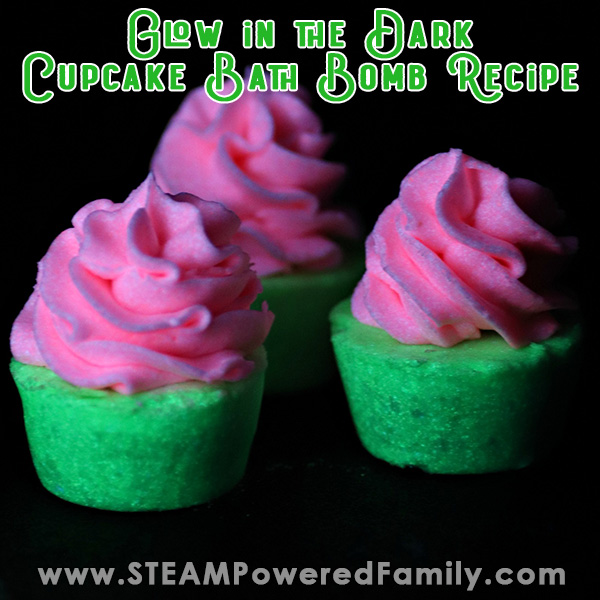
For an indepth explanation behind the science behind glow in the dark check out our Glow in the Dark Oobleck experiment. Glow in the dark pigment powder, like we used when making these bath bombs, works through a process called luminescence which is caused by chemicals called luminescent phosphors. For this glow to work it needs to charge in the light. Let the bath bombs charge in bright light before turning off the lights. This will charge the luminescent phosphors. You will have the brightest glow when you first turn off the lights, then it will fade. You can “recharge” the glow simply by turning on the lights again for a minute.
If you want a fun extra glow, swap out the bulbs in your bath room for black light bulbs (if your bathroom fixtures make this quick and easy). This will help intensify the glow without risking plugging in an external light source in the bathroom. Never plug in anything near the bath tub. Always safety first!
Now you can see why we love not only using bath bombs but making them with kids. They make a fantastic STEAM project and are packed full of amazing, memorable lessons.
MORE AMAZING BATH BOMB PROJECTS FOR KIDS
How To Make Glow in the Dark Cupcake Bath Bombs
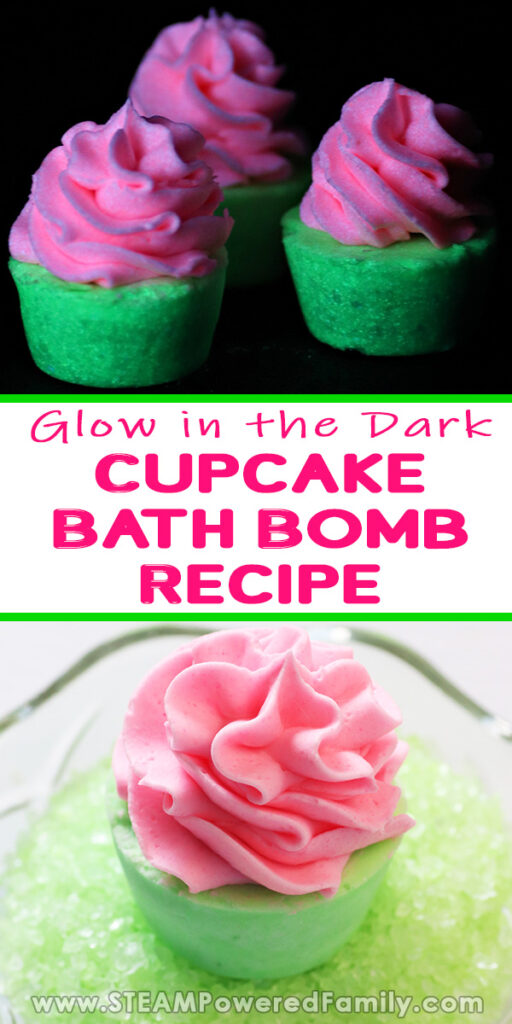
These glow in the dark cupcake bath bombs look good enough to eat! But they are actually a wonderful science project with some fascinating hands on learning. Bath bomb making is an excellent, zero waste crafting project that also teaches life skills and science lessons that kids will never forget.
Supplies
Cupcake Bath Bombs
- 2 cups baking soda (bicarbonate soda or sodium bicarbonate)
- 1/4 cup cornstarch
- 1 cup citric acid
- 1/4 cup white Kaolin clay
- 1/4 cup pink Himalayan Epsom salts
- 1/3 cup coconut oil
- 1 tsp polysorbate 80
- 1 tsp cupcake scented oil
- 1/4 tbsp non-toxic green glow in the dark colorant
- 2 tsp green glow in the dark cosmetic glitter
Whipped Soap Icing
- 3/4 cup whipped soap base
- 1 tbsp glycerin
- 1 tsp polysorbate 80
- 1/2 tsp cupcake scented oil
- 1 tbsp cornstarch
- 1/4 cup white melt and pour soap
- 1 tbsp non-toxic pink glow in the dark colorant
- 1 tsp pink glow in the dark cosmetic glitter
Instructions
Making the Cupcake Bath Bombs
-
In a large mixing bowl, add the baking soda, citric acid, cornstarch, pink Himalayan Epsom salts and kaolin clay. Mix the dry ingredients.
-
In the microwave safe measuring cup melt the coconut oil until it is liquid. Add the polysorbate 80 and the cupcake scented oil. Mix.
-
Add the liquid mix to the dry mix bowl. Mix everything together really well. Use your hands to break down any lumps and make sure everything is mixed in. The mixture is perfect when it holds together when you press it into your hands and feels like wet sand.
-
Mix in 1-1/2 tablespoons of the green glow in the dark colorant and 2 teaspoons of the cosmetic glitter. Mix until blended completely.
-
Add the mixture into each cavity of the muffin mould until the mixture is packed in firmly. Fill right to the top. We used a mini rolling pin to get the tops more even.
-
Set the muffin try somewhere warm and dry and allow the bath bombs to set for a minimum of 24 hours.
-
Once they are completely dry, carefully pop them out of the mould.
Making the Whipped Soap Icing
-
Add the whipped soap base, polysorbate 80 and glycerin to the mixing bowl. Mix on low speed until fluffy (this takes approximately 1 minute).
-
Fold in cornstarch. Mix on low for 30 seconds.
-
Melt the melt and pour soap base in the microwave safe bowl in 30-second intervals, stirring after each interval until melted.
-
Allow it to cool for about a minute then mix in the liquid melt and pour soap base, scented oil, pink glowing colorant and glitter. Mix on high speed for 1 minute or until the mixture forms peaks, like when you make a meringue. If your frosting is not stiff enough, add a bit more cornstarch and mix in. Repeat until the mixture is nice and firm.
-
Add the whipped soap into the piping bag. Use a larger tip than you would on a cupcake because the soap mixture is thicker than edible frosting. Frost the cupcake bombs as you would an edible cupcake.


