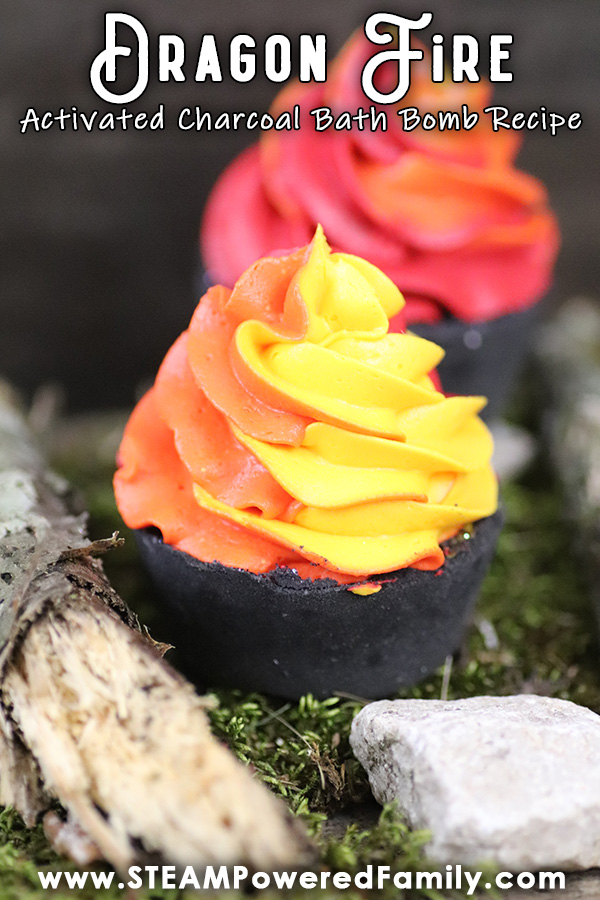
Dragon Fire Bath Bombs – Fierce, Fiery, Fizzy DIY and Chemistry Lesson
Mother of Dragons here! As a lover of dragons my whole life I am always looking for ways to incorporate my interests and passions into lessons and activities. Since we love making bath bombs so much, it was only a matter of time until I brought these two loves together. And I have to say, they turned out so cool! Check out our Dragon Bath Bombs and learn the fascinating chemistry being the fizz!
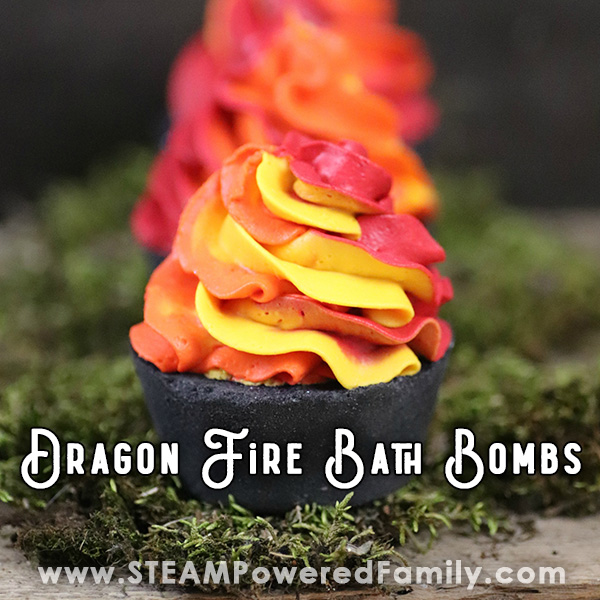
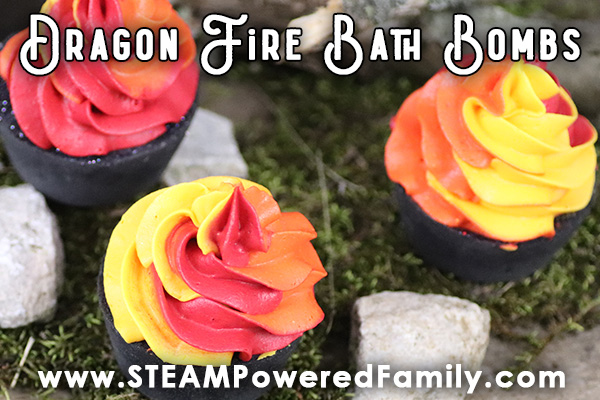
Black Cupcake Bath Bombs Inspired by Fire Breathing Dragons
Table of Contents
Disclaimer: This article may contain commission, paid partnerships, or affiliate links. We independently review everything we recommend. When you buy through our links, we may earn a commission from qualifying purchases.
Do you remember our Sugar Plum Fairy Cupcake Bath Bombs? They turned out sooooo good! I just love them so much that I wanted more but this time instead of fairies I wanted dragons!
There is just something about that whipped soap icing topper that makes me think of flames. So very quickly we came up with this cool idea to do black cupcake bath bombs with fiery red and orange whipped soap topping so it looks like fire from a dragon.
I have to say, I think these would make any dragon lover proud! I am so chuffed by how well they turned out.
WHY Activated Charcoal Bath Bombs
There are a few reasons why we use activated charcoal. The first and main reason is that it makes fantastic, dark black bath bombs. If you try and use a colourant, it simply looks grey. But if you use activated charcoal you get gorgeous black bath bombs.
For our dragon bath bombs we wanted jet black, so activated charcoal was the perfect solution for our cupcake bath bomb base.
Another benefit of activated charcoal in bath bombs is that it helps purify the skin, reduce acne and balance oily skin. All things my teenager struggles with. Having a bath with one of these dragon bath bombs helps his skin immensely. Especially where he gets break outs on his back.
Finally, if you are making a bath bomb called Dragon Fire, doesn’t charcoal seem like an obvious “must have” ingredient? Of course it does!
Dragon Bath Bombs With Whipped Fire SOAP Icing
This recipe will make 6 bath bombs. You will need to make it over 2 days to allow time for curing and setting. Depending on your climate you may need more than 2 days.
First we will make the black cupcake bath bombs, then once those are cured we make the whipped fire soap icing. I will take you through each part separately, but make sure you have the supplies for both steps on hand before you start.
If you want to add a little extra sparkle to your bath bombs you can use a cosmetic glitter in the both the bath bomb and the whipped soap. But this is completely optional. If you do decide to use glitter, we recommend you purchase a biodegradable cosmetic glitter.
Black Cupcake Bath Bombs with Activated Charcoal
SUPPLIES
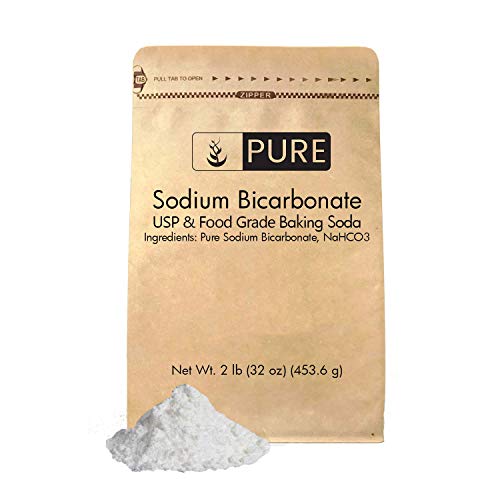
2 cups sodium bicarbonate (baking soda)
1 cup citric acid
1/4 cup white Kaolin clay
1/2 cup coconut oil (plus keep some in reserve to use in case required)
1/4 cup cocoa butter
2 teaspoons polysorbate 80
10-20 drops fennel essential oil (or swap for your favourite)
2 tablespoons activated charcoal (plus keep some in reserve to adjust colour to preference)
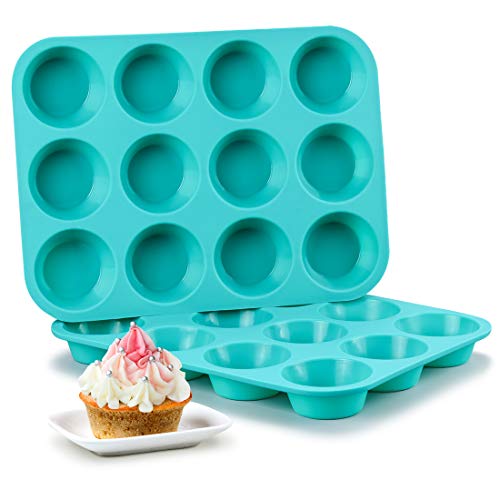
Standard silicone muffin tin
Spray bottle filled with rubbing alcohol
1 large mixing bowl
1 microwave safe measuring cup
Microwave
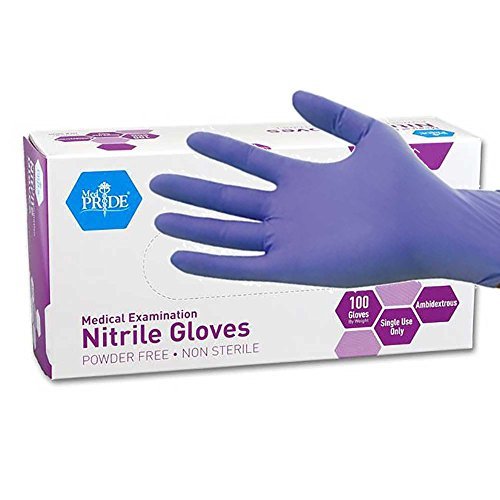
Disposable gloves


Directions
Prepare your space. I always line my table with parchment paper or wax paper before setting out my supplies. Making bath bombs can get messy!
In a large mixing bowl, add the baking soda, citric acid, and kaolin clay. Kaolin clay gives the bath bombs more stability so when you pop them out of silicone molds they are less likely to crack or break. Mix dry ingredients together.
In a microwave safe measuring cup melt 1/2 cup of coconut oil and 1/4 cup of cocoa butter. Add the polysorbate 80 and essential oil. Mix well.
Add the liquids to the dry mix bowl and mix everything together. You may want to put on gloves at this point so you can use your hands for mixing.
Add in 2 tablespoons of the activated charcoal. Mix well. Use your hands (gloves highly recommended) to break down any lumps and make sure everything is mixed in. The mixture is perfect when it holds together when you press it into your hands and feels like wet sand.
If your mix is not dark enough for your liking, you can add more activated charcoal but you will also need more coconut oil so the mix doesn’t dry out. The rule of thumb is that for every tablespoon of activated charcoal you add, add an extra tablespoon of coconut oil.
Add the mixture into each cavity of the muffin mold. To do this pack it with your fingers tightly but don’t press so hard that the mold deforms or cracks start to appear. Use gentle, even pressure until the mixture is packed in firmly. Let the black bath bomb cupcakes dry for a minimum of 24 hours in a warm, low humidity space. If they are not 100% dry, they will break when you take them out. So err on the side of letting them sit for a little extra time.
Once dry carefully remove from the silicone mold. You are ready for fire icing!
Whipped Fire Soap Icing
SUPPLIES
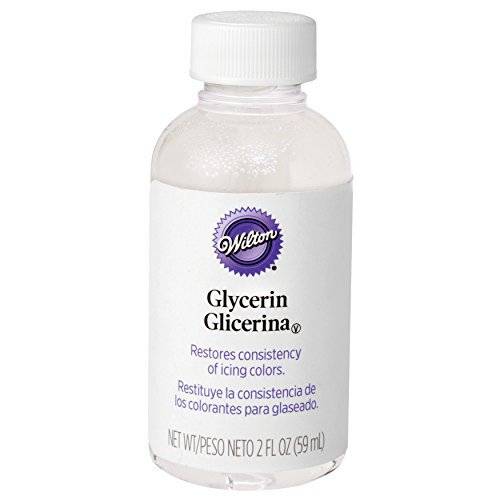
1 tablespoon glycerin
3/4 cup whipped soap base
1 teaspoon polysorbate 80
1 tablespoon corn starch
1/4 cup clear or white melt and pour soap base
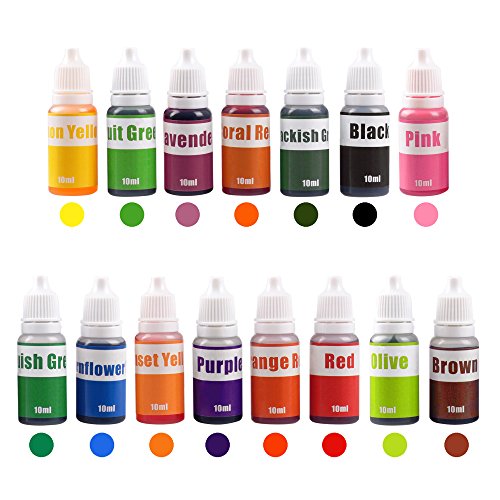
1 teaspoon of red, orange and yellow colorant
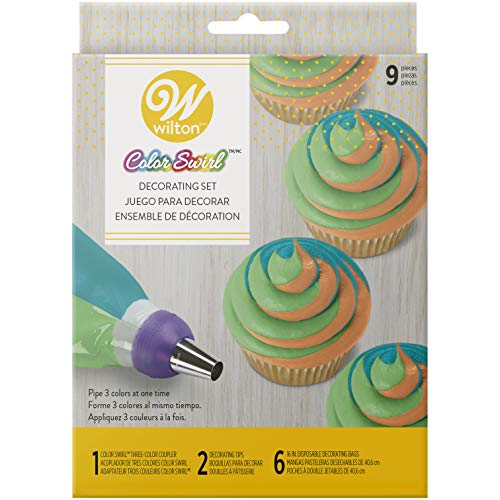
Tri-Color piping kit
1 large mixing bowl
3 small bowls
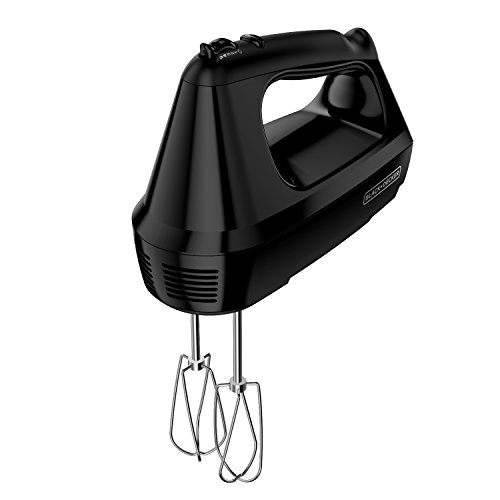
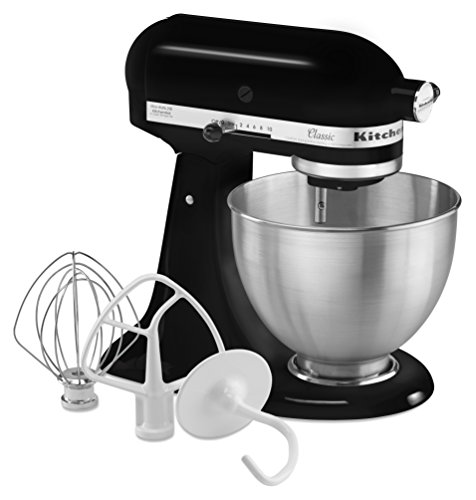
Hand mixer or Stand mixer
Microwave safe bowl


Directions
Add whipped soap base, glycerin and polysorbate 80 to a mixing bowl. Mix on low speed until fluffy, which takes about one minute.
Melt the white melt and pour soap base in a microwave safe bowl in 30 second intervals. Stir after each interval until melted. Allow it to cool for about a minute.
Add it to the mixing bowl and fold in the cornstarch.
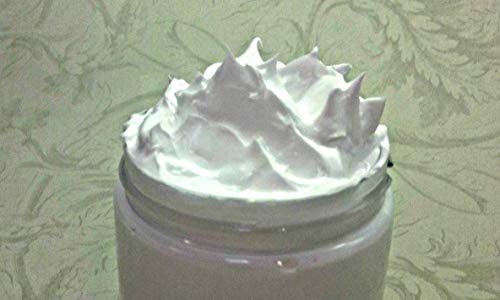
Now mix it on high speed for 1 minute or until the mixture forms peaks, like when you make a meringue. If your frosting is not stiff enough, add a bit more cornstarch and mix it in. Repeat until the mixture is nice and firm.
Divide the whipped soap into 3 small mixing bowls. Add red colorant to one bowl, orange colorant to the next and yellow colorant to the last bowl. Start by mixing in 1-2 drops of color with a spoon. If you want a darker color, add 1-2 more drops and repeat until you get the color you desire.
Add one of each colour frosting to each of 3 piping bags. Hold the bags together so all sides of the tips meet. Add frosting the tip and the coupler.
Holding all three bags tightly in your dominant hand pipe the frosting onto your cupcake bombs.
Voila! Dragon Fire Cupcake Bath Bombs!
Pro Tip! After 2 days, your frosting will harden enough that you can easily remove it from the cupcake and use the soap to clean yourself while the bath bomb fizzes.
The Science Behind Fizzy Dragon Fire Bath Bombs
These bath bombs are perfect for those that love dragons and chemistry! The bath bombs fizz is fascinating science for kids of all ages.
So what is the science? It’s an acid-base reaction. Yup, just like our beloved baking soda and vinegar reactions.
In the case of bath bombs the acid (Citric Acid) and base (Sodium Bicarbonate) are in a dry powder form. The reaction won’t begin until the magical ingredient is added. What is this magical, wonderous material? Water!
And as we learned in our Bath Bomb Science Fair study, the warmer the water, but bigger the reaction!
Another important ingredient in bath bomb making is polysorbate 80 (an emulsifier). It can be tempting to leave it out, but remember, oil and water don’t mix. Bath bombs have oil in them and other ingredients that don’t readily dissolve in water. Oil, activated charcoal, and all the colours will end up floating on top of the water in a scummy layer sticking to the bather and the bath tub. And trust me, it can get real messy with black bath bombs! You will still need to rinse the tub to remove any residue, but it should all wash away easily. As long as you don’t skip the emulsifier!
Plus you can use the polysorbate 80 to make magical Moon Dough quickly and easy! So none of it will go to waste.
Enjoy these Dragon Fire Bath Bombs!
MORE DIY BATH BOMB PROJECTS
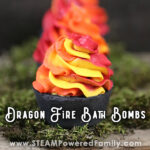
Dragon Fire Bath Bomb Recipe
These Dragon Fire Bath Bombs are made with activated charcoal and whipped soap icing in fiery colours.
Supplies
For Cupcake Bath Bomb
- 2 cups sodium bicarbonate aka baking soda
- 1 cup citric acid
- 1/4 cup kaolin clay
- 1/2 cup coconut oil
- 1/4 cup cocoa butter
- 2 tsp polysorbate 80
- 10-20 drops fennel essential oil
- 2 tbsp activated charcoal
For Whipped Soap Fire Icing
- 1 tbsp glycerin
- 3/4 cup whipped soap base
- 1 tsp polysorbate 80
- 1 tbsp cornstarch
- 1/4 cup white melt and pour soap base
- 1 tsp each of red, yellow and orange soap colorant
Instructions
Making the bath bomb cupcake
-
Prepare your space by lining the table with parchment paper or wax paper. Set out supplies.
-
In a large mixing bowl, add the baking soda, citric acid, and kaolin clay. Mix.
-
In a microwave safe measuring cup melt 1/2 cup of coconut oil and 1/4 cup of cocoa butter. Add the polysorbate 80 and essential oil. Mix well.
-
Add the liquids to the dry mix bowl and mix everything together.
-
Add in 2 tablespoons of the activated charcoal. Mix well. Use your hands (gloves highly recommended) to break down any lumps and make sure everything is mixed in. The mixture is perfect when it holds together when you press it into your hands and feels like wet sand.
-
If your mix is not dark enough for your liking, you can add more activated charcoal but you will also need more coconut oil so the mix doesn’t dry out. The rule of thumb is that for every tablespoon of activated charcoal you add, add an extra tablespoon of coconut oil.
-
Add the mixture into each cavity of the muffin mold, packing it firmly. Let the black bath bomb cupcakes dry for a minimum of 24 hours in a warm, low humidity space. If they are not 100% dry, they will break when you take them out.
-
Once dry carefully remove them from the silicone molds.
Whipped Fire Soap Icing
-
Add whipped soap base, glycerin and polysorbate 80 to a mixing bowl. Mix on low speed until fluffy, which takes about one minute.
-
Melt the white melt and pour soap base in a microwave safe bowl in 30 second intervals. Stir after each interval until melted. Allow it to cool for about a minute.
-
Add it to the mixing bowl and fold in the cornstarch.
-
Now mix it on high speed for 1 minute or until the mixture forms peaks, like when you make a meringue. If your frosting is not stiff enough, add a bit more cornstarch and mix it in.
-
Divide the whipped soap into 3 small mixing bowls. Add red colorant to one bowl, orange colorant to the next and yellow colorant to the last bowl. Start by mixing in 1-2 drops of color. If you want a darker color, add 1-2 more drops and repeat until you get the color you desire.
-
Add one of each colour frosting to each of 3 piping bags. Hold the bags together so all sides of the tips meet. Add frosting the tip and the coupler.
-
Holding all three bags tightly in your dominant hand pipe the frosting onto your cupcake bombs.
-
Let set for a couple of hours.