Sugar Plum Fairy Cupcake Bath Bombs
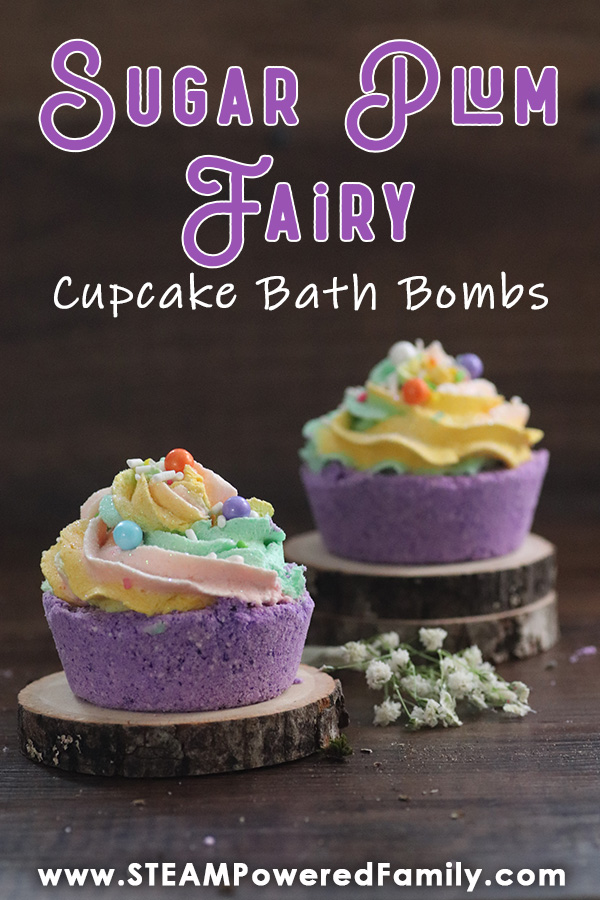
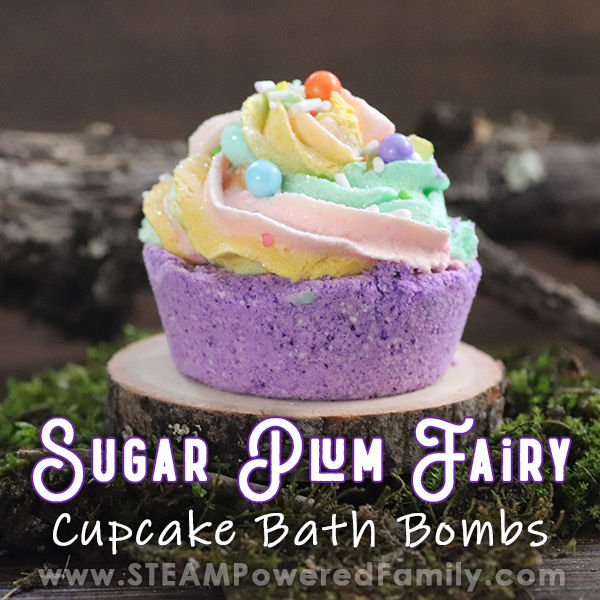
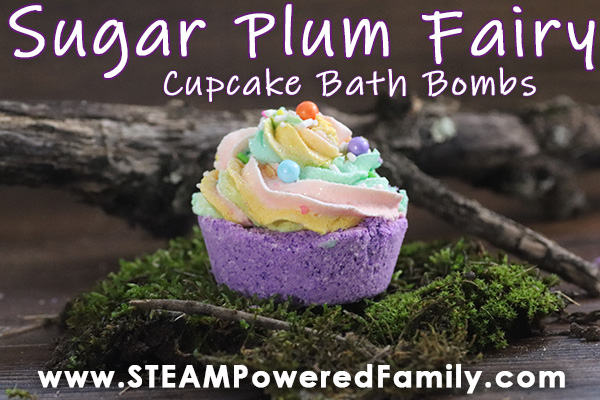
Who doesn’t love the Sugar Plum Fairy? We’ve captured our love of all things purple and fairies in these gorgeous cupcake bath bombs that we have dubbed, The Sugar Plum Fairy Bath Bomb. Learn how easy it is to make these bath bombs yourself at home.
PURPLE CUPCAKE BATH BOMBS INSPIRED BY FAIRIES
Disclaimer: This article may contain commission or affiliate links. As an Amazon Influencer I earn from qualifying purchases.
Not seeing our videos? Turn off any adblockers to ensure our video feed can be seen. Or visit our YouTube channel to see if the video has been uploaded there. We are slowly uploading our archives. Thanks!
I’ve always loved the magical idea of fairies. With their tiny bodies and iridescent wings, flitting about with curious little natures. We always joke when weird things happen in our home, that it must be the mischievous house fairies playing.
One of our favourite book series is Fablehaven by Brandon Mull. In it humans need to drink a special milk to see the fairies, otherwise they look like regular insects. What an incredible idea that there is this magical world, just beyond our senses. It’s no wonder we love fairies around here.
Of course we are also obsessed with making homemade bath bombs and coming up with new recipes all the time. So this week are bringing together our love of fairies, bath bombs and all the purples things into this incredible cupcake bath bomb!
Isn’t it absolutely stunning?
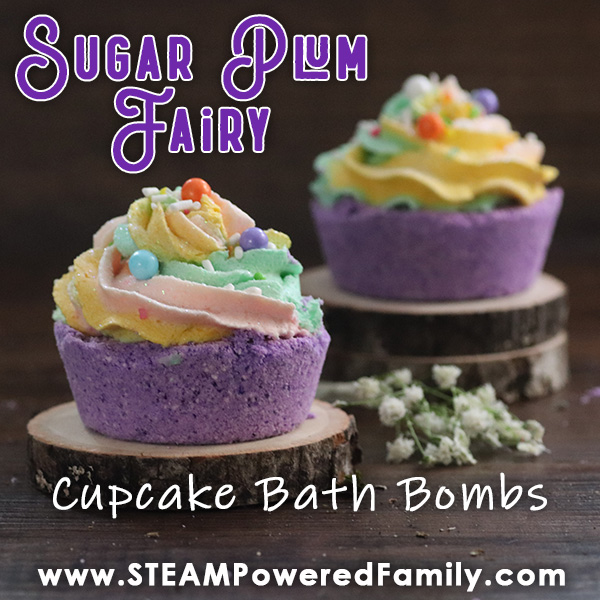
Fairy or Unicorn BATH BOMBS?
So as we were making these, the kids felt they could also be unicorn bath bombs with all the colours. I still prefer fairy, but if you like to think of them as unicorn bath bombs, go for it!
MAKING CUPCAKE BATH BOMBS
Making cupcake bath bombs is a two part process. First we need to make the bath bomb “cupcakes”. Then once they are set and hardened, we need to add the whipped soap icing tops.
First up, let’s make the bath bombs
Cupcake Bath Bomb Supplies
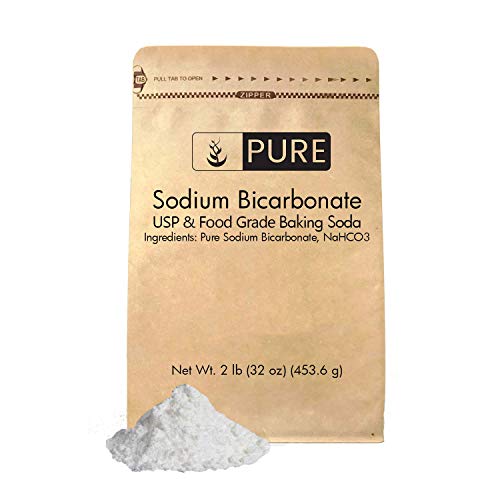
1 1/2 cups baking soda
1 cup citric acid
1/4 cup white Kaolin Clay
1/2 cup cornstarch
1/4 cup dead sea salts
1/4 cup coconut oil
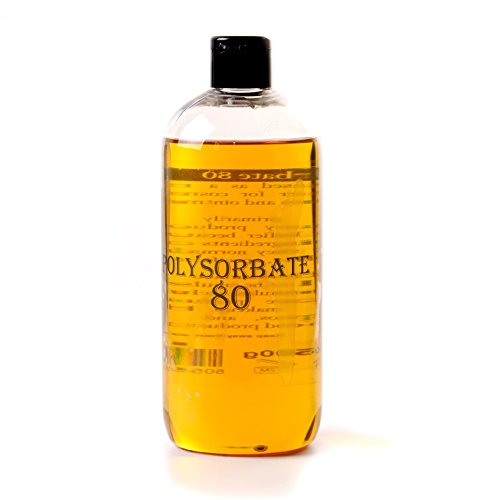
2 teaspoons polysorbate 80
1-2 drops of Rain scented oil
2-3 drops purple soap colorant
Colourful candy sprinkles
Spray bottle of rubbing alcohol
1 large mixing bowl
1 microwave safe measuring cup
Muffin tin – silicone
How to Make Cupcake Bath Bomb Bases
In a large bowl combine all the dry ingredients: baking soda, citric acid, clay, cornstarch and dead sea salts. Combine by stirring gently. Citric acid can be a bit irritating, especially to kid helpers, if it becomes airborne. So work it together gently and make bath bombs in a well ventilated area.
Use a microwave safe measuring cup and melt the coconut oil until it is liquid. Add polysorbate 80, scented oil and soap colourant. Mix.
Add the wet ingredients to the dry ingredients and mix together with your hands. Use disposable gloves if desired.
Once the mix holds forms like wet sand it is the right consistency and you are done mixing.
If the mix is not dark enough, add another drop or two of colourant and mix well.
Pack the muffin silicone molds, making sure you pack it tightly and fill to the top.
Let it set for 24 to 48 hours until hard in a warm, dry place.
Once they are hard, remove from the silicone molds. Sometimes I find it helpful to leave them to set up for one more day outside of the molds. You are now ready to ice them!
Now Let’s Make the Multi-Colour Icing topper
Whipped Soap Icing Supplies
1/4 cup clear or white melt and pour soap base
1 tablespoon glycerin
1 tablespoon corn starch
3/4 cup whipped soap base
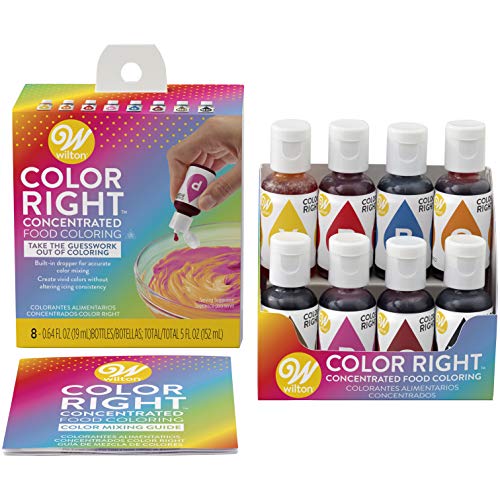
2-3 drops each of pink, yellow and light green colorant
Tri color frosting kit
1 large mixing bowl
3 small mixing bowls
Electric mixer
Whipped Soap Icing For Cupcake Bath Bombs
Add the whipped soap base, scented oil and glycerin to mixing bowl. Mix on low speed until fluffy. This will take approximately 1 minute.
Melt the regular soap base in microwave safe bowl in 30-second intervals, stirring after each until melted. Allow it to cool for about one minute.
Add the melted soap base and cornstarch to the whipped soap bowl. Mix everything together at high speed for 1 minute or until the mixture forms peaks, like when you make a meringue. If your frosting is not stiff enough, add a bit more cornstarch and mix in. Repeat until the mixture is nice and firm.
Divide the whipped soap into 3 small mixing bowls. Add pink color to one bowl, yellow to another and light green to the last bowl. Start with 1-2 drops of color and mix it in. If you want a darker color, add 1 or 2 more drops and repeat until you get the color you want.
Add one of each color frosting to each of the 3 piping bags. Hold the bags together so all sides of the tips meet. Finally, add a frosting tip and the coupler.
Holding all three bags tightly, frost the cupcake bombs as you would an edible cupcake. Add a few candy sprinkles to finish them off.
Pro Tip! After 2-3 days, your frosting will harden enough that you can easily remove it from the cupcake and use the soap once you have enjoyed your soak in the tub with your bath bomb!
Why Bath Bombs Fizz
One of the reasons the kids love making and using bath bombs is the spectacular fizz! The science behind that fizz is a fascinating chemistry lesson and a wonderful way for kids to learn some real world applications.
So what is the science? It’s an acid-base reaction. Yup, just like our beloved baking soda and vinegar reactions.
In the case of bath bombs the acid (Citric Acid) and base (Baking Soda or Sodium Bicarbonate) are in a dry powder form. The reaction won’t begin until water is added. If your bath bombs are puffing up or prematurely erupting, it’s because water is being added somehow. Even water in the air from a humid day can trigger the reaction.
Another important ingredient in bath bomb making is the emulsifier, polysorbate 80. It can be tempting to leave it out, but remember, oil and water don’t mix. Bath bombs have oil in them. That oil and all the colours will end up floating on top of the water in a scummy layer sticking to the bather and the bath tub. No one likes needing a shower after a bath or having to scrub down the bath tub. So make sure you don’t skip the emulsifier!
Plus you can use the Polysorbate 80 to make magical Moon Dough quickly and easy!
I hope these Sugar Plum Fairy cupcake bath bombs bring a little magic to your day!
