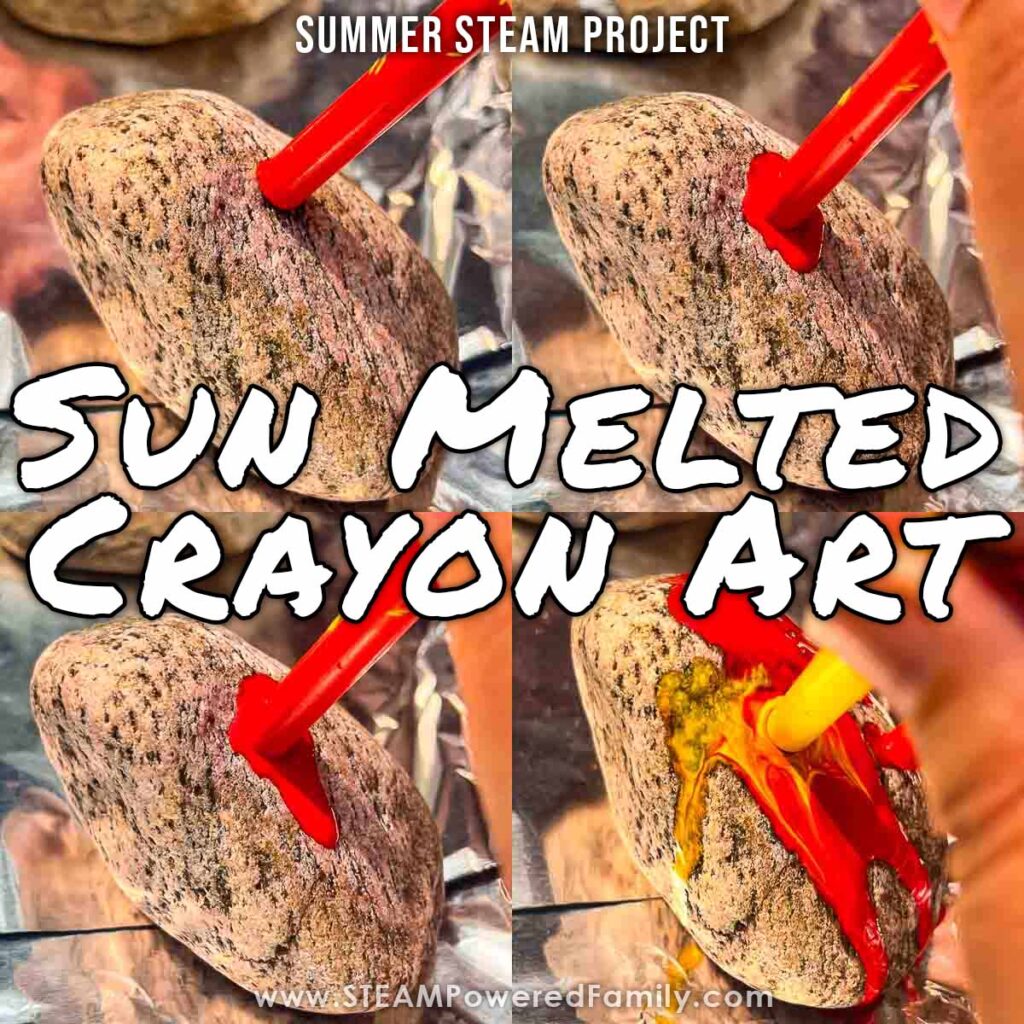
Sun Melted Crayon Art – Summer STEM Project
Are you looking for a perfect easy, low prep and super engaging summer camp project I have one for you! We’re talking science, art, recycling and outdoor fun in one easy project. Kids bored at home and need some backyard science ideas? Want a summer camp project the kids will really love? Are you busy and need something easy with minimal prep work? Melted crayon art on rocks is the perfect solution!
MELTED CRAYON ART ON ROCKS
LOW PREP SUMMER ACTIVITY
Table of Contents
Disclaimer: This article may contain commission, paid partnerships, or affiliate links. We independently review everything we recommend. When you buy through our links, we may earn a commission from qualifying purchases.
Melted Crayon Art usually involves using heat guns or blow dryers, and using a cheese grater to make crayon shavings in a rainbow of colors, melted wax getting everywhere, and complex instructions to make melted crayon crafts.
There has to be a simpler way. And there is! Melted Crayon Art Rocks are so easy and so much fun for kids to make beautiful abstract art and connect with nature at the same time.
This project is a great way to use up those old, broken crayons from the end of the school year and learn about some cool science concepts like heat conduction, heat transfer and melting points. All you need is a warm day, sunshine, crayons, rocks and creativity. Ready? Let’s go!
Easy DIY Melted Crayon Art Projects
Supplies
A Baking Sheet
Aluminum Foil
Smooth Rocks (around the size of your fist is a good size)
Old crayons and crayon pieces with the paper removed, lots of different colors
Oven mitts or a heat proof glove
Hot sunny day
Directions
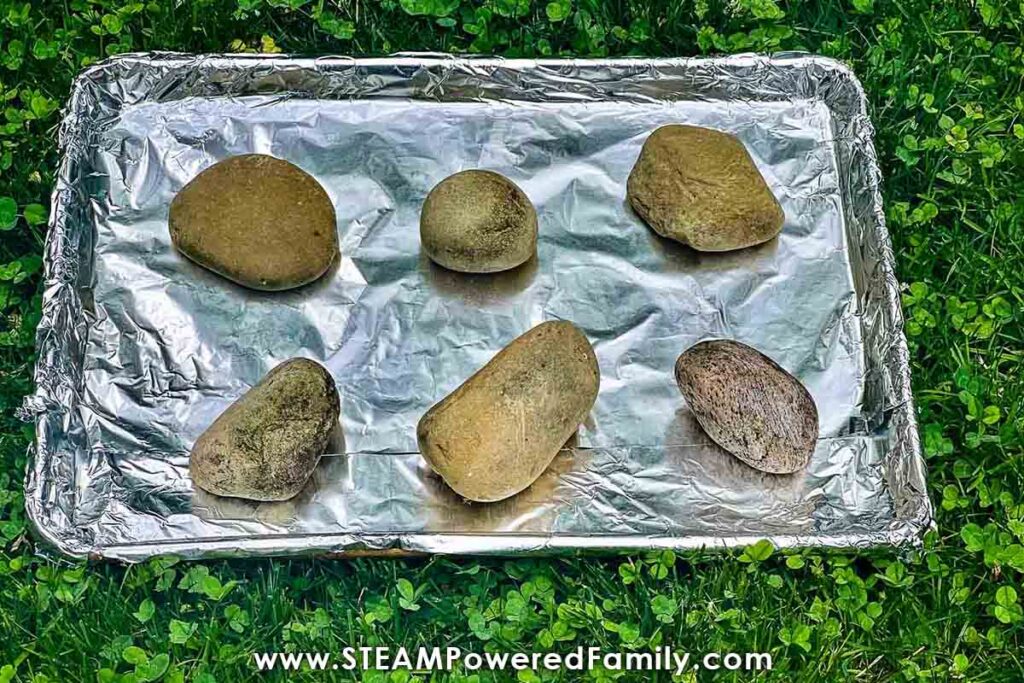
First, wrap your baking sheet in aluminum foil and place your rocks spaced apart on the foil lined tray. Leave an inch or more between each rock. Then put your tray with the rocks in direct sunlight for several hours. This is a project that is great to set up with the kids at the beginning of the day and then complete after lunch!
Pro Tip! Make sure your rocks are clean before starting this project. Wash them quickly with water. They will dry in the sun as they heat up.
Next, prepare the crayons by peeling the paper off of your crayons to get them ready to melt. Keep them out of the sun, for now!
Time to Create Art
SAFETY NOTE: Be careful because the rocks, the foil and the pan are all hot after being in the sun! Adult supervision is required.
Once the rocks have heated up in the sun the real fun can start. Carefully touch the crayons to the hot rocks.
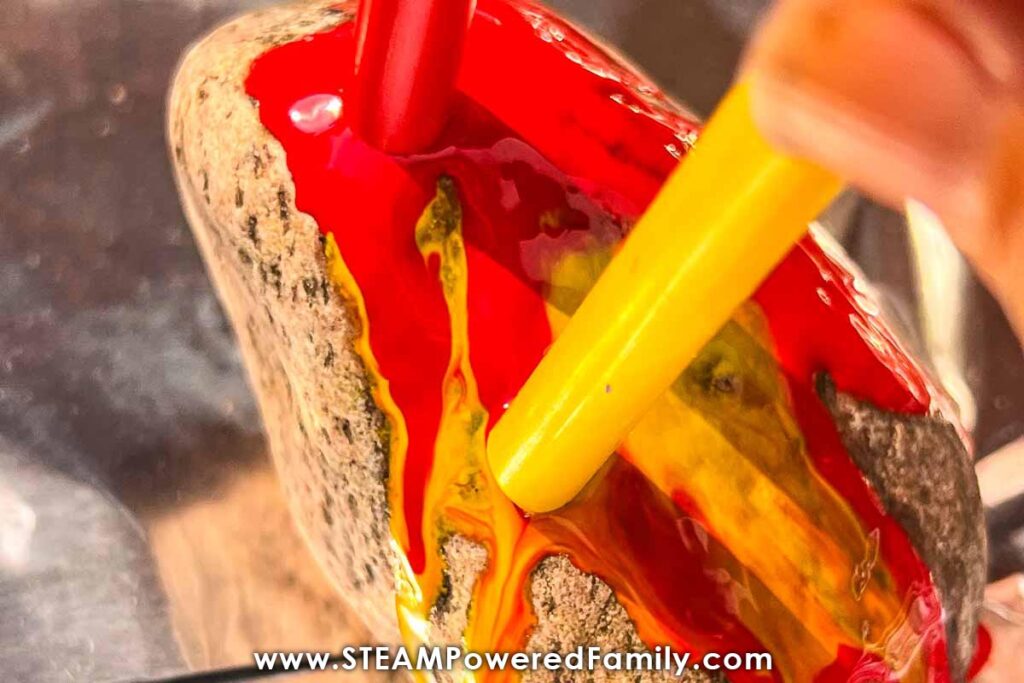
As the crayon meets with the surface of the rock heat transfer will make the wax begin to melt. You can attempt to draw pictures with the crayons but it was difficult to control the melting wax. It was a lot more fun to work together swirling the colors and watching melted crayon wax drip over the edges.
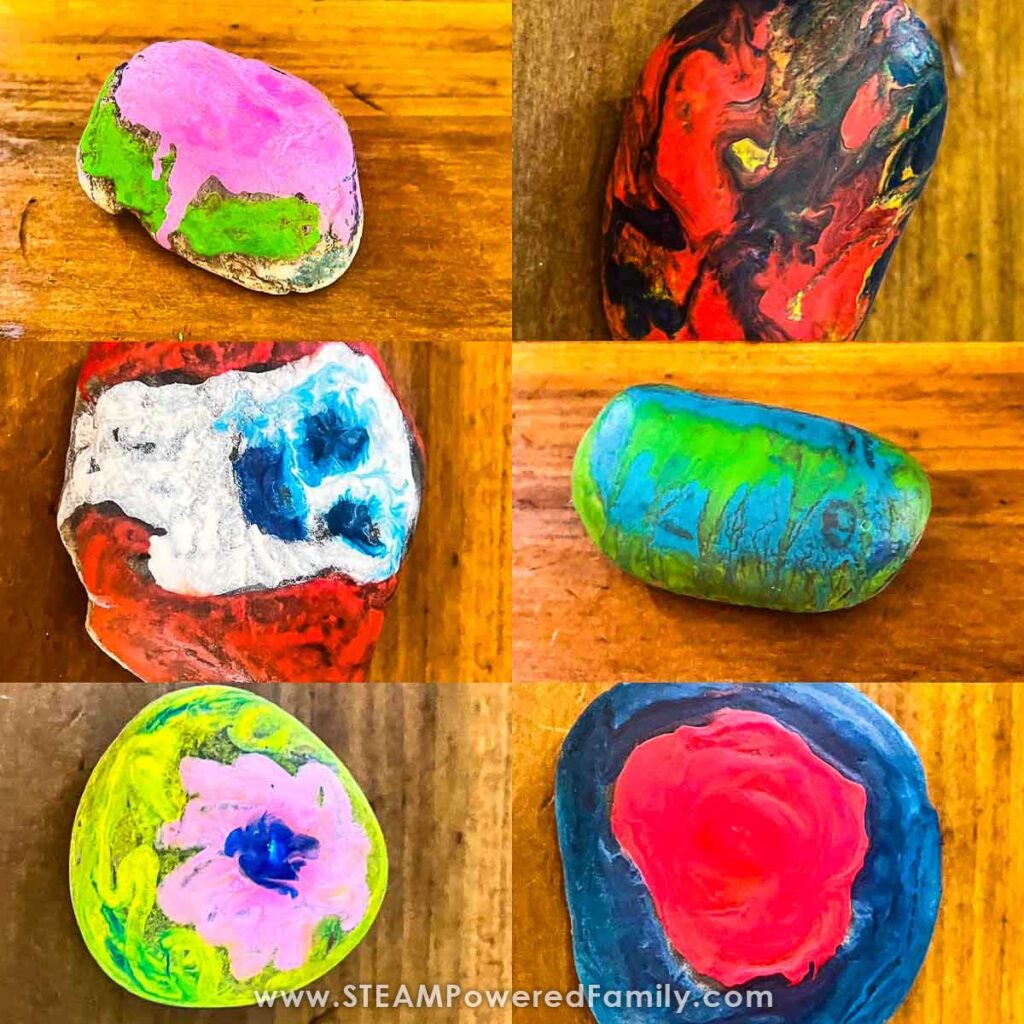
Although we did manage a ghost with some spooky swirly eyes and a swirly flower. On the remaining rocks we just kept switching out the colors and seeing how they reacted together on the hot rocks. This was a great opportunity to play with color science and color mixing.
The longer we left a crayon in one spot the more vibrant the colors got and the better the drips running down the sides.
Pro Tip! We noticed that the Crayola crayons melted better and had more vibrant color than the off brand crayons we had.
Once you’ve colored all of the rocks, carefully move the pan out of the sun and allow the rocks to cool and the wax to harden.
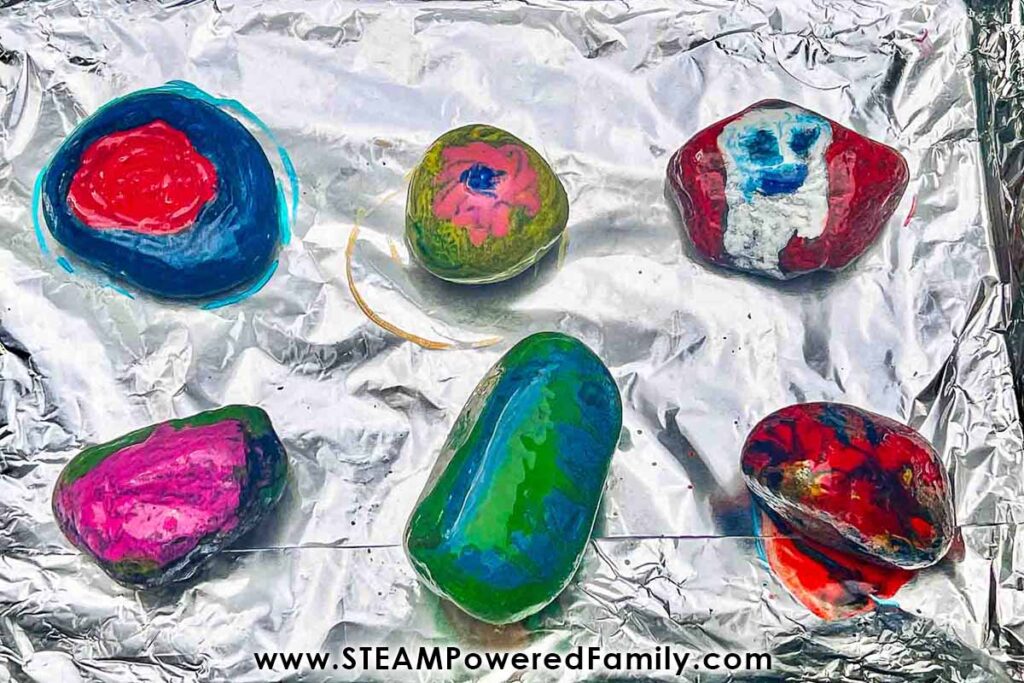
After everything is cool you can check out the rocks and how the crayon has adhered to the surface. No two will be alike!
I love this Melted Crayon Art STEAM project. The kids love that they can beautify the camp and take their unique artwork home to their family. They also learn about how to use heat conduction, heat transfer, reflection, melting points and creativity to create their special art rocks.
The Science of Sun Art with Crayons
While you’re waiting for the rocks to heat up and peeling crayons you can talk about the science behind the experiment.
I always like to start with a question. What do you think will happen to the rocks as they sit in the sun? The obvious answer should be – they will get hot. There is a little more than that to it though! As the rocks sit in the sun they will absorb the heat from the sun. The heat will spread out over the surface of the rocks.
Next you could ask – Why do you think we lined the baking sheet with aluminum foil? Some may think it is to protect the tray from the wax, but in reality it serves another purpose. The foil’s shiny surface will reflect the sun’s rays back onto the rocks and it will heat up as well, helping the rocks heat up on all sides and be ready for you to create some cool art effects!
What about the crayons? How hot do the rocks need to be to melt the crayons? Why not go right to the source? Crayola.com states, “Crayola crayons begin to melt at around 105° Fahrenheit (40°C) and have a melting point between 120° – 147° Fahrenheit (49-64°C). The melting point is the same for all regular Crayola crayons; however, the density and amount of pigment included in different crayons will result in varying thickness or viscosity of the mixture”. As a note, the melting point of something is when it changes from a solid state to a liquid. If you have an Infrared Thermometer you can check the temperature of the rocks yourself.
Another natural question would be – What if we left the crayons out in the sun as well? Since we know that the melting point of crayons, we can deduce that the sun will melt the crayons if we leave them outside too. Which is why we have them inside until the rocks are hot enough to work with!
Extension Activity
Make Melted Crayon Art Pumpkins for Halloween. Kids love the colourful, no carve creations for the spooky season.
Grab an Infrared Thermometer and test the melting point of the crayons yourself. Take temperature readings and plot how easily the crayons melt when the rocks are at different temperatures.
Harness the power of the sun and create a Solar Oven. After making yummy treats, set up your rocks in your solar oven with bits of crayon on top of them them. Leave them in the Solar Oven and watch what happens.
Did you know you can also make sun art through a simple process called Cyanotype? Learn how to do simple Cyanotype projects with your kids.
Try more crayon art projects by making Crayon Candles or creating your own LEGO crayons.