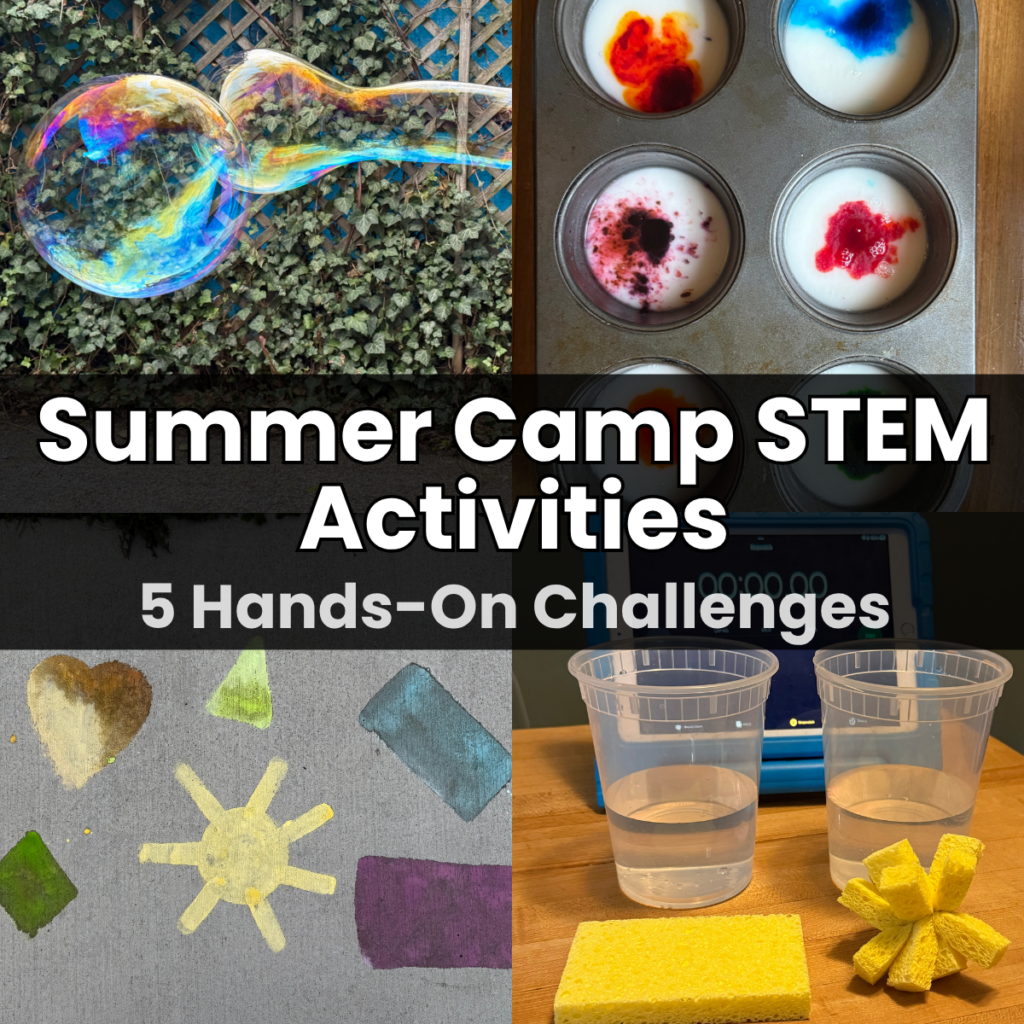
Summer Camp STEM Activities: 5 Hands-On Challenges to Boost Kids’ Skills
Summer is coming up quick. It is time to put on your camp planner hat and think about what the kids love most: fun. As parents and educators, we want to prevent the summer slide and keep kids learning all season long. So why not pair summer fun with learning and give the kids some summer camp STEM activities they will not forget?
These summer camp STEM activities are hands-on, high-energy, and made for elementary-aged kids who would rather be outside than sitting at a desk. Because you want to enjoy your summer too, we made sure these projects are low prep, low cost, and built so several of them share materials. That means more time watching the kids learn and less time prepping.
Why Summer Camp STEM Activities Matter
Table of Contents
Disclaimer: This article may contain commission, paid partnerships, or affiliate links. We independently review everything we recommend. When you buy through our links, we may earn a commission from qualifying purchases.
The summer slide is real. Without regular learning, kids can lose up to two months of academic skills over the break. The good news is that summer STEM activities can keep their brains engaged in a way that does not feel like school at all.
Hands-on STEM challenges build problem-solving, creativity, and critical thinking. They also let kids work as a team, fail safely, and try again. Whether you are running a full week of summer camp or just looking for a meaningful afternoon at home, these projects deliver.
Tips for Running STEM Activities at Summer Camp
A little planning goes a long way. Before your campers arrive, keep these things in mind:
- Set up stations. Pre-pour materials into bins for each team so the start of each project is fast and exciting.
- Pair related activities. The first two projects share bubble solution. Project 3 and Project 4 share kitchen sponges. Stack them on the same day to save prep.
- Let bubble solution rest. Bubble solution works best when it sits for at least an hour, the longer the better. Mix it first thing or the day before.
- Plan for water. Several of these projects are wet. Choose an outdoor space or set up tarps inside, and have towels ready.
- Lean on the mess. Encourage kids to make predictions and write them down. The mess is part of the learning.
Project 1: Bubble Wand Engineering Challenge
Before you ever blow a bubble, you need a wand to make one. The challenge is to use the materials provided to engineer a wand or tool that makes the biggest possible bubbles.
What You Will Need
- Plastic straws
- Rubber bands (the tiny hair elastics or bracelet-making rubber bands work best)
- String or yarn
- Pipe cleaners
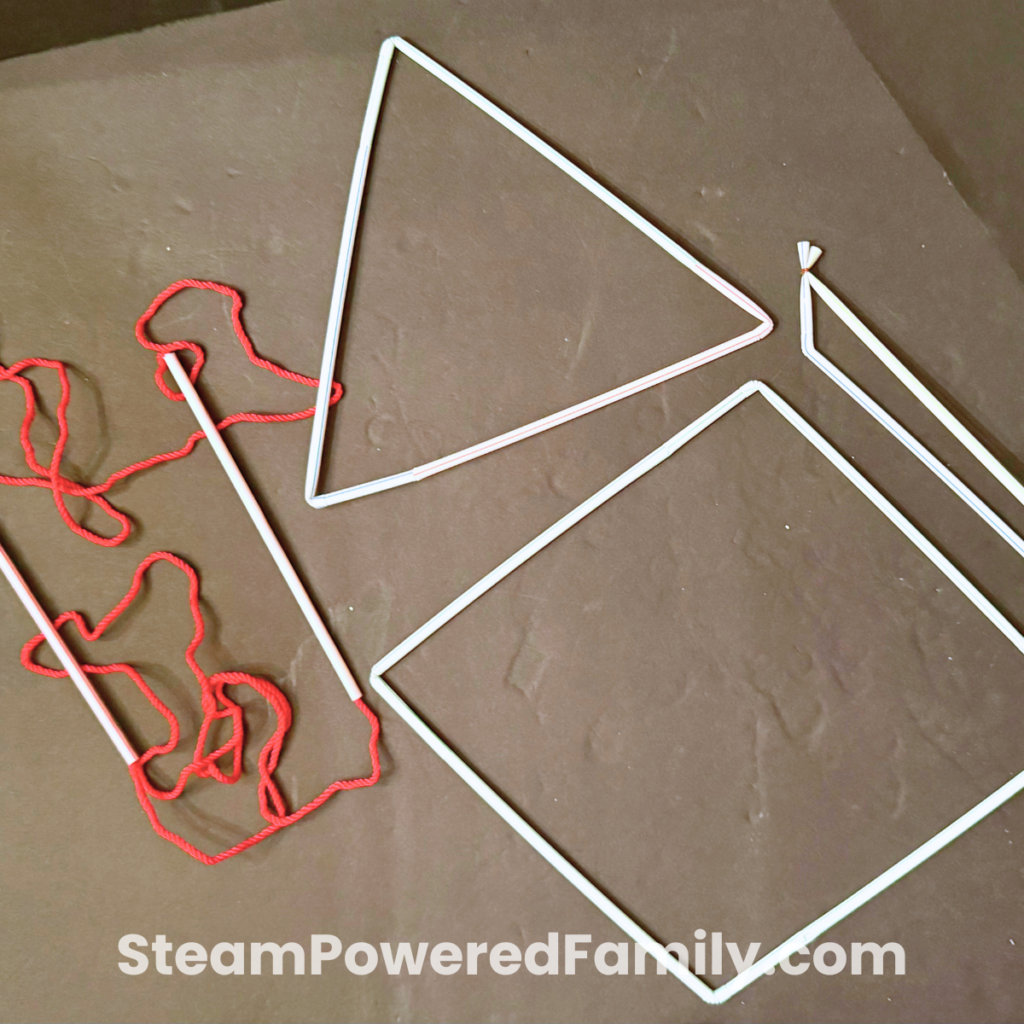
The Mission
Campers must use the materials available to design a wand or tool that will produce the biggest bubbles possible. There is no constraint on shape, but the wand has to hold together while it makes the bubbles.
Ask leading questions like: What shape wand do you think will be the strongest? Does a bigger wand automatically mean a bigger bubble? What happens if the wand bends?
Once they have a working design, set it aside and move on to Project 2 so the bubble solution has time to rest.
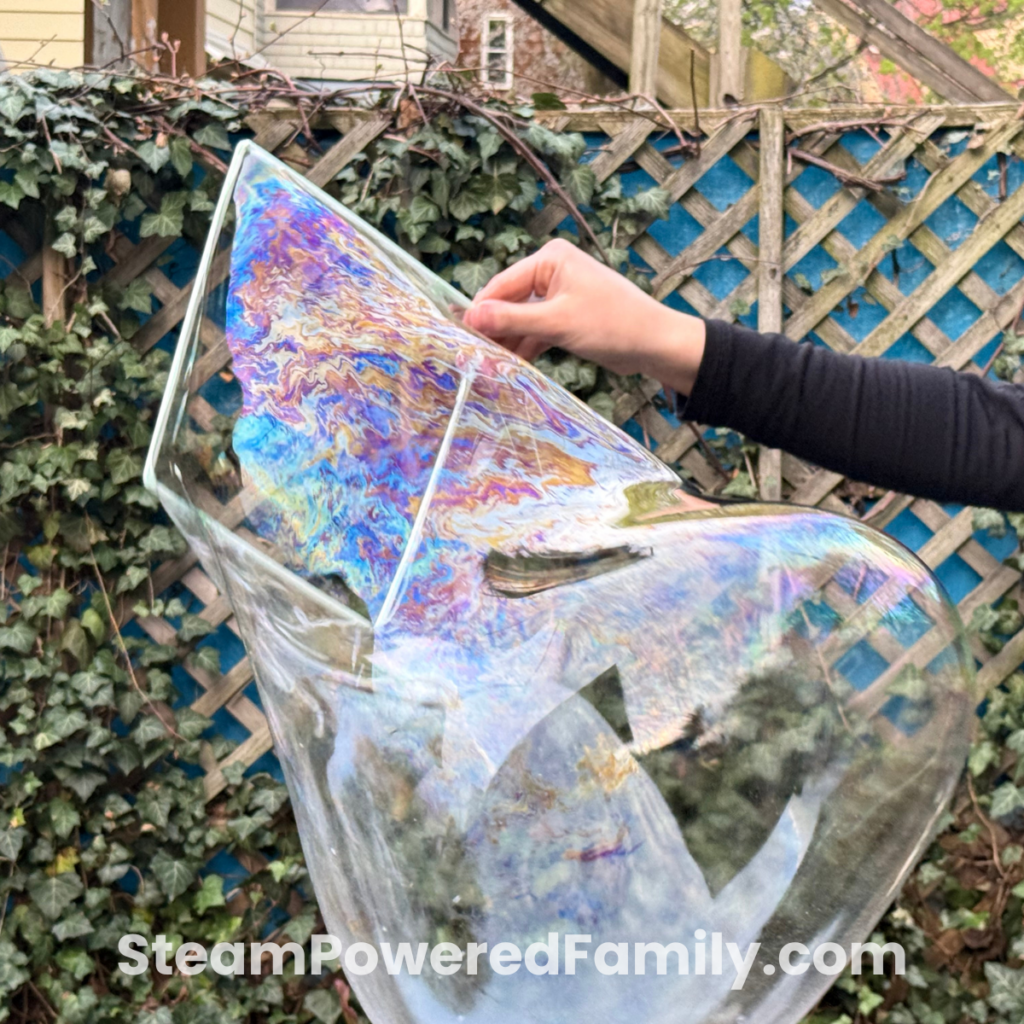
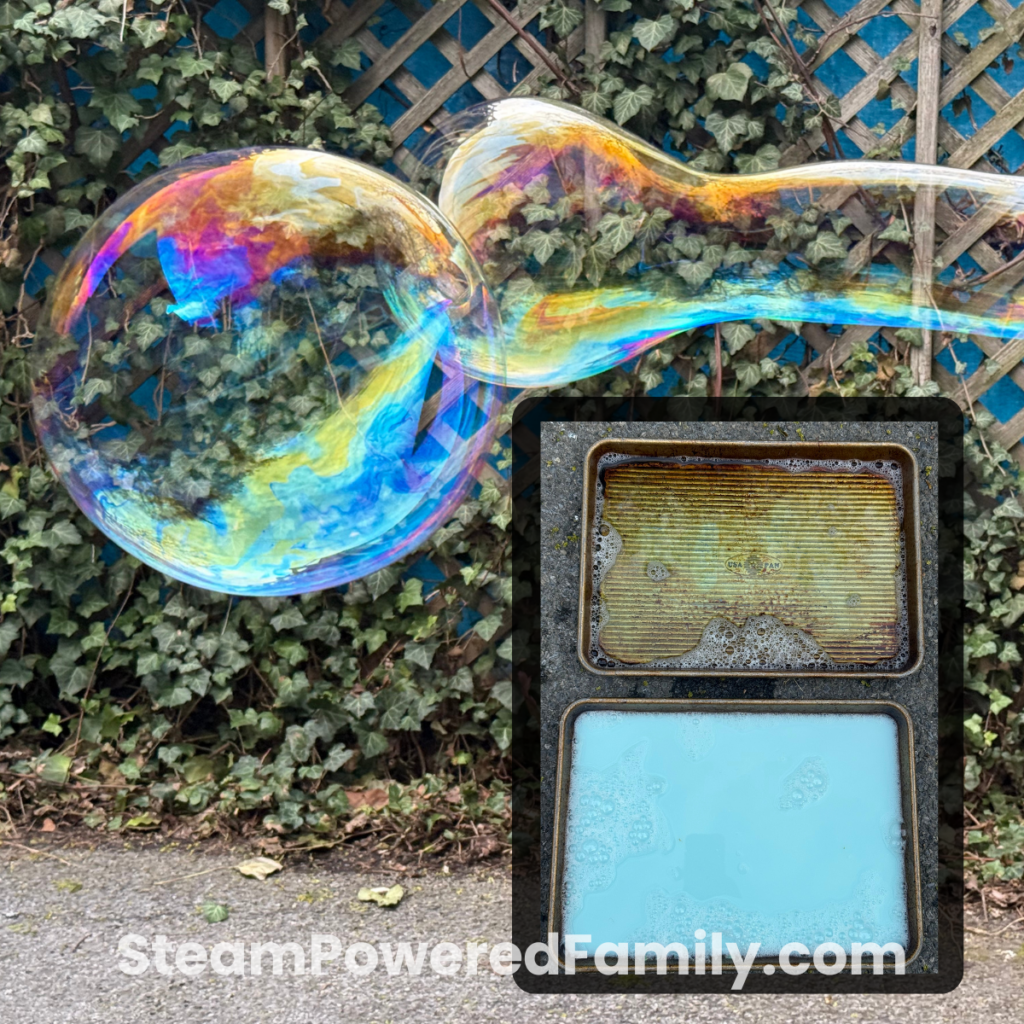
Project 2: The Great Big Bubble Comparison
For this project, we want to compare two bubble recipes to figure out which one makes bigger and stronger bubbles. You can make a basic bubble solution with just water and soap, but adding the right ingredient can change everything. The Great Bubble Comparison will tell us which add-in wins.
What You Will Need
- Buckets or basins
- Measuring cups and spoons
- Water
- Dish soap
- Corn syrup
- Cornstarch
- Baking powder
How to Make the Two Bubble Solutions
Corn Syrup Bubble Solution: Mix 4 cups water, 1/2 cup dish soap, and 1/4 cup corn syrup. Corn syrup acts as a humectant, which means it slows evaporation and keeps the bubbles from popping too quickly.
Cornstarch and Baking Powder Bubble Solution: Mix 4 cups warm water, 1/2 cup dish soap, 1/2 cup cornstarch, and 1 tablespoon baking powder. Cornstarch adds density and structure to the film, and the baking powder adjusts the pH to make the bubbles more alkaline, which strengthens the soap film.
The Lab
Have the kids try each solution with their wands. They will be testing several things:
- How does their wand work? Does a square or triangular wand still make round bubbles? (The answer: bubbles naturally want to form the shape with the smallest surface area, which is always a sphere.)
- Which bubble solution lets you make the biggest bubbles?
- Which solution makes the longest-lasting or strongest bubbles?
- Try different ways of pulling air through the wand. Does it work better to walk into it or pull it back through?
This is where the engineering challenge meets real chemistry. Kids will quickly notice that the heavier solution behaves differently than the lighter one, and that the same wand can produce wildly different results depending on the recipe.
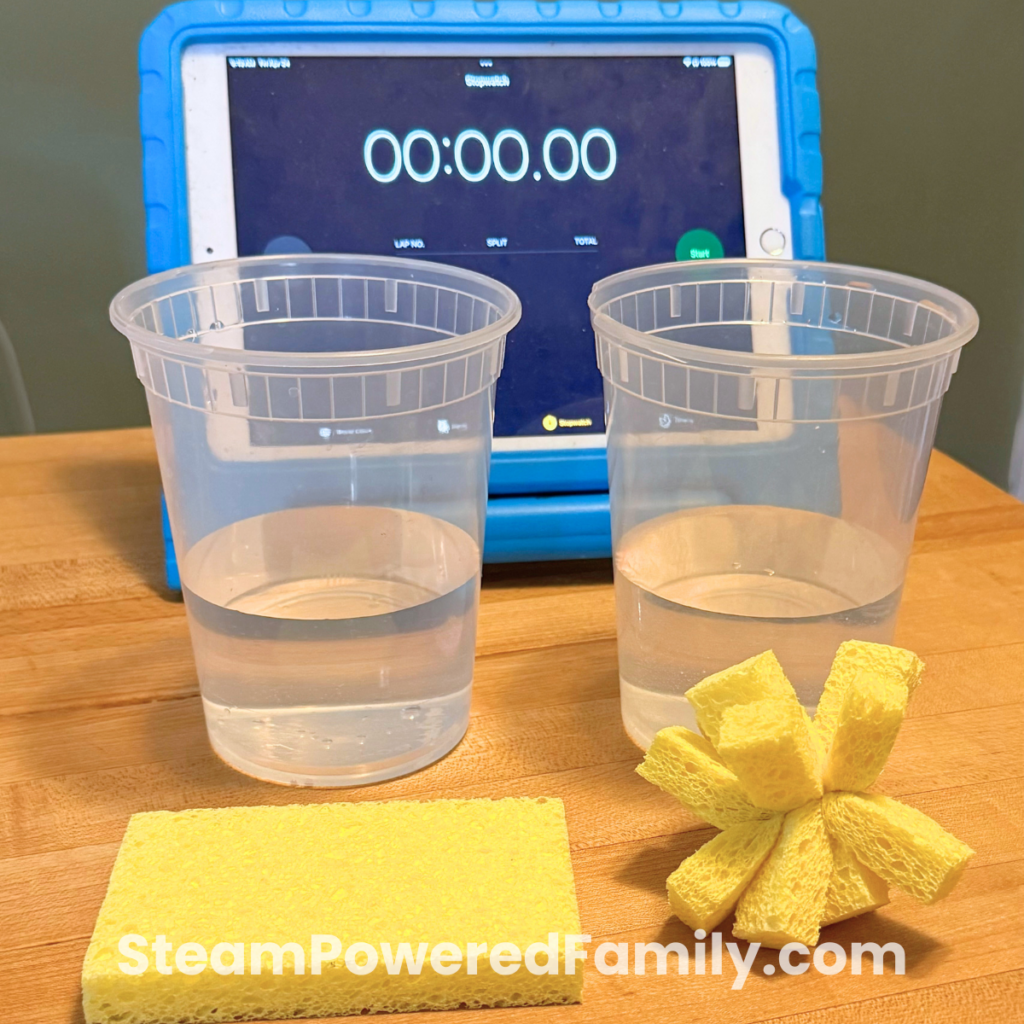
Project 3: The Sponge Absorption Lab
We are going to use basic kitchen sponges to teach volume displacement and find out just how thirsty a sponge can be.
What You Will Need
- Two clear plastic cups per student or team
- Two kitchen sponges per student or team
- Scissors
- Water
- Rubber bands
- A stopwatch
- A black marker to mark the water level at the start (optional)
The Lab
- Each team gets two plastic cups with the same amount of water in each. If they want to mark the level with a marker, this is the moment to do it.
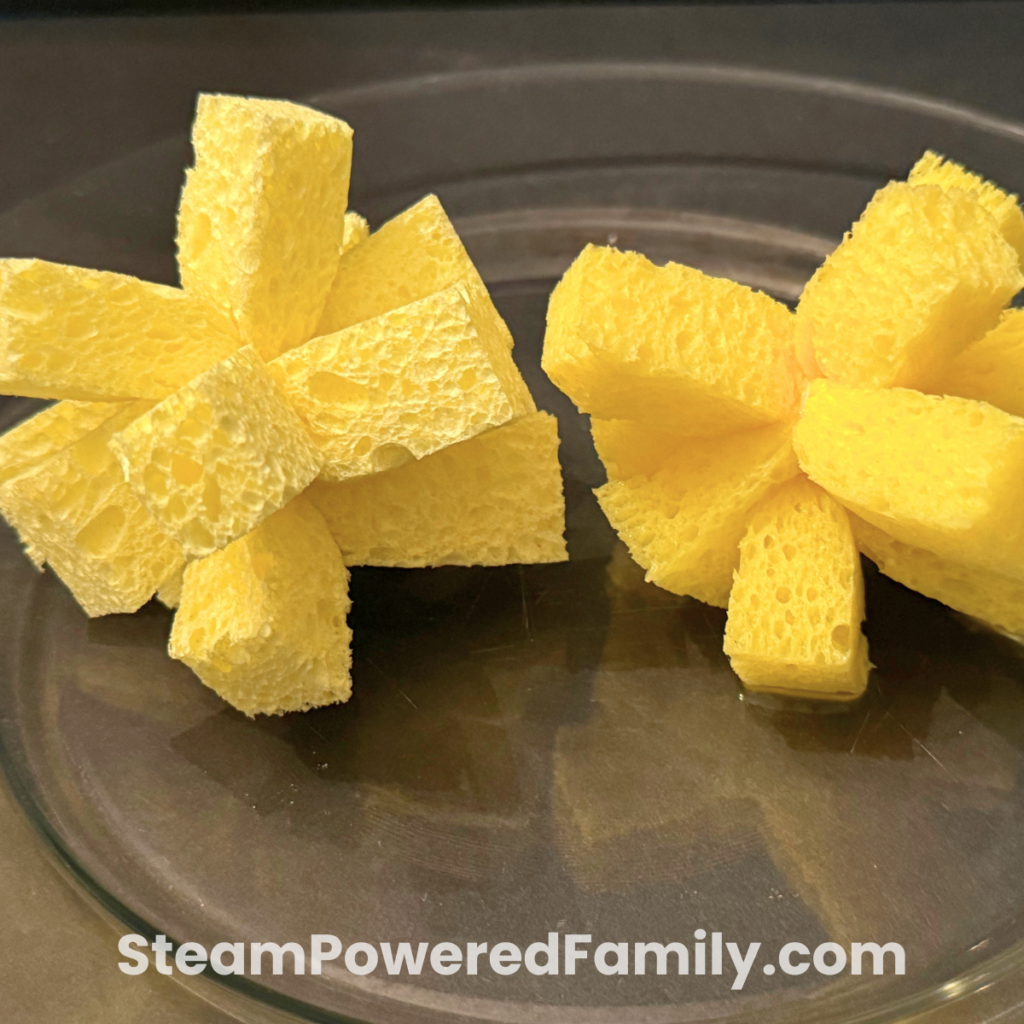
- Give each team two sponges. One stays in its original form. The other gets cut into equal strips and bundled back together with a rubber band.
The big question: Which sponge do you think will hold more water? Why?
Let the kids hypothesize what they think will happen with each sponge.
- Have the teams put each of their sponges in a cup at the same time. Set the stopwatch for 30 seconds.
- At the end of the time, carefully lift the sponges and let them drip for 10 seconds, then set them aside.
- Look at the cups. Which one has more water left? Which sponge was able to absorb more? Why do they think that happened?
The Science of Absorption
By cutting the sponge into strips, you exposed more surface area and more of the holes inside the sponge. That means the sponge had more chances to absorb the water. Surface area changes everything in science, and this is one of the cleanest ways to show it to kids.
Project 4: Wet vs. Dry Sponge Bomb Physics
This sponge bomb activity is a fantastic illustration of Newton’s Laws of Motion. How does mass change the distance a sponge can travel?
What You Will Need
- Sponge bombs (sponge strips held together with a hair elastic, made from your Project 3 leftovers)
- Water buckets
- Empty buckets for targets
- Sidewalk chalk if you would prefer drawn targets to bucket targets
Wet vs. Dry: What Is the Difference?
Explain to the kids that water adds mass to the sponge, which makes it heavier.
Newton’s First Law (Inertia): An object in motion will stay in motion unless acted upon by another force. When you throw a dry sponge bomb, it is light, so it is easy to throw. But air resistance will quickly slow it down. A water-soaked sponge bomb is heavier with a lot more mass, so it travels straighter and farther. It is barely affected by air resistance until it loses momentum and gravity pulls it down.
Newton’s Second Law (F = ma): Force equals mass times acceleration. The dry sponge takes less force because it has a low mass, so it accelerates faster when thrown. The wet sponge takes a greater force because the higher mass will not accelerate as quickly.
You can also explain that certain factors shape or control motion. The first is drag, also called air resistance. A dry sponge slows quickly because it has a lower density and more surface area exposed to the air. A wet sponge is denser and less affected by drag. Another factor is momentum, the strength of a moving object. If you got hit with a dry sponge versus a wet one, you would feel the impact of the wet sponge a lot more because it carries more density and more momentum.
The Lab
- Set up the buckets or chalk targets. Have the kids stand about three feet away and toss the dry sponge bombs.
- Ask them to pay attention to how it feels to throw the dry sponges. What do they notice as the sponges fly?
- Back up to six feet and do it again. What changes?
- Soak the sponges in water and repeat the throwing from three feet, then six feet. What do they notice now?
Another fun extension is the classic water balloon toss. Soak the sponges, toss, step back, toss, repeat. As the kids do this, have them notice how their throwing force has to change the further apart they get. Sponge bombs are a great alternative to water balloons because you can use them again and again. Cool, fun, and a perfect way to learn about the laws of motion.
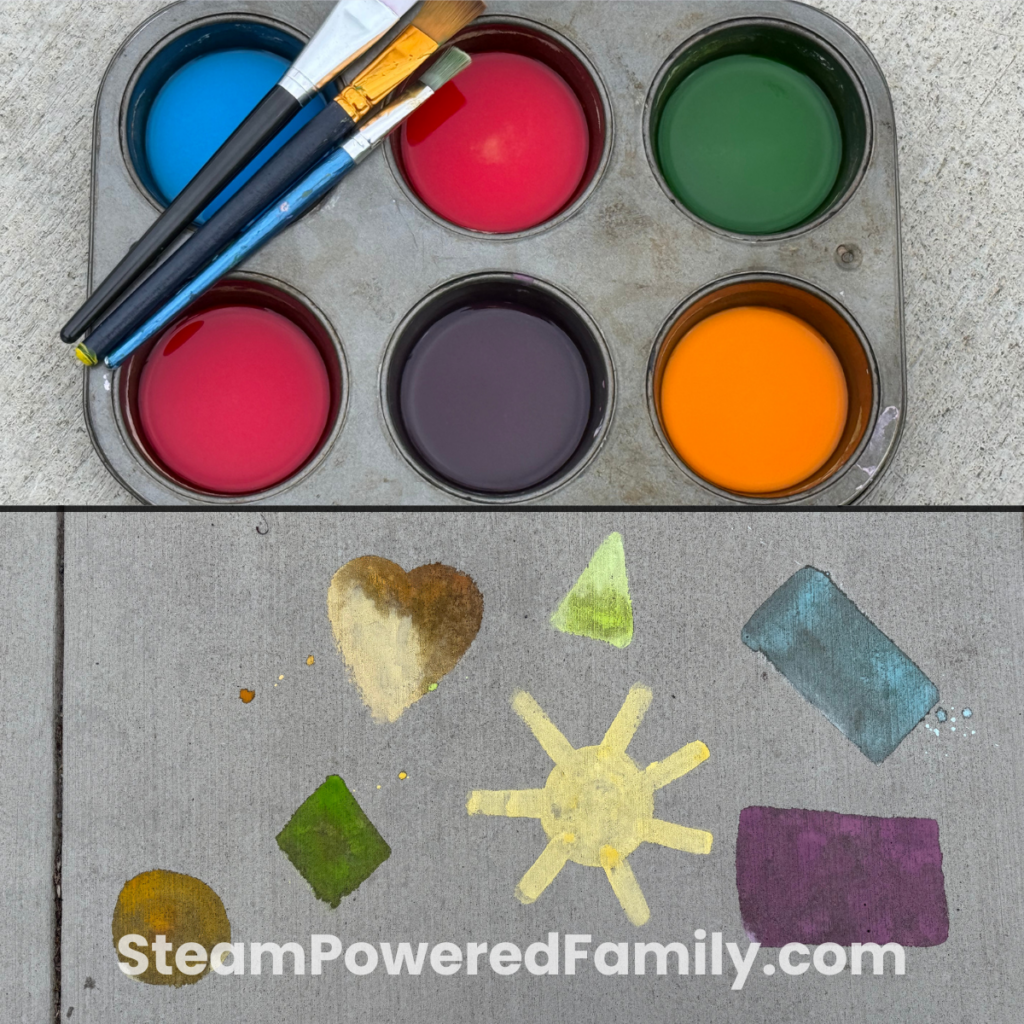
Project 5: Fizzy Chalk Paint
Let’s turn some homemade sidewalk chalk paint into a fizzy display with a baking soda and vinegar reaction. Kids love chalk paint, and adding vinegar at the end is an excellent way to show them a cool chemical reaction in real time.
What You Will Need
- 1 cup baking soda
- 1 cup cornstarch
- 2 cups water
- Food coloring
- Paintbrushes
- Muffin tins
- Spray bottle
- White vinegar
How to Do It
- Mix the baking soda, cornstarch, and water until the mixture is nice and smooth.
- Separate the mixture into muffin tin cups.
- Add a few drops of food coloring to each cup and stir.
- Use the chalk paint to create pictures on the sidewalk.
- Spray the chalk pictures with white vinegar.
- Enjoy the oooooos and aaaahhhhhhs as the chalk begins to foam up before their eyes.
What Is Happening?
You can explain to the kids that they are watching an acid-base reaction. When the baking soda (the base) gets hit with the vinegar (the acid), the two mix and create carbon dioxide gas. The bubbles rise up so it looks like the chalk is fizzing right there on the sidewalk.
How to Encourage Critical Thinking Through STEM
These projects become more powerful when you slip in a few good questions. Try working these prompts into your conversations as the kids experiment:
- What worked well in your design and why?
- What would you change if you tried this again?
- How does this activity relate to a real-world problem?
- What patterns did you notice during the experiment?
- How could we improve our results using different materials?
These questions turn a fun afternoon into real scientific inquiry, and they are easy to ask without it feeling like a quiz.
Extension Ideas for Summer Camp STEM
Once your campers fall in love with hands-on STEM, keep the momentum going:
- Run timed team challenges with leaderboards for camp competitions.
- Add journaling so kids can reflect on what they tried and what they would change.
- Increase the difficulty by adding constraints, like limited materials or shorter time limits.
- Connect each activity to a real-world STEM career, like an architect, chemist, or aerospace engineer.
- Take any of these activities outdoors and adapt them for nature-based learning.
Want to keep the STEM hits coming? Stretch into states of matter with classic oobleck, or take on the earthquake STEM challenge for a real-world engineering project. Light up some creativity with a circuit-tree introduction to circuits, race some marbles in our density marble race, or push the engineering design process with our open-ended Make It Move STEM challenge.
Final Thoughts on Summer Camp STEM Learning
These summer camp STEM activities for kids are sure to create memories and lessons that last a lifetime. Hands-on, high-energy, and still educational. You are checking all of the boxes with these camp ideas, and the kids will not even realize how much they are learning.
Pick one project, gather your supplies, and let curiosity take it from there. I hope you try them with your group this summer.
For more ideas to fill out your camp calendar, take a look at these summer camp resources next:
Superheroes and Spies Summer Camp
Frequently Asked Questions
Hands-on experiments and engineering challenges make summer STEM fun and engaging. Bubble engineering, sponge absorption labs, sponge bomb physics, and fizzy chalk paint are all crowd favorites that kids beg to repeat.
Use interactive, project-based activities that encourage exploration and problem-solving. Set up stations with pre-measured supplies, ask leading questions, and let campers work in teams so they can share ideas and learn from each other.
Simple experiments and engineering challenges work best for elementary kids. Slime, building challenges, motion activities, bubble engineering, and chalk paint chemistry are all approachable, engaging, and packed with learning.
Summer STEM activities prevent the summer slide, the loss of academic skills that often happens during the break. They also build critical thinking, creativity, and confidence, all in a way that feels like play instead of school.
Absolutely. Many STEM challenges, especially the wet and messy ones, are perfect for outdoor summer learning. Bubble engineering, sponge bomb physics, and fizzy chalk paint were all built with the backyard or driveway in mind.