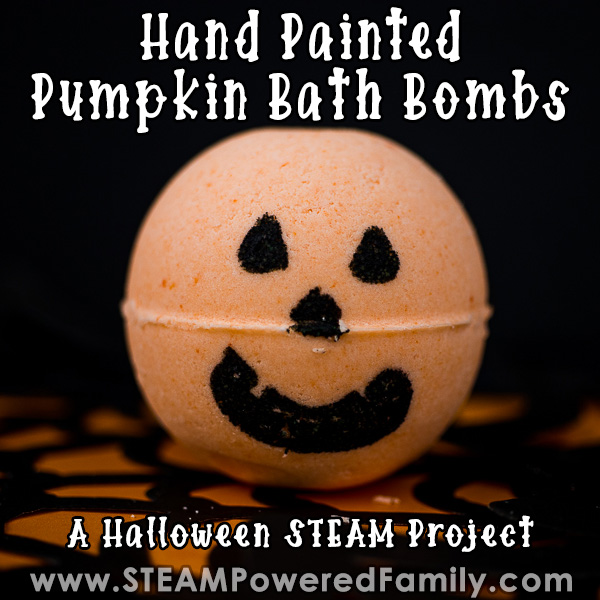
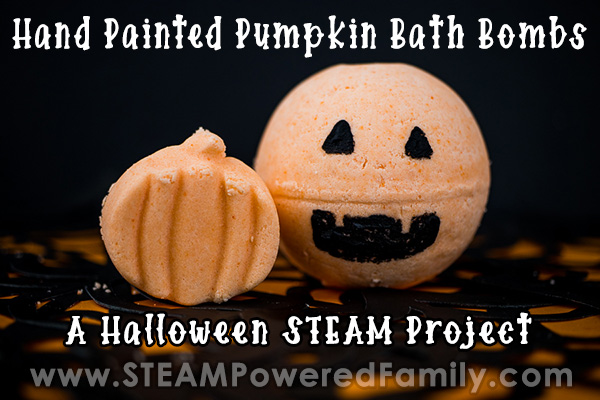
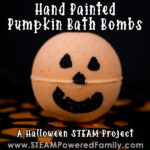
Hand Painted Pumpkin Bath Bombs Recipe
We love Halloween! My kids get so excited at this time of year to learn and try new things. And their creativity is through the roof! In the past year we have developed a love of bath bomb making. Not only do we do lots of great math and chemistry with these projects, but we also sneak in some art. For Halloween we made Pumpkin Bath Bombs with hand painted faces, and they… are… amazing!
Hand Painted Pumpkin Bath Bomb Making Project
Disclaimer: This article may contain commission or affiliate links. As an Amazon Influencer I earn from qualifying purchases.
Not seeing our videos? Turn off any adblockers to ensure our video feed can be seen. Or visit our YouTube channel to see if the video has been uploaded there. We are slowly uploading our archives. Thanks!
I wish I was a talented artist. This is exactly the kind of activity that I know someone could do amazing things with! Sadly my talent ends at stick figures and very simple hand painted shapes.
But despite my limitations as an artist, these Hand Painted Pumpkin Bath Bombs turned out AMAZING!!!! We had so much fun making them.
Tweens and Teens can do this project themselves with minimal help, but younger kids will still love getting in on the Halloween decorating action with help from a responsible adult.
Why We Love Bath Bomb Making As a Craft
We consider bath bomb making a craft around here because it is an incredibly creative process. The best part is that my craft adverse kids love making bath bombs and unleashing their creativity on these projects. Why? Well it involves some fascinating science, is very sensory and tactile, plus they love using their creations!
Another thing I personally like about bath bombs as a creative outlet is that it is a zero waste craft. I love my kids creations dearly, but so much of what they used to make created a ton of garbage and there was no way I could keep all of their creations. At one point I was drowning in so much kid created clutter. It was causing me a lot of anxiety. And the kids had zero attachment to the pieces they had made years ago. So into the bin most of them went.
With bath bombs our creations get used and enjoyed! Either by my kids or by people they have gifted them to. So there is no waste! Win!
Hand Painted Pumpkin Halloween Bath Bomb Making Video
Watch the process in high speed! Then get the step by step directions and recipe for our Halloween Pumpkin Bath Bombs below.
Pumpkin Bath Bomb Recipe
For this project we went with a fairly simple bath bomb recipe as the highlight was the hand painting!
SUPPLIES
2 cups baking soda
3/4 cup citric acid
1/4 cup cream of tartar
1 cup cornstarch
1/3 cup coconut oil
2 tablespoons polysorbate 80
10-20 drops pumpkin pie essential oil
Orange mica powder
Orange soap colorant
1 large mixing bowl
1 microwave safe measuring cup or bowl
Measuring cups and spoons
Bath Bomb Molds
Disposable gloves
Parchment paper
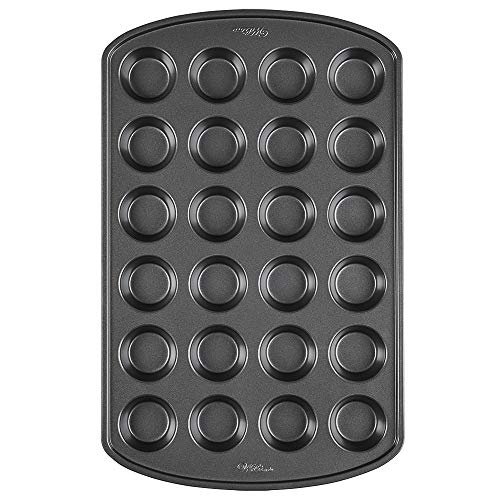
Mini-muffin tray
Silicone Molds – Pumpkin Shaped
For Hand Painting
1 tsp coconut oil
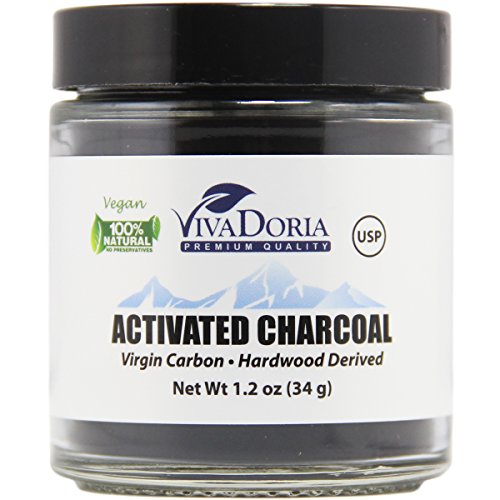
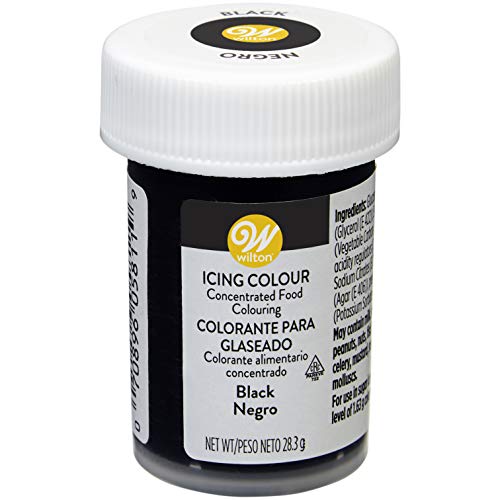
1/2 tsp activated charcoal or black gel food coloring
small container
Fine paint brush
Candy decorating pens
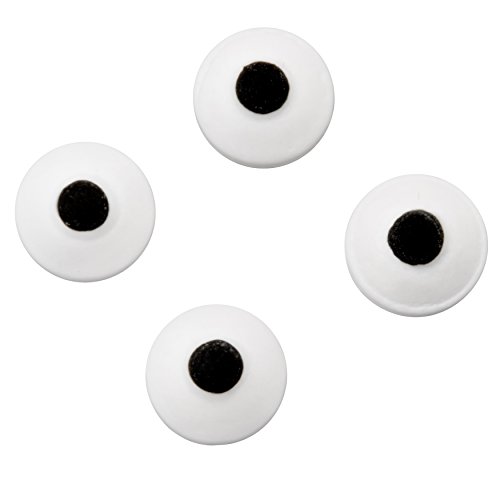
Candy eyes


HOW TO MAKE PUMPKIN BATH BOMBS
I always recommend making bath bombs in a well ventilated area and cover your table with parchment paper to make clean up easier.
Just like cookies, we start by mixing up our dry ingredients. Add the baking soda, citric acid, cream of tartar and cornstarch to a large bowl. Stir to combine.
In a microwave safe bowl add your coconut oil and melt in the microwave. Don’t let it boil! Just get it to the point it turns liquid.
Add the essential oils, mica (1 tbsp), colorant (2 drops) and polysorbate 80. Mix. Keep the mica and colorant near by in case you need to add a bit more.
Pour the liquid mixture into the dry mix bowl. Put on the disposable gloves and start mixing with your hands. You want to really mix everything together evenly and ensure there are no clumps. It should start to hold together like wet sand.
If the color is not rich enough for you, add a bit more mica or colorant and mix well.
Pack the Molds
Packing the molds is a skill! Once you master it, you will find the process quite easy, but it will take a bit of trial and error to get there.
Loosely heap mixture in each half of the mold. Then squish the mold together, twisting a bit until the halves meet.
Tap the ends and you may want to tap along the join point as well. You should feel the bath bomb move a bit inside the mold when you tap. Once you feel that movement, pop it open and reveal your bath bomb!
Place the bath bombs in a mini-muffin tray. This helps keep them in place so they don’t roll around.
If you have some left over mix, you can put it into a pumpkin shaped silicone mold to make some little pumpkin bath fizzes.
Set in a warm, dry place and let them harden for at least 24 hours. I usually leave mine for 48 hours just to be sure they are nice and hard.
Once they are hard, it is time to paint!
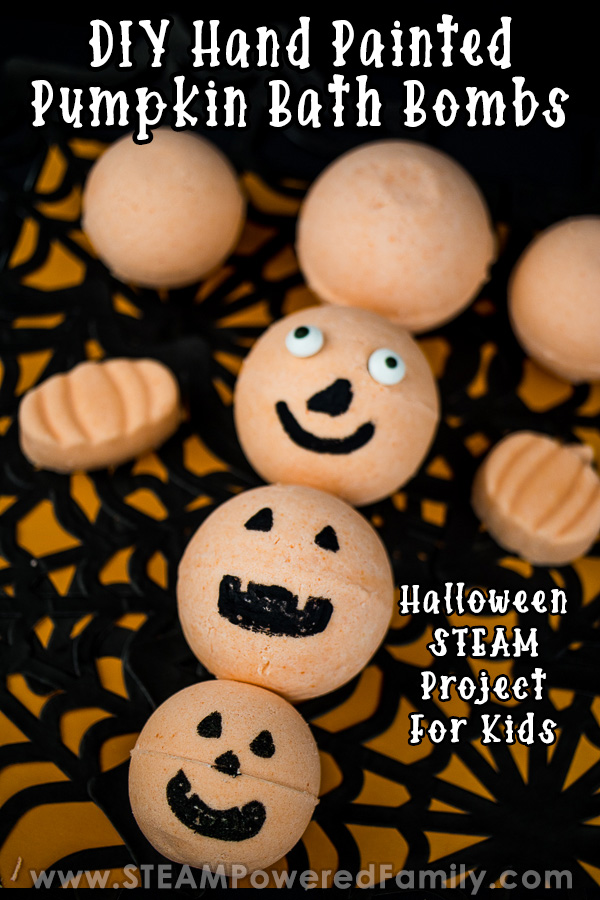
Hand Painting Pumpkin Bath Bombs
We used a few approaches to paint our bath bombs.
The simpliest is to use a Candy Decorating Pen in black and simply draw on the faces.
You can also melt a bit of coconut oil and add in some activated charcoal and paint the designs on with a fine paint brush.
Plus you can attach candy eyes using a bit of melted coconut oil. Once the coconut oil sets, the eyes will be nicely attached.
Get creative with your pumpkin designs! I know we have some incredibly talented artists in our STEAM Powered Family that will make some amazing pumpkin bath bomb creations! I would love to see them if you want to tag me (@steampoweredfamily) on Instagram!
THE SCIENCE BEHIND THE FIZZ
To turn bath bomb making into an educational activity, and to increase your successes, you need to understand the science behind the beloved bath bomb fizz.
Bath Bombs are a simple acid-base reaction between baking soda and citric acid. In their dried, powdered form you can combine the acid and base and they will not react. We need to add the magical ingredient to trigger the chemical reaction, warm water!
We did a study showing how water temperature affects the fizz. You can read more about that here.
Another fascinating science principle at work here is the role of the emulsifier, polysorbate 80. We all know oil and water don’t mix. That’s until you add an emulsifier. This is a key bath bomb ingredient because without it all your oils, colours and scents will float on top of your bath water in a kind of scummy layer that sticks to everything. Make sure you add the emulsifier for a luxurious bath experience and easier clean up after the bath!
Happy Halloween!
MORE HALLOWEEN ACTIVITIES FOR KIDS
Hand Painted Pumpkin Halloween Bath Bombs
A fun and creative bath bomb making project for Halloween with hand painted pumpkins
Supplies
Making the Pumpkin Halloween Bath Bombs
- 2 cups baking soda
- 3/4 cup citric acid
- 1/4 cup cream of tartar
- 1 cup corn starch
- 1/3 cup coconut oil
- 2 tbsp polysorbate 80
- 10-20 drops pumpkin pie essential oil (or any other pumpkin scent you love)
- 1 tbsp Orange mica powder
- 2 drops Orange colorant
Painting Pumpkin Bath Bombs
- 1 tsp coconut oil
- 1/2 tsp activated charcoal Or use black gel food coloring
- Black candy decorating pen
- Candy Eyes optional
Instructions
Making the Halloween Bath Bombs
-
Add the baking soda, citric acid, cream of tartar and cornstarch to a large bowl. Stir to combine.
-
In a microwave safe bowl add your coconut oil and melt in the microwave.
-
Add the essential oils, mica (1 tbsp), colorant (2 drops) and polysorbate 80. Mix.
-
Pour the liquid mixture into the dry mix bowl. Put on the disposable gloves and start mixing with your hands. You want to really mix everything together evenly and ensure there are no clumps. It should start to hold together like wet sand.
-
Pack the molds to shape your bath bombs. Loosely heap mixture in each half of the mold. Then squish the mold together, twisting a bit until the halves meet. Tap the ends and sides, then remove your bath bomb from the mold.
-
Let set for minimum 24 hours.
Painting the Pumpkin Bath Bombs
-
Method 1 – Use a candy pen in black and draw on the faces.
-
Method 2 – Melt 1 tsp of coconut oil and mix with activated charcoal or black gel food colouring. Paint on the faces. You can also use the coconut oil to attach candy eyes.