Pressed Sugar Candy Halloween STEAM Activity
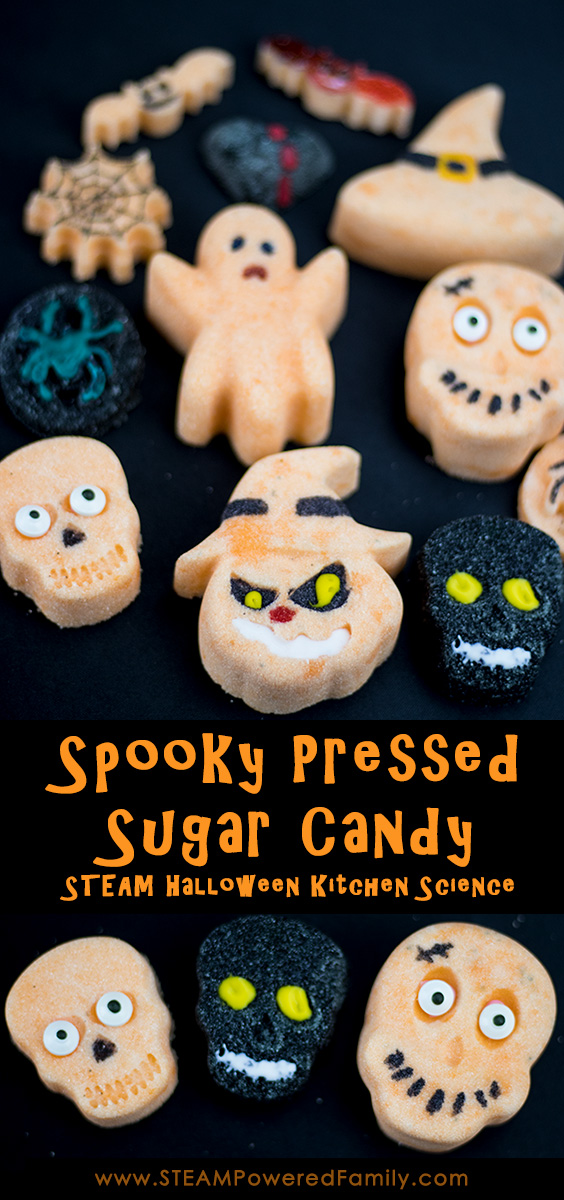
Looking for something fun and different to try this Halloween? Check out these pressed sugar candy treats! They are super easy to make and kids of all ages LOVE this activity! It is also a great way to sneak a little chemistry and art into your Halloween plans with a little kitchen science. Are you ready to learn how to make these awesome treats? Here is our Pressed Sugar Candy Halloween STEAM Activity!
Disclaimer: This post contains affiliate links
This activity is so much fun. Some of the bigger pieces may be a bit too big to eat, but the smaller ones got the thumbs up from the kids. Think of this activity like the ultimate sand castle building activity but with sugar! And what kid doesn’t love using sugar in their science?
HALLOWEEN PRESSED SUGAR CANDY – THE SCIENCE
So what is the magic that makes the sugar become a hard candy? The sucrose molecule can form links to other sucrose molecules to become sugar granules. To do this, it uses the small hydrogen atoms in it’s structure when water (H₂O) is present.
Sugar cubes connect individual sugar granules together with the same process. Simply take sugar add a little bit of water to encourage the sugar to clump and shape by tightly packing. When the water evaporates from the packed sugar, some of the sugar granules will have melded together, making a big matrix of sugar that holds its shape.
Making pressed sugar treats is fun and easy for anyone to try, plus it uses items you probably already have on hand!
Pressed Sugar Candy Ingredients and Tools
This process is so easily all you need is:
Silicone molds
Spoons
Bowls for mixing
Latex gloves to protect hands from the coloured sugar (you will dye your skin without gloves!)
Sugar
Water
Gel food dye
Decorating supplies
Click on the following images to get more information!
Domino Premium Pure Cane Granulated Sugar, 64 OunceHalloween Flexible Silicone Ice Cube Mold Trays (Set Of 3) Skulls Spiders Pumpkins
IHOMECOOKER 4PC Silicone Halloween Ghost Pumpkin Baking Mold Set
HS Halloween Theme Silicone Mould Fondant Sugar Bow Craft Molds DIY Cake Decorating (Orange)
Wilton 609-131 Candy Melt Writing Pen, Bright Color
Wilton 601-5580 1/2-Ounce Certified-Kosher Icing Colors, Set of 12
Wilton Candy Decorating Pen Set
Wilton Food Writer Edible Color Markers
You can also add some flavouring, such as peppermint or orange, to make the hard sugar treats more tasty if you plan to eat them.
That’s it! You are ready to go!
HOW TO MAKE PRESSED SUGAR CANDY
Mix about ½ cup of hot water with about 15 -20 drops of food colouring – stir until thoroughly dissolved. We used Wiltons gel icing colour because it’s more vibrant than regular food colour.
Add the coloured water to the sugar in a large bowel one tablespoon at the time. The ratio is about 1 tablespoon of water to 1 cup of sugar but this could vary depending on humidity and heat. The resulting mix will be the consistency of damp sand.
Remember our analogy of building a sand castle!
Mix using your hands but put on latex gloves so that your hands don’t get stained by the sugar mixture.
Press the mixture firmly into the molds – use a spoon to press the mixture down so they are no little pockets of air in the mold and the sugar granules have a chance to bond together.
Leave to dry completely. This will take about about 24 hrs if left in a dry, warm area.
While you are waiting for it to dry, why not join the STEAM Powered Family mailing list and do our free Halloween Maze and Word Search. Made a little extra challenging for your older kids!
Once they are dry and hard, carefully remove the shapes from the mold.
If they start to crumble it means they were not packed tight enough and air was left between the grains. Make sure the next batch is pressed really firmly into the molds.
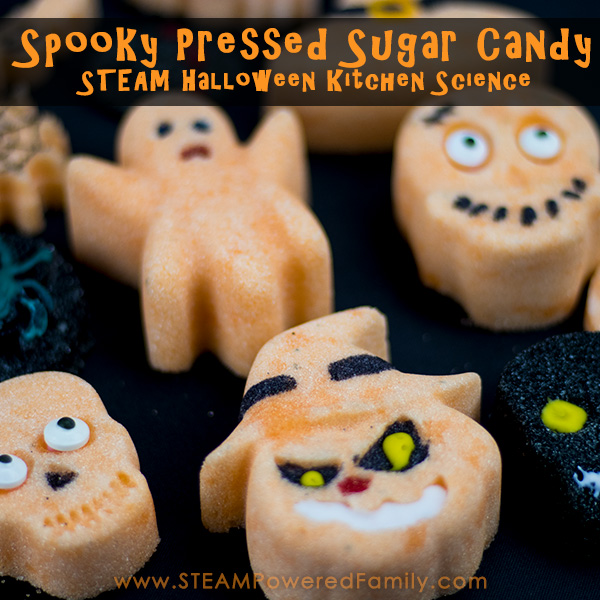
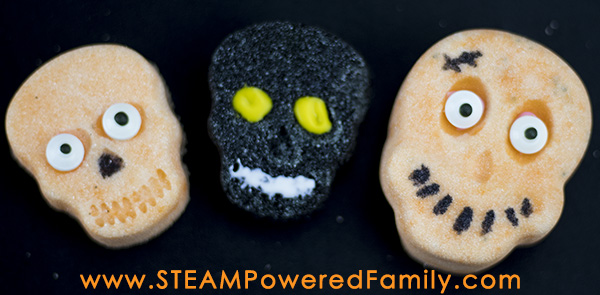
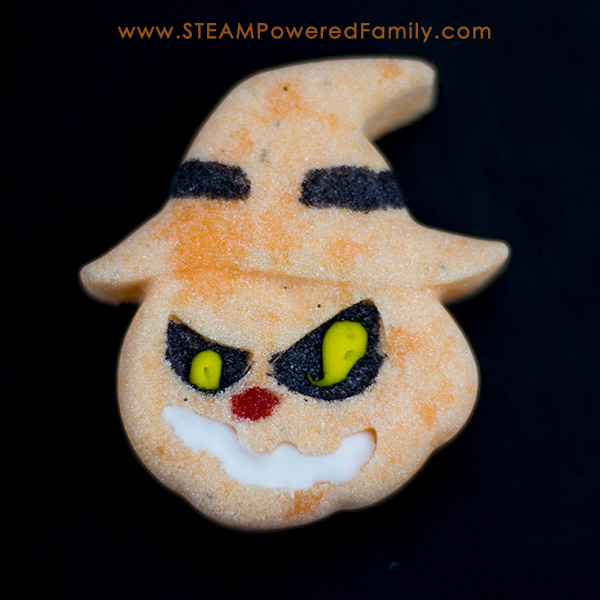
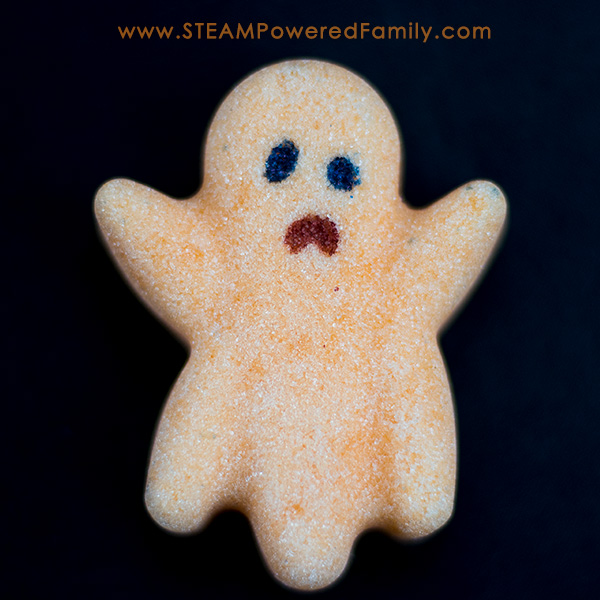
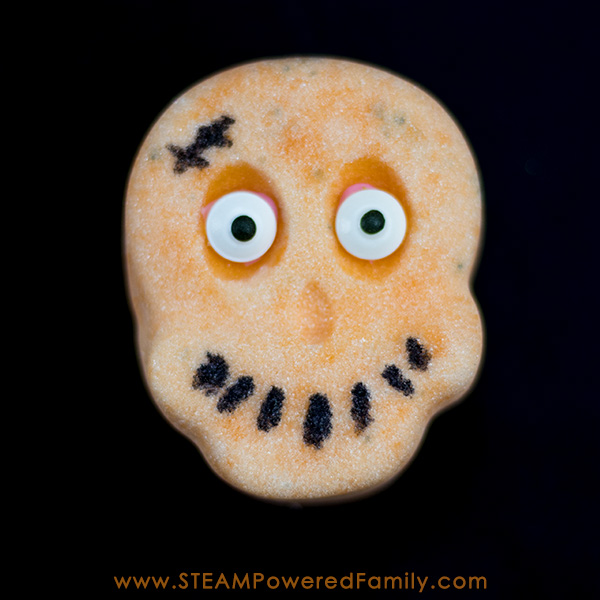
Now go wild with icing pens, sprinkles and even edible eyeballs to make unique tasty sugar decorations for Halloween.
This activity is fun for your kinder through teens. Have fun!


