Spooky Halloween Candy Dispenser STEM
Halloween is coming up fast and we have a fantastic Halloween STEM project for you today building a Candy Dispenser. This relatively simple and quick STEM project incorporates lessons on simple machines, and provides a fun way for your students to do some classroom Trick or Treating and share candies with their classmates.
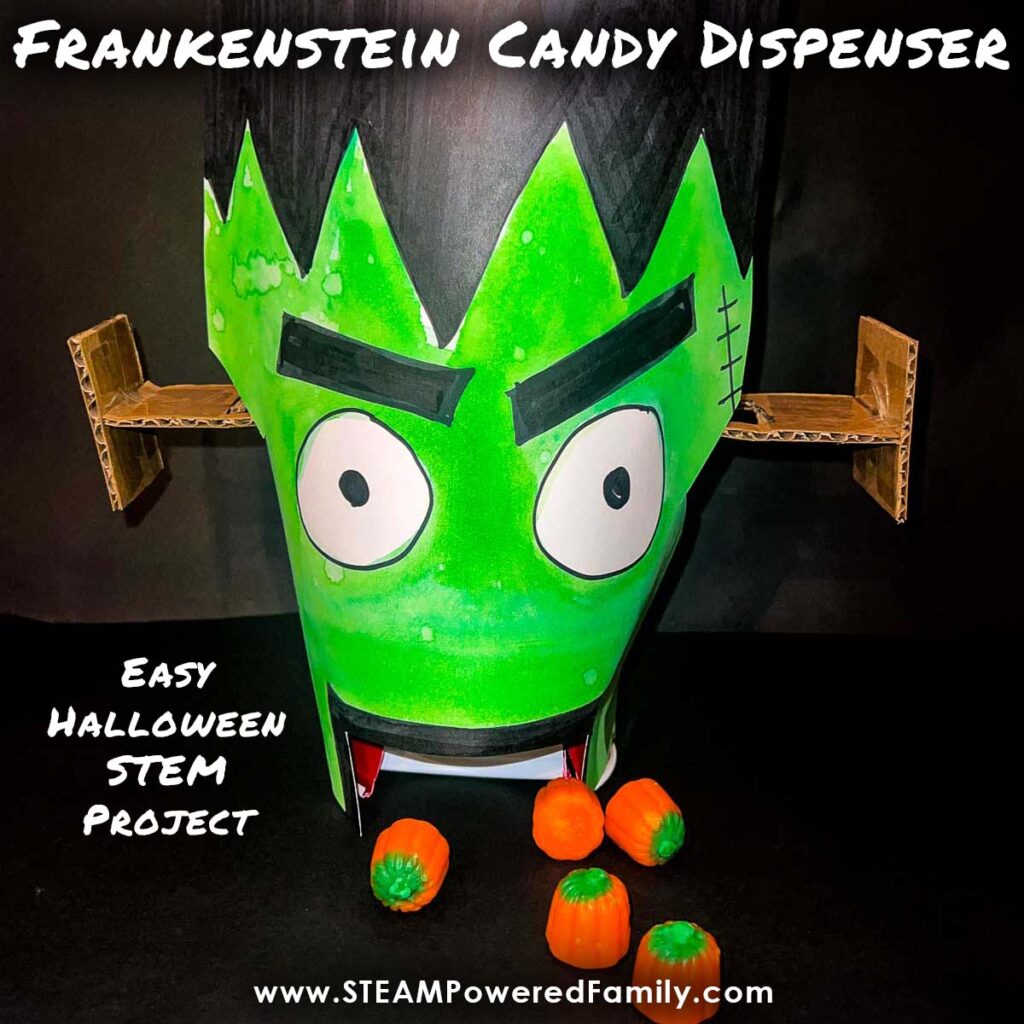
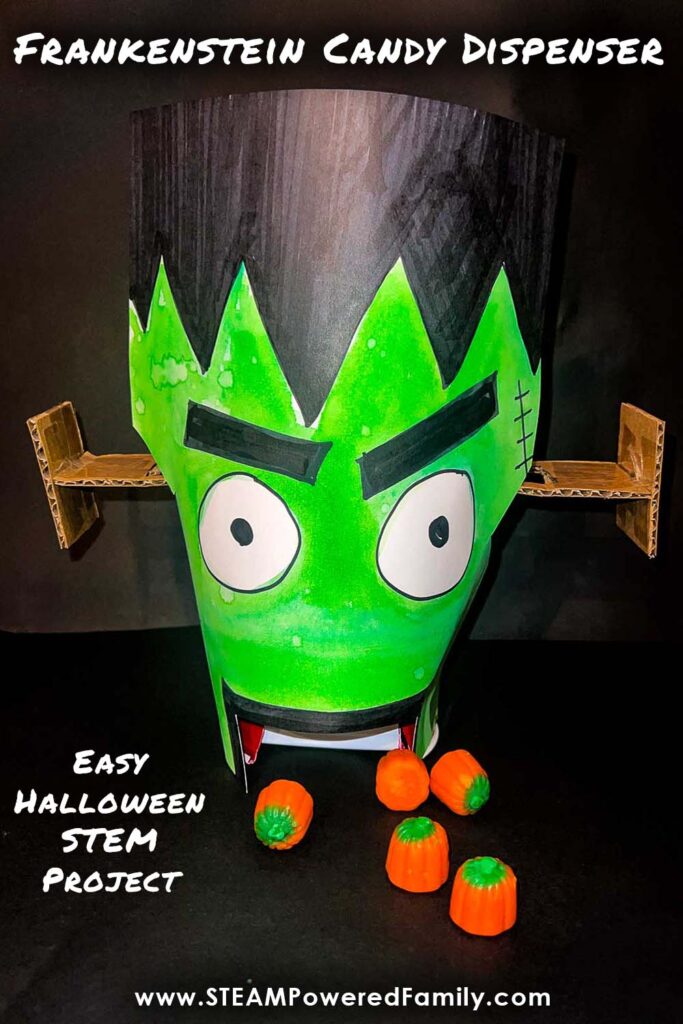
Frankenstein Candy Dispenser
Halloween Classroom STEM Project
Table of Contents
Disclaimer: This article may contain commission, paid partnerships, or affiliate links. We independently review everything we recommend. When you buy through our links, we may earn a commission from qualifying purchases.
With Halloween fun on the horizon my mind always turns to ways I can incorporate the holiday into my STEM projects. Since Halloween is all about the candy I thought – let’s construct a Frankenstein candy dispenser. This spooky Halloween candy machine is simple enough for the younger classes to build but covers great concepts like critical thinking, collaboration and creativity.
STEM Concepts and Lessons
This Halloween Candy Dispenser is a fantastic way to work in some powerful STEM lessons. Students explore simple machines, such as an inclined plane, that delivers candy down a chute. When you’re talking about this candy ramp with your students, make sure you explain the STEM. An inclined plane like this is a simple machine. Simple machines, like pulleys, levers and inclined planes, make work easier. In this case the inclined plane allows the candy to come to you rather than dropping straight down and you needing to go looking for it.
Plus they learn about gravity as the feeder mechanism for the candy making its way from the “hopper” to the hand. Engineering skills develop as they build their candy dispenser. This project even incorporates some math in the measuring!
For even more ideas, make sure you check out
31 Days of Halloween STEM Activities
Materials
For this project I used simple STEM materials that you probably have on hand. I highly recommend that everyone have a No Prep Classroom STEM Toolkit available, which is filled with the items you need for this kind of project all year long.
Each dispenser will need the following:
2 and a quarter plastic cups – we used classic red solo cups (The quarter cup we will be using for the inclined plane, chute for the candy so you will essentially need 1 extra cup for every 4 builds)
2 jumbo craft sticks
A ruler
Scrap Cardboard
Scissors
Tape
Paper, Markers, Crayons or Paints for decorating
Small candy that will fit through the bottom of the red solo cup.
Directions
This candy dispenser works by pushing the bolts on Frankenstein’s neck in either direction. Inside the machine moving the bolt will move the stopper that keeps the candy in the top part of the dispenser.
Cut The Cups
Cut a square or circle out of the bottom of each of your two cups.
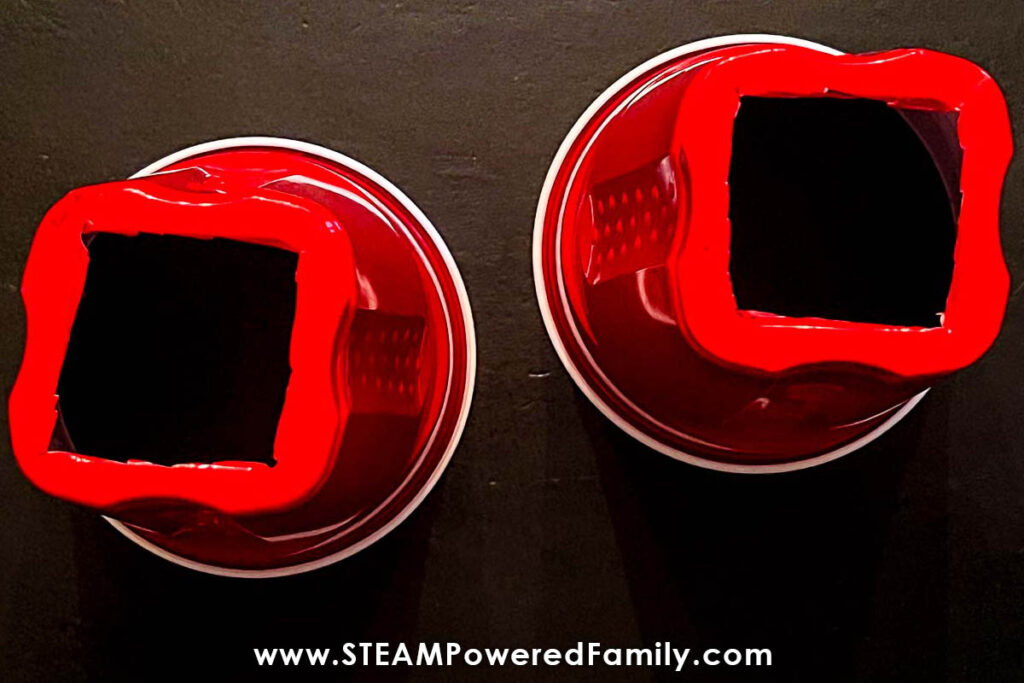
Pro Tip! To help prep this step for the younger classes, I stacked the cups and cut through several at a time with a box cutter. I do not recommend having students do this, but if you want the focus to be on the building and not the cutting – completing this step for them can help.
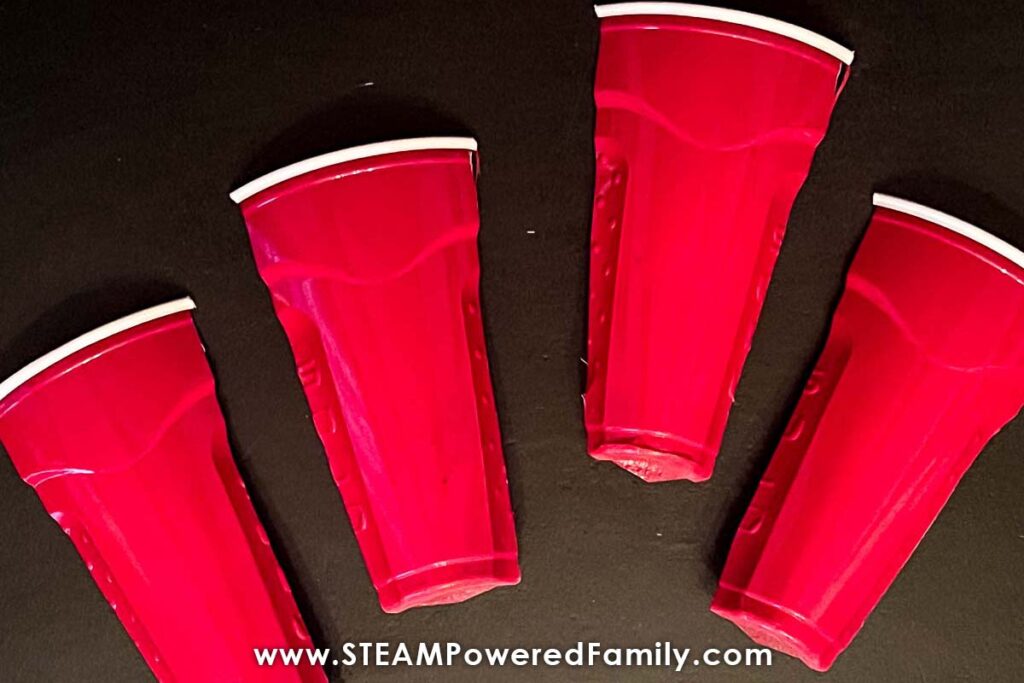
You can also cut the extra cup into quarters so it is ready when you start – straight up the sides and across the bottom so make a slide for the candy to roll down.
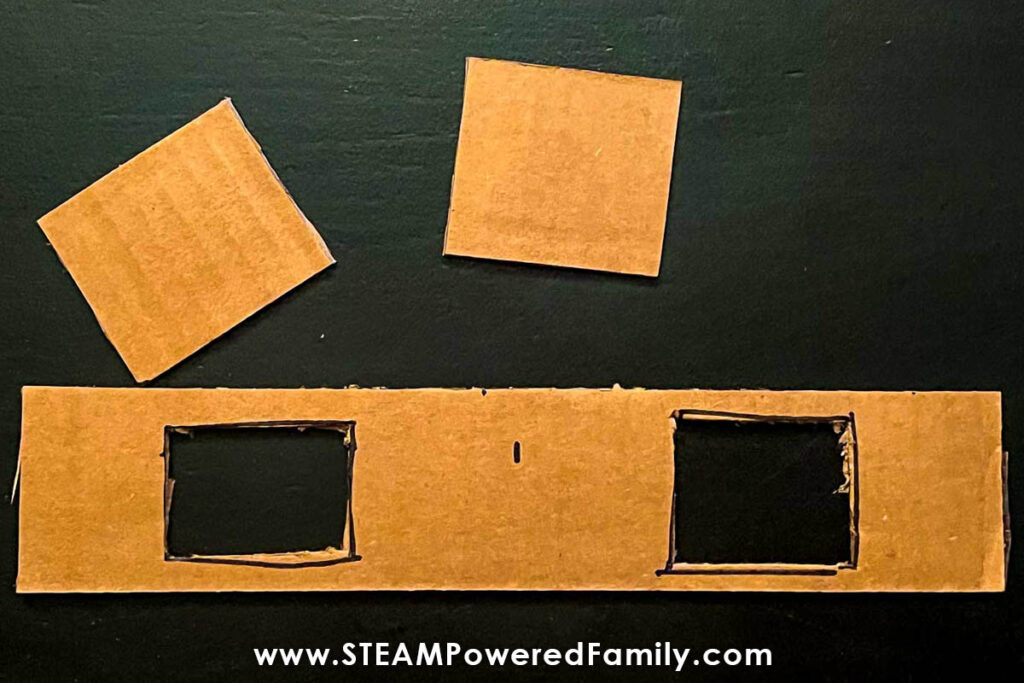
Cut the Cardboard
Measure the distance across the bottom of the cup, it should be approximately 2 inches. Then using this measurement, cut a strip of cardboard the same width as the cup and about ten inches long. So about 2″x10″.
You will also need two pieces of cardboard to act as the bolts. They should measure about 2 inches square or circle, whichever your students prefer. We went with square.
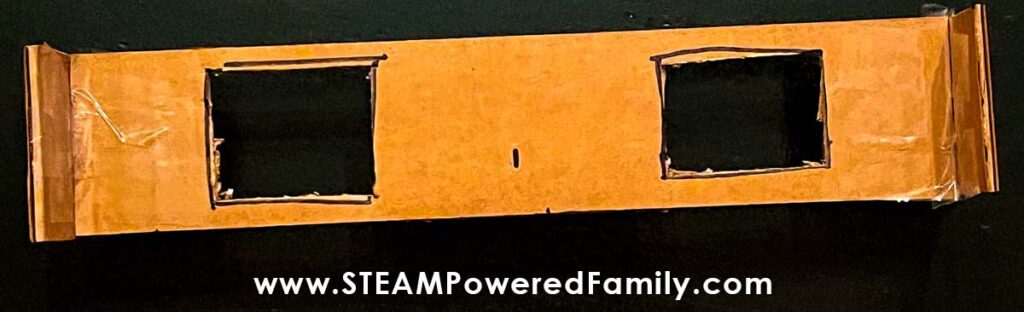
Make the Candy Holes
Using the long strip of cardboard, make a mark at the halfway point of the strip of cardboard. Then measure again, halfway between each of the ends and the center mark so you have divided the strip into quarters. This is an easy opportunity to work some math into the lesson. If the strip is 10 inches long, what is the halfway point? Half of 10 is 5. Now, what is the halfway point between 0 and 5? 2.5.
At both of the quarter marks the students will need to cut holes big enough that the candy can fall through easily when it passes the holes in the bottom of the cups. Make sure they leave enough of a lip to ensure the structural integrity of the cardboard strip.
Add Frankenstein’s Bolts
Take the two smaller pieces of cardboard and tape them to either end of the strip you were just working on – these pieces should sit perpendicular to the first. This piece will act as Frankenstein’s bolts for our candy dispenser machine
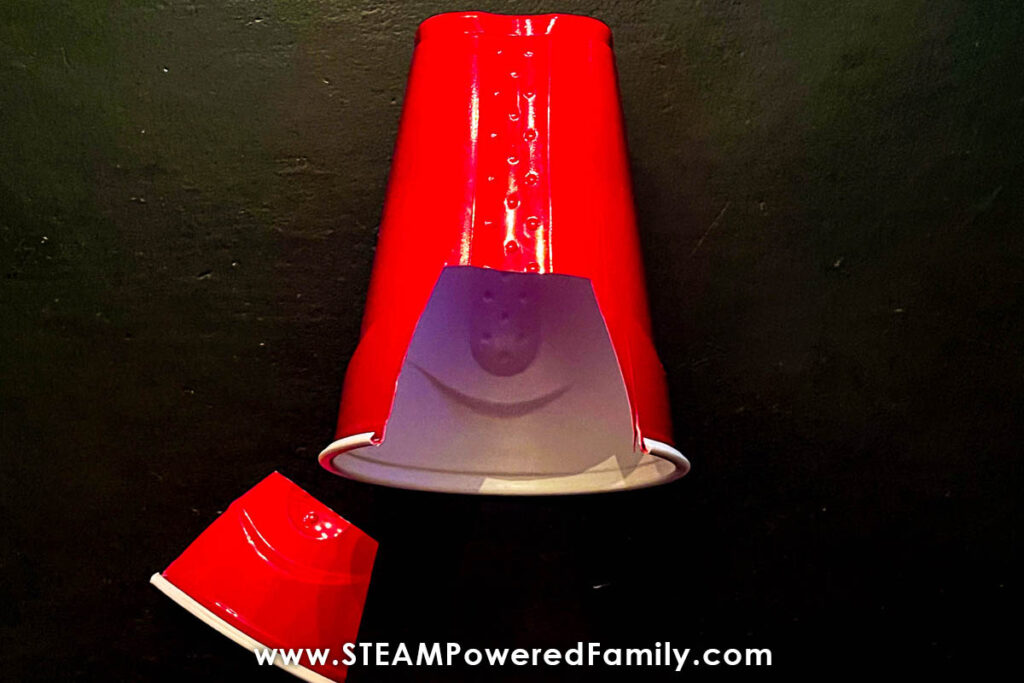
Give Frankenstein a Mouth
Cut an opening at the bottom of one side of your cup to act as Frankenstein’s mouth. It should look like a little cave entrance.
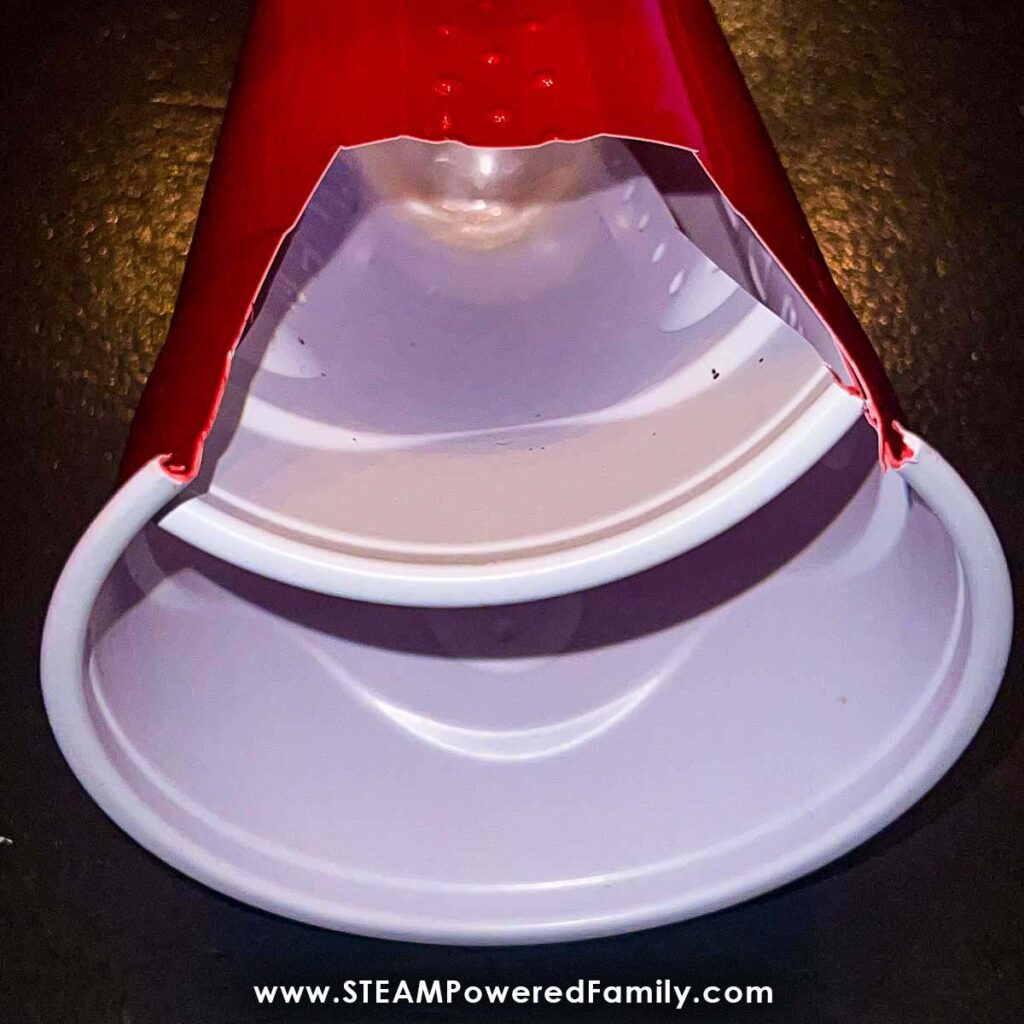
Assemble the Candy Dispenser
Take the quarter cup and tape it inside the cup that you cut the mouth out of. It should go from the opening in the base of the cup and form a slide toward Frankenstein’s mouth.
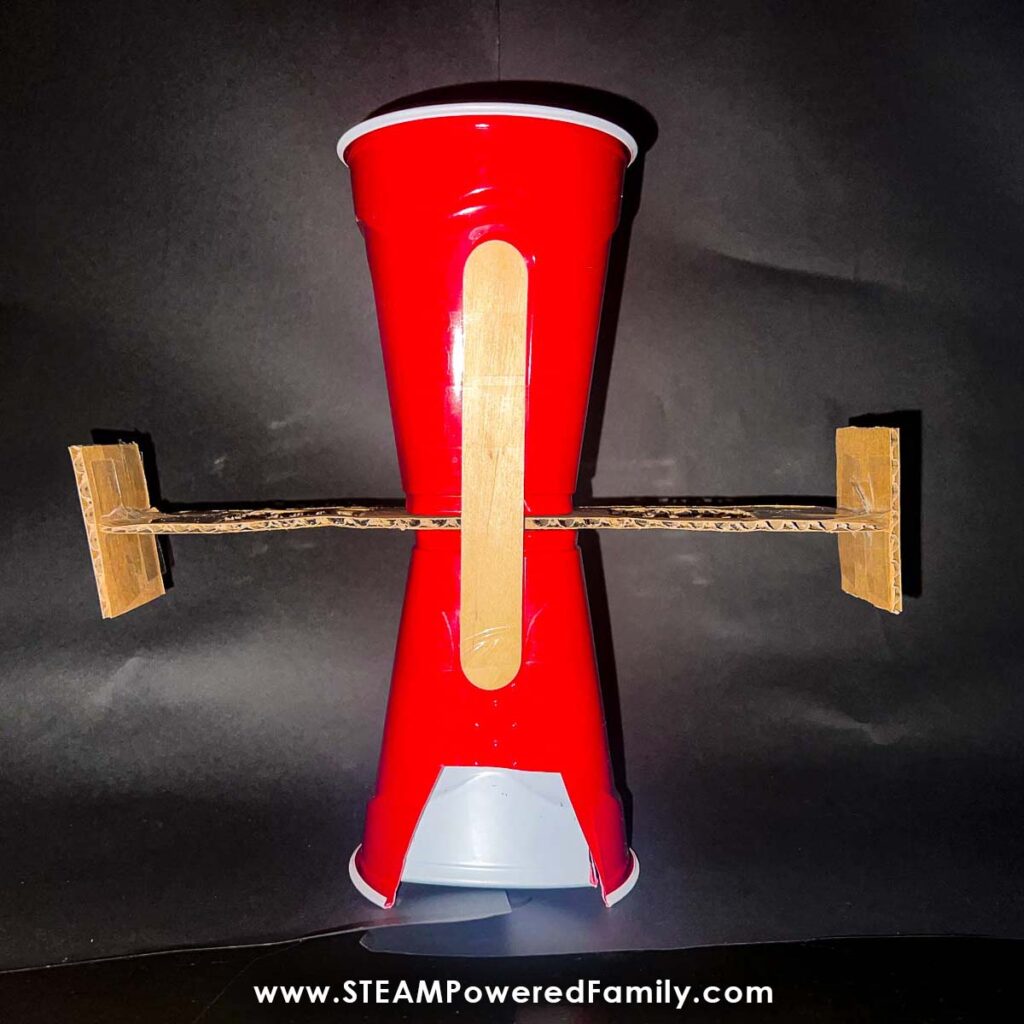
Place this cup on the table upside down so the top of the cup is on the table and the base you cut out is facing up. Have the mouth face the student.
Next, place the bolt assembly across the top of the cup. Align it show the bolts go across, perpendicular to the mouth.
Place the other cup right side up on top of the bolt assembly.
Tape a craft stick to the front and back connecting the two cups but allowing the space needed for the bolt to slide freely. The sticks will hold the candy dispenser upright and keep it structurally sound while allowing the bolt to slide back and forth without knocking it down.
Test!
Looking down from the top, move the bolt side to side. If the bolt is pushed to either side you should be able to see straight down through both cups. If you can’t, you may need to make the candy holes bigger, or realign your cups to get everything nice and straight.
Decorate the Candy Dispenser
I used one sheet of 8.5×11 cardstock and drew Frankenstien’s face with a black sharpie and then used watercolor paint to color it in. Your students can use whatever you would like to draw their character.
Make sure you cut a hole in the mouth so it lines up with your candy chute. When it is finished, tape the face to the cups so that it is curved and meets up with the bolts. The bolts should look like they’re sticking out the sides of his head.
Trick or Treat!
Now it is time for some fun! Fill the dispenser with candy and have the students test it out by sliding the bolts side to side and watching the candy fall out. Make sure that you choose candy that will easily fit through the hole in the cups.
Have students go around the classroom trick or treating and testing out all the Candy Dispensers.
Extension Activity Ideas
Now we have made this simple candy dispenser idea, see if your kids can come up with their own designs using this or other simple machines.
Challenge your older kids to incorporate mechanical mechanisms into their candy dispensers.
Go big and build a Rube Goldberg Machine Candy Dispenser, just like we did with this Rube Goldberg Leprechaun Trap Project.
Build Candy Catapults and create a fun game for the students to see who can build the most accurate catapult and the one that shoots the farthest.
Tackle some Creepy Crafting for Halloween, for a spooktacular classroom idea.
Easy Halloween classroom activities are always a blast! I hope your kiddos have a ton of fun with this Halloween Craftivity/ STEM project!