DIY Crayon Melt Ornaments
During the holidays I love making ornaments with the kids. For me, the tree is about memories. It is about love. It is about cherishing those precious moments. There is something about crafting ornaments with your kids that helps to capture those moments. Then every year I can pull those those ornaments, made by their tiny hands, and hold on to those precious memories. Today I have an easy and fun ornament making project that involves a little bit of science, and gives magical results. Today we are making crayon melt DIY ornaments that give a gorgeous stained glass effect.
Crayon Melt Christmas Ball Ornaments
Table of Contents

Disclaimer: This article may contain commission, paid partnerships, or affiliate links. We independently review everything we recommend. When you buy through our links, we may earn a commission from qualifying purchases.
Although I love and cherish the time with my kids crafting during the holidays. I also am busy! I know I am not the only one that is looking for projects for the holidays that require little to no prep and provide beautiful results that I proudly want to show off on my tree. Today’s project ticks all the boxes!
The results honestly surprised me. I love the stained glass effect created by the melted crayons. They are such unique Christmas ornaments that will definitely be the topic of conversation for everyone that sees our tree.
If you are at a school, having your students make these for the school tree would be truly amazing. Or, if you don’t have a tree, hang in them in the window to show off those stunning colors.
Crayon Melt Projects
We have done crayon melt projects in the past, and the kids were fascinated. During the summer we harnessed the power of the sun to make rock art, then for Halloween we created a no carve pumpkin project that was truly pieces of art.
This DIY Ornament project has the same wow factor, but with the same easy approach.
Tutorial Video
Watch to see how easy this holiday project is with your kids. If you can’t see the video, your adblockers or firewall are blocking the feed. You can also find this video on the STEAM Powered Family YouTube Channel where you can also access closed captioning.
DIY Ornament Project Supplies
You only need a few simple supplies for this project.
Plastic Ornament Shells
Crayons (remove the papers to make this project easier)
Hair dryer
Ribbon or twine for hanging the ornament
Parchment paper to protect your table surface
Optional supplies
Depending on what you want to do with this project you might also want these other supplies available.
LED tea light candles (make sure they are the type that does not produce any heat
Toothpicks (for moving the wax around or carving in negative space)
Paper strips and pens (to write special messages)
Mason jar or cup to hold the ornament case in place while working
How to Make Crayon Melt Ornaments
Prepare to Create
Start by making sure you have two halves of the ornament shells that fit together. Then remove any paper from the end of your crayon so it can melt cleanly.
Place parchment paper over your table to protect it from melting wax.
Pick the colors you would like to use in your ornament. Keeping in mind that there will be some mixing and blending of the melted crayon wax. This is a great moment to talk about color science!
You can place the half shell on the table and work with it that way, but it will move a lot as the air pressure from the hairdryer moves it around. We preferred to place it on the top of a mason jar to hold it still while we worked.
Melt the Wax
Turn on the hair dryer and blow it onto the end of the crayon until it starts to soften and melt a bit. Then, keeping the hairdryer aimed into the ornament, start to draw around the inside of the ornament to apply the colored wax.
Let the kids explore as they move the crayons around. See how the wax moves and you can continue to change the designs.
Once you have applied one color, set that half to the side and work on the other half while the first one dries.
After both sides have the first color, you can go back and add in a second color. Then you can add a third. Watch what happens as you swirl and blend your colors and designs. It is beautiful!
Repeat until you are happy with your designs and colors.
Make Adjustments
The wax is very forgiving, so you can go back and change the way the ornament looks by simply warming it up again and moving the crayon around.
Once you are finished with the crayon wax, let it sit for about 5 minutes to harden.
Finishing Touches
I loved the vintage ornament feel provided by the swirled crayons. For a finishing touch I added a battery operated LED tea light inside so the ornament glowed and flickered. It is beautiful!
You could also take a toothpick and carve out negative space designs or words in the crayon wax.
Another idea I LOVED was to have the kids write little messages that we tucked inside the ornaments so we can go back and read the messages each year.
After you have all the finishing touches complete, add a ribbon and hang it on the tree or in a window for a festive decoration.
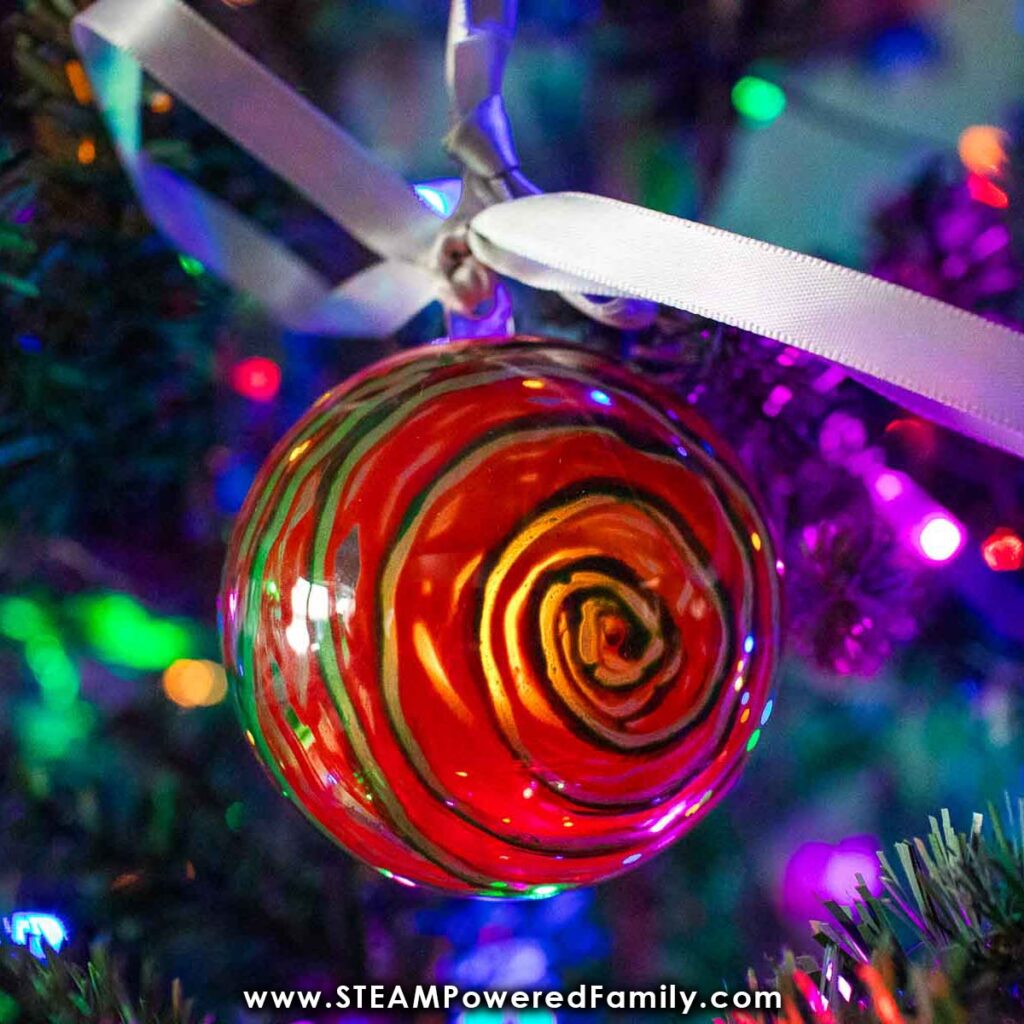
Crayon Melt Ornaments Science
This easy and beautiful homemade ornament project includes some fun science and discovery for your kids while they are crafting.
The first thing they get to play with is melting points and states of matter changes. As we apply heat, the wax in the crayons melt, turning from a solid to liquid, allowing us to use the wax almost like paint. But once we remove that heat, the liquid wax quickly turns back into solid wax. For more advanced students, you can study at what temperature the crayons melt and transition from solid to liquid.
Students also get to learn about color science and color mixing. You can talk about primary colors, tertiary colors and even the color wheel, to help students pick the best colors for their beautiful stained glass inspired crayon melt ornaments.
Need an idea for what to do with all of those partially melted crayons? Why not turn them into beautiful crayon candles that kids can gift to someone special?
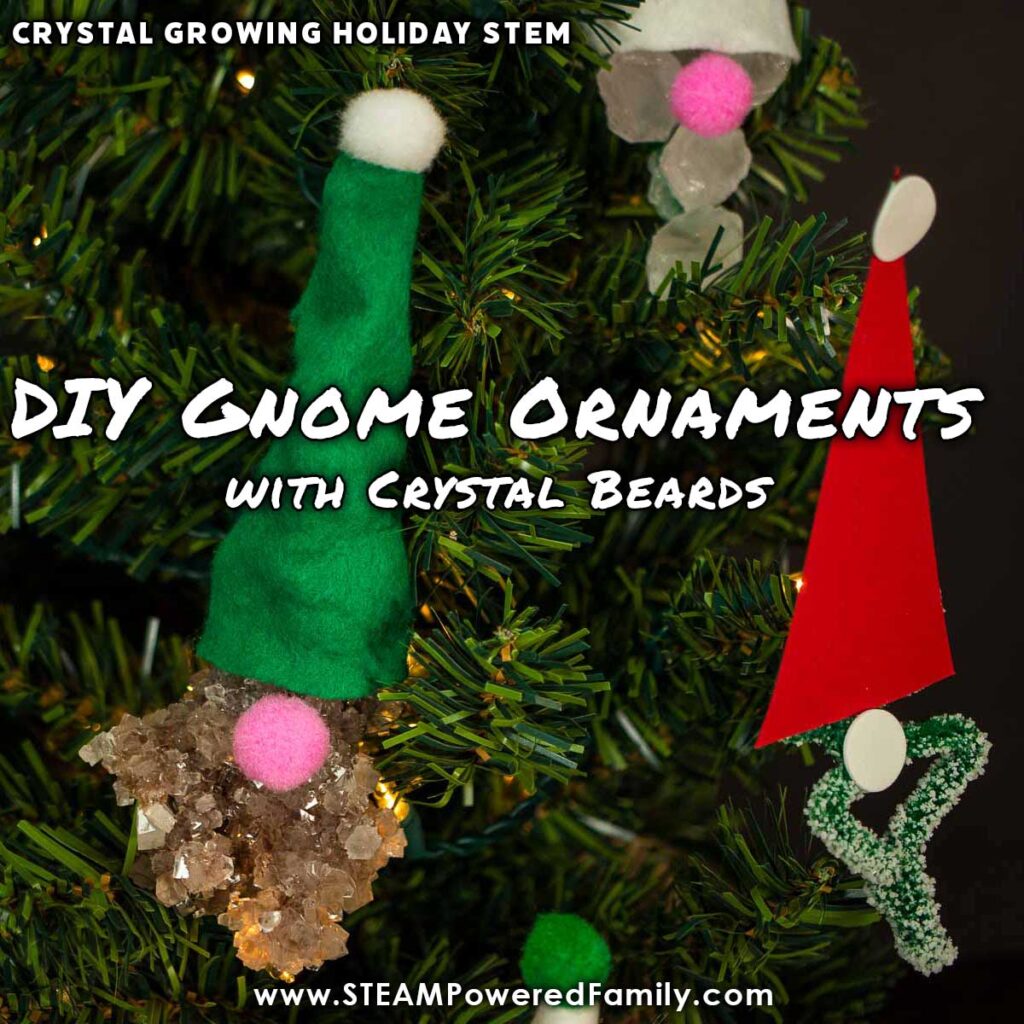
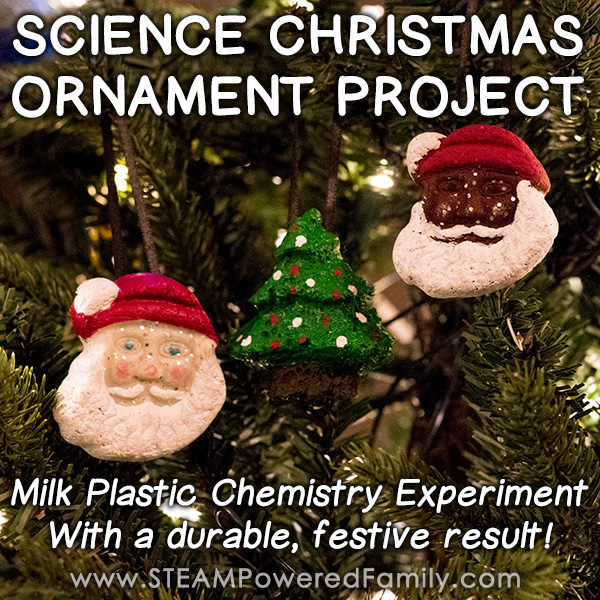
More STEM Ornament Projects
If you are looking for more STEM inspired ornament projects for the holidays check out some of these fun options.

Enjoy creating those beautiful memories this holiday season!