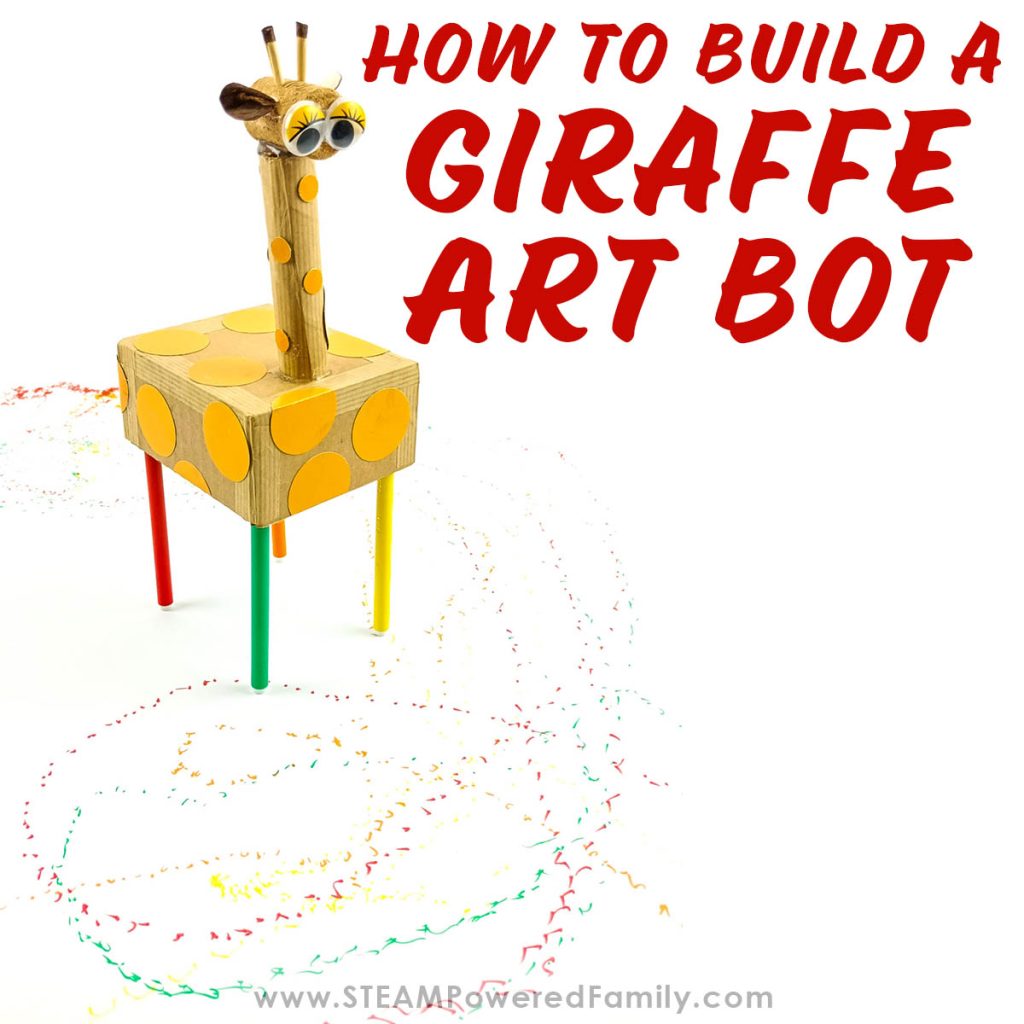
Build an Art Bot – Creative Robotics for Kids
Kids love robots! We have played with a lot of robots over the years. In fact my son for about 2 years said he was going to grow up to become a Robot Repairman! Today we have an incredibly fun activity that blends robotics and art as kids build a robot that draws. Also known as a scribble bot or draw bot, these art bots are so much fun to create and watch as they create unique drawings.
How to Build an Art Robot
Table of Contents
Disclaimer: This article may contain commission, paid partnerships, or affiliate links. We independently review everything we recommend. When you buy through our links, we may earn a commission from qualifying purchases.
In this fascinating project, you will make a simple robot that can scribble on paper. How is that possible, you ask? An art bot is a simple robot that can draw or make marks on a surface as it moves. The science behind a scribble bot involves motion, force, and electricity principles.
Want more even more art and STEAM? Try Pendulum Painting!
ART BOT DIY PROJECT
Here are some key components that are involved in the design and operation of a scribble bot. This is a great list to help build STEM vocabulary.
Power source
A scribble bot requires a power source to operate. In this project, it is a battery.
Motor
A small DC motor is responsible for driving the scribble bot’s movement.
Wheels or legs
The scribble bot needs some means of locomotion to move across the surface. This can be achieved by using wheels or legs.
The body
The art bot needs a way to hold a pen or marker to make marks on the surface. This will depend on the design of the bot.
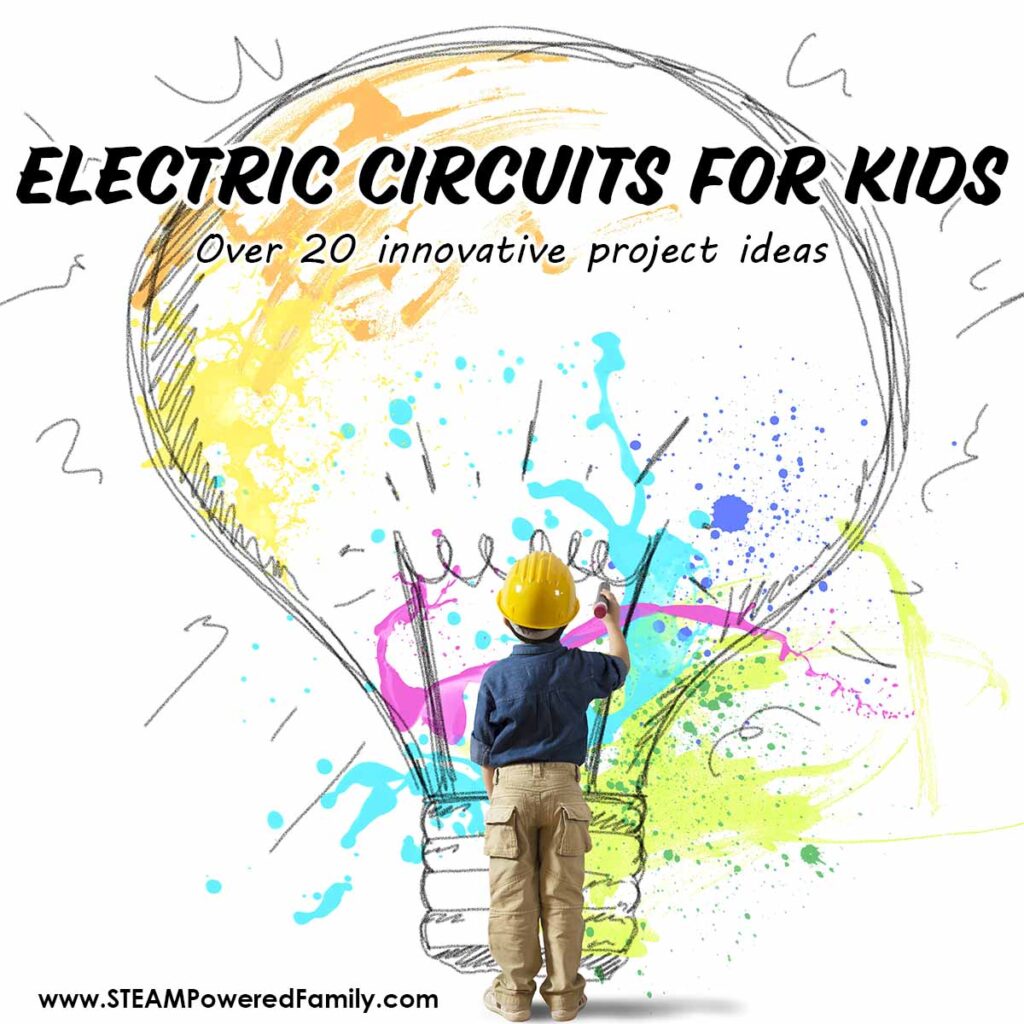
What is a circuit, and how will it make the robot move?
Learn more about circuits here
You use electricity daily, like when you turn lights on, make breakfast toast in the morning, and charge your devices when you want to play games.
Electricity can be hard to understand, so let’s see how it all works. We will use the torch as an example to understand it. Look at the diagrams below:

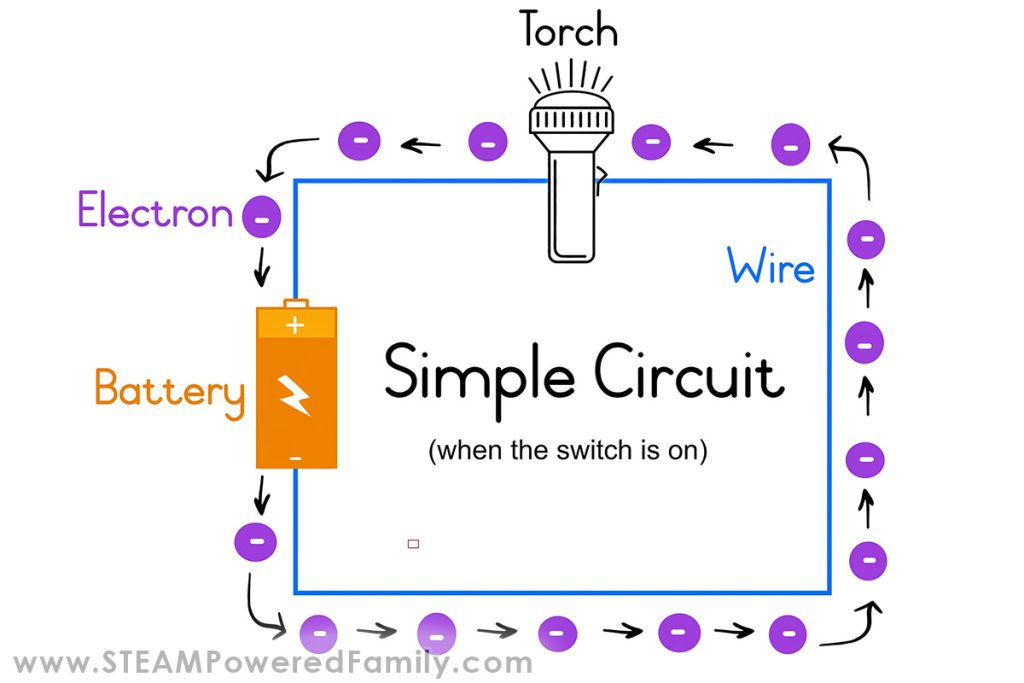
Think about electricity as microscopic particles that we call electrons. On their own, electrons don’t do much, but when they move, their movement creates energy, and that’s when the torch will work. Electrons flow from negative to positive through the circuit.
Two wires attach the torch to a battery or batteries inside it, and when these things are connected in a loop, we say that we have a simple electric circuit.
How does it all work?
A circuit is a path through which electricity flows.
The electrons flow through this loop, known as an electric current and as this happens, the torch light turns on when we turn the switch on.
What is the purpose of the battery?
The battery provides the power that causes the electricity to move around the circuit. Batteries have a positive end and a negative end.
Electrons are pushed out of the negative end and move towards the positive end, and the wires provide the path that the electrons can move through.
A circuit only works if it is closed. If a broken wire did not connect to the battery, the circuit wouldn’t be complete, and the torch would no longer light up.
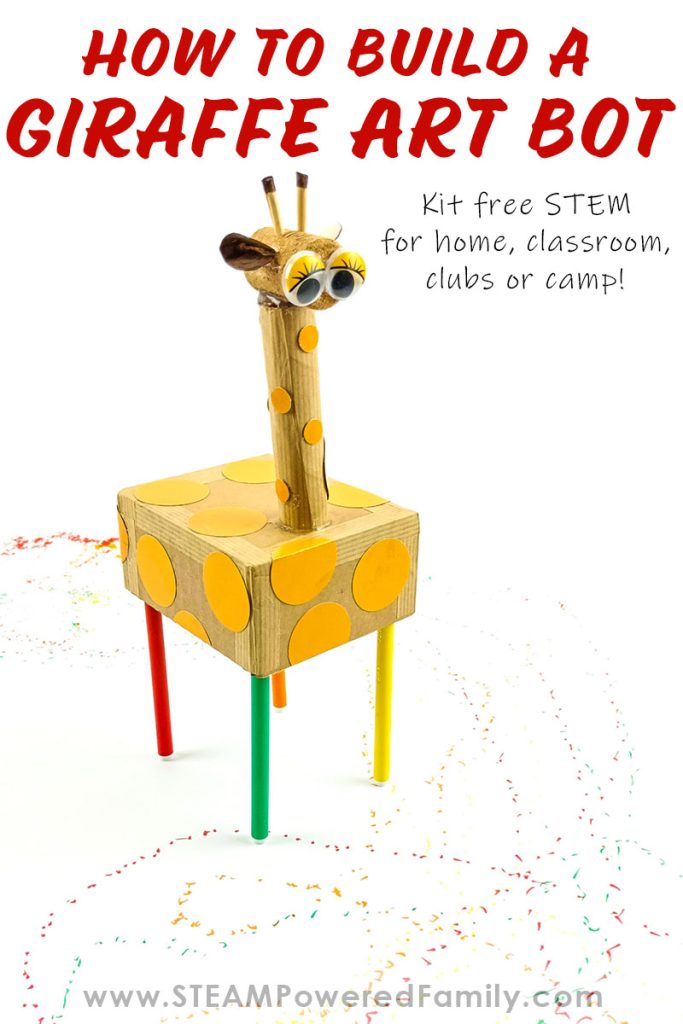
Now that you understand a simple circuit, you are ready to make your first scribble bot. I chose a giraffe because I live in sunny South Africa, and the giraffe is one of my favorite wild animals!
DIY Art Bot STEM Activity Video
The best way to learn how to do this project is by watching our video tutorial. You can watch the video here or head over to the STEAM Powered Family YouTube channel for a high resolution video tutorial where we explain it all with voice overs.
How to Make a Giraffe Scribble Bot
Materials & Tools
Cardboard
Two corks
Glue gun
Ruler
Pencil
Scissors
Exacto knife
Hole punch
Toilet roll inner
Wooden skewer
Two googly eyes
Four different colored markers or felt-tip pens
Electrical tape or Cello tape
Protractor
Brown gummed tape or brown paper
2 AA batteries
Battery holder with a built-in switch
Small hobby DC motor (1.5 – 3 volts)
Soldering iron and solder or wire strippers and electrical tape
How to Build an Art Bot
Getting your pieces ready
Cut out the following pieces of cardboard:
- One piece: 8 X 10cm (3.14 X 3.93 inches) – top of the body
- Two pieces: 5 X 10cm (1.96 X 3.93 inches) – long sides of the body
- Two pieces: 5 X 9cm (1.96 X 3.54 inches) – short sides of the body
Find the middle of one of the short sides and use a protractor to make a circle with a radius of 1 cm (approximately 0.39 inches).
Cut the circle out using the Exacto knife. You may need the help of an adult as the knife is very sharp!
Pro Tip! Do not cut through the cardboard in one go. Make shallow cuts all the way around, and then, using the knife’s point, push it through to the back and slowly cut all the way around until the circle pops out.
The end of the motor should fit comfortably into this hole.
Do not throw this circle away; you will need it later in the project.
Glue the five cardboard pieces together
Start by gluing the two long sides onto the top piece, then the two short sides.
Soldering on the motor
This step requires adult supervision, as the soldering iron is scorching!
It makes no difference which wire goes where on the motor. Put a little solder onto the two contacts of the motor and the wires of the two wires of the battery holder. It makes it easier to solder everything together.
Alternative to soldering
If you do not have a soldering iron, strip the ends of the red and black wires of the battery holder, twist the wires and thread them through the two tiny holes of the two contacts on the back of the motor. Twist them so that they are on securely. Secure with electrical tape. This technique may be preferable, if you accidently solder the wrong wires together your giraffe will go backwards like mine! With electrical tape you can switch the wire connections easily.
Next we need to attach the motor to the battery holder. Using the soldering iron (or the tape technique), solder the wires of the battery holder onto the contacts of the DC motor.
Use a little piece of Blue Tac to hold the DC motor in place.
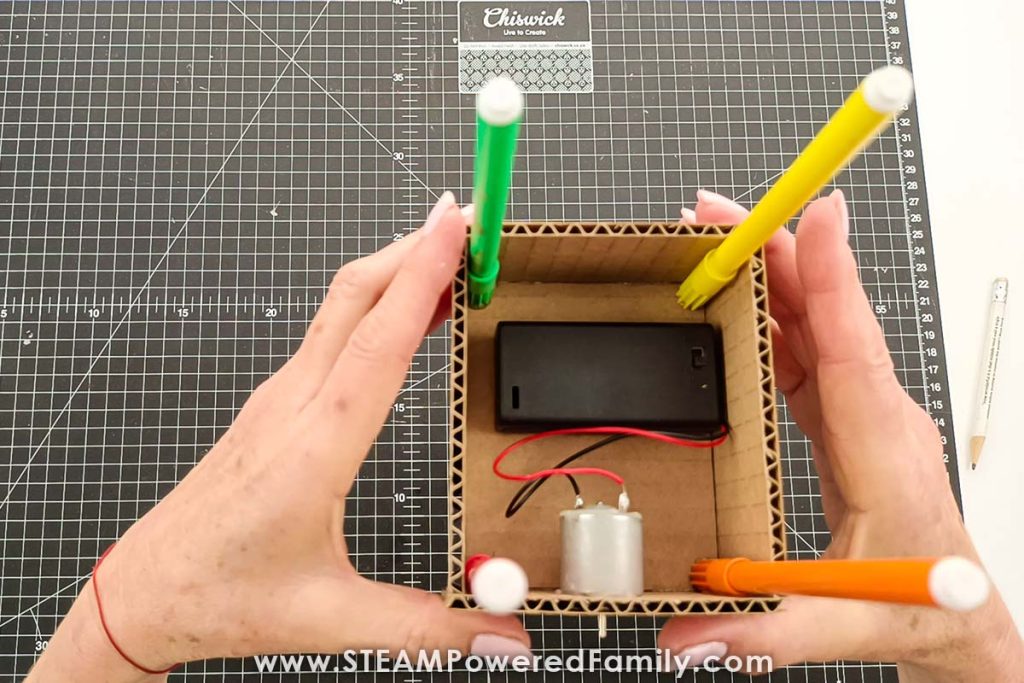
Gluing it all together
Leave the lids on the pens, glue each one into the corners of the box. Make sure that each pen touches the bottom of the box. The glue is only on the lid of each of the pens.
Next, glue the motor and battery holder into the body.
IMPORTANT NOTE: Turn the box of the body so that the hole you made for the motor to fit into faces you.
Using the glue gun, glue around the lip of the DC motor and glue it into the hole you cut earlier.
Put a little glue onto the front of the box where the motor is too.
Glue the battery holder into the box, ensuring the switch is on your right-hand side, just in front of the felt-tip pens and touching the right-hand side of the box. You need room to slide the battery holder lid off to insert the batteries.
PRO TIP! Use a piece of tape to hold the wires onto the box and out of the way.
Making the giraffe’s neck and head
Cut the toilet roll inner open straight and roll it up to make a tube. You may need to trim the tube so that it stands upright.
Ensure that the small circle you cut out earlier fits into the tube.
Glue the tube closed and the little circle into one end of the tube.
Use gummed tape or brown paper to hold the tube closed.
Find the middle of the end of the box and glue the neck down, ensuring that the closed side is on top. Glue the cork for the face here.
Glue the googly eyes onto the front of the cork.
PRO TIP! You may use any material for the giraffe’s neck, like a thick dowel stick or craft paper. Be creative!
Did you notice we are using 3D Geometry Shapes to build our bot? Explore these math concepts more with 3D Nets, a fascinating hands on math activity.
Placing the batteries
Gently slide the battery holder open and place the two batteries. Ensure that you correctly place them. Each end of the batteries and battery holder is marked with + and – signs to help you.
PRO TIP! Now would be an excellent time to turn the motor on to check if all your connections are good.
Finishing the giraffe’s body
Cut about twenty circle shapes for the giraffe skin (they do not have to be perfectly round) out of orange paper.
Punch a hole into one circle and glue it over the motor at the back of the giraffe.
Push a cork onto the motor. Ensure that it is on well. The position makes no difference at this stage.
Cut small pieces of the wooden skewer for the ossicones on the top of the head. Push them into the cork.
Fun fact! Ossicones are the horn like structures on the giraffe’s head. They are not horns or antlers, but skin covered bone structures.
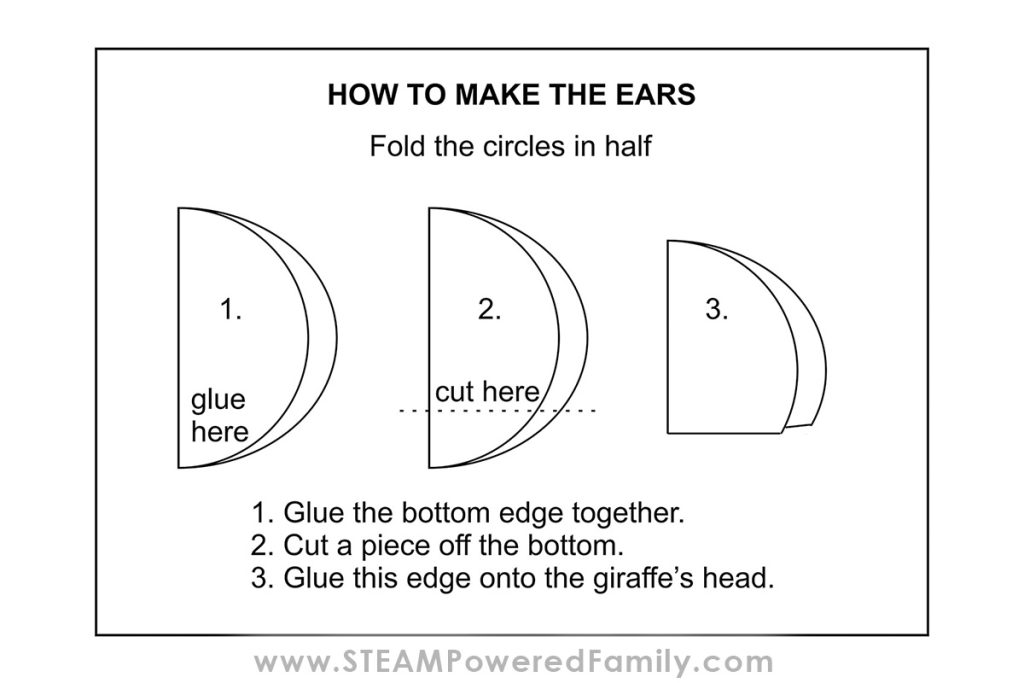
To make the ears fold two circles in half.
Put a little glue into the bottom end of the fold and make a straight cut so that it looks like this:
Stick the coloured circles you cut out all over the giraffe’s body until your giraffe is perfect!
Here is how ours looked when finished.
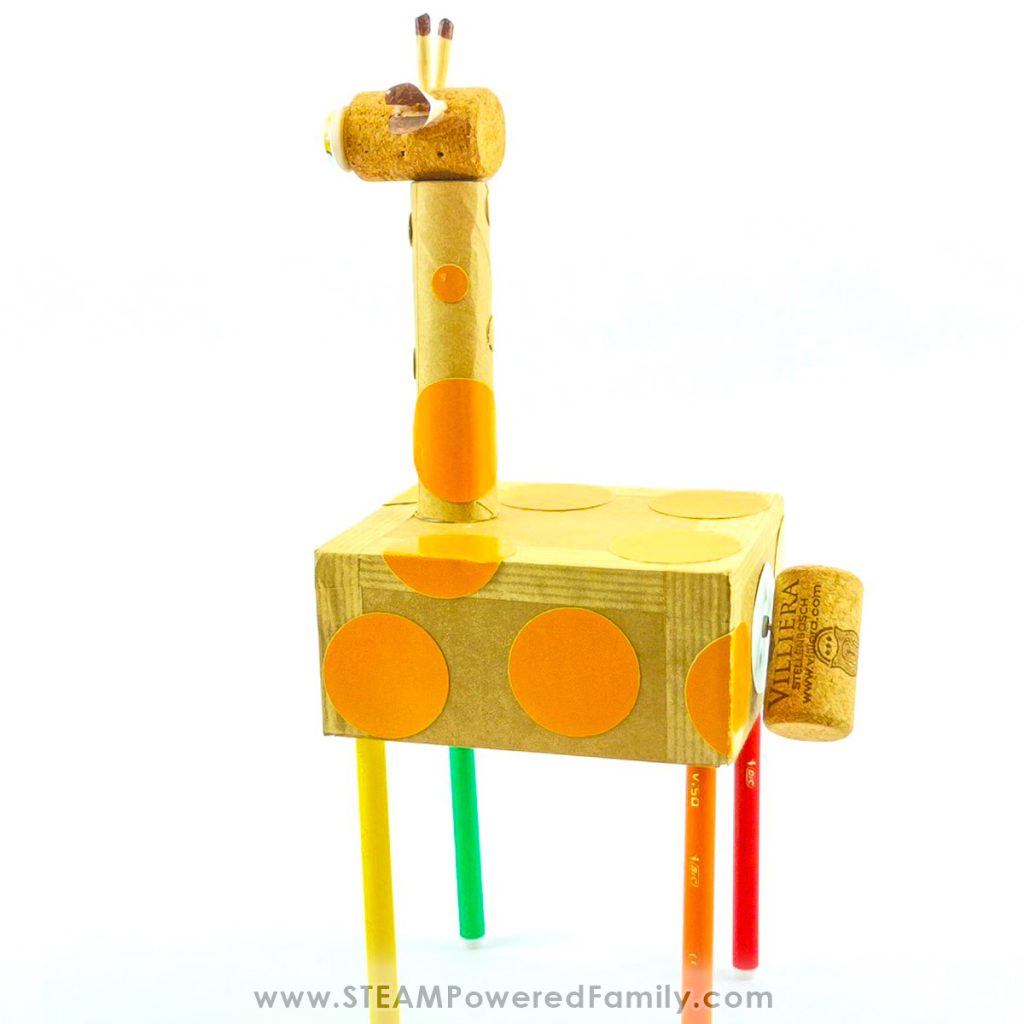
Using the Art Bot to Create Art
All that’s left to do is to lay a large piece of paper on a table. Turn the felt-tip pens around, and place them turn the motor on, and watch the giraffe scribble all over the page! Ensure that the felt-tip pens have been pushed well into the lids!
Extension Ideas
What happens if you move the position of the cork? Why do you think this changed the results?
Replace the cork with an eraser, Blue Tac, Play-Doh or anything you can find at home and see what makes the best scribbles!
If your giraffe is going backwards, like mine, swap the position of red and black wires on the motor and see if that changes anything. This is where using electrical tape can be better than soldering. Easier to fix mistakes!
Can you use your creativity to come up with different designs?
What could you change to make the drawings better or have them follow a certain pattern?