The Secret to Growing Big Crystals
We love growing crystals! They are a wonderful STEAM activity that kids love doing over and over again. From beautiful, glittering crystal wreath ornaments to creepy crystal spiders and ghosts at Halloween, growing crystals is always fun and fascinating. But we’ve done it before. And my kids are getting older. They need their STEAM activities and challenges to grow with them. So for this experiment our goal was not just to grow cool crystals but to learn what variables would grow REALLY BIG CRYSTALS!
Tips for Growing Really Big Crystals
Disclaimer: This article may contain commission or affiliate links. As an Amazon Influencer I earn from qualifying purchases.
Not seeing our videos? Turn off any adblockers to ensure our video feed can be seen. Or visit our YouTube channel to see if the video has been uploaded there. We are slowly uploading our archives. Thanks!
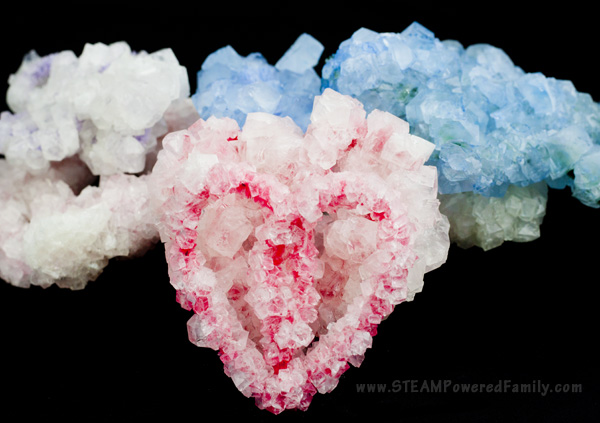
As much as we love growing crystals, often the result was small crystals. Pretty, but we sometimes want larger crystals. In this experiment we created borax crystals, but the science behind going from smaller crystals to large crystal growth is the same no matter what your super saturated solution is created from.
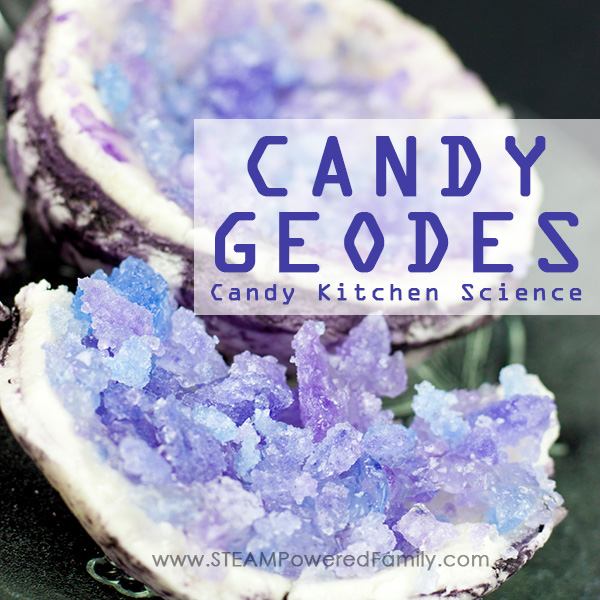
In the past, we have talked a lot about crystallization as part of our amazing Candy Science studies. Delicious and sweet, science and STEAM goodness! Our experiment on growing big crystals was important because the results gave us some important information to help us grow some wonderful, big, beautiful rock candy crystals too. Crystal formation is governed by certain rules and variables, regardless of their starting point: borax, sugar or magma (to form gemstones).
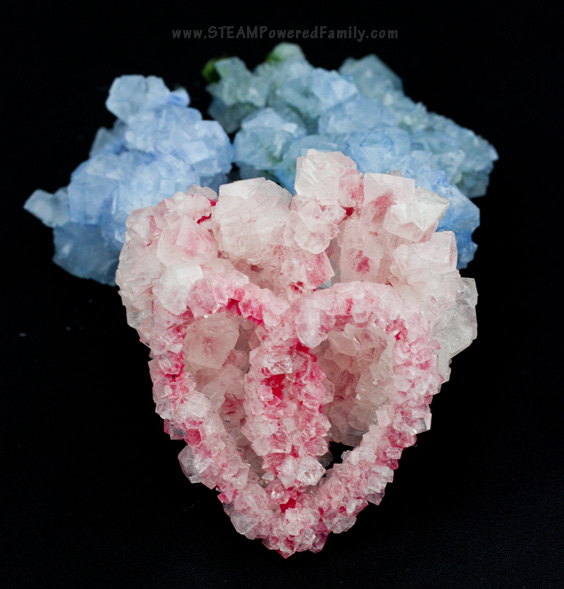
For this experiment we made giant crystal hearts. As part of your lesson you can explore how this type of crystallization differs from when we made our heart fudge recipe. You can also compare it to our rock candy and geode candy recipes. Crystallization can be beautiful and delicious! It all depends on the circumstances.
The Science
Before we start making crystals, we need to understand the science! This fun science experiment explores chemistry. One of the things chemists do is create reactions to change the compounds. One technique is crystallization and recrystallization which is the formation for crystals from a solution. This is where a super-saturated solution cools to form crystals from a mixture.
Crystals are a solid with flat sides and a symmetrical shape because its molecules are arranged in a unique, repeating pattern. When you have finished growing your crystals, look closely to see how all the crystals have the same shape. Want to examine a different type of crystal, take a look at snowflakes which have a six-sided crystal structure.
With Borax crystals, the compound (borax) is dissolved in hot water until no more can be dissolved, this is a super saturated solution. How does this work? As the water is heated to a simmer, the water molecules move farther apart, making room for more of the borax crystals to dissolve.
As the solution cools, the compound and minerals become less soluble and falls out of the solution and onto the pipe cleaners where it forms crystals and makes beautiful creations and crafts!
Supplies
If you have tried growing crystals in the past, you may notice that we are not doing this experiment in mason jars. This is because the mason jars will not work for for what we need to grow really big crystals!
Water
Food Colouring (optional)
Borax
Pipecleaners
Fishing line, thread or thin string
Long wood skewer
Stove top
Large pot with a lid (I have one I use exclusively for non-food projects)
Scissors
Paper towels
Tinfoil
Tea Towels
Safety equipment
Caution: Borax can be harmful if it comes into contact with eyes, inhaled or ingested. It may also irritate skin. These experiments are not to be done with small children and protection is recommended including safety glasses, gloves and even a face mask to prevent irritation. During our experiments I alone worked with the borax powered, adding it to the water to create our solution. All other aspects the children were able to be active participants. Safety always comes first.
Instructions
Make shapes with pipecleaners
First, build your shapes from the pipe cleaners. Use colored pipe cleaners to create crystals that appear colored. We went with some hearts plus some fun, abstract pipe cleaner shape. You want to keep the gaps to no more than a small finger width. This will help in crystal formation.
Hang designs
Once your shape is created attach it to your skewer using the fishing line (or pencils work too). You want it to hang low enough that it will be completely submersed in the water but not so low that it touches the bottom.
Make borax solution
Now it is time to make the borax solution. For this we need hot water. Ensure adult supervision at all times.
Depending on the size of your pot you may be able to string two or three designs. Just make sure they don’t touch each other or the sides of the pot, or while growing your big crystals, you will end up with them becoming attached.
Fill your large pot with water. You want it about an inch from the top. If you want to add food colouring to get colored crystals, mix it into the water now. Set it on the stove and bring it just to the boiling point. Don’t let the boiling water get into a full bubbling boil. Adjust the heat to keep it at a gentle simmer. Start adding borax powder and stir. Your goal is to create a supersaturated solution. To do this continue adding borax, stirring until it dissolves, then add more. You will use a lot of borax. It took almost a full box for our experiment.
As a rough guideline for measurements, for every cup of water, add 3-4 tablespoons of Borax.
CAUTION: The water is hot! Please use caution and safety first at all times!
A Super- Saturation Solution
With a supersaturated liquid we are dissolving as much borax as possible. This takes patience, but it is worth it.
You will know once you have hit super-saturation of the solution because some borax will remain at the bottom of the pot and won’t dissolve.
Turn off the heat.
Place the skewer across the top of the pot so the pipe cleaner figures are completely submersed in the liquid. You may need to jiggle them a bit to get any air bubbles off.
Place the lid across the top, it will not close tightly.
Place a sheet of tinfoil over the top to trap in the heat escaping from the gaps as the solution cools. This also helps prevent evaporation.
Once the element has cooled, you can add a tea towel to the top.
The goal is to keep that heat in as long as possible. You want it to cool REALLY slowly.
Trivia of the day: In blacksmithing this is called annealing.
Don’t peek as your crystals form for at least 24 hours. After 24 hours, if it is completely cool, you can remove your creation. If it’s still warm, cover and let it sit longer.
The Finished Crystals
Once they are finished growing, carefully remove the creations by lifting off the skewer and pulling the string and crystallized pipe cleaners out of the pot. Set them on a paper towel to dry.
We love making this STEM craft to make beautiful crystal ornaments. Hang them on a tree or in a window to really appreciate the beautiful crystals.
Pro Tip! You can reheat the crystallization solution and use it over and over again.
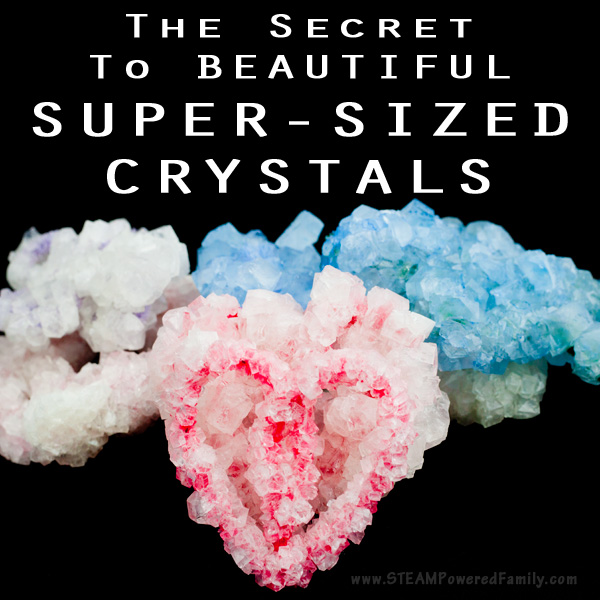
The Secret to Growing Really Big Crystals
Have you figured out the secret to really big crystal growth?
It’s making the solution cool as slowly as possible. Heat is the secret weapon to creating big crystals, whether it is from borax or rock candy.
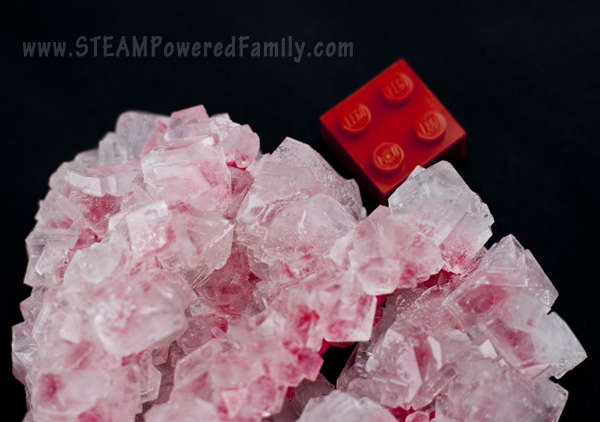
We created large crystals that were almost the size of a 4 piece Lego brick!
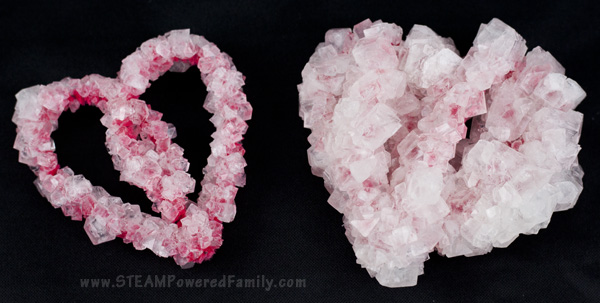
Comparing the Results
It’s one thing to say they are big crystals, but since we were doing this as a science experiment we needed a control. So we made two identical heart pipecleaner shapes. Once went through the method above, while the other went through the crystal growing process we used in the past. You can find the details on that one here.
Check out the difference!
Can they get even bigger? Head to space!
Perhaps you want even more crystals or want to try for bigger crystals, or maybe the kids pulled it out too soon. It’s OK! Reheat the solution. Take your crystals you just made and submerse them in the solution again for another round of crystal forming.
And if you really want to grow crystals, head to outer space! Did you know that gravity affects crystal formation and growth? Check out this incredible crystal growing research from the International Space Station that may help find a cure for cancer!
Borax Free Crystal Growing Projects
If you are like me and have health issues that are triggered by Borax or live in a country, like Canada, that advises against using Borax around kids, or work in a school district that bans the use of Borax in the classroom, there is another option!
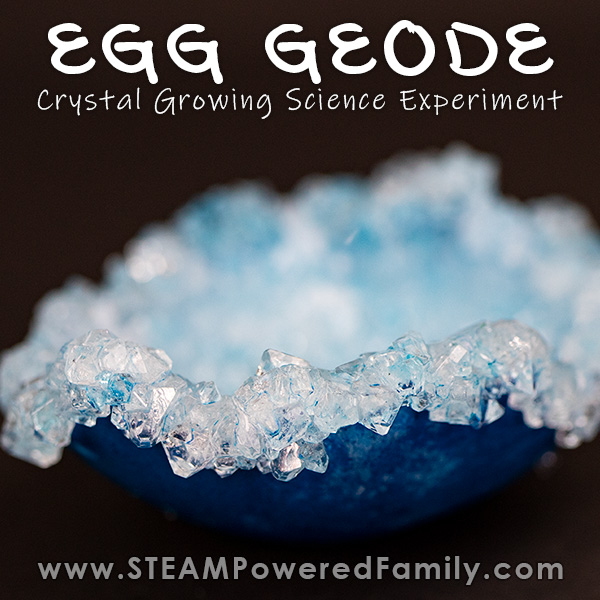
We had great success growing our crystals using alum solution in this Crystal Egg Geode experiment. Now it was -40 out and cold and I didn’t really spend the time testing to see if the same concepts work to grow really big alum crystals, but I suspect the process should be same. If you give it a try, let me know how it turns out!
Another option is to grow sugar crystals out of sugar solution. This is a tasty way to explore crystallization.
Enjoy growing big crystals now you know the secret!
More Crystal Resources
More STEM Crafts