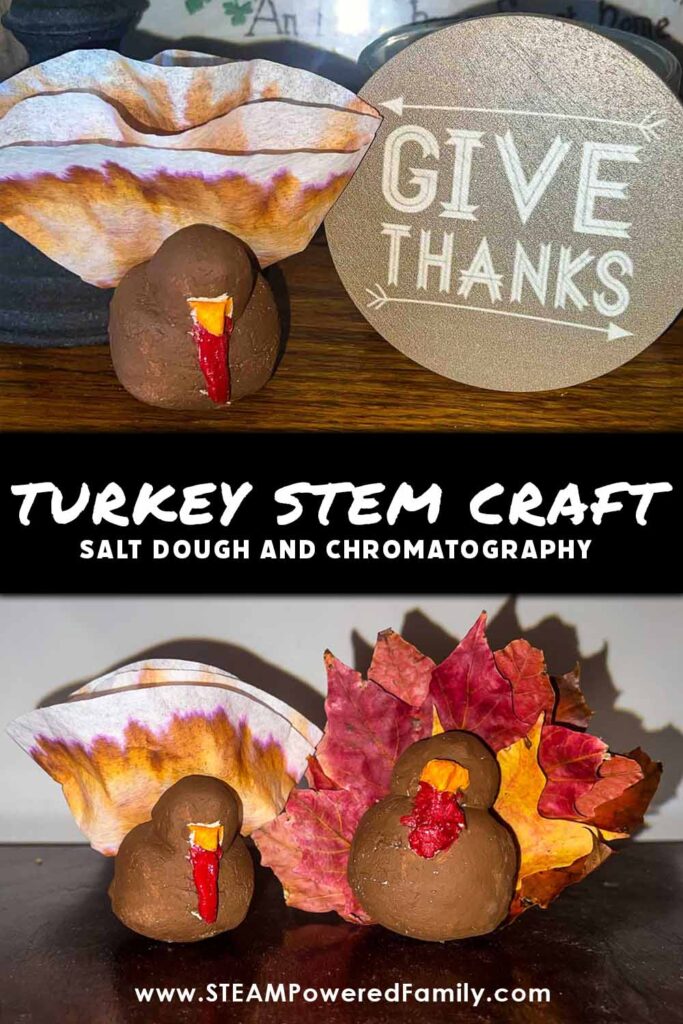
Thanksgiving Turkey STEM Craft
With all of the fall holidays it is the perfect time to combine art and science! Let’s talk some turkey and make salt dough turkeys that use a little chromatography experiment to make turkey tails! This super cute thanksgiving craft is easy to do and if planned out right you can get two plus days worth of science exploration in too! Let’s get this turkey craft project started!
Thanksgiving Turkey STEAM Project – Salt Dough and Chromatography
Table of Contents
Disclaimer: This article may contain commission, paid partnerships, or affiliate links. We independently review everything we recommend. When you buy through our links, we may earn a commission from qualifying purchases.
Salt Dough Turkey
Let’s start off by making the salt dough turkey bodies.
Ingredients, Supplies and Materials
Salt Dough Recipe
2 cups of Flour + extra for dusting
1 cup of Salt
1 cup of Water
These measurements are for a batch big enough to make 5-6 turkeys. You can make as much dough as you need by adjusting measurements. Just keep the ratios 2:1:1 (There’s a nice little math component for you – if this single recipe makes 6 turkeys how much do we need for 18 or 24 turkeys? Love sneaking in that math!)
Tools
Measuring Cups
Large Bowl
Rolling Pin
Baking Sheet
Parchment Paper
Something to make texture on the turkey body – we used an apple corer, you can use playdough tools or clay carving tools, or even just a spoon or your fingers.
To Finish the Turkeys
We want our turkeys to look good, so we need a few finishing touches.
Acrylic Paints
Paint Brushes
Modge Podge (Optional but will seal the turkey and keep the paint from chipping)
Low Temp Glue Gun or School Glue
Directions for Making Salt Dough
Preheat the oven to 250℉ and line a baking sheet with parchment paper.
In a large bowl mix together 2 cups of all-purpose flour and 1 cup of salt. Add water a little at a time until mixing as you go until it forms a dough. This can also easily be done in a mixer if you have one available.
Once you have the dough formed, transfer it to a floured surface and knead it well for about five minutes.
Separate the dough into even portions and hand them out to each student
Pro Tip! This dough keeps well in a plastic zip top bag overnight if you want to prep ahead of time.
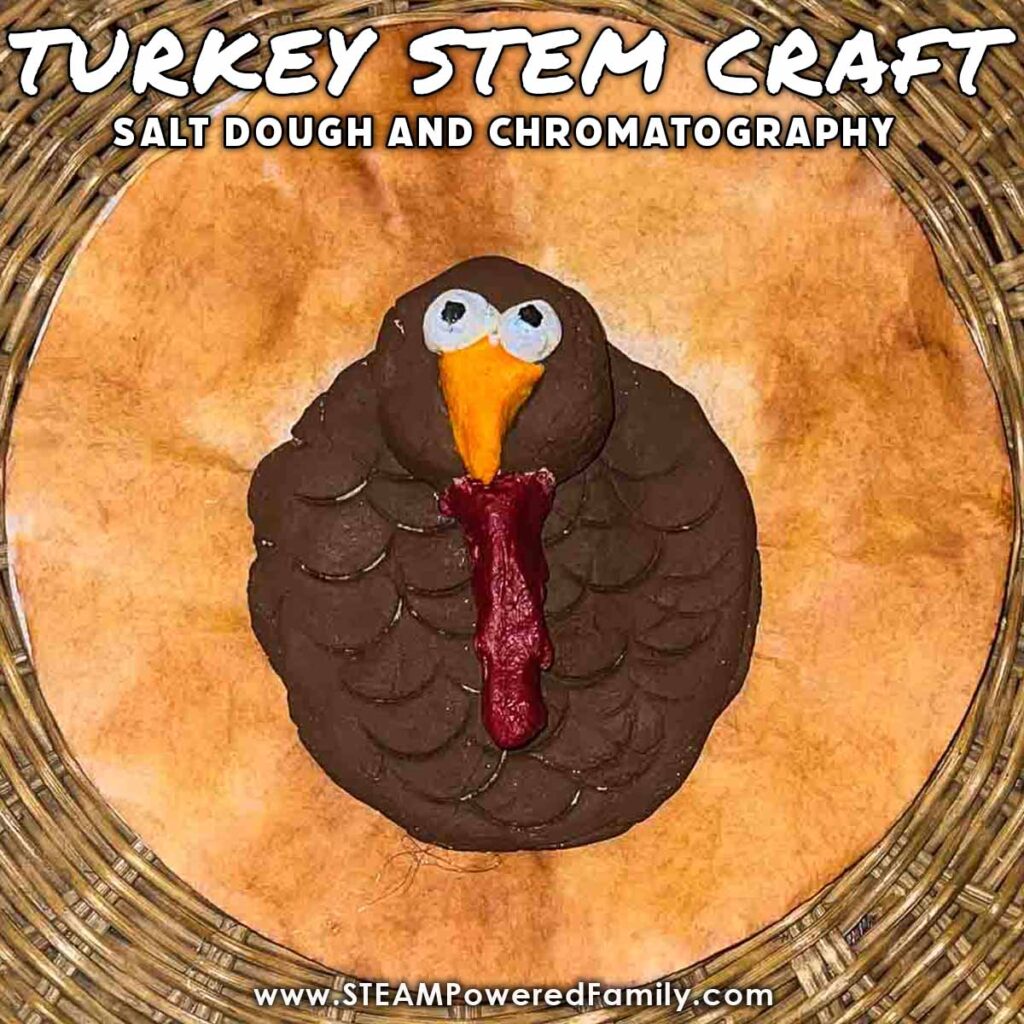
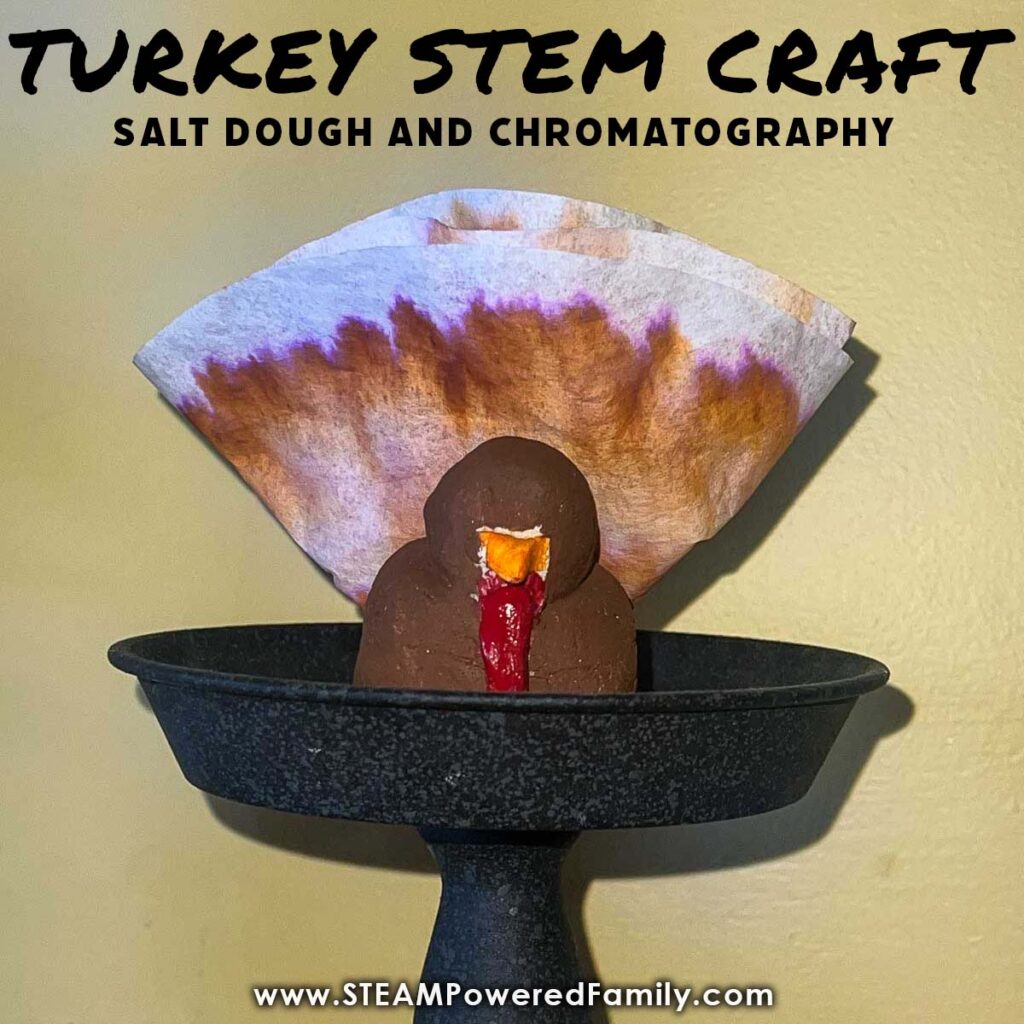
Let the kids create their turkeys. We ended up with some turkeys that will sit on a shelf and some that are flat and could hang on the wall. All had different beaks and gobblers.
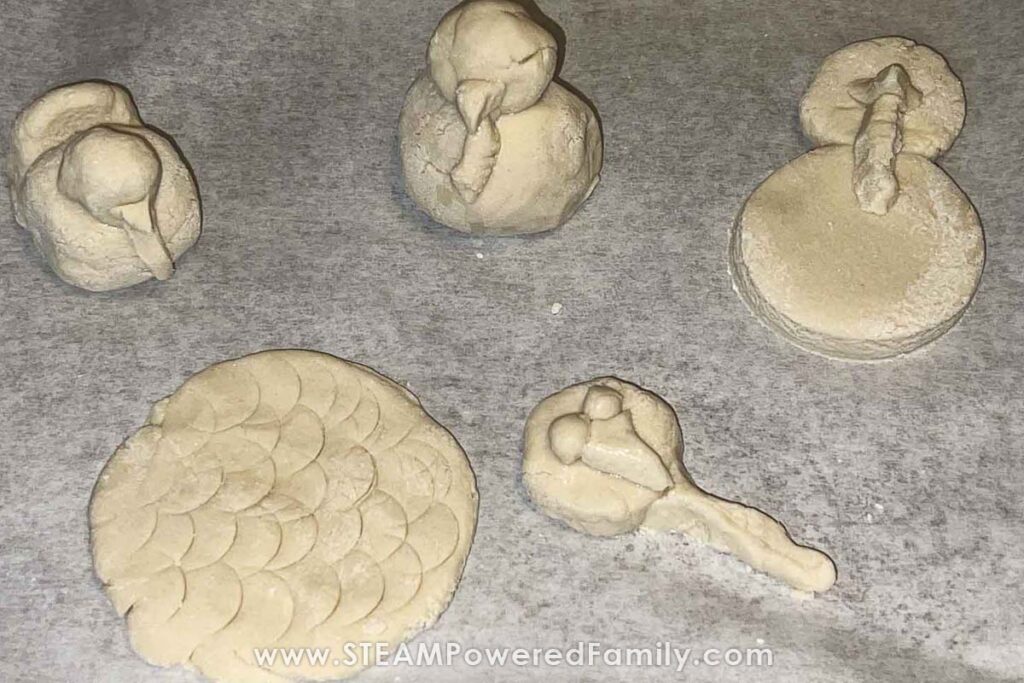
Pro Tip! If the kids make pieces separately and want to attach them, a little water on your finger will help meld these extra pieces to the turkeys and keep them from falling off while you’re baking them.
Once all of the turkeys are ready to go put them into the preheated oven for about two hours. If the turkeys are extra plump they may need a little more than the typical two hours.
Salt Dough Lessons
All cooking whether it is food or fun is a great Kitchen Science lesson. It combines science and math – always. How do fractional amounts affect the outcome, how is a ratio important for a dough to form, how does temperature affect baking? Why does cooking salt dough at a low temperature dry it out rather than cooking it?
For another fun salt dough project – check out my Salt Dough Holiday Ornaments for more ideas and explanations.
Chromatography Turkey Tails
Now it is time to make some gorgeous turkey tails!
Supplies
Water-Based Markers
Food Coloring
Coffee Filters (Basket Style)
Small Glasses of Water
Spray Bottle of Water
Paper Towels, table cloth or aluminum foil to protect your work surface
The Science of Chromatography
Chromatography is a really cool process where you can look at the components of a mixture as they are separated from each other by passing them through another substance. Before you start with the actual chromatography experiment, talk to the kids about colors and how different colors are made. If red and yellow make orange will you see that in our experiment? What will happen if we use green? Black? What do we think we will see as the water moves through the coffee filters? Have the kids write down what they think they might see. This is a great way to work in the Scientific Method into this project.
How to Make Chromatography
STEP 1: Draw lines or patterns on a coffee filter. (Or you can place a small amount of food coloring and water into the bottom of a glass).
STEP 2: Fold the coffee filter into a triangle-ish shape.
STEP 3: Put the pointed end into the glass of water. You don’t need very much – just enough to get the tip wet. If you want the kids working at individual spaces, try spraying the coffee filters with a gentle spritz of water so everyone can watch the water separate the color.
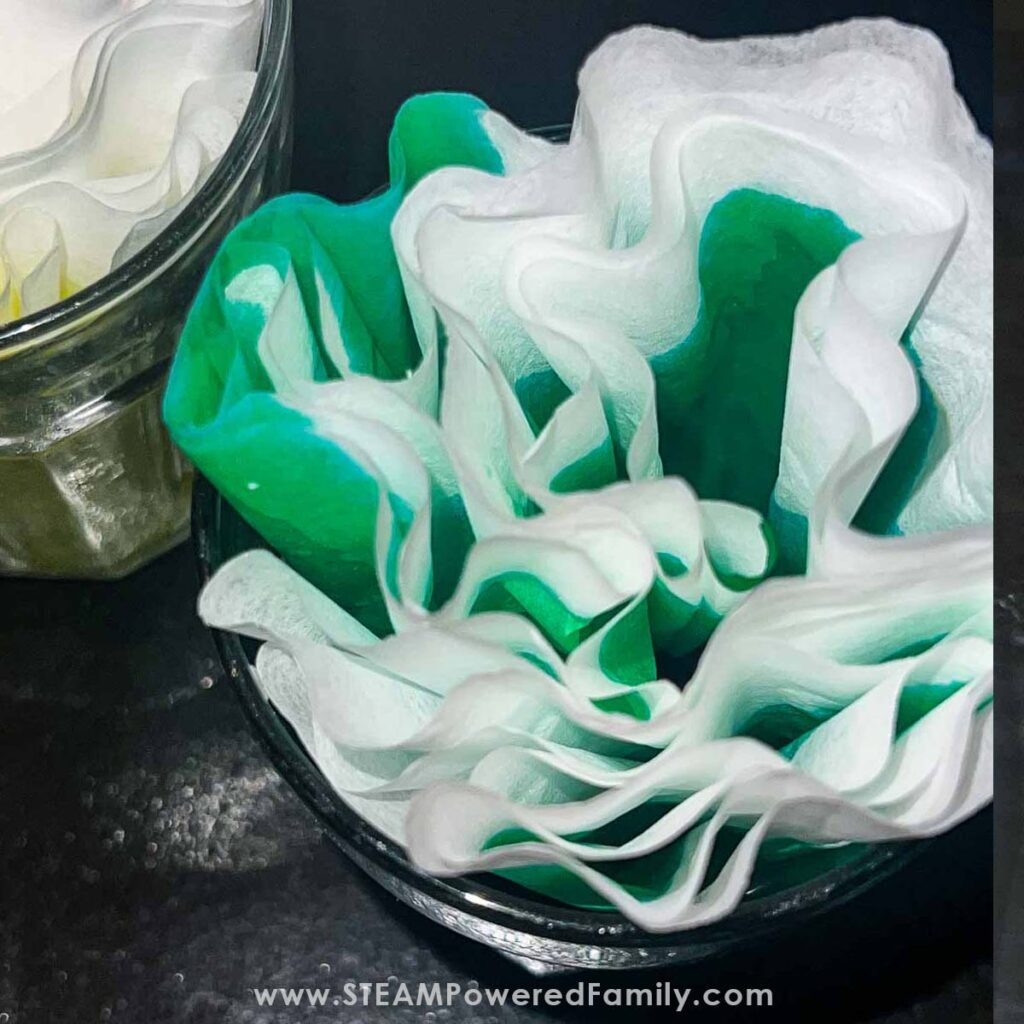
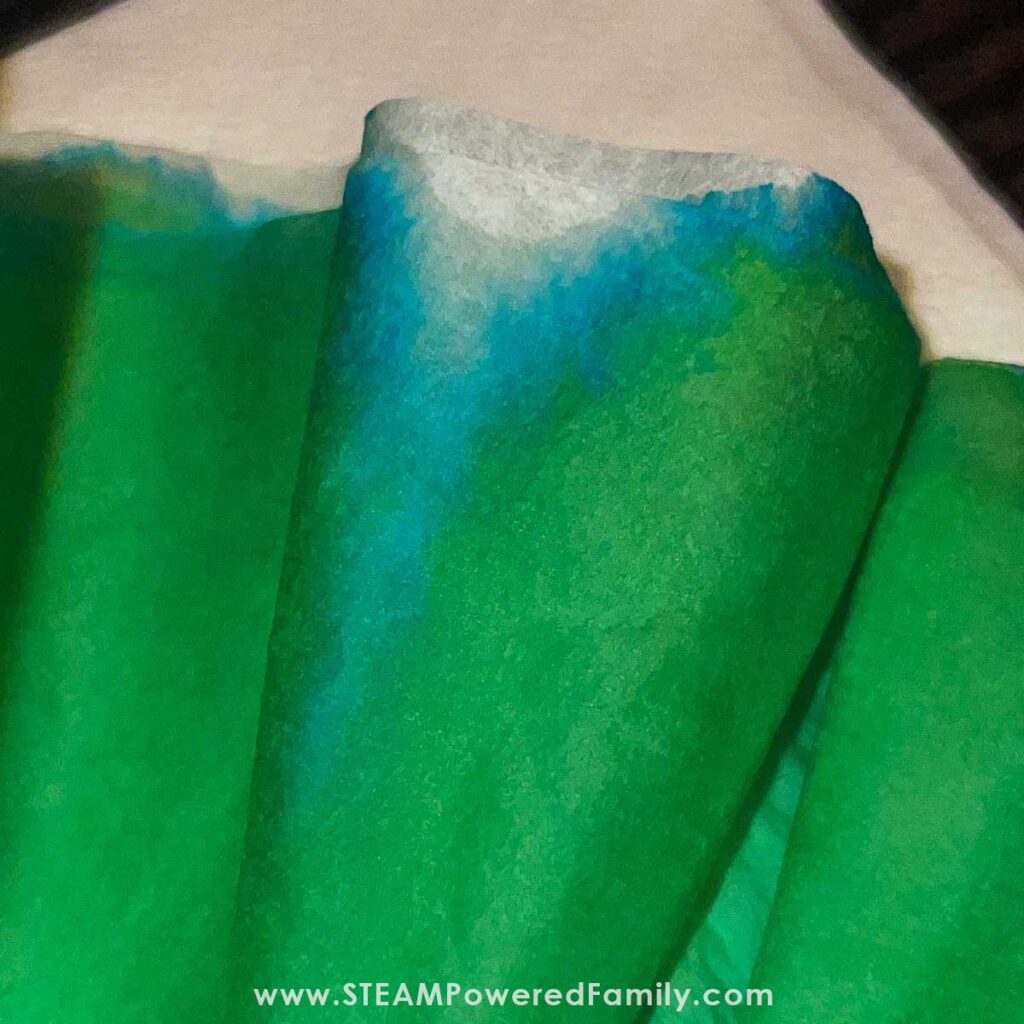
STEP 4: Observe. What do you notice happening as the paper gets wet and the water travels through the marker? As the water moves through the paper it will take part of the mixture with it and spread those parts through the rest of the paper.
STEP 5: Discussion: Depending on the color some students will see more or less separation. Some you will see a lot of colors that came from one marker. Check your results against your predictions – how did your predictions stand up?
Science Tip! The more soluble the pigment, the farther it will travel when wet. So you can tell the most soluble colors by looking for what ended up outermost on your ring.
STEP 6: Set your coffee filters aside to dry completely.
Finishing the Turkey Crafts
Turkey Time!
When the turkeys have completely cooled from the oven you can use acrylic paints to finish the turkeys. We used a simple brown with orange and red accents but you can use what works for you and your group.
Once everything is painted, set them aside and let them dry completely. Then you can paint over the salt dough with Modge Podge to seal the paint and dough, this is a completely optional step.
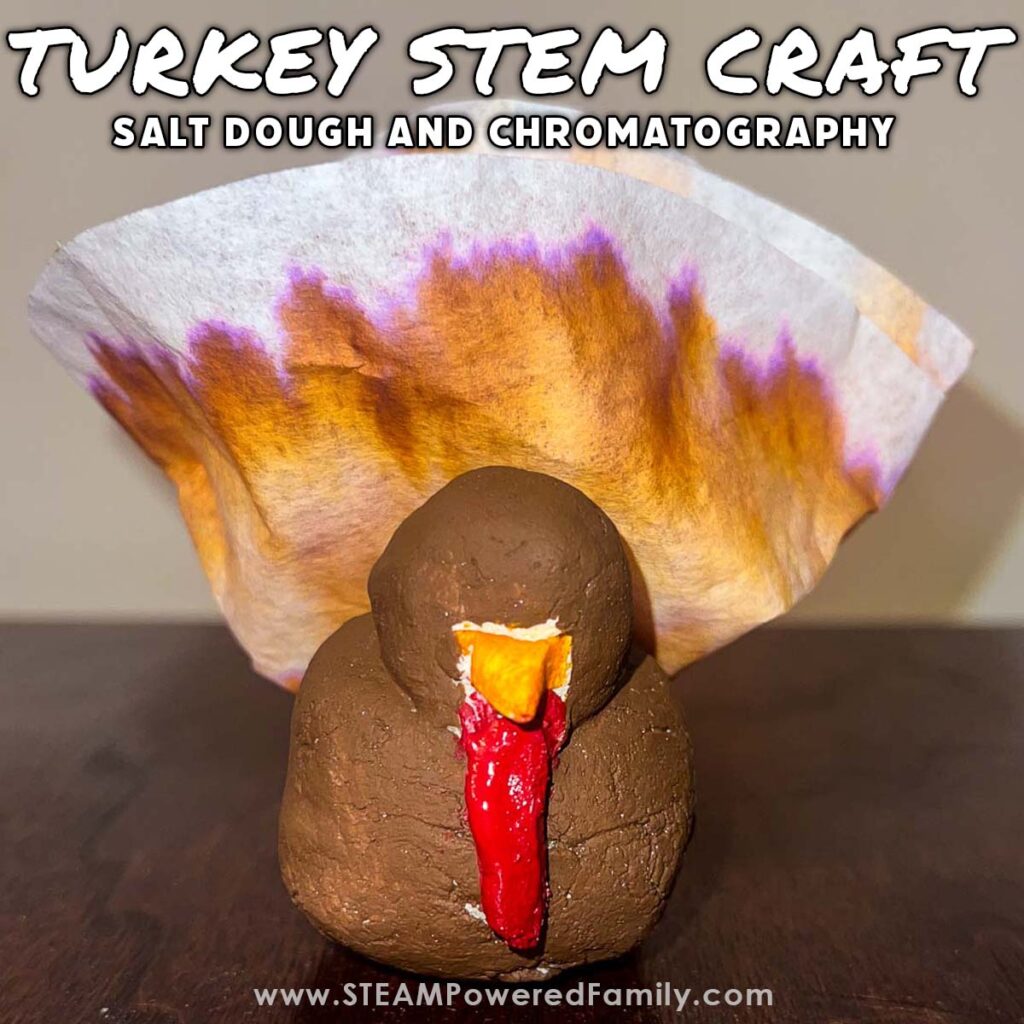
Now add the chromatography tails. You can fold them up and fan them out for nice full tails or just put a turkey right on top of the full circle filter for a full tail look.
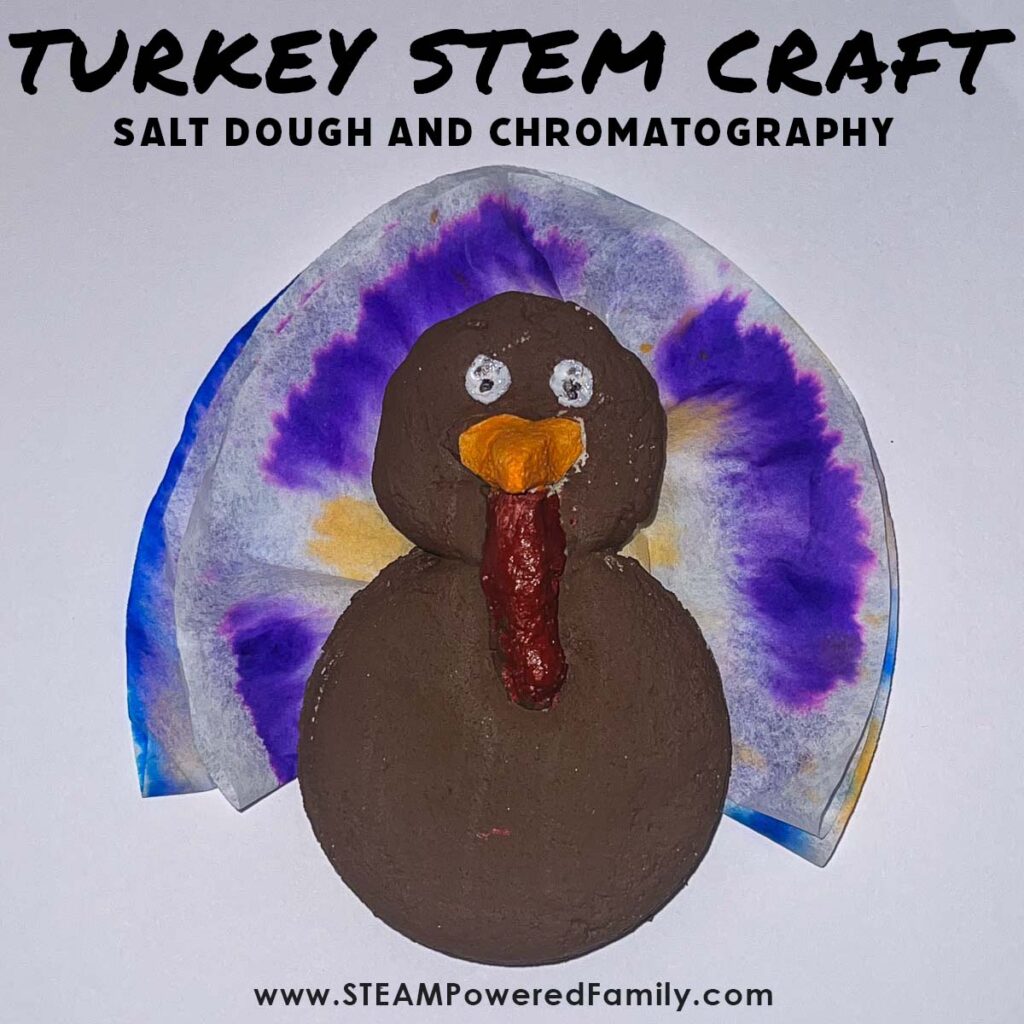
Let the kids roll with their creativity. White school glue or a low temp glue gun works really well to attach the tails.
Extension Ideas
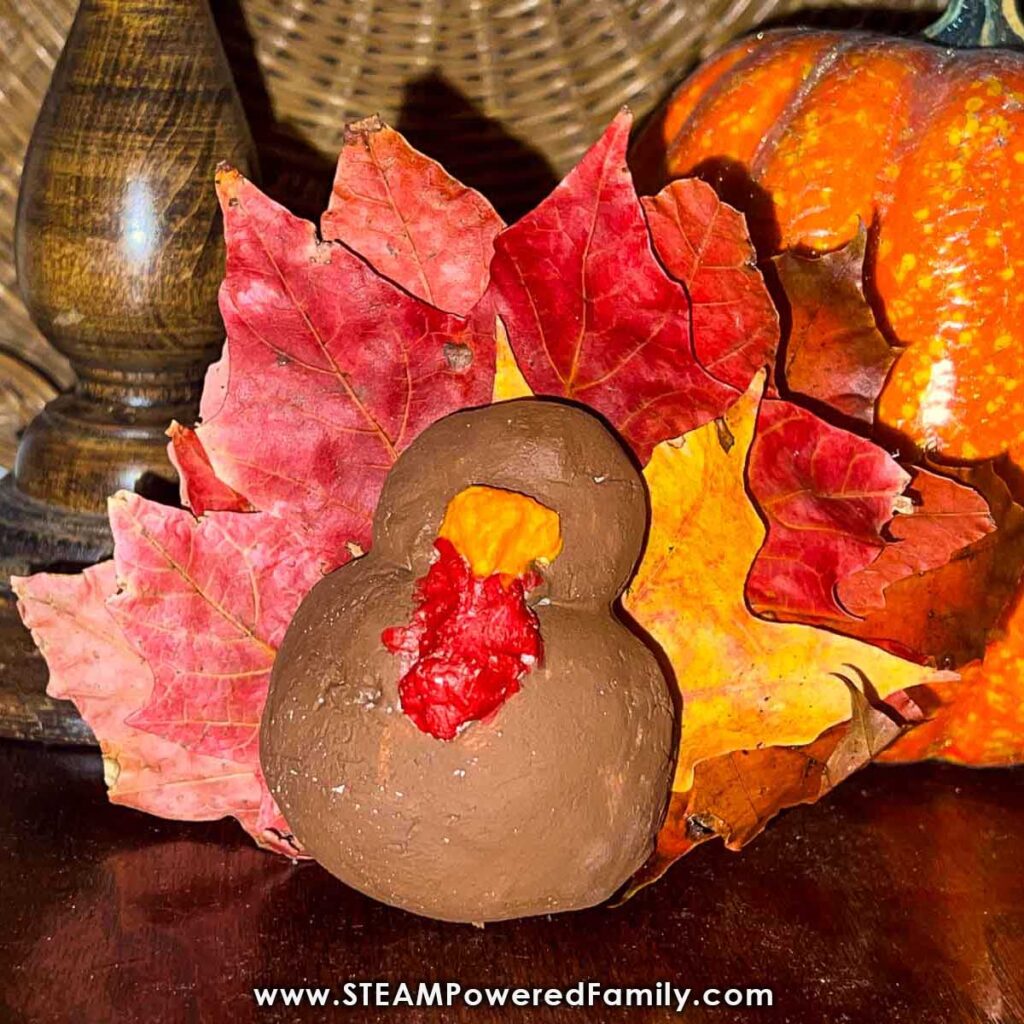
We had preserved some fall leaves by ironing them between two pieces of wax paper and thought that the pile looked like a turkey tail – so we took one of the turkeys and gave him a fall leaf tail. He turned out super cute! These leaves were from a Fall Leaf Wreath Making Project.
Once your little turkey art guys are finished, have your students write Thanksgiving themed stories about their turkeys. These Thanksgiving themed activities are a great way to incorporate some cross curricular projects to help you plan for the holidays.
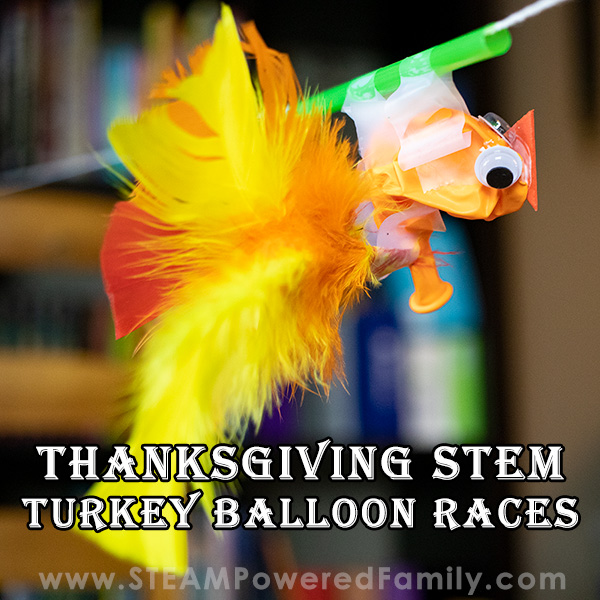
Want a more fast paced activity for Thanksgiving? Try Turkey Races! The physics game that all ages love!
Happy Thanksgiving!