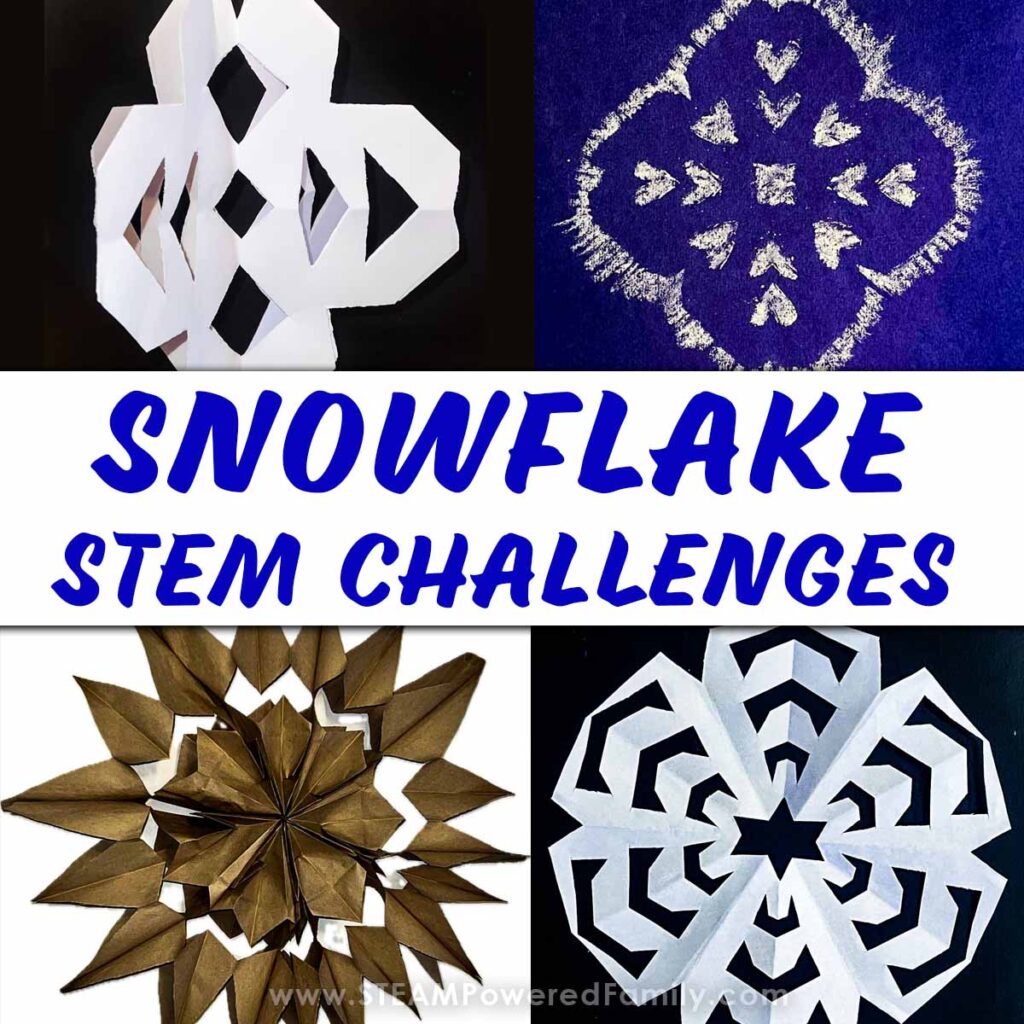
Snowflake STEM Challenges
Winter is my absolute favorite season, I love, love the snow! Ever since I was a little kid snowflakes have fascinated me – they are so beautiful and intricate. Snowflakes hold some great opportunities for winter STEAM projects in math and art, and the best part is that you can do these any time of the year, whether you have snow or not. These ideas are quick, easy and low prep winter inspired fun that the kids are sure to love!
Easy, Low Prep Snowflake Projects
Table of Contents
Disclaimer: This article may contain commission, paid partnerships, or affiliate links. We independently review everything we recommend. When you buy through our links, we may earn a commission from qualifying purchases.
Snowflakes are fascinating natural creations that become only more astounding the closer you look, making them perfect for some Snowflake STEM!
To start, let’s gather some supplies before we dive into some fun lessons and activities. I have kept this super simple and you can easily substitute any of these items for similar supplies.
Wooden Clip Clothespins
Straws
Popsicle Sticks
KEVA planks, Dominos or Jenga Blocks
Other Materials:
Blue Construction Paper
White Paper
Scissors
Chalk
Markers
Graph Paper
Ruler
Paper Lunch Bags
SNOW SYMMETRY LESSON
Let’s start with Math – and Symmetry!
Did you know that every snowflake is symmetrical?
Something that is symmetrical is the same on both sides – if you look at something like a car or an airplane it is symmetrical, you could cut it down the middle and it would be the same on each side. Animals and people are generally symmetrical – if you drew a line down the center of a person they would have an eye on each side, an ear on each side, an arm, a leg and so on.
Snowflakes have even more symmetry than that – snowflakes have 6 sided rotational symmetry. This means that no matter which way you turn a snowflake it will be perfectly symmetrical! Each of its 6 arms have exactly the same pattern, but snowflakes are all unique as well. These means you won’t ever find two snowflakes that are exactly alike.
SYMMETRY SNOW ACTIVITY
One way to practice symmetry with little kids is to use classroom manipulatives to have them “build” snowflakes on paper. We had a lot of fun with this. There is almost zero prep and cleanup so you can do it anytime you need a quick activity and it is great for critical thinking and gross motor skill building. We built ours with straws, clothespins, keva planks and craft sticks! You could also use Q-Tips like we did in our Snow Day Challenges.
Another great way to practice symmetry could be to draw snowflakes. Have the children work with graph paper, pencils to make perfectly symmetrical snowflakes. As an added challenge, the kids could copy down the “code” to make their snowflake. For example – Make a cross that is both 20 squares long and and 20 squares across and so on. Then have them hand the code to a classmate and see if they can get the same snowflake. This is a great way to introduce coding to kids.
Grab our Snowflake Decoding Challenge Worksheet and a Snowflake Symmetry Drawing Worksheet!
Snowflake STEM Printable Activity and Online Activity
If you wanted the kids to complete a symmetrical shape snowflake drawing, you could make snowflakes for the kids to copy or you could simply assign the worksheet available through the form above. Use a pencil and a ruler to complete the patterns and try to decode the snowflake in the coding challenge.
The snowflake symmetry activity is also available in Google Slides. The patterns on the worksheet were set up simply using line and shape tools in google slides. It’s a great activity to reinforce the computer skills while working on symmetry. Students can use the line, line weight and color tools as well as the shape, fill and color. In addition it’s wonderful practice for the keyboard shortcuts for copy (Ctrl + C), paste (Ctrl + V), and inevitably undo! Ctrl + Z) plus resize and align tools! To use the Google Slides, make sure you make a copy to your own drive.
Make Paper Snowflakes
How to make a paper snowflake!
This is one of the simplest no prep, big impact projects you can do with kids. Even if the kids are too small for scissors you can have them help you fold and cut – it’s the unfolding that gives you the real wow factor and makes kids remember.
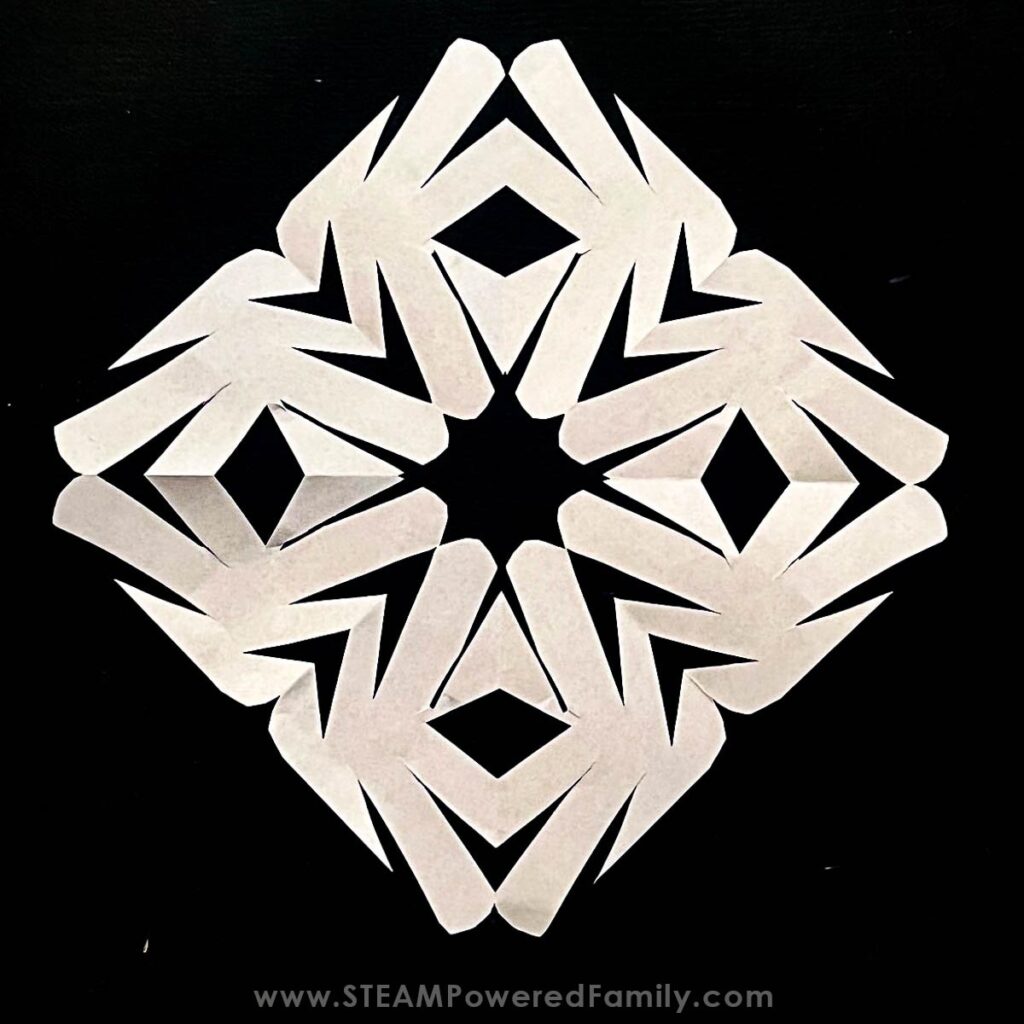
Square Paper Snowflake
For traditional paper snowflakes we need to start with a square of paper. To make a square from a regular sheet of paper, fold one corner down toward one of the long edges, align it carefully and score the paper to make a fold line. Cut off the extra rectangle of paper and then unfold to reveal a square.
From the square fold in half diagonally creating right triangles as many times as you would like making sure to press the fold lines really well to make cutting easier. Once you’ve folded it as much as you would like, start cutting. The only thing you really need to remember is not to cut all of the folds so that your snowflake doesn’t fall apart. Cutting the corners or triangle will add more dimension to your snowflake. Once all of your cuts are made, unfold and reveal your creation!
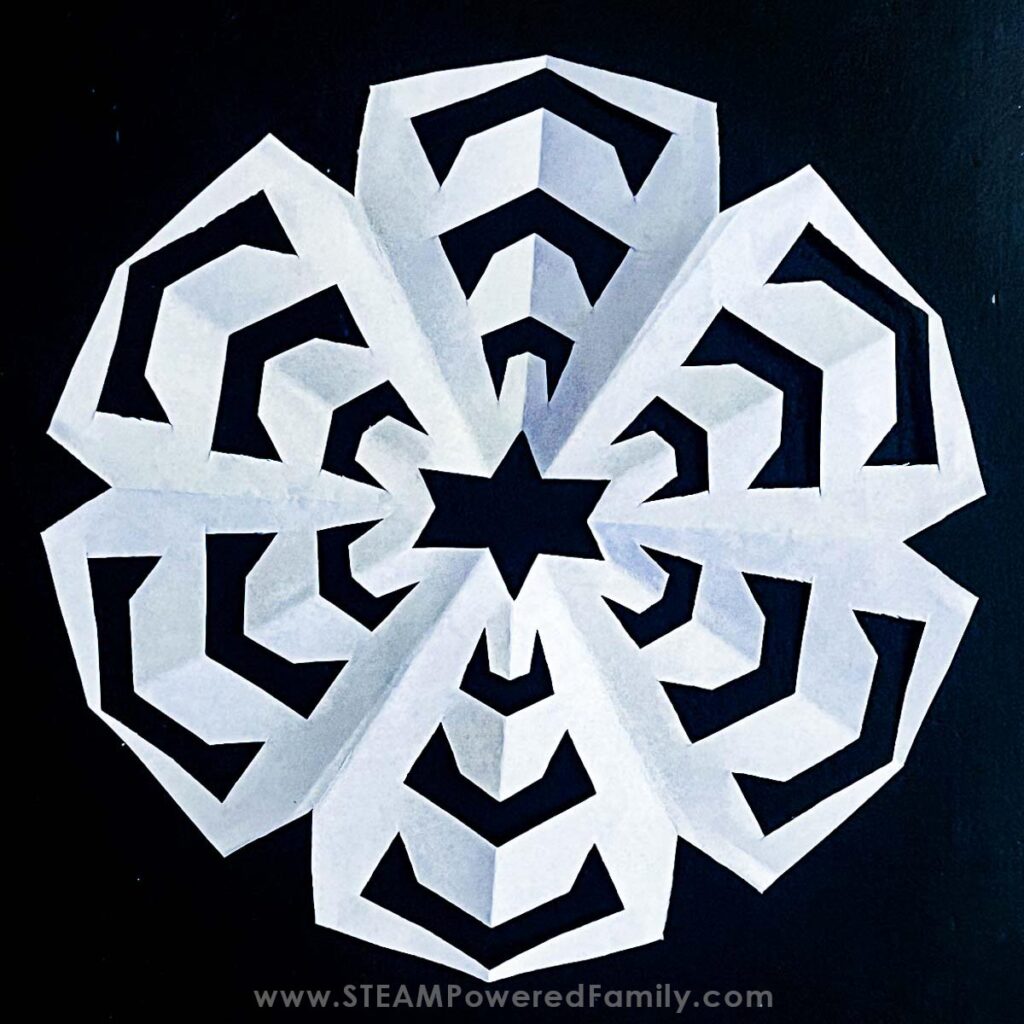
Round Paper Snowflake
For a rounder snowflake you can fold your paper in thirds. Make your square, fold your paper into the right triangle and from there fold the edges in to make the paper in thirds. You should have overlapping “ears” at the top of the paper. Cut those ears off and then start creating your snowflake from there! You can see the snowflake is more of a circular design when it is unfolded.
Add another layer of interest to your snowflake designs by layering two pieces of paper on top of one another and cutting your snowflake. Once unfolded you will have two identical snowflakes, rotate one snowflake 90 degrees and glue them together – the resulting snowflake will not only be more intricate but students will be able to see the shapes overlapping and making more shapes and designs.

3D Standing Snowflake
For older students you could add a STEM component, like:
Can you engineer a snowflake that can stand on its own?
Tell the students they can have paper, scissors and glue to see if they can complete this challenge.
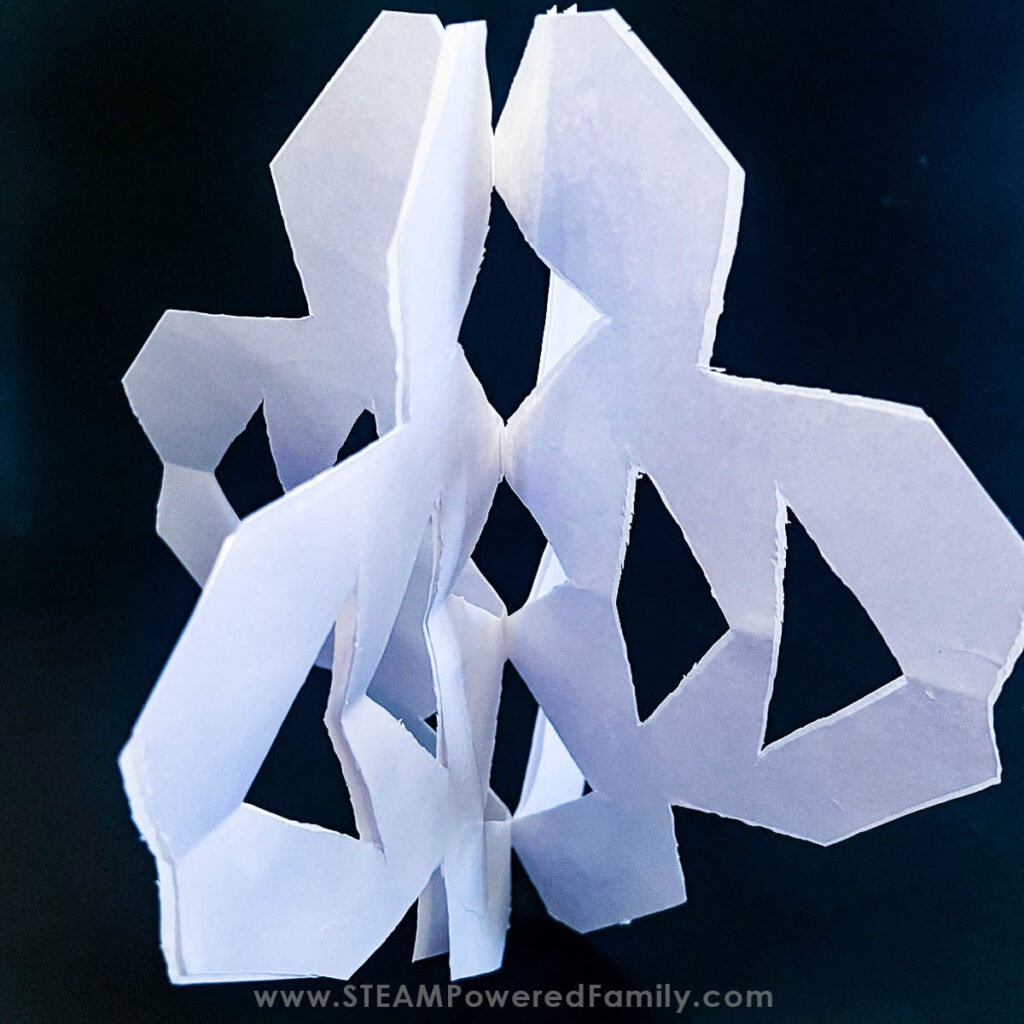
One way this project could be completed is to stack four pieces of paper and make four identical snowflakes, and then gluing them together so they can be fanned out into a standing snowflake shape like this one!
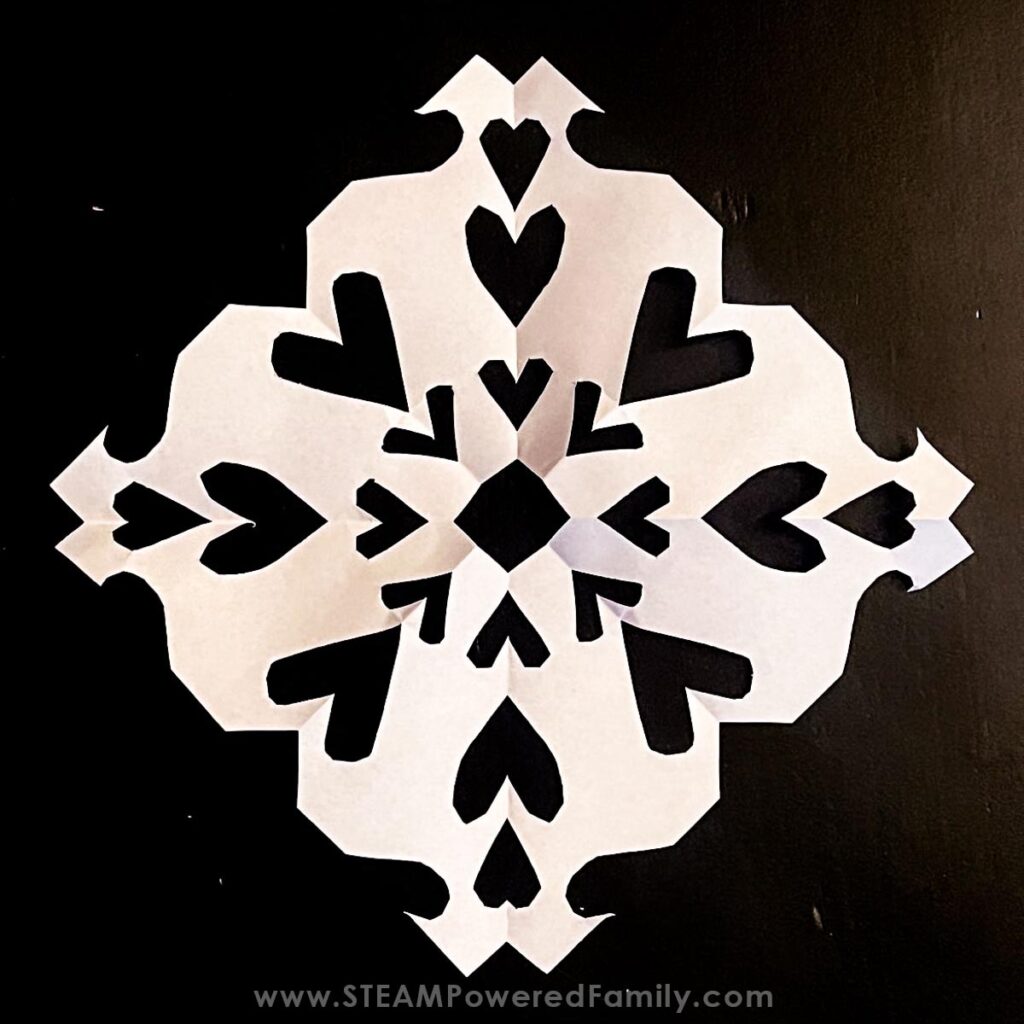
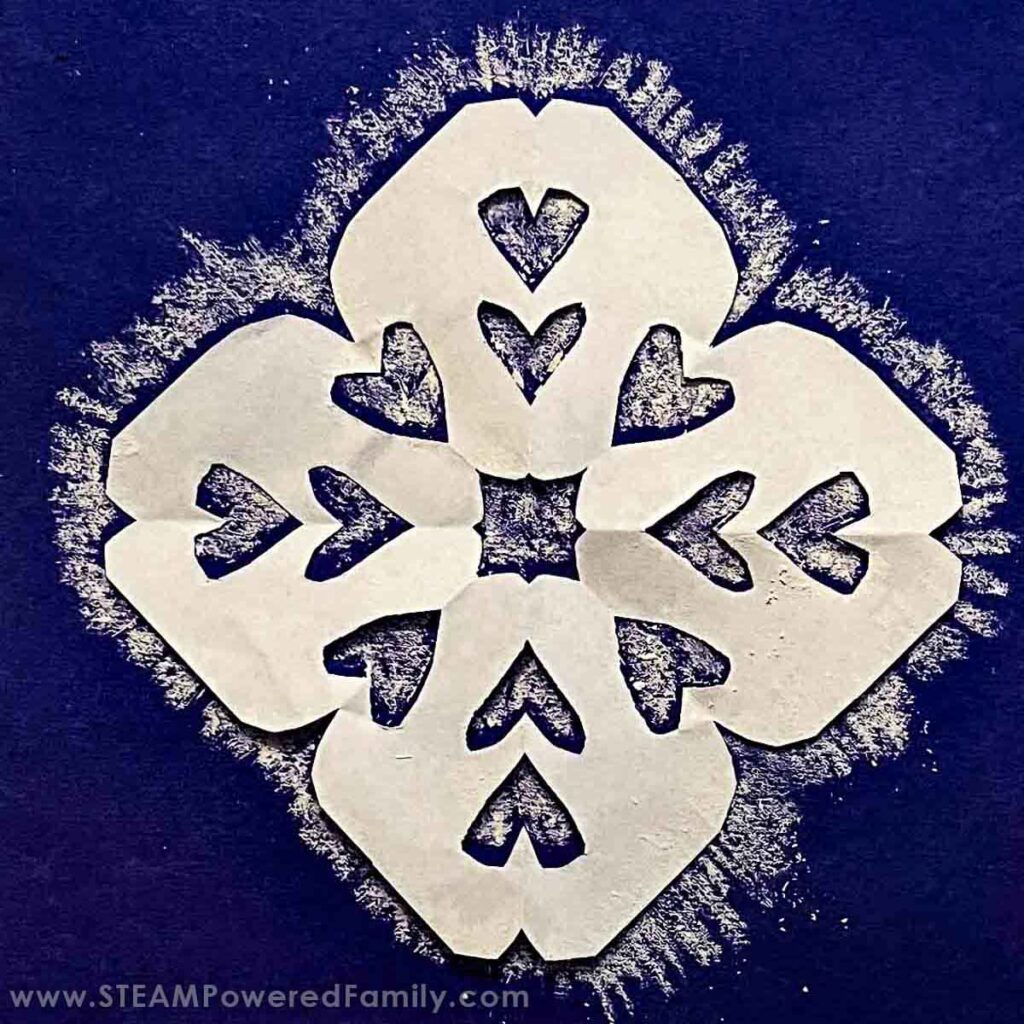
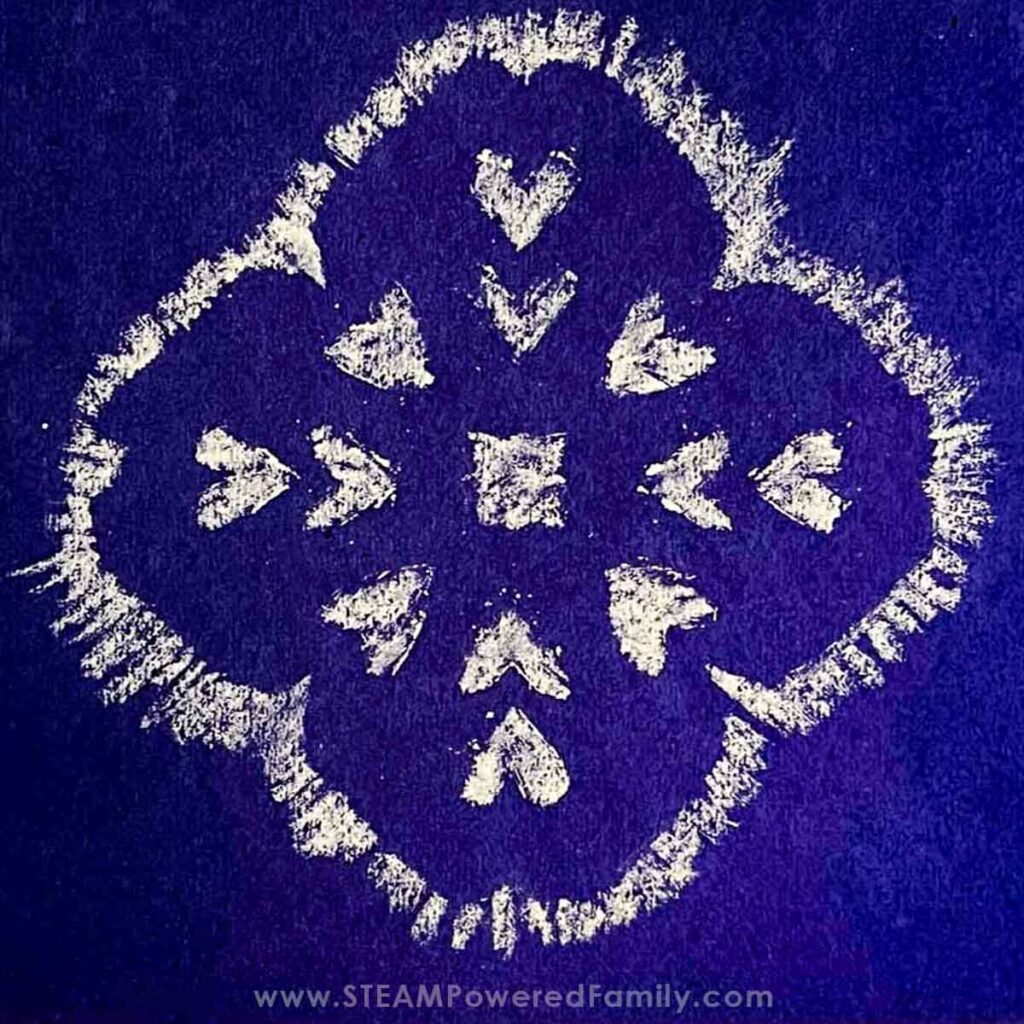
Reverse Snowflake Art STEAM Craft
Another fun and easy activity with snowflakes is to make reverse snowflakes. Have the kids make a snowflake and then carefully lay it on a blue (or any darker color) construction paper. Carefully use a piece of chalk to color around the snowflake and all of its cut pieces. Once you’ve finished, remove the paper snowflake to reveal your design.

3D Paper Bag Snowflakes
If you’re looking for a big WOW – try paper bag snowflakes. These are so easy to make and are a wow moment for the kids because the result is an oversized 3-D snowflake that you can hang dangling from the ceiling!
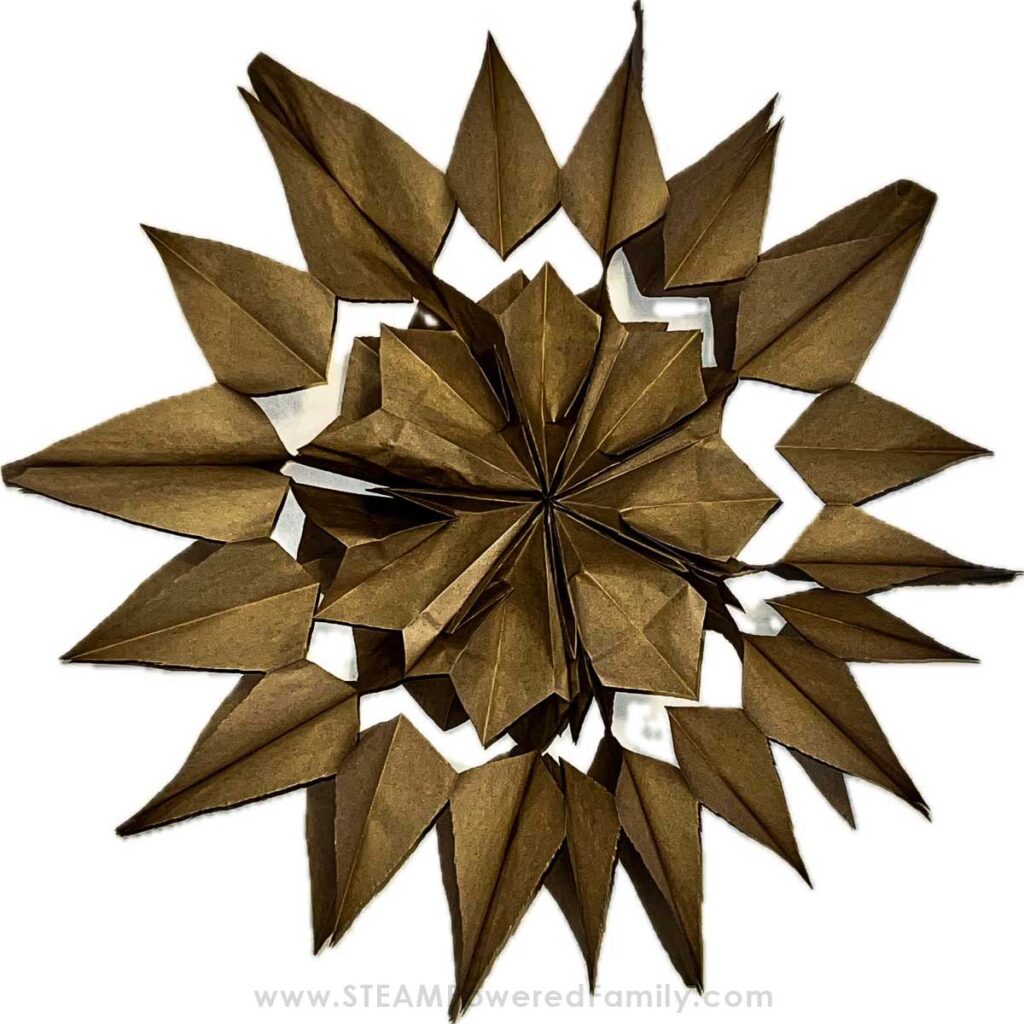
You will need anywhere from 7-10 paper lunch bags. Lay your first bag flap side down and apply glue to the bag – you can use school glue, glue sticks or even hot glue – the only difference will be dry time. Place the second bag lined up on top of the first and repeat the gluing process for all of the bags. Allow your glue to dry. When it’s set, start cutting. To get a real snowflake look, I like to start by rounding the corners. After that cut designs into the sides of the bags. When you’re finished apply glue to the final bag and pull the bags from the other side fanning them out and around to create a circle by sticking the last bag to the first. The result is a gorgeous 3-D snowflake. The kids will love it!
These snowflake projects are low prep and big return. If you want even more Snow STEM, check out these activity ideas:
Have fun playing and learning with snowflakes!