Homemade Mermaid Bath Bombs – Bath Bomb Chemistry
Bath bombs are so much fun to make and save me so much money with my bath bomb loving kids! After the success of our Avengers Bath Bombs we decided to try a different recipe this time, and it gave us a great chance to explore a little more chemistry!
Mermaid Bath Bombs – Bath Bomb Chemistry
Table of Contents
Disclaimer: This post contains affiliate links
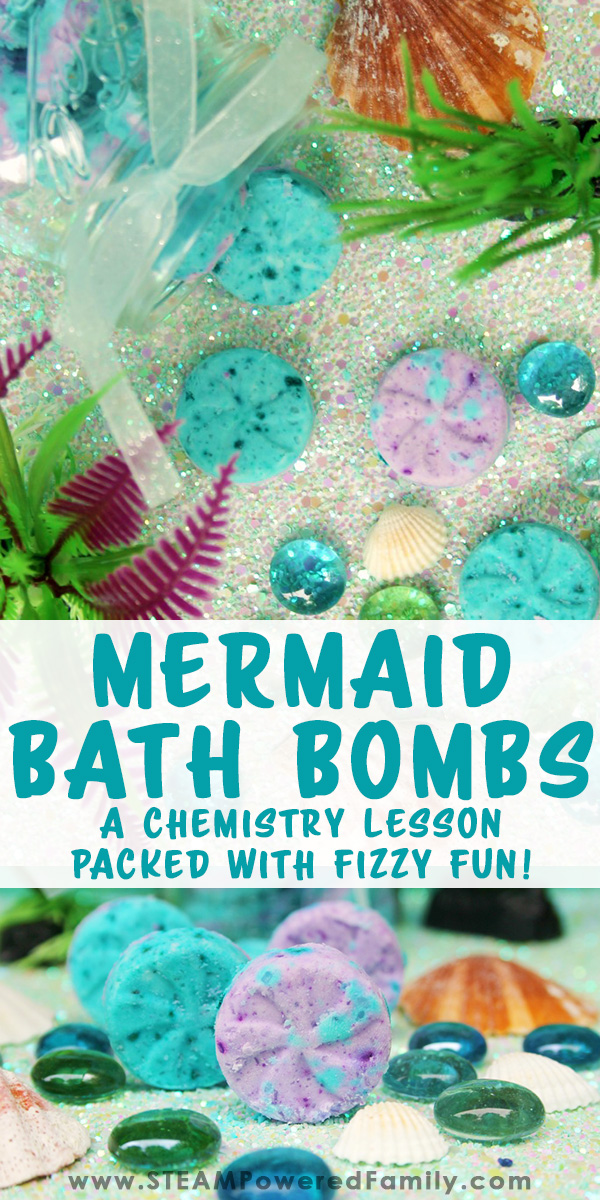
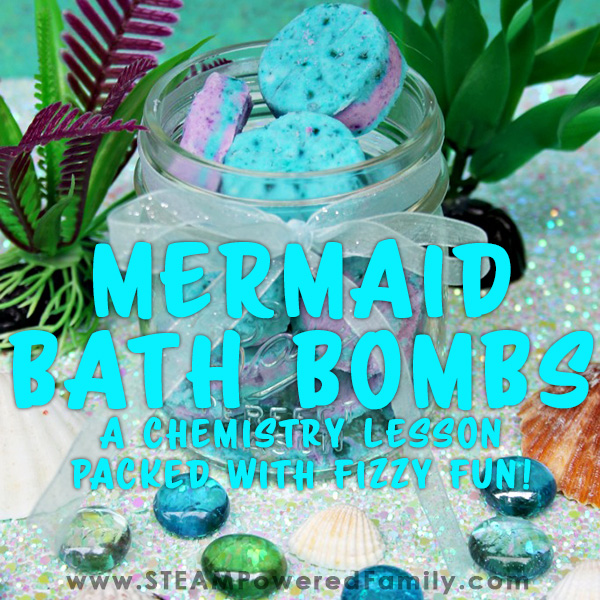
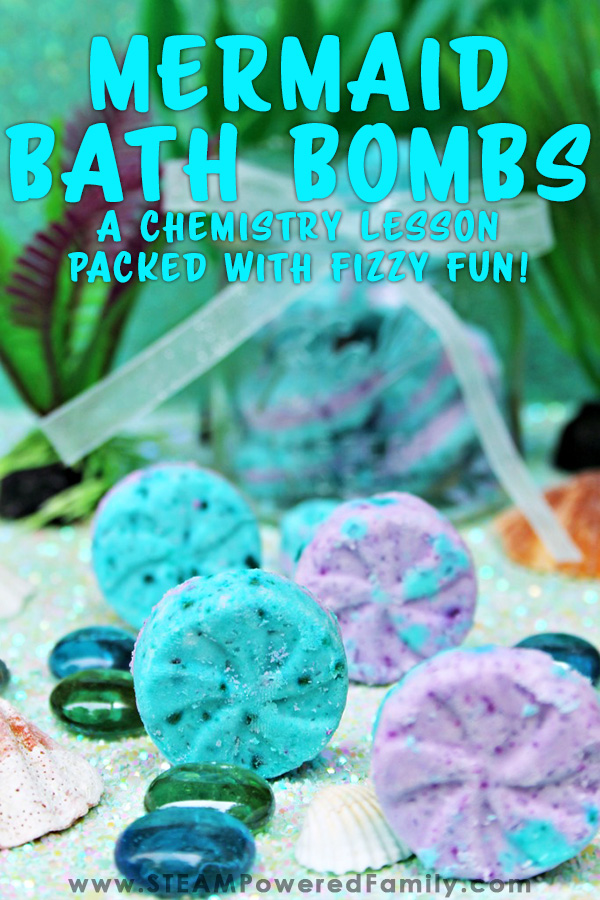
I’m calling these mermaid bath bombs because of the pretty colours that give it an ethereal, under the sea type of feel. But you can call them whatever you want. You can also adjust the colours to suit your preferences.
Acids and Bases – the Chemistry of Bath Bombs
In our Avengers Bath Bombs activity we learned that bath bombs fizz due to an acid/base reaction. In that recipe we used citric acid and baking soda, but that isn’t the only acid/base combination we can use to make bath bombs fizz.
For this bath bomb making activity we switched out our citric acid for cream of tartar, another acid. Our base is still baking soda. As a filler and stabilizer (prevents premature fizzing), we used corn starch.
Creating a Chemistry Acid/Base Unit Study
If you follow along with all of our experiments here at STEAM Powered Family you know we have recently been doing a lot of studies into acids and bases. Including a study into pH and a messy, fun experiment into how baking powder erupts. There are some fantastic parallels between all of these experiments and bath bomb making, which makes them fantastic activities to use together in a chemistry unit study. Studying the reactions of acids and bases from various approaches will help reinforce these important chemistry concepts for kids.
MERMAID BATH BOMBS INGREDIENTS
1/4 cup cornstarch
1/2 cup baking soda
1/4 cup Epsom salts
1/4 cup cream of tartar
10-12 drops of lavender essential oil
10 drops of rose essential oil
10 drops of chamomile essential oil
Blue and red or purple food coloring and teal or blue and green food coloring
3/4 tablespoon water
Silicone soap, candy or chocolate mold (check out the awesome mermaid themed molds I just found below!)
Bath Bomb Making Safety Note
I recommend using safety goggles, gloves and a face mask when mixing up bath bombs, especially if the kids are helping you. Citric acid can be irritating and you definitely do not want to get it in your eyes. With my heart condition, I also find it is always best to be safe and protect my airways when working with anything that can become airborne. Always use common sense and protect yourself. And of course, kids should always do this project under responsible adult supervision.
HOMEMADE BATH BOMB DIRECTIONS
Watch this video tutorial for all the steps, including pictures of each step. More details are below.
Start by adding baking soda, cornstarch, Epsom salts and cream of tartar to medium size bowl. Stir to combine all the dry ingredients, then add water. Mix.
The next step is to add the essential oils. If you don’t like the blend we used, feel free to use the scents that appeal the most to you. Mix.
Separate the mixture equally into two bowls. Add purple, or red and blue food, colouring to first bowl and stir until desired colouring is achieved. Repeat step 10 with teal, or blue and green, food colouring.
Begin to layer colours into the mold. Press down into mold until tightly compacted. Our gel food colour jar was the perfect size to help pack the mixture tightly.
Allow to harden and set for at least 2-3 hours, although I recommend leaving them overnight for the best chance of success.
Carefully remove the bath bombs from the molds. Add one, two or three to your bath and enjoy the fizzing, bubbly, chemistry awesomeness you created!
Storing Homemade Bath Bombs
It is important to keep them away from moisture and being knocked around. Either wrap in plastic or store in an airtight container.
Having Trouble Making Bath Bombs?
There are a few things you can do if your bath bombs are not working.
First if they are erupting prematurely or puffing up while setting, it is because of too much moisture. If you live in a high humidity climate this may be the cause of your issues. Try to pick a day with less humidity for your bath bomb making. Then store them in an air tight container in a place away from humidity as much as possible (ie. not in the bathroom). You can also reduce the amount of water you are using in the recipe.
If your bath bombs are too crumbly you have the opposite problem. Your mixture is too dry. Try adding a little extra oil while making them to address this problem.