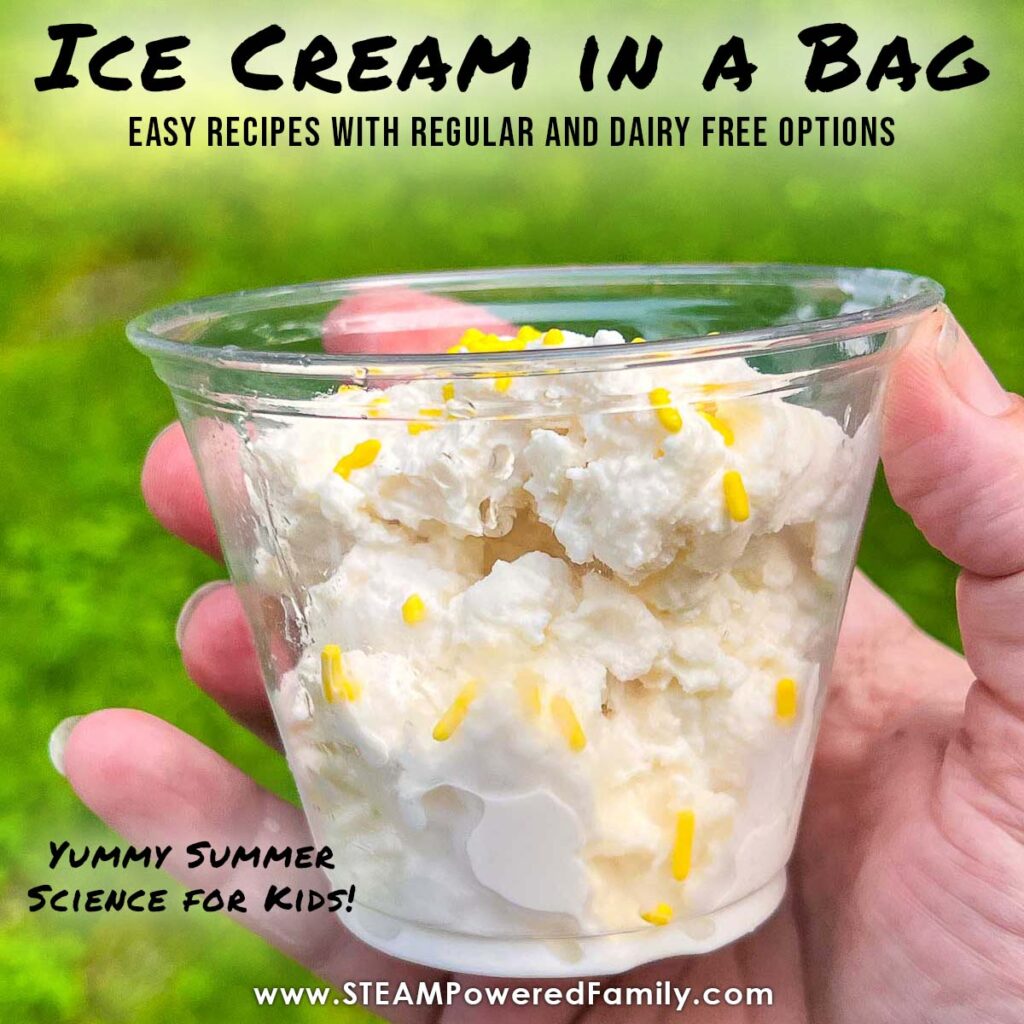
How to Make Ice Cream in a Bag
Ice Cream is such an iconic summer staple. But, did you know you can make your own homemade ice cream with a couple of simple ingredients in under a half an hour start to finish? The process is simple chemistry and a wonderful opportunity to do some tasty kitchen science that will also have your kids moving and grooving and burning energy. Learn how easy it is to make Ice Cream in a Bag with your kids.
ICE CREAM IN A BAG SCIENCE EXPERIMENT
Table of Contents
Disclaimer: This article may contain commission, paid partnerships, or affiliate links. We independently review everything we recommend. When you buy through our links, we may earn a commission from qualifying purchases.
Check out the video tutorial of us making Ice Cream in a Bag. You can also find this video on the STEAM Powered Family YouTube Channel.
This super cool summer project isn’t just a tasty treat, it is also a chemistry science lesson and will give your kids a good workout too! Who needs an ice cream maker when you have kids with muscles and lots of energy and curiosity?
And don’t worry if you’re dairy free – don’t skip this ice cream in a bag project – we have a dairy free recipe as well. We don’t want any kids to miss out on this fun kitchen science experiment making ice cream.
This project is perfect for camp, summer school, day care, camping or just some good old backyard fun. It can be done by all ages. So what are you waiting for? Let’s go make our own ice cream!
How to Make Ice Cream in a Bag (Regular and Dairy Free Recipe)
Ice Cream Ingredients
Half and Half or Whole Milk or Heavy Cream*
*Dairy Free Alternatives: Almond Milk or Soy Milk or Coconut Milk
Sweetener – we used honey and maple syrup but you can use sugar or a sugar replacement
Ice Cubes
Kosher Salt or Rock Salt (Table salt will work but kosher salt works better because it has more surface area)
Flavors and Extras (sprinkles, chocolate chips, flavor extracts, fruit, cookie pieces, chocolate syrup, candy, etc. to make your favorite ice cream flavors)
Pro Tip! For a simple vanilla ice cream recipe, just add a teaspoon of vanilla extract. Vanilla ice cream makes a great base for adding all sorts of extra goodies at the end.
Supplies
Gallon-sized Bag with Zip Top (Freezer bags)
Quart Plastic Zip Top Bag (Sandwich bags)
Gloves or you can hold the bags with a towel while shaking
Bowls and spoons for eating!
Instructions
Time needed: 15 minutes
How to Make Ice Cream in a Bag
- Fill the Bag
Open your gallon bag and fill it with about three to four cups of ice cubes.
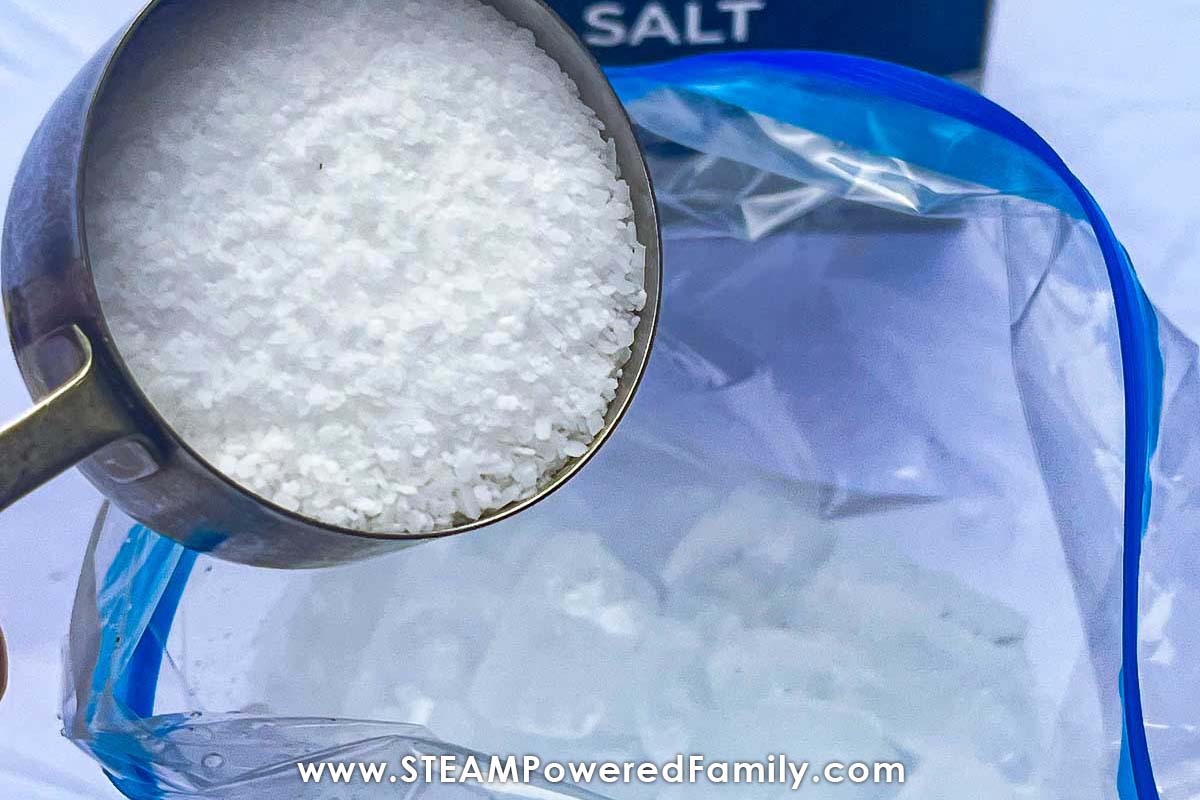
- Add Salt
Add a half cup of kosher salt to the ice. Set the bag aside.

- Prepare the Solution
Measure a cup of either half n half or almond milk depending on whether you want regular ice cream or a dairy free version and add to that about a tablespoon of your preferred sweetener and mix them together in your measuring cup.
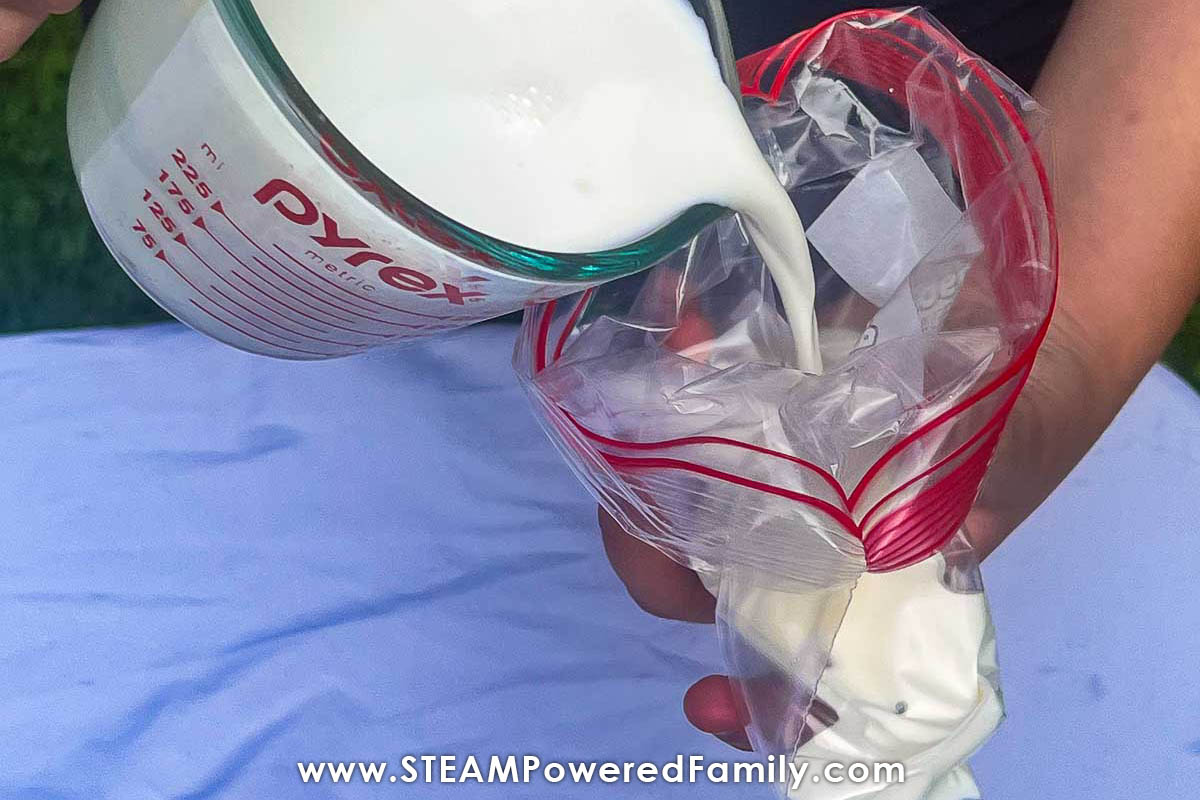
- Bag the Solution
Carefully pour the milky mixture into the small bag (quart sized zip bag). Be careful not to spill, seal the top of the zip bag, be sure that you squeeze out as much air as you can and double check that the bag is sealed up tight. You don’t want it opening up when you’re shaking it.
- Prepare the Bags
Put the quart bag with the ice cream mixture into the gallon bag with the ice and salt and seal that gallon bag up tight.
- SHAKE – SHAKE – SHAKE!
Turn on some music, set a timer and have a dance party! That part is optional, but it did make it a lot of fun. Use gloves if you’re sensitive to cold. You’re going to want to shake it for about five minutes.
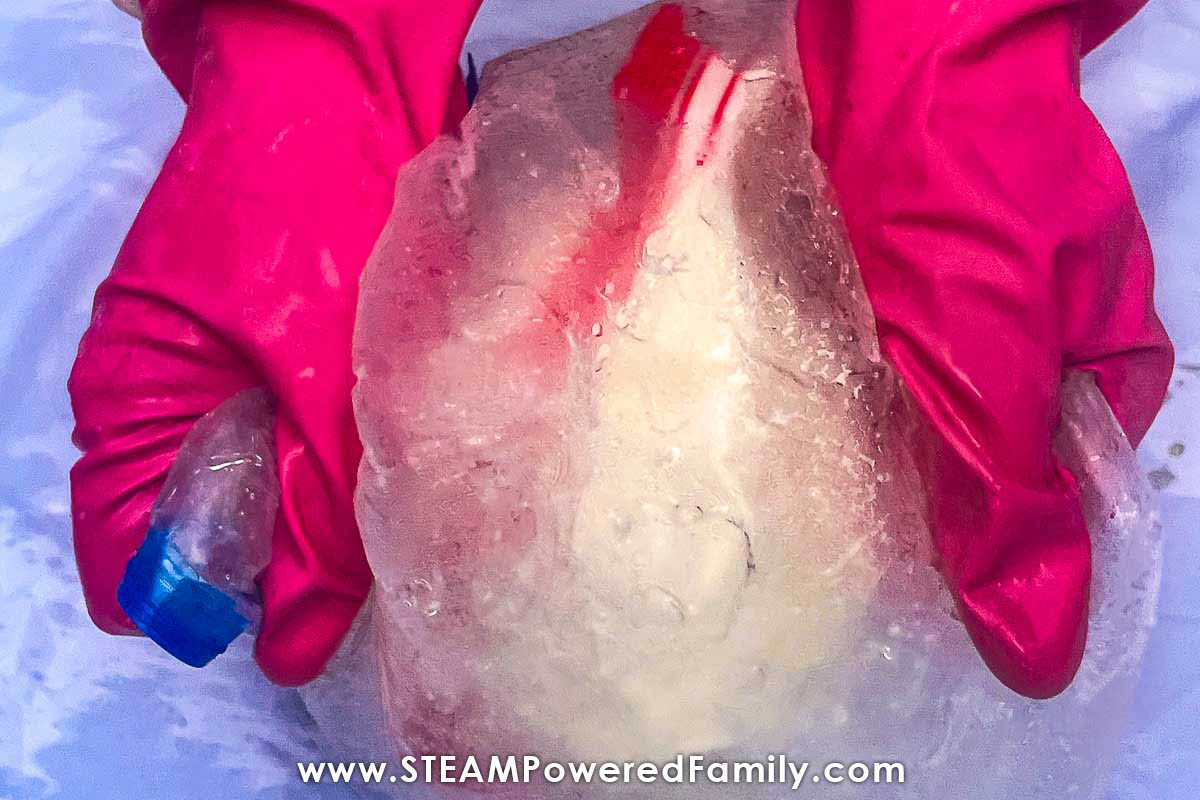
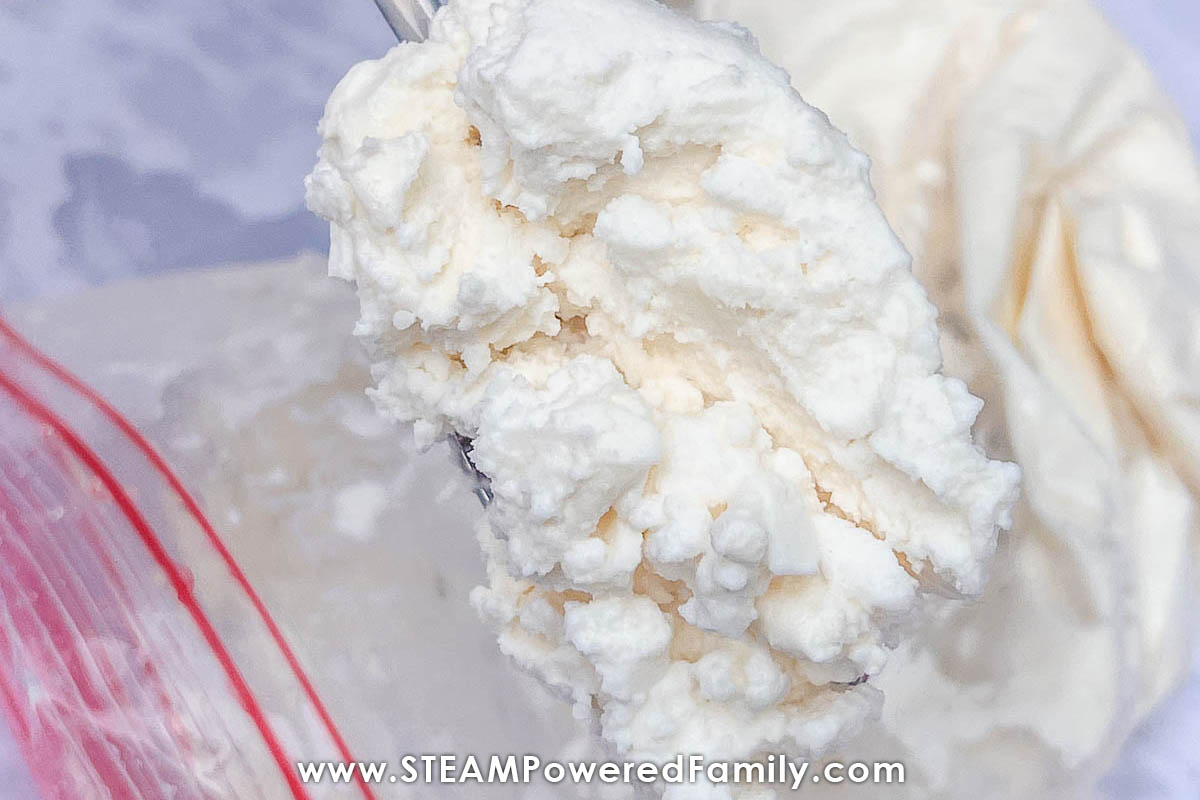
- Reveal the Ice Cream
Unzip and pull the quart bag out of the gallon bag. You will notice that the bag has become semi-solid and is no longer a liquid. The bag is holding its shape and you can squish it around if you push on it.
- Add flavors to Ice Cream
Scoop some of the ice cream into a bowl then mix in your preferred flavors. Chocolate syrup to make chocolate ice cream, cookies for cookies and cream, strawberry is also so good. And of course sprinkles are always a winner!
Enjoy your delicious homemade ice cream!
Ice Cream in a Bag – The Science
It’s actually a pretty cool process! Ice sits frozen at zero degrees. When you add salt to the ice in the bag it actually lowers that freezing point and the ice will start to melt into an extra cold ice and water mixture.
Think about the roads in the winter months. The trucks on the roads spread salt over the ice so it will melt. So when we add the salt to the ice in our bag it will start the same reaction the salt will begin to melt the ice resulting in an extra cold slushy mixture.
This mixture is so cold that the heat from the milky mixture will transfer to the ice mixture causing melting and as the heat is sucked out of the liquid in the quart bag it causes the contents of the bag to start to freeze up.
It would work if you just let the bag sit there surrounded by the ice. It would take longer and it would be bigger icy chunks of the mix rather than being creamy like ice cream – the shaking speeds up the process and makes it nice and creamy just like the ice cream we all love! So we are seeing a physical reaction – changing liquid to solid.
Extension Activities
Grab an Infrared Thermometer to track the temperature changes as you shake your Ice Cream in a Bag.
Dive deeper into these scientific principles with this science experiment exploring how salt affects ice. We look into the science, do some math, and explore this fascinating science that has very practical implications in winter.
Try even more Heat Transfer Experiments.
Next, try using similar science to make homemade slushies or slurpees.