Winter STEM Activity – Salt and Ice Science Experiment
It’s cold out. Like really cold. Our temperatures today are reaching -40 with windchill. So what should we do when it’s freezing cold outside? A winter STEM activity of course! In particular we decided to test the effect of salt on ice. Our results were interesting and resulted in some pretty significant findings. Something we love in our STEM activities.

Disclaimer: This article may contain commission or affiliate links. As an Amazon Influencer I earn from qualifying purchases.
Not seeing our videos? Turn off any adblockers to ensure our video feed can be seen. Or visit our YouTube channel to see if the video has been uploaded there. We are slowly uploading our archives. Thanks!
A few years ago our government started mixing road salt into the gravel they put on our roads. We all knew immediately because we had white salt build up on our cars and the floor of the garage. But why is salting our roads a good thing? Even if it does nasty things to our cars?
Part of living in the great North is that we also use a lot of products to help with traction on our driveways and sidewalks. Ice melts, sand and even lava rocks are all products available to help make winter conditions safer. We know salt melts ice, but how do these things work?
We set out to see what exactly salt does to ice and the environment around the reaction.
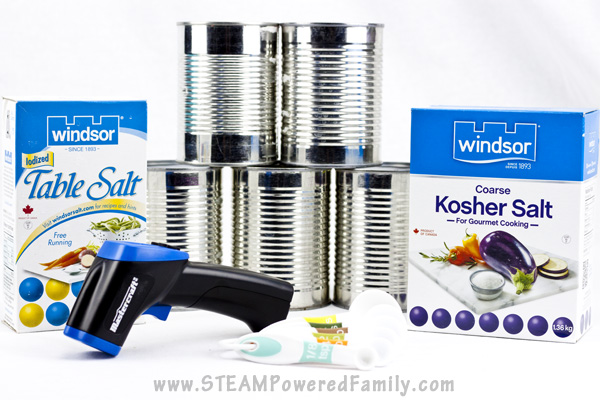
Winter STEM Activity Supplies
Clean tin cans
Ice cubes
Table salt
Coarse rock salt
Measuring spoons
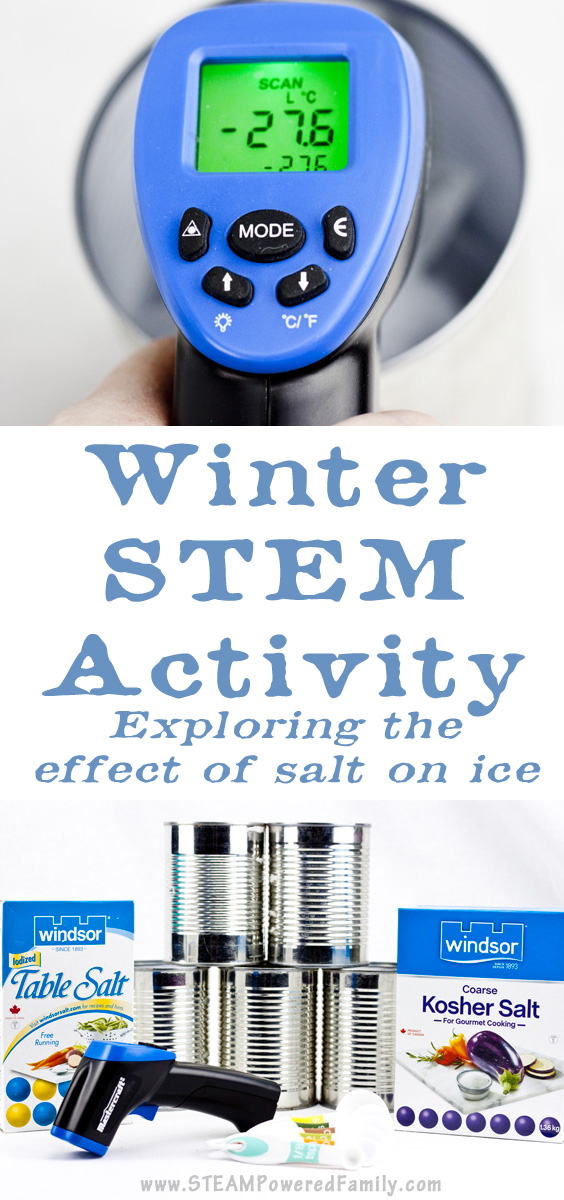
No-contact digital thermometer
Salt and Ice Challenge
The inspiration for this science experiment and STEM activity came from a popular frost creation activity, except in our case our climate is so dry we can’t make frost unless we do our experiment in the washroom while someone is showering!
Set up 5 tin cans (more if you want to test more variables, types of salt, quantities, etc.)
In each can add the same amount of ice.
Set one can as your control. This one will have no salt added.
In the next two cans add table salt. Can #1 add 1 teaspoon. Can #2 add 2 tablespoons.
In the final two cans add coarse rock salt. Can #1 add 1 teaspoon. Can #2 add 2 tablespoons.
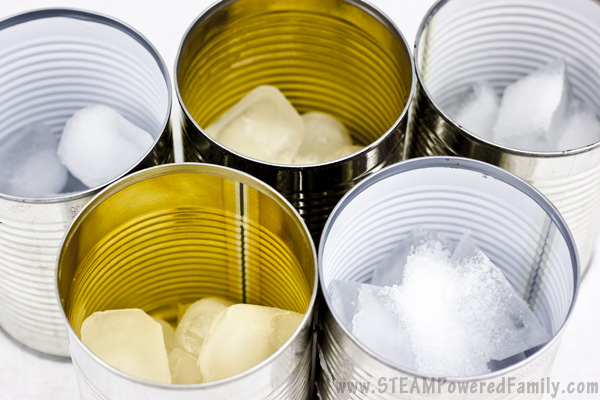
You can gently shake the cans to spread the salt around if you wish.
Make sure you set the cans far enough apart from each other that they don’t affect the results of adjacent cans.
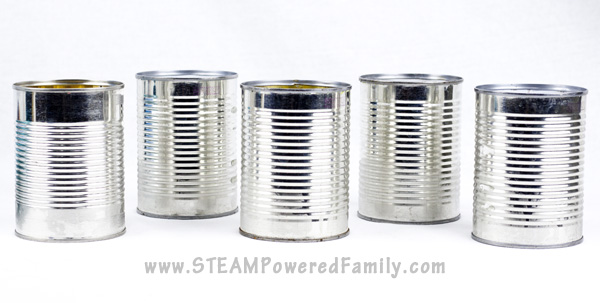
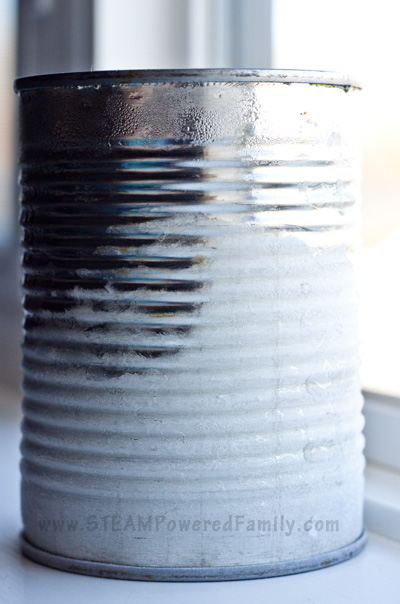
Watch closely and you will see liquid water forming on the tin cans in the form of condensation. This indicates that there is a rapid change in temperature happening. Which means it is time for some scientific investigation.
The Results
Now using your digital thermometer start taking readings. At the beginning your readings will be similar from each can, but over approximately 20 minutes you will start noticing some big changes!
First reading, the numbers were the same across all the cans. Keep in mind the freezing point (or melting point depending on your experiment) is 0 degrees Celsius.
Note: we are in Canada, so our readings are in Celcius, but you can easily use degrees Fahrenheit for your readings. Your numbers will just be slightly different from ours.
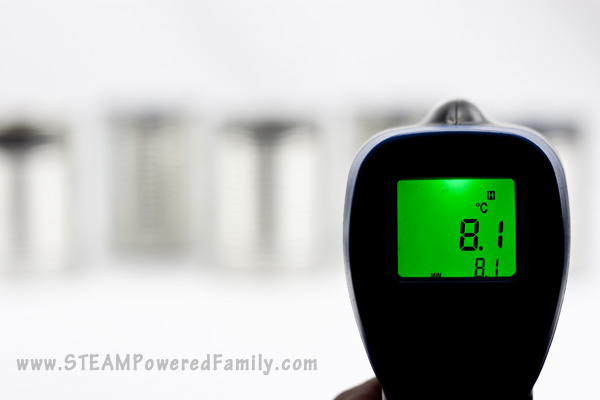
2 minutes later, things are starting to drop but nothing too exciting yet.
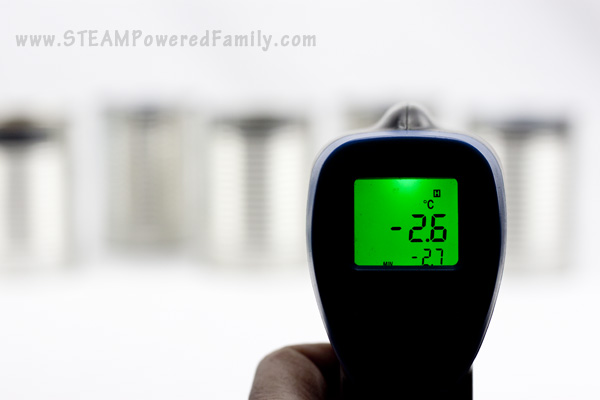
10 minutes later our readings differ significantly between the cans. We moved in close to make sure we were getting accurate readings.
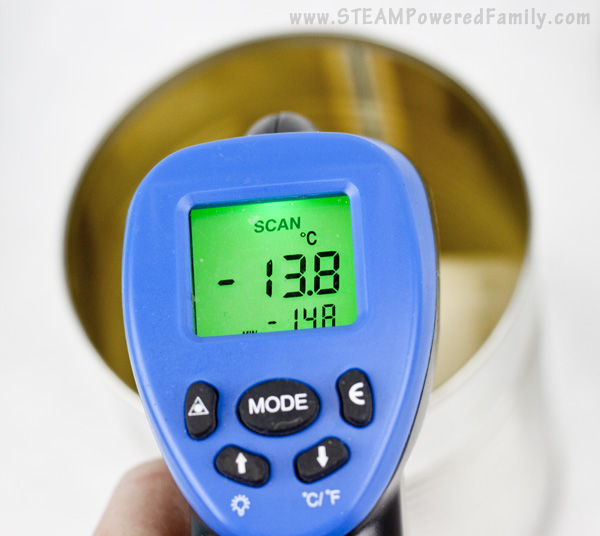
Two tablespoons of table salt and the temperature of the ice reached a low of -14 degrees.
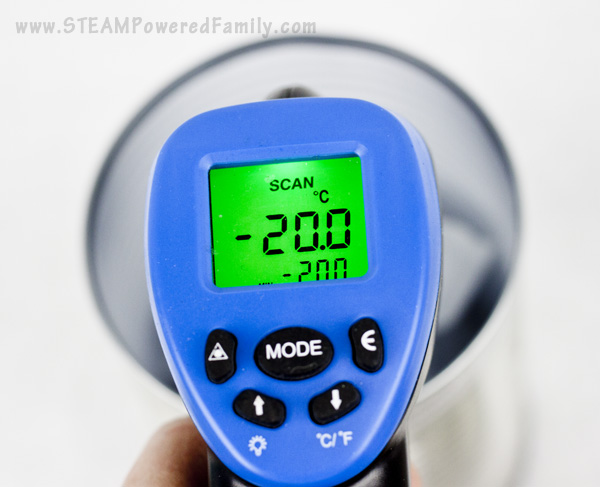
1 teaspoon of coarse salt reached a low of -20 degrees.
And most significant of all, 2 tablespoons of coarse salt reached a low of almost -28!
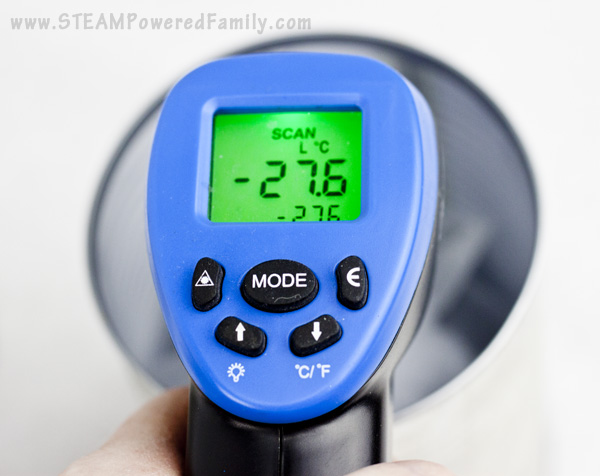
During this time our control stayed around -4 degrees.
These results were huge! It’s always great to do an experiment that provides significant results. This Winter STEM Activity gives kids big results, so even those who might struggle with these concepts or activities, can still see great outcomes.
The last can was so cold that when I was cleaning up my fingers stuck to the can. Which was another great reminder about safety in such extreme cold. It seems every winter at least one kid gets stuck to metal on the playground!
Understanding the Science Behind Salt Reactions with Ice
Salt lowers the freezing point of water. This causes it to pull heat from the air and tin can in order to melt the ice, significantly dropping the temperature on the surface of the tin can and in the air. This gives us our low temperature readings. If you live in a moist climate, moisture from the air will freeze as it comes in contact with the cold surface of the can which can lead to the creation of frost or ice crystals. However, since we live in such a cold, dry climate, that does not work here. To make frost we had to move the experiment into the washroom while someone was showering!
The best part, is that many ice cream makers work on a similar principle. Using salt to alter the freezing point of liquids. We also used this science principle to make homemade slurpees. A huge hit!
However, it is important to note that there is some chemistry at work here, making this a great activity for chemistry labs. Not all salts are the same chemical composition, and they don’t all work the same on icy surfaces. Road salt isn’t the same as table salt. Different types of salt lower the freezing point of the resulting salt water by different amounts. Some examples of different salts include: Potassium chloride (KCl), magnesium chloride (MgCl2), and calcium chloride (CaCl2), all lower the freezing point of water more than table salt (NaCl). However, it is very important to look into each of these options carefully. Each type of salt has different effects on the environment, some may be safer for pets paws, some cause a lot of corrosion damage to vehicles, and some work more effectively under different weather conditions. Choosing the best de-icer isn’t always a simple matter.
Salt and Ice Safety
Now you have seen the science, you should be able to see why there are safety concerns. Never use salt and ice on your skin (like featured on some dangerous social media trend) or on your pet’s paws. It can lead to frostbite, severe burns and scarring.
Looking for more Winter STEM Activity ideas? Check these out!
