Homemade Gummies – Rainbow Dragon’s Eggs
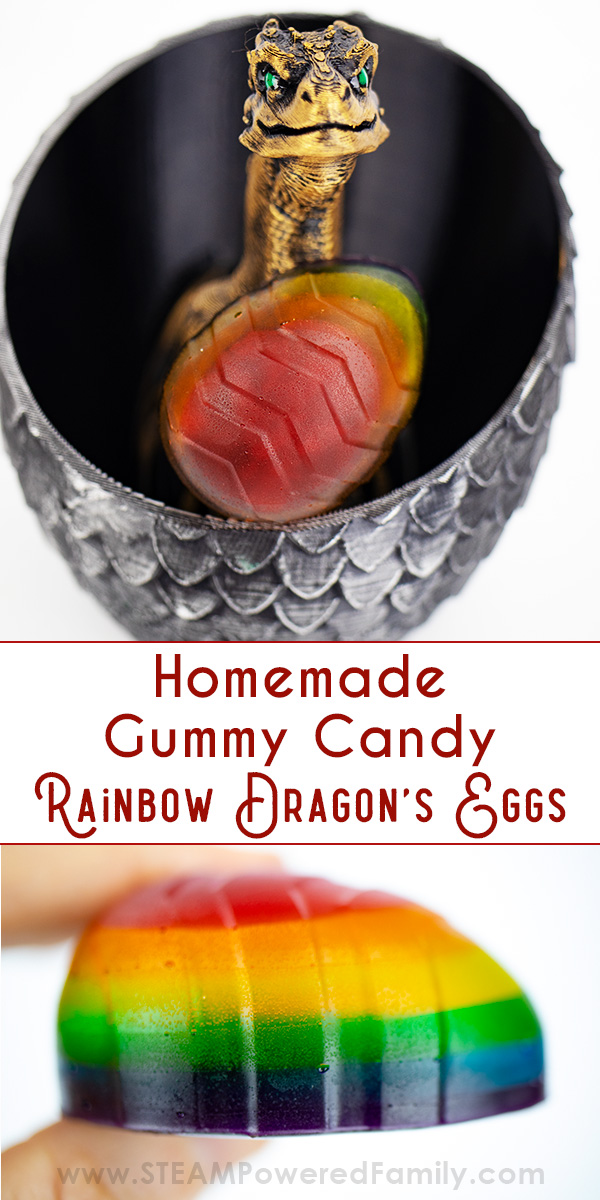
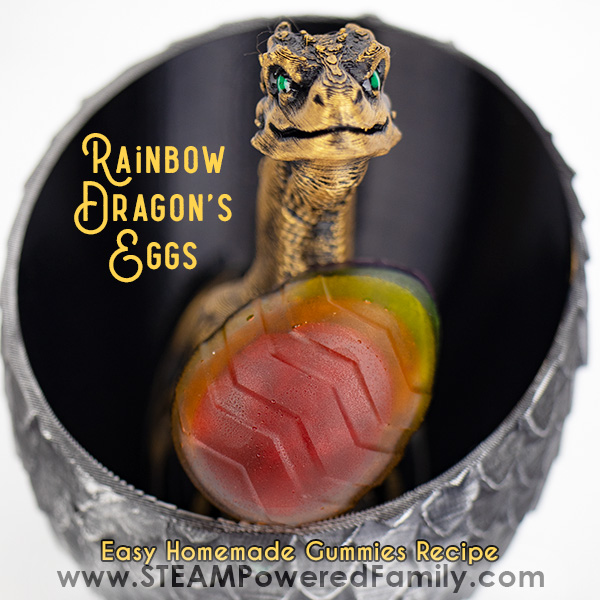
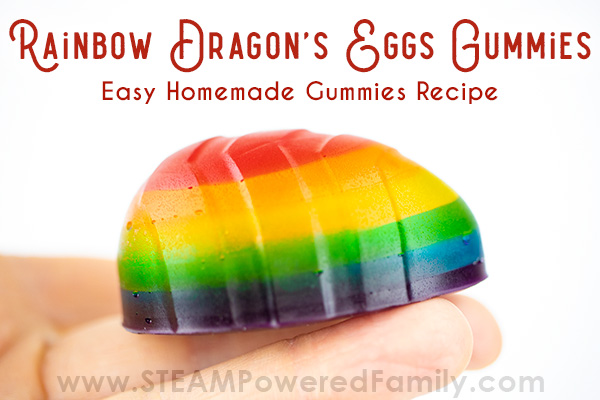
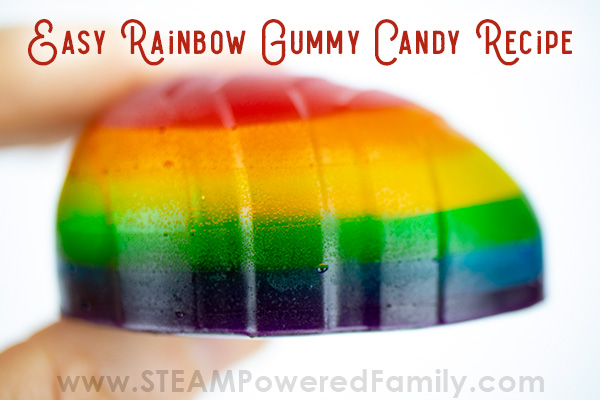
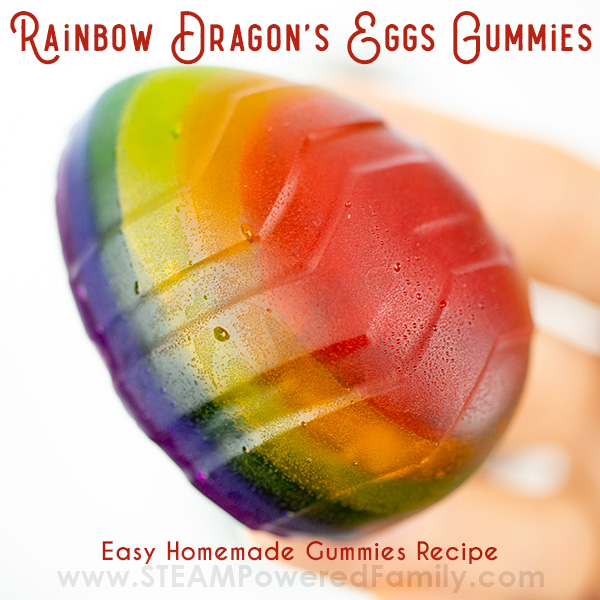
These delectable little morsels capture all the delicious colours of the rainbow in one tasty bite! Kids learn about polymers and all the colours of the rainbow as they make these fun rainbow dragon’s egg homemade gummies recipe. A fantastic project for tweens and teens, or make them as a special treat for little ones. They are surefire hit!
Disclaimer: This article may contain commission or affiliate links. As an Amazon Influencer I earn from qualifying purchases.
Not seeing our videos? Turn off any adblockers to ensure our video feed can be seen. Or visit our YouTube channel to see if the video has been uploaded there. We are slowly uploading our archives. Thanks!
RAINBOW GUMMY CANDY RECIPE
What kid doesn’t love gummy bears? Did you know they are actually incredibly easy to make at home? We love making our own homemade gummies. You should see the kids faces light up with excitement when they see the ingredients in the pantry. My biggest challenge? Getting the gummies photographed before they all get devoured!
For this gummy candy making session I wanted to try something new. We made Heart Gummies for Valentine’s Day, and they were nice, but we wanted a bigger challenge this time. Perhaps you remember our Rainbow Fudge (so yum!), or Rainbow Soap (so pretty). Both projects turned out just beautiful with all those gorgeous colours. So I wondered… could I make a rainbow gummy candy?
Turns out the answer is YES!!
Gummy Candy Polymer Science
Now you know around here I am always sneaking in the educational moments. I think it actually makes life so much more interesting when you ask questions and learn the science behind everyday things, like gummies! These Rainbow Homemade Gummies were no exception. We used it as an opportunity to not only review our colours of the rainbow but to also explore polymers. Yes again! My kids are going to be polymer masters!
So what is a polymer? A polymer is a compound formed of many molecules strung into long chains. Each of these molecules is called a Monomer (mono means one). Sometimes those molecules link and string together into chains, when they do this they become Polymers (poly means many).
Tip! Both Mono and Poly come from Greek roots. My oldest is fascinated with the origin of words, so this was a fun bonus lesson.
Polymers have different properties and characteristics depending on the type of molecules and how they link together. They can be soft, hard, stretchy, clear or opaque. Polymers are a critical building block throughout our world.
You may remember us exploring polymers in other activities like when we made Milk Plastic, or Clear Gelatin Plastic, or how about when we made Slime. That’s a polymer too!
But the best, most tasty polymer according to my kids is Gummy Candy!
MORE GUMMY SCIENCE: Want to try a fun challenge? Check out our Gummy Mummies Science Fair Project.
HOW TO MAKE Dragon’s Egg RAINBOW HOMEMADE GUMMY CANDY
There are a few different techniques you can use to make homemade gummies. They are so easy to make, you won’t want to buy them at the store ever again!
You will need:
Jello (Any flavour but the colours need to be: red, orange, yellow, green, blue, purple)
Corn Syrup (light or clear)
Gelatin packets
Water
Stove top
Pan
Spoon
Whisk
Pyrex 1 Cup Measuring Cup
Silicone Mold
SILICONE MOLDS – Why Dragon Eggs?
So you might be wondering, why dragon’s eggs? Well first of all because dragon’s are cool! We love dragons around there with their majestic strength and magical abilities. I mean who doesn’t want a dragon as a pet?
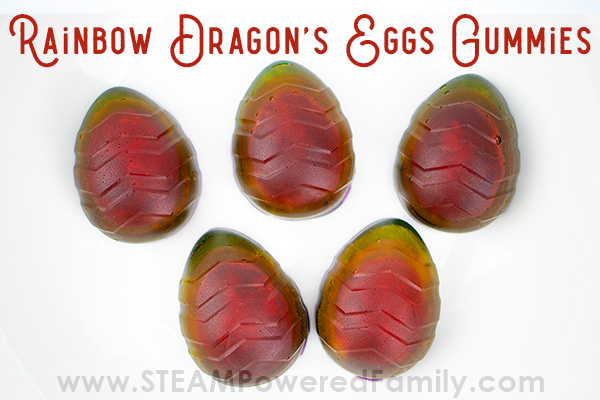
The other reason is because I already have the molds from Easter, and I thought the shape would lend itself well to the layered rainbow colours in the gummies.
Now I don’t know about you, but I have a cupboard full of silicone molds of all shapes and sizes. They are a fantastic tool to have around. We’ve used them to make everything from bath bombs to soaps, crayons to plastic, and even used it in frozen oobleck sensory play.
I am always on the look out for great deals and cool designs in silicone molds. If you don’t have an egg mold, feel free to adapt this to any silicone mold shape you happen to have around.
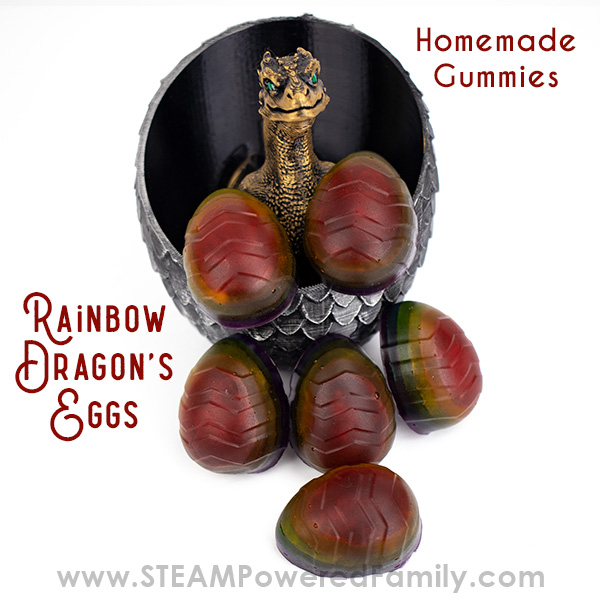
Check out our Awesome Dragon’s Egg Gummies!
Dragon’s Egg RAINBOW GUMMIES RECIPE
Red Gummy Layer First
Start by adding 1/2 cup of cold water to your measuring cup. Using the glass Pyrex style makes this recipe super easy. If you don’t have really cold water, refrigerate the water first for one hour.
Now add 1/4 cup of corn syrup to the cold water. The kids love the trick of watching until the measuring cup is full to 3/4 of a cup. It’s a great way to practice those fractions!
Using a spoon mix the corn syrup and water together. It will become quite cloudy, but after about a minute of stirring the liquid will turn clear. Now pour it into the pan, but don’t place it over any heat yet.
Rinse the measuring cup and spoon, you will need them again in a moment.
Add the red Jello mix (Strawberry or Cherry both work!) and 2 packets of Gelatin to the pan. Whisk it together until most of the chunks are gone.
Turn on the heat to low medium. Stir gently.
There are two things to share with the kids at this point. First we don’t want to continue mixing aggressively because it will add bubbles into our solution. The smoother you are with stirring the less foam and bubbles you will create. Second, you can talk about how easily and quickly sugar syrups can burn. Slow and steady is important here.
Continue stirring gently until the mixture just starts to boil.
Now pour the mixture back into the measuring glass. Let it sit for 2 minutes. A foamy layer will form on the top. Carefully scrap that off with a spoon. The more of it you can remove, the clearer your gummies will be.
Place your silicone mold on a large plate to support it.
Finally carefully spoon the red mixture into your silicone mold. About one teaspoon was perfect for my egg shaped molds, but you will need to estimate and judge the amount based on the size of your molds.
Place the silicone mold (on the plate to keep it stable), into the fridge). Now it’s time to start prepping the next layer!
Orange Gummy Layer
While the mix is setting up in the fridge, clean your pan, measuring cup, whisk and spoon. Hot, soapy water should remove all the sticky mix quickly and easily.
Now repeat the process but this time use orange Jello mix.
While the mix is sitting in the measuring cup letting the foam rise to the top, remove the silicone mold from the fridge. It should be nicely set up by now.
After removing the foam from the top of the mix, carefully spoon in some of the orange mixture. Again about a teaspoon was perfect for my mold.
Return it to the fridge and repeat with yellow.
RAINBOW GUMMY LAYERS
Continue repeating the process for yellow, green, blue and finally purple. Due to the shape of my mold, which became larger towards the top, I added an extra 1/4 to 1/2 teaspoon of the blue and purple mix to the mold to ensure I had a full layer.
Once you have all your layers, place it in the fridge overnight (or at least 4 to 6 hours). Carefully remove the gummy candy from the molds.
Enjoy!!!
Troubleshooting Homemade Gummies
BUBBLES OR CLOUDY GUMMIES
If your gummies have too many bubbles (ours developed more bubbles than I prefer, but the kids don’t care), use the technique we used to make our TARDIS Gummy Candy. It will give you a gorgeous, clear gummy, but it does take more time (and patience, something my kids lack when the end result is Gummy Candy!).
If you use this technique for making the Rainbow Gummy Candy, you will need to make all the layers and let them set over night, then heat each one individually, leaving about 10 to 15 minutes between each layer to let it set.
Gummies too Sticky
When your gummy candy comes out of the mold it might be a little sticky. If you find them too sticky, set them on some parchment paper at room temperature for an hour or two. This will help remove the stickiness without the candies getting hard.
