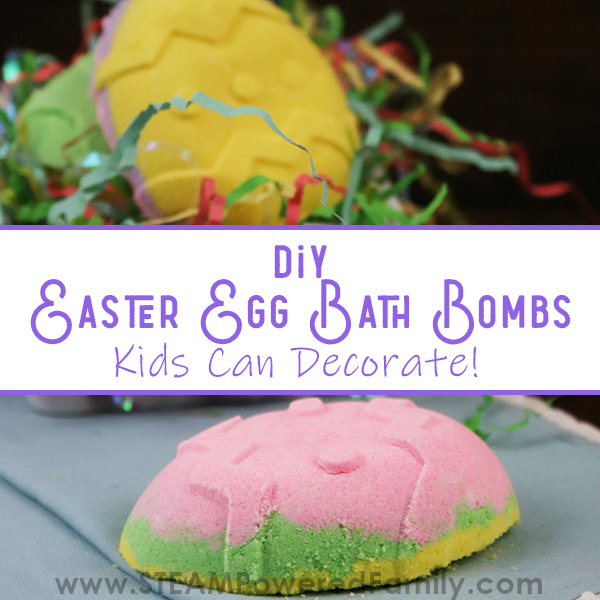
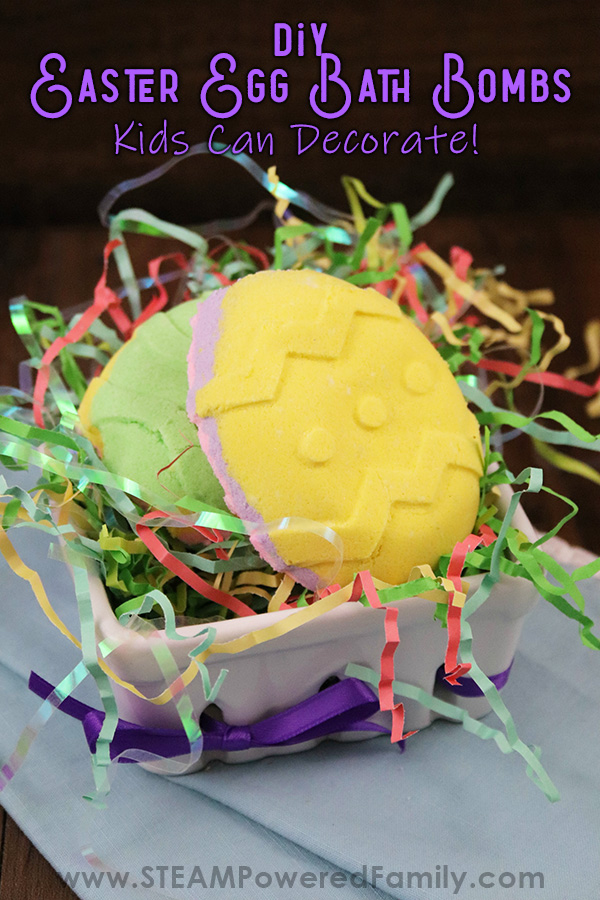
DIY Easter Egg Bath Bombs Recipe Kids Can Decorate
Easter is coming and the kids have been decorating eggs every year, but this year they wanted to do something different. Something unique and with a bit of a science flair. We already made gorgeous Crystal Egg Geodes, so this time we thought let’s bring our love of bath bomb making to the table and make some awesome Easter Bath Bombs. But we couldn’t just do simple Easter bath bombs, we had to get creative and make Easter Egg Bath Bombs that we then decorated like real Easter Eggs! Each one is as special and unique as the kid who made them.
Easter Bath Bomb Recipe To Decorate
Table of Contents
Disclaimer: This article may contain commission, paid partnerships, or affiliate links. We independently review everything we recommend. When you buy through our links, we may earn a commission from qualifying purchases.
Bath Bombs – A Zero Waste STEAM Lesson
When the holidays come around the kids always like to do holiday themed science activities. As they have grown, their interests have changed. In the past year or so they have been obsessed with chemistry. One of their favourite ways to explore chemistry is by making bath bombs.
I love that bath bombs are a zero waste activity. It always bothers me a bit when I need to throw out stuff after a lesson with my kids. I don’t like adding to the landfill if I can avoid it. But with bath bombs nothing is wasted or put in the garbage. Kids love using and gifting their bath bomb creations, and any remnants in the bowl are always erupted in the name of science during clean up!
Easter Egg Decorating Meets Bath Bomb Making
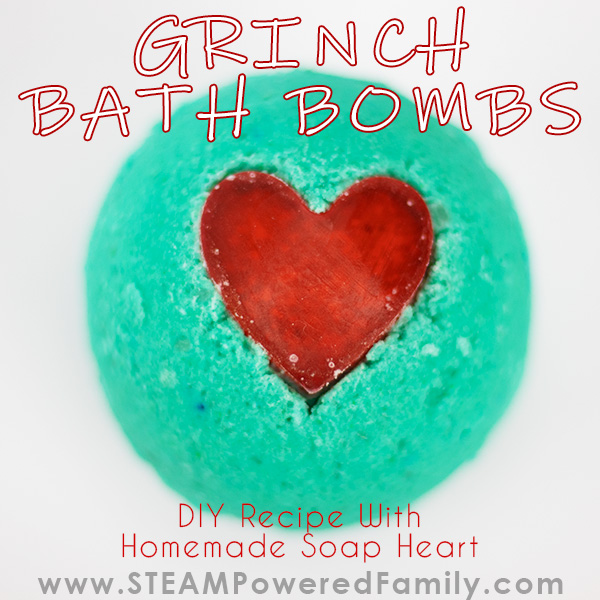
Back at Christmas time we had fun decorating some bath bombs, so when we were discussing ideas for Easter the kids loved the idea of creating an Easter Egg bath bomb that they could decorate in the same way. We played with some new decorating ideas this time that all worked out perfectly. I love it when a plan comes together!
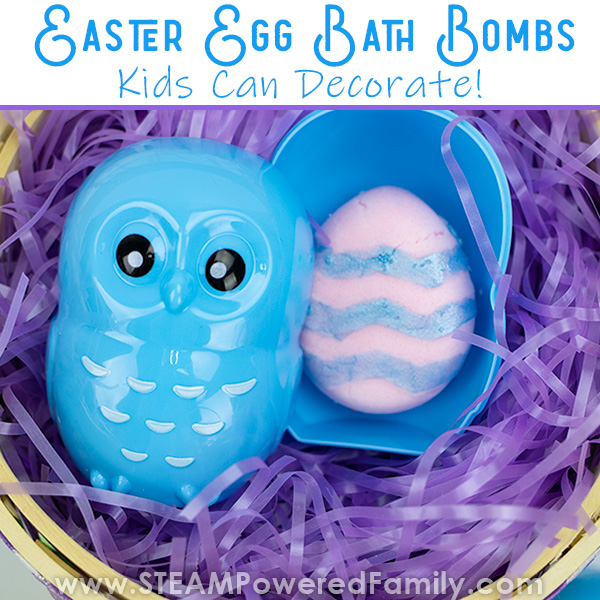
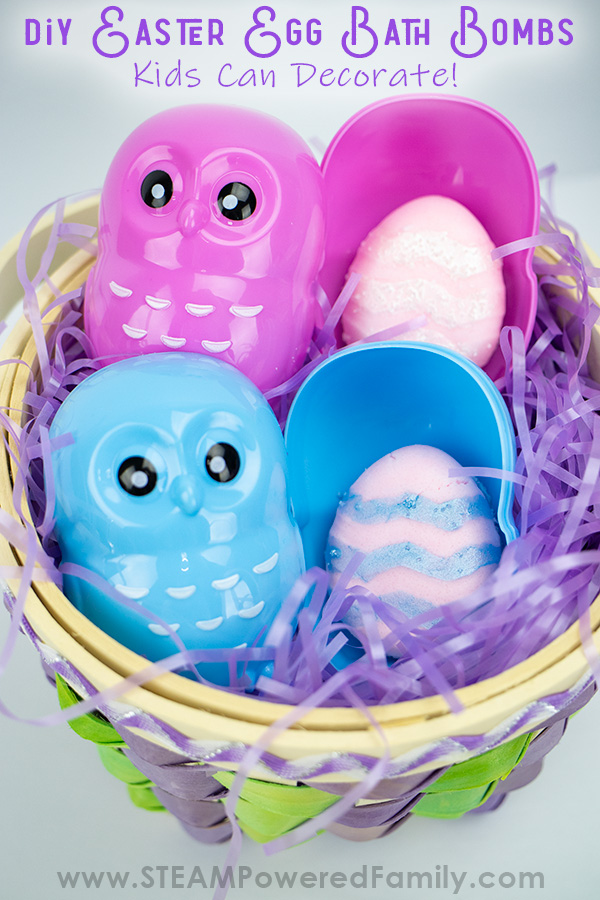
The best part is that we found some super cute Easter Owl plastic eggs at the dollar store that fit our smaller Easter Egg bath bombs perfectly so they can be added to an Easter basket!
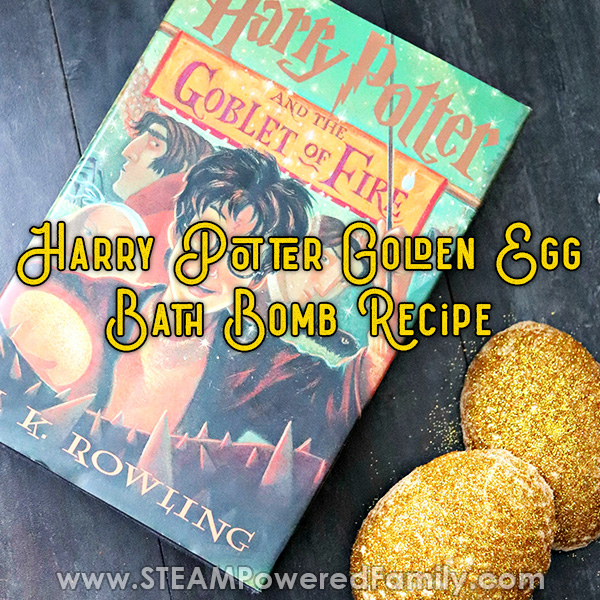
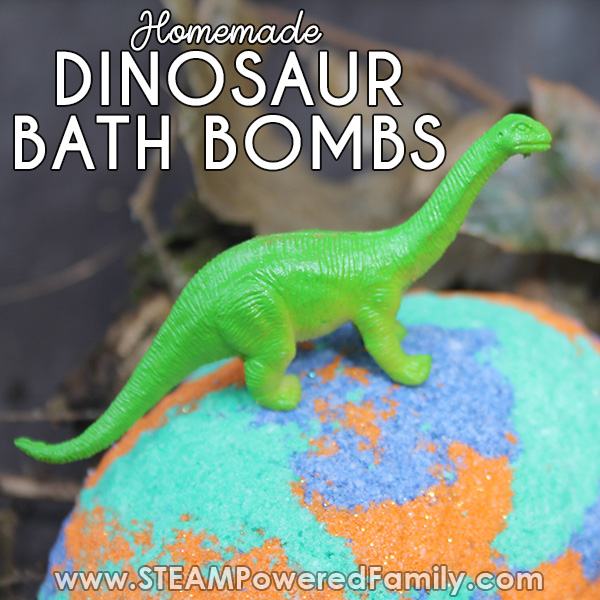
These were a great addition to the other two Egg bath bombs we have made: A Harry Potter inspired Golden Egg Bath Bomb and a Dinosaur Egg Bath Bomb that has a baby dinosaur surprise inside.
DIY Easter Bath Bombs Ingredients And Supplies
2 cups baking soda
1 cup citric acid
1/4 cup cornstarch
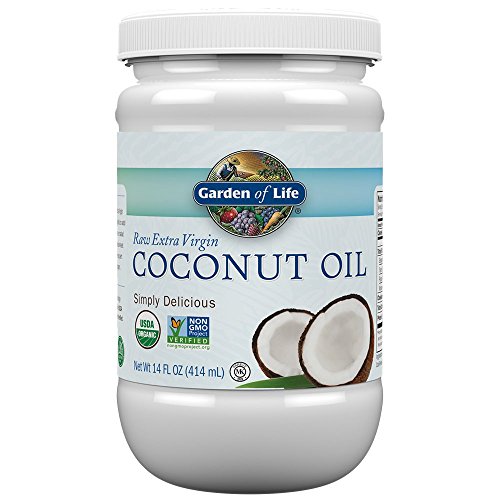
1/3 cup coconut oil
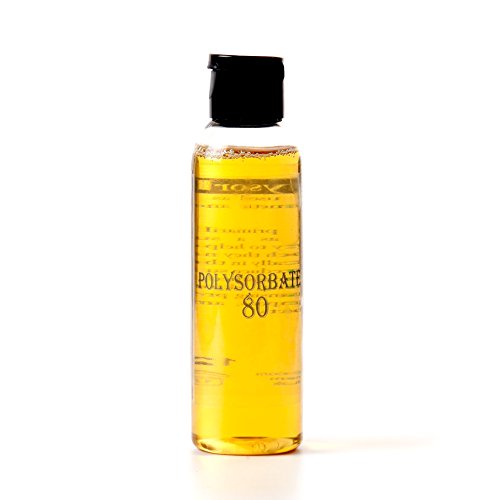
1 tablespoon polysorbate 80
1-2 teaspoons of jelly bean scented oil
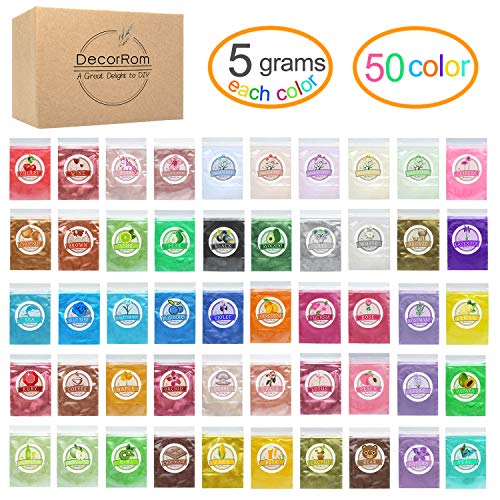
Green, pink and blue, yellow and purple mica powders
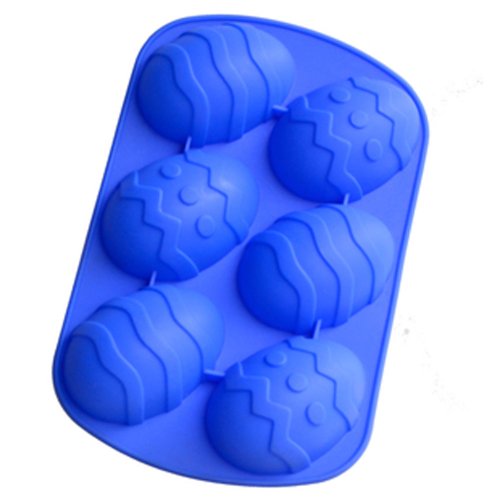
Easter egg bath bomb molds
Spray bottle filled with rubbing alcohol
1 large mixing bowl
5 small bowls
1 microwave safe bowl
Gloves (optional)


Easter Egg Bath Bomb Decorating Supplies
Small paintbrushes
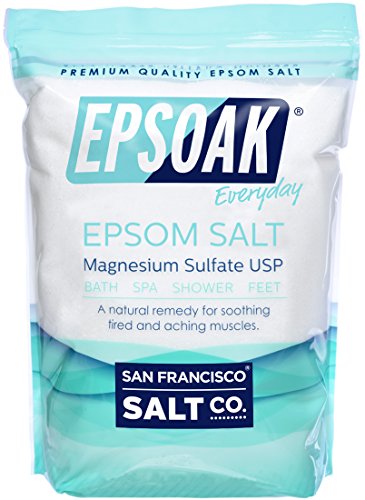
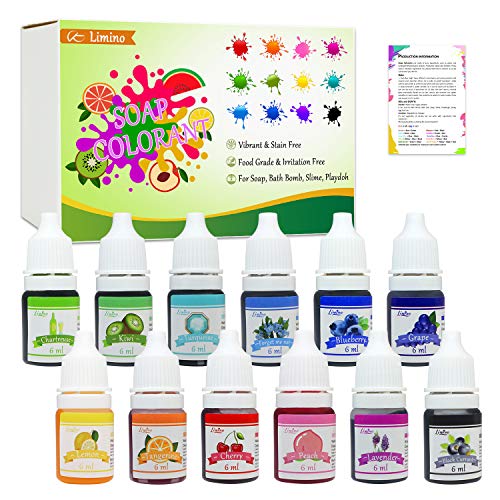
Epsom salts (coloured or colour yourself with soap colourants or food colouring)
Coloured sugar
Mica colours for decorating
Coconut oil
Small microwave safe containers (as many as you want for colours plus one clear)
Easter Egg Bath Bomb Recipe
In a large mixing bowl, add the baking soda, citric acid, and cornstarch. Stir to combine the dry ingredients.
Add the coconut oil to a microwave safe bowl and melt until liquid in the microwave.
Add jelly bean scented oil and the polysorbate 80. Mix the liquids.
Add the liquid ingredients to the large bowl with the dry mix. Mix the ingredients together. Use your hands to break down any lumps and make sure everything is really mixed in there. The mixture is perfect when it holds together when you press it into your hands and feels like wet sand.
Layered Easter Bath Bombs
If you want to do multi-coloured layered bath bombs, follow these steps, or if you want to just do one colour, just add your mica to the main bowl. We did both!
Separate the mixture into five bowls. Add 1 tablespoon of the green mica into one, 1 tablespoon of the pink into the second bowl, 1 tablespoon of the blue mica into the third bowl, 1 tablespoon yellow into the fourth and 1 tablespoon of purple into the remaining bowl.
Mix the colors into mixture thoroughly with your hands. You may want to use gloves to prevent colouring your hands, although it does wash off fairly easily. Continue to add mica a 1/4 teaspoon at a time until you get the color you want. Keep in mind, that if you are decorating your bath bombs you will want the base colour to be fairly pale.
Add your first color into a cavity of the mold, filling about a quarter to one third of the way. Press the mix down gently. Now, add your next color, creating a new layer, and repeat with new colours until your mold is full. Press down firmly, but not so hard you make cracks in the mixture.
If you are doing only one colour, just fill your whole mold with the single colour.
Allow them to dry in the silicone mold for at least 24 hours. I prefer to wait 48 hours. Then carefully remove them from the molds. At this point I like to let them harden for another 24 hours outside of the molds. This helps ensure they are completely hard.
Decorating Easter Egg Bath Bombs
Once your Easter Egg bath bombs are hardened it is time to decorate them! Check out our video of the process.
Set out your bath bombs. Melt some coconut oil. Split the coconut oil into small containers, one for each colour, plus leave one clear.
Add a bit of mica powder in the colour of your choice to each container and mix it with your paint brush.
Now paint your bath bomb with the coconut oil and mica powder mixture.
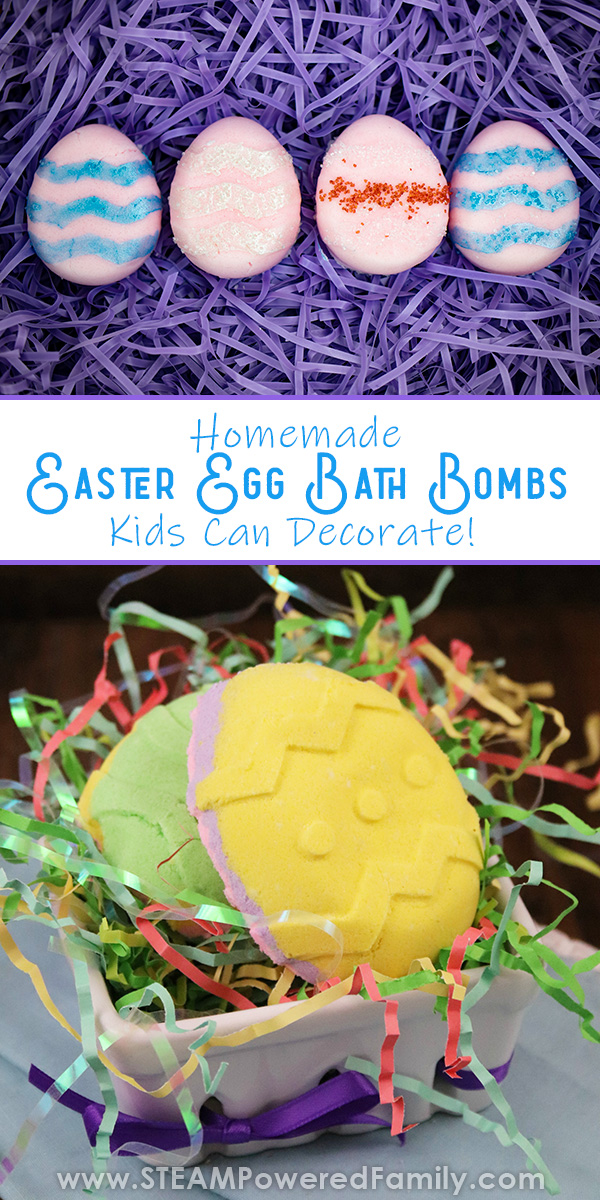
To add crystals and sparkles, you can simply paint on the clear coconut oil, then sprinkle either coloured Epsom salts, coloured sugar, biodegradeable glitter, or small decorative candies onto the coconut oil. Once the coconut oil sets, the decorations will be nicely attached the bath bomb.
Pro Tip! To colour Epsom salts, add a tablespoon to a bowl and add a drop of food colouring or soap colourant. Stir until all the Epsom salts are coloured.
Once you have finished decorating, let your Easter Egg bath bombs set for 2 hours.
Store in an airtight container until you are ready to use them. We found our smaller Easter Egg Bath Bombs fit perfectly in these cute little plastic Owl Easter Eggs we found at the dollar store so we could put them in Easter Baskets.
Easter Egg Bath Bombs Science Lesson
The science behind the fizz of bath bombs is a chemical reaction between acids and bases which causes the release of carbon dioxide gas (the bubbles and fizz). In this recipe our base is Baking Soda and our acid is Citric Acid. While in dry form they do not react with each other. But once you add water the chemical reaction is triggered.
Bath bombs also teach kids about emulsifiers. Oil and water do not mix naturally, so we need an emulsifier to force the water and oils to blend together. This creates a really nice bathing experience with the colours and oil evenly dispersed through the water. If you don’t use Polysorbate 80, our emulsifier in this recipe, your oils and colours will float on top of the water sticking to you and the bath tub and making a slimy mess.
Finally, the coconut oil is our “glue” for decorating our Easter Egg Bath Bombs. It works beautifully for this purpose because it doesn’t have any water that would cause our bath bombs to erupt. If you tried using regular paints or colours (like food colouring) your bath bomb would start erupting as soon as you started decorating or painting it. Coconut oil won’t cause an eruption. Coconut is also solid at room temperature. So we melt it to do our decorating, then let it solidify making our decorated Easter Eggs Bath Bombs little pieces of unique art! Making this one awesome STEAM activity for Easter!
Happy Easter!
MORE BATH BOMBS FOR KIDS