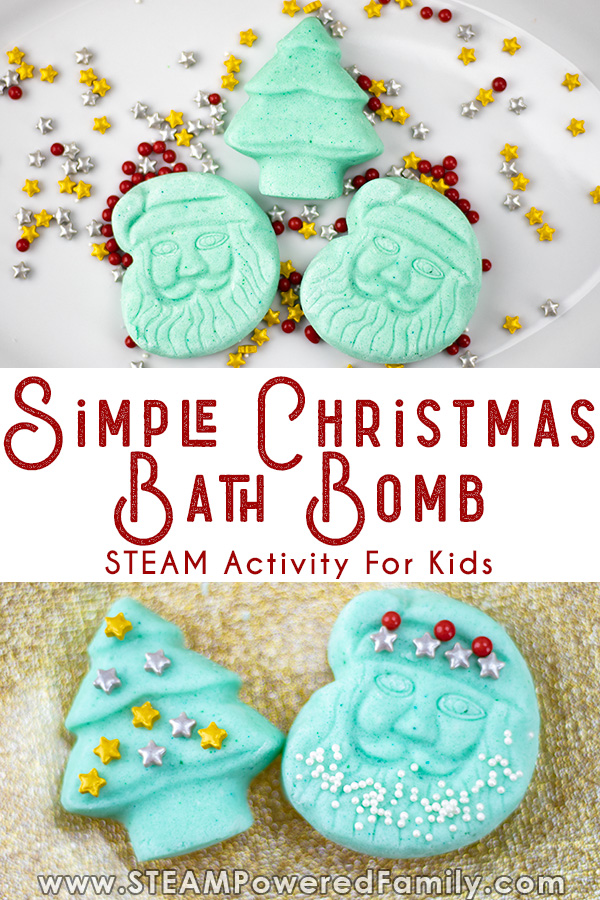
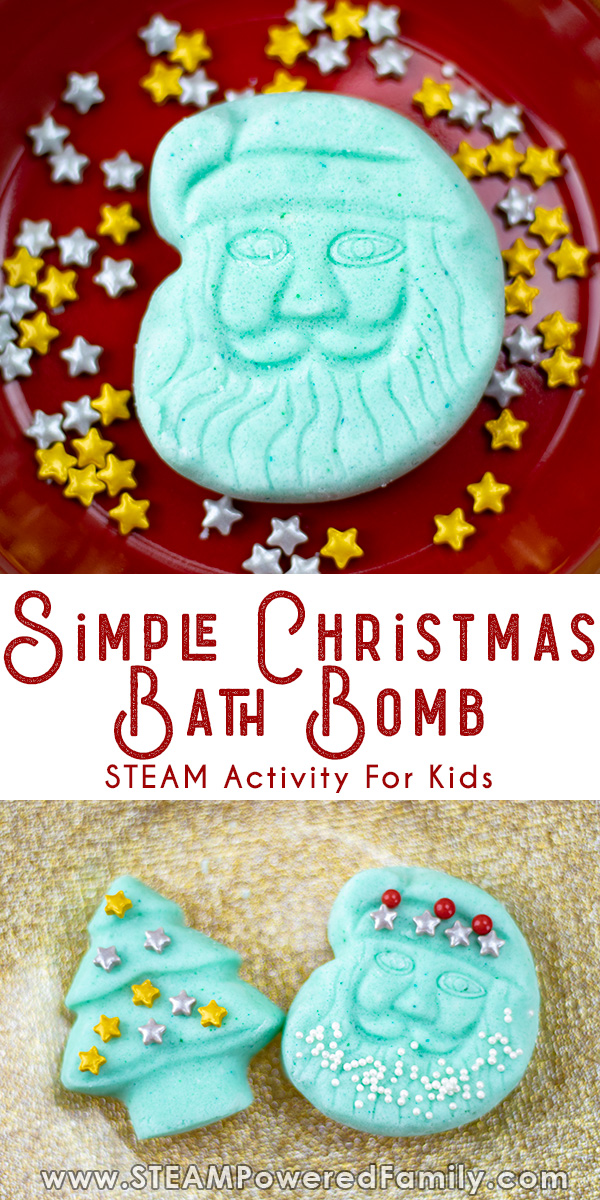
Easy Christmas Bath Bombs With The Kids
We love making bath bombs, and with my older kids it is pretty easy for us to get really creative. We’ve done this quite a bit and have some experience. But what about someone just starting out? Or with younger kids? Well here is the perfect easy Christmas bath bombs recipe to do with the kids this holiday season!
Super Easy Christmas Bath Bomb For Kids
Table of Contents

Disclaimer: This post contains affiliate links for which we may earn a small commission on qualifying purchases.
Now what is it that we love so much about making bath bombs? Well first of all the kids LOVE them. They seriously, they are obsessed with any chemical reaction that “explodes” or erupts. Adding that to bath time only increases the fun factor!
But bath bombs can get really expensive. And really for the 5 minutes of fun, they are simply out of many people’s budget.
That is until you realize you can make bath bombs yourself for a fraction of the cost, and turn it into a fascinating chemistry lesson for the kids. Because here is a big secret about getting kids excited about learning, you need to make it fun and interesting! I know totally mind blowing! But it’s true.
That makes bath bomb making the ultimate science project for fostering a love and passion for chemistry in kids. Plus, the results make amazing gifts kids will love to present to those they love.
Easy Bath Bomb Making for Kids at Christmas
Now one of the things we love about bath bomb is that once you understand the science, there is a lot of flexibility to get creative with the recipe. You just need to understand the role of the ingredients before you start playing and making adjustments.
The hard part about making bath bombs? Getting them out of those darn bath bomb molds! It is truly a technique that takes some practice to master. Something little kids just do not have time for. That’s why we came up with this super simple way of making bath bombs for the holidays.
Plus at the end, kids get to decorate and personalize their bath bombs with their own special touch.
Easy Bath Bomb Recipe
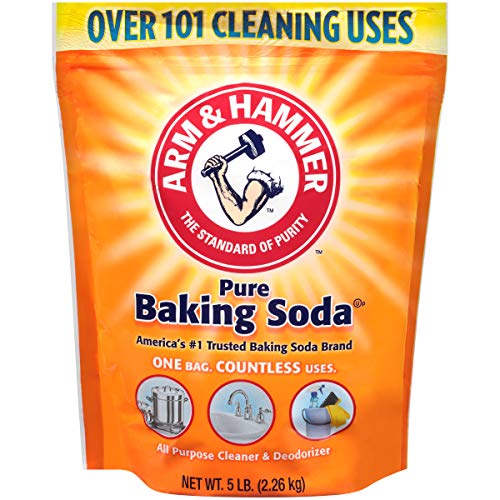
2 cups baking soda
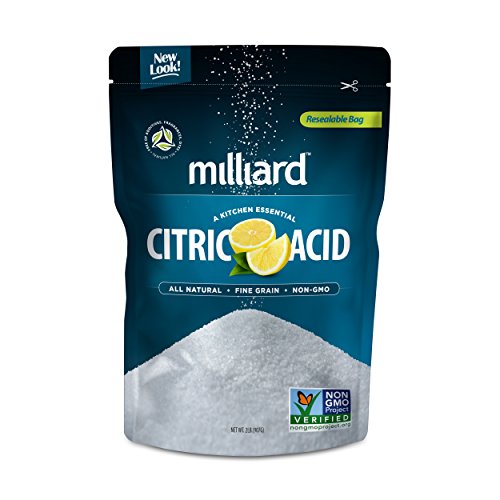
1/2 cup citric acid
1 cup cornstarch
1/4 cup SLSA
3 tablespoons coconut oil
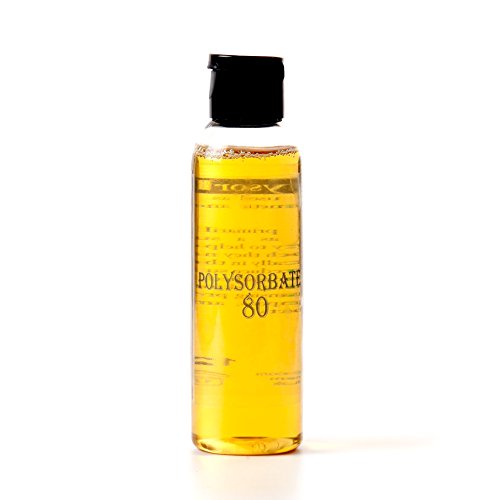
1 tablespoon polysorbate 80
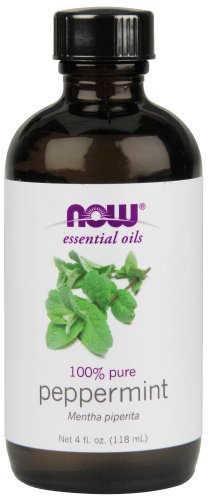
10 to 20 drops Peppermint essential oil
Green mica powder
Spray bottle filled with rubbing alcohol
1 large mixing bowl
1 smaller bowl
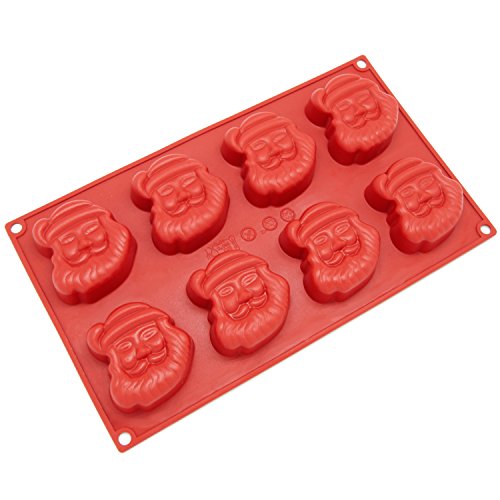
Christmas silicone molds
Paint brush
Christmas candy sprinkles
Optional: Disposable gloves


Christmas Bath Bomb Making With Kids
This is our favourite bath bomb recipe. It is quite simple to use and provides an amazing, luxurious bath experience. There are a couple of ingredients you may not recognize but are very important in bath bomb making – Polysorbate 80 and SLSA. Polysorbate 80 is an emulsifier that helps the oils and colours mix with the bath water. Without it your bath bomb will leave an oily scum on the top of your bath water. Really not nice. The next is SLSA. SLSA is not necessary but it creates a luxurious, silky foam bath from your bath bomb. So you start with the bubbly, fizzy fun of the bath bomb and end your bath with a fragrant, wonderful foam bubble bath. If necessary you can go without the SLSA, but for a wonderful bath experience I highly recommend it.
One challenge a lot of people have with making bath bombs is getting those balls out of the molds. One way around this is to use silicone molds. Not only can you get fun shapes this way, but it is much more forgiving and easy to extract your bath bombs.
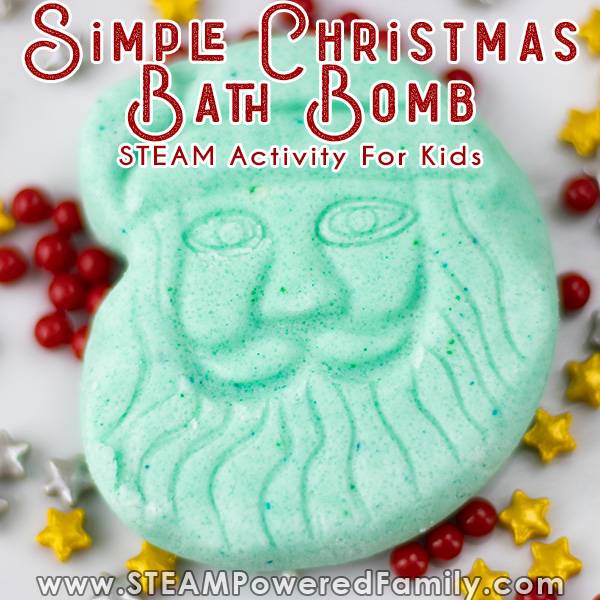
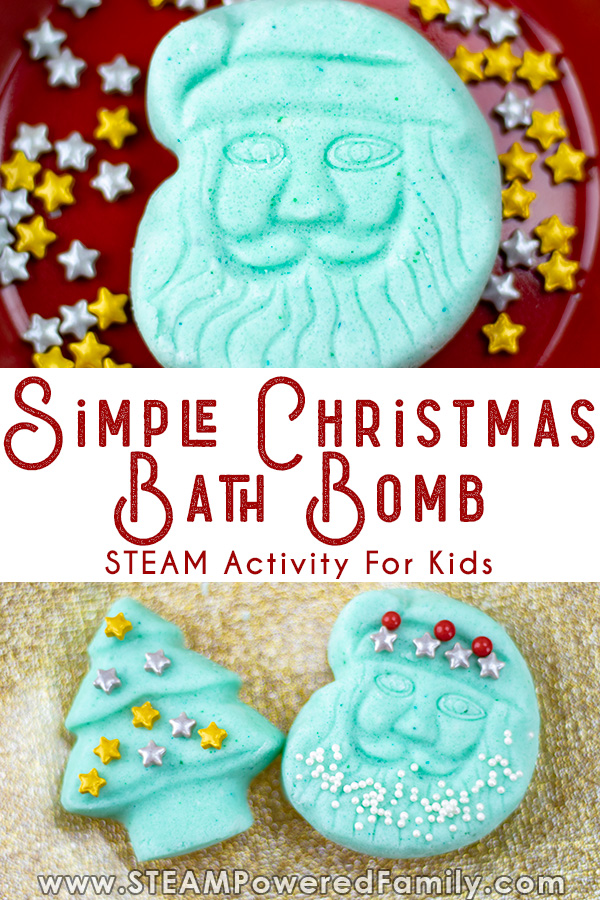
Finally, we did something super fun with these bath bombs, we decorated them with festive candy sprinkles. The kids called this their favourite part as they were able to get super creative with decorating their special bath bombs.
Check out a quick video of us decorating our bath bombs and then see it in action. Notice the gorgeous colour of the water due to the addition of the polysorbate 80 and the wonderful thick layer of white foam bubbles from the SLSA.
Christmas Bath Bomb Making Step by Step Directions
Add all of the dry ingredients – baking soda, citric acid, SLSA and cornstarch – to a large bowl. Mix the dry ingredients together.
In a small bowl add coconut oil and heat it in a microwave for a few seconds until it melts. Add polysorbate 80, green mica powder and peppermint essential oil. Blend together well, then add to the dry ingredients.
Mix everything together well. This is a time when it might be really good to throw on some disposable gloves and use your hands to really mix everything together well. The gloves simply protect your hands from getting colour on them. You will know when the mixture is perfect when it feels like wet sand and you can press the mixture together in your hands and it stays together.
Add the mixture to the molds and pack in tightly, filling to the top.
Pro Tip! Let the kids have fun by getting them to add warm water to the left over mix in the bowl. It is a ton of fun and helps the kids be more patient waiting for their bath bombs to set.
Set somewhere warm and dry so they can dry out and set. This will take approximately 24 to 48 hours depending on your climate.

Once dry, carefully pop out of the molds. You may want to let your bath bombs sit for another 24 hours to set up a bit more. Sometimes the “face” is still needs a bit more drying time once removed from the mold.
Now it is time to decorate!
Simply melt some coconut oil and brush a thin layer of coconut oil over the area you want to decorate. Place your candy sprinkles. Let set for 2 hours.
Wrap in plastic carefully to store or place in an airtight container.
When you are ready, add one to a warm bath and enjoy!!
Bath Bomb Recipe Not Working?
The weather really impacts making bath bombs. It is the humidity in the air that can affect your recipe. If it is very humid out you might find your mixture starts to react prematurely. In this case, pick a day when it is dry out, or work near a dehumidifier.
I will honestly say that the only time we have ever had a premature reaction is when we obviously added water to our mix (like not drying hands completely after washing them). But we live in a very dry climate, which brings us to another possible issue.
On the other hand, like we have found, our dry Canadian winters have made this mix too dry. So we are not getting the wet sand effect with the recipe as is. To combat this we add a teaspoon of melted coconut oil to the mix, then mix it in really well. Sometimes we need to repeat until we get the wet sand effect.
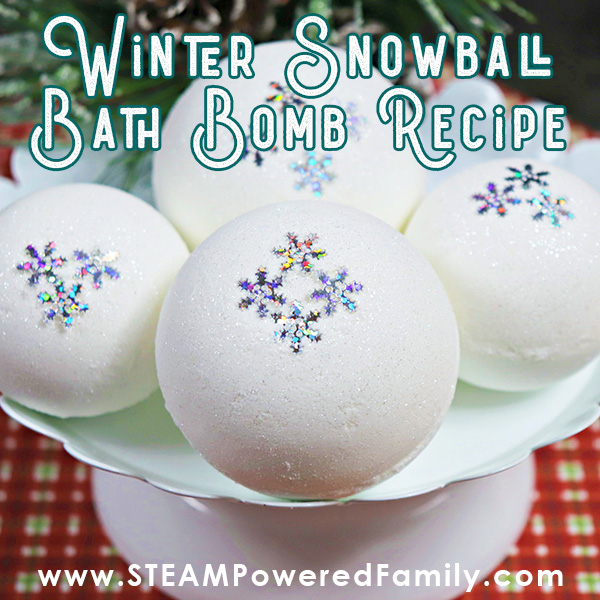
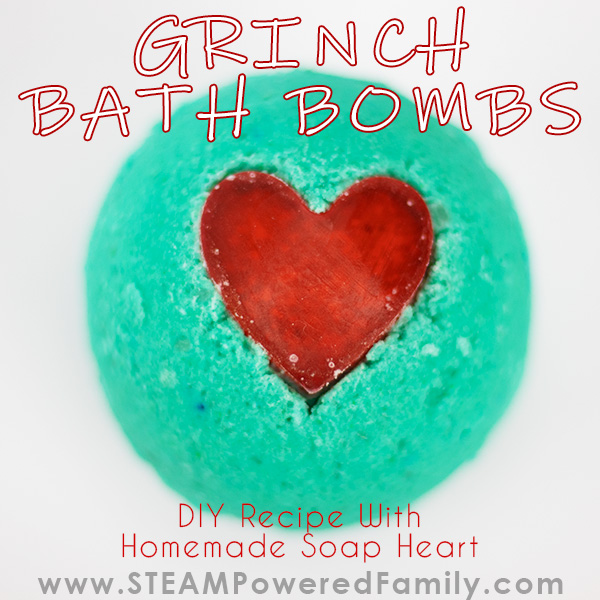
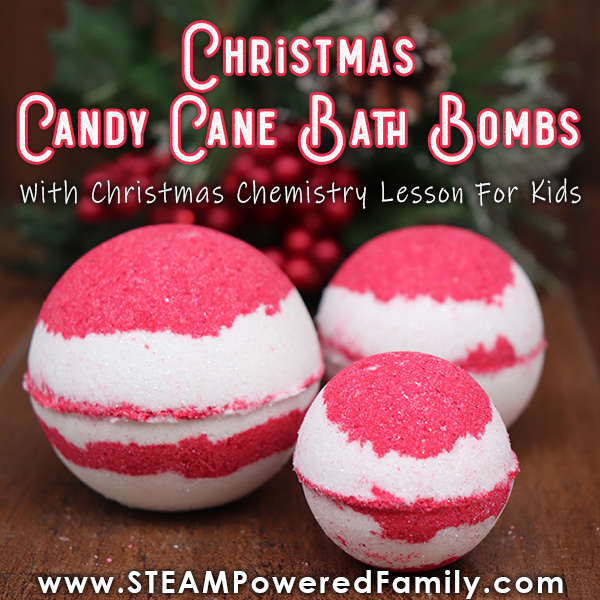
MORE CHRISTMAS BATH BOMBS

Easy Christmas Bath Bomb Recipe and STEAM Activity for Kids
A fun and easy bath bomb making activity that has kids decorate and personalize their bath bombs. Simplified techniques make these easy to make but you still get WOW fizz in the bath and a wonderful, candy cane scented foam bath after the fizz ends.
Supplies
- 2 cups baking soda
- 1/2 cup citric acid
- 1 cup cornstarch
- 1/4 cup SLSA
- 3 tbsp coconut oil
- 1 tbsp polysorbate 80
- 10-20 drops peppermint essential oil
- green mica powder adjust amount as needed for proper colour results
- candy sprinkles
Instructions
-
Add all of the dry ingredients – baking soda, citric acid, SLSA and cornstarch – to a large bowl. Mix the dry ingredients together.
-
In a small bowl add coconut oil and heat it in a microwave for a few seconds until it melts. Add polysorbate 80, green mica powder and peppermint essential oil. Blend together well, then add to the dry ingredients.
-
Mix everything together well. This is a time when it might be really good to throw on some disposable gloves and use your hands to really mix everything together well. The gloves simply protect your hands from getting colour on them. You will know when the mixture is perfect when it feels like wet sand and you can press the mixture together in your hands and it stays together.
-
Add the mixture to the molds and pack in tightly, filling to the top.
-
Set somewhere warm and dry so they can dry out and set. This will take approximately 24 to 48 hours..
-
Once dry, carefully pop out of the molds. You may want to let your bath bombs sit for another 24 hours to completely dry.
-
To decorate melt some coconut oil and brush a thin layer of coconut oil over the area you want to decorate. Place your candy sprinkles. Let set for 2 hours.