Snowball Bath Bombs Recipe – Winter Science Project
Winter is here and that means cold days, long nights and winter science! The best thing on a long, cold wintery night? Staying in for a warm bath. But we can make that bath experience even better with these Snowball Bath Bombs! This is another fantastic winter science project for kids, where they learn some fascinating real world chemistry, plus the results are fun to use and make fantastic gifts.
Winter Science – Making Snowball Bath Bombs
Disclaimer: This post contains affiliate links which may earn a small commission on qualifying purchases.
It’s interesting to watch how the seasons impact our lessons and creativity in our STEAM projects. The weather is such a huge part of our lives here in the North. Our summers are hot and dry, our winters very long and cold. The influence the weather has over our daily activities here is significant, so it’s not surprising how much it influences our lessons.
We have been continuing our love of all things bath bomb science and letting winter influence our creativity.
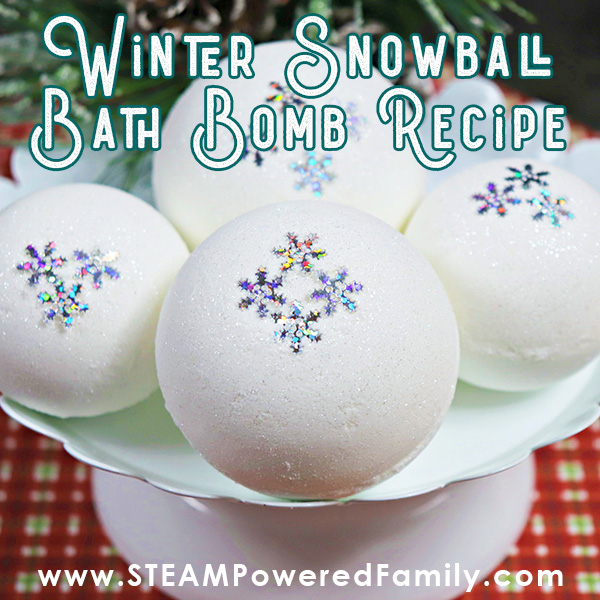
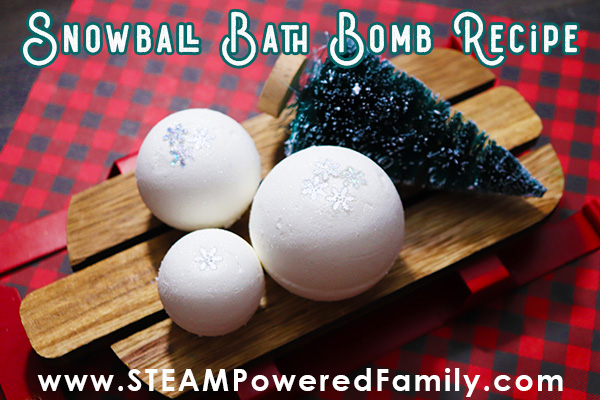
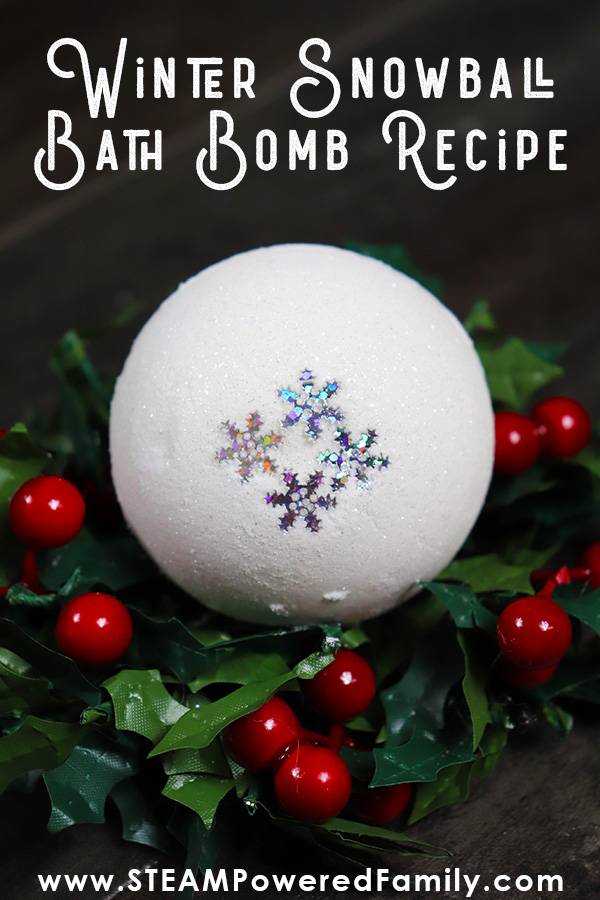
These snowball bath bombs are the perfect, fun winter bath bomb activity and winter science lesson for the kids.
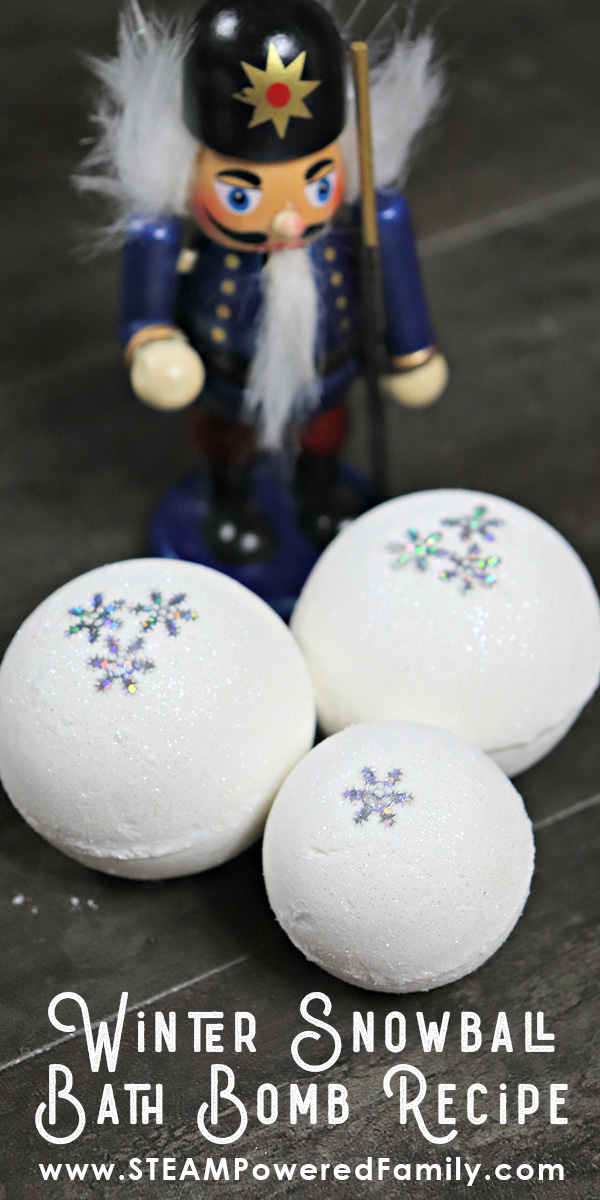
Winter Snowball Bath Bombs Recipe
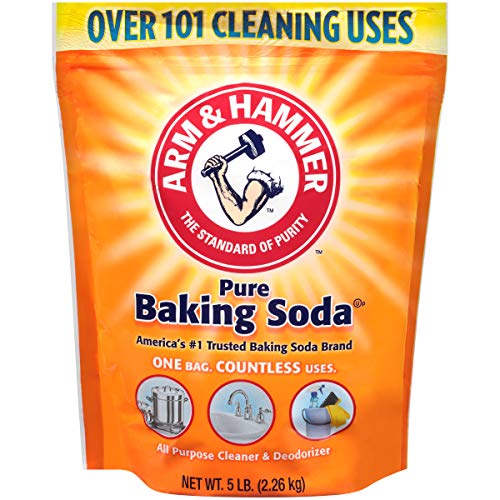
2 cups baking soda
1 cup citric acid
1/2 cup cornstarch
1/4 cup cream of tartar
1/4 cup bentonite clay (needs to be white! click image below for link)
1/3 cup coconut oil
1 tablespoon polysorbate 80
10-20 drops Bergamot essential oil
Pearlescent white mica powder
White glitter
Bath bomb molds
Snowflake confetti
Spray bottle filled with rubbing alcohol
1 large mixing bowl
1 small bowl or measuring cup (microwave safe)
Snowball Bath Bomb Making Directions
In a large mixing bowl, add the baking soda, citric acid, cornstarch, cream of tartar and bentonite clay. Mix well.
Next add the glitter and mica powder. Mix thoroughly.
In the small bowl add the coconut oil. Microwave just until it liquefies. Then add the polysorbate 80, bergamot essential oil or the essential oil of your choice. Mix together, then add to the large mixing bowl.
Mix the ingredients together. I use my hands to break down any lumps and make sure everything is really mixed in there. The mixture is perfect when it holds together when you press it into your hands and feels like wet sand.
Pro Tip! Here in Canada with our brutal winters it is incredibly dry. I have found recently that I need to keep a little extra coconut oil on the side and add it into my bath bomb mix, a teaspoon at a time, in order to get the mix moist enough.
Spritz the inside of the bath bomb mold with rubbing alcohol. Place a couple of snowflake confetti pieces in the mold.
Now fill each side with the mixture until it is a bit over-flowing. Press both sides together, using a twisting/grinding motion to get rid of any excess mixture.
Gently tap each side and carefully remove the bomb. VOILA! Bath Bomb!
Now using bath bomb molds takes a bit of practice to master the technique. Don’t give up! With a little practice you will have your perfect bath bombs popping out of the those molds.
As you progress through making the bath bombs, you may need to spray the mix with rubbing alcohol to moisten it so it continues to bind together.
Allow the bath bombs to dry a minimum of 24 hours.
Using and Storing Homemade Bath Bombs
Store bath bombs in an airtight container away from any moisture. You can also wrap them in plastic if you are planning on gifting them. They do make fantastic gifts!
It is best to use bath bombs within two weeks. After that time you may start to notice a reduction in the fizzy reaction. Why? Well that’s where the science comes in!
Bath Bomb Winter Science
So if you have spent any time around STEAM Powered Family you know we are all about chasing passion pursuits and finding the learning opportunities in real life. Bath bombs are a fantastic way to incorporate some fascinating science into your child’s activities, and kids LOVE making and using bath bombs. It is so much fun. And the creativity it fosters is incredible!
So what exactly is happening with our little exploding balls of bath bomb awesome?
It’s a basic acid-base reaction. Really, it’s that simple. Just like our erupting Christmas trees and volcano slime, it’s all about how acids and bases interact… explosively!
The secret with bath bombs is that the acids and bases are in a dry, powder format. So you can mix them to your hearts content and nothing will happen. That is until you add the magic ingredient… water! Water triggers the reaction and CO2 (carbon dioxide) is released as a gas creating the bubbly, fun experience of bath bombs.
Another interesting ingredient is polysorbate 80. It has an interesting role as match maker between the oils in the recipe and the water in your bath tub. As any kid will tell you, oil and water don’t mix! But if you add polysorbate 80, an emulsifier, it will get the oils and colours in the bath bomb mixing beautifully into your bath. This is important in bath bombs because no one wants a bath where all the colours and oils create a floating layer of scum on the water. That’s just not a nice bath experience for anyone!
So have some fun with your winter science projects with some snowball bath bombs. Your chemistry loving kids will thank you!


