Easy Hearts and Flowers Gummy Candy Recipe
It’s been a while since we made our delicious gummy recipe and my kids were begging to make a batch. With Valentine’s Day coming up we decided to make this batch love inspired! With hearts in all shapes and sizes, plus flowers. It also gives us a fun kitchen science experiment exploring polymers. A fantastic contrast to our last Valentine’s Kitchen Science project making heart fudge and learning about crystallization.
VALENTINE’S DAY SCIENCE EXPERIMENT – MAKING GUMMY CANDIES
Disclaimer: This post contains commission and affiliate links
The Science Behind Gummy Candies
In our last heart inspired kitchen science project we made fudge, which is a great way to explore crystallization. This time we decided to play with some edible polymers. You might recognize the term polymers from our study of slime and our studies into bioplastics. In this case our polymer chains are formed by gelatin proteins which are edible and give our gummies their cool texture and consistency. This is the same polymer we used to make this bioplastic. It’s amazing how changing just a few things takes it from hard plastic to chewy, delicious treats.
Polymers are molecules that have formed into many long chains. How those chains are formed and the structure of those chains results in different textures.
Lesson plan tip! Compare the recipes and have your students analyze the ingredients. Then make a batch of gummies and gelatin plastic. Compare the results!
Valentine’s Gummies Recipe
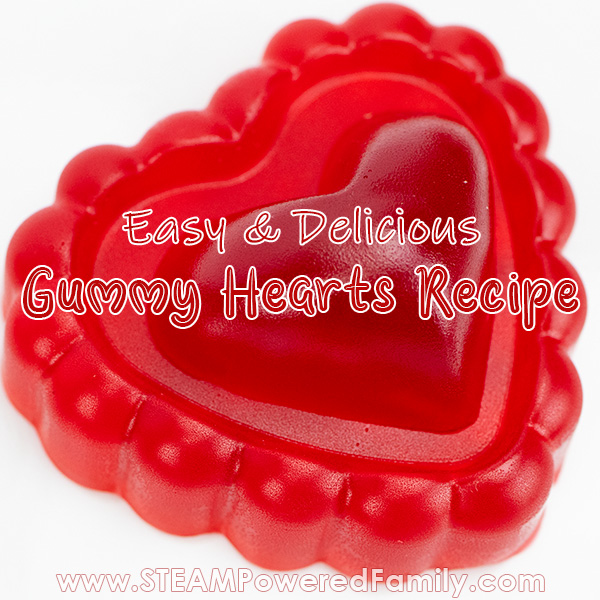
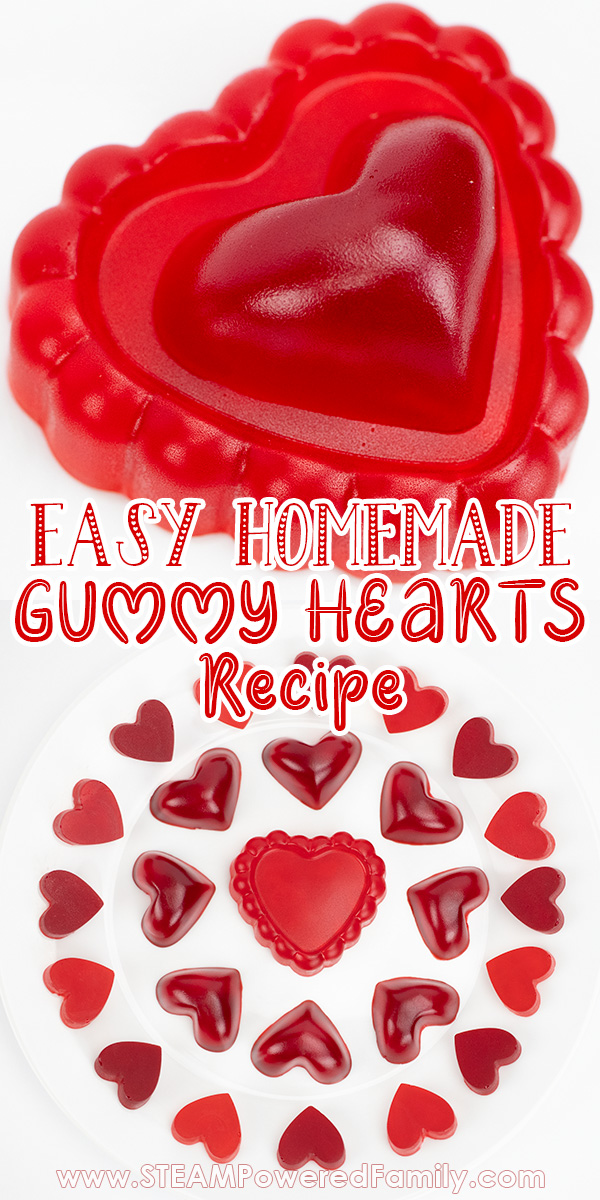
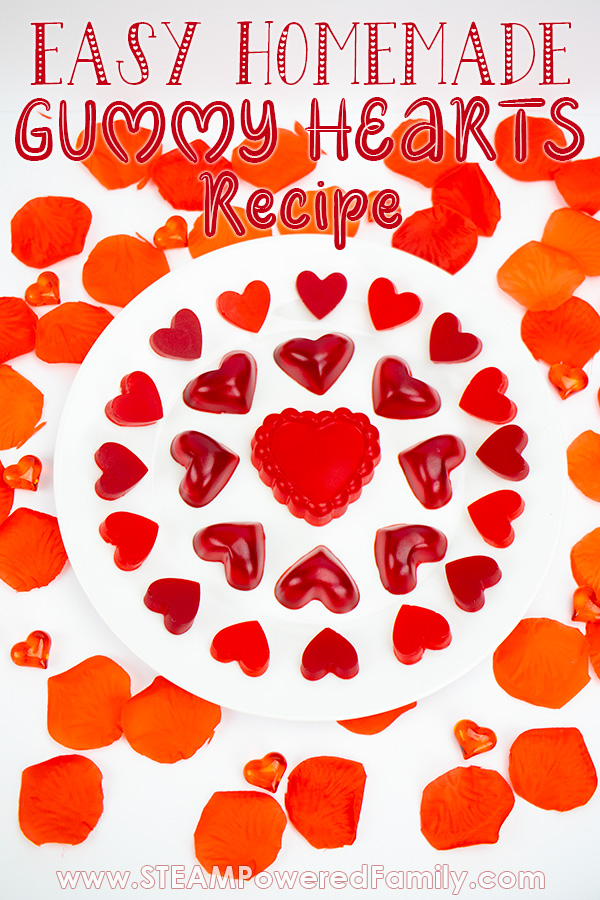
The best part about making gummies is that you can make the coolest looking candies. For Valentine’s Day we decided to make flowers and, of course, hearts.
The recipe is quite simple, but does require the use of the stove. So ensure appropriate adult supervision is provided at all times. I recommend this activity for responsible and mature tweens and teens.
DIY Gummies Ingredients
1/2 cup Cold Water (really, cold, refrigerate if necessary)
1/4 cup Corn Syrup
Flavoured Jello (We made 2 batches, one with Cherry and and one with Strawberry because they were red. Perfect for Valentine’s Day.)
2 Gelatin Packets
Homemade Valentine’s Gummies Tools
Clear Glass Measuring Cup (ours is Pyrex)
Spoon
Whisk
Saucepan
Stove top
Silicone Molds with Hearts and Flower shapes
Fridge (optional but speeds things up)
How To Make Homemade Gummies For Valentine’s Day
Measure out 1/2 cup of really cold water. If you don’t have a cold water dispenser, place your water in the fridge for an hour to chill it.
Add 1/4 cup of corn syrup to the water. Mix with a spoon until it turns clear. It will start out quite cloudy but with gentle stirring will become a clear liquid.
Place your saucepan on the stove top but don’t turn on the heat yet.
Add the corn syrup water to the pan. Then add one packet of jello and 2 packets of gelatin powder.
Tip: Rinse the measuring cup and spoon. You will use them again in a moment.
Use a whisk to start mixing everything together. This will take a few minutes of stirring.
Once it is completely mixed turn on the heat to medium-low.
While heating the mixture continue stirring gently. This is a great moment to teach kids how easily sugar can burn. If we keep the solution moving it will heat evenly without burning on the bottom. Just make sure your mixing is gentle so you don’t create bubbles.
Once the solution just starts to bubble, pour it back into your glass measuring cup you used to make the corn syrup mix.
Let the solution sit for 2 or 3 minutes. A thin layer of white foam will rise to the top. Carefully scrape away that white layer and dispose of it. I rinse mine down the sink with lots of water.
The reason for removing that layer is because it will make your gummies cloudy. Removing it will help keep your final gummies super clear.
Finally, pour the mixture into your molds. Do this carefully, it is very, very hot.
Allow the gummies to cool. I leave mine on the counter to set up for 30 minutes then transfer them into the fridge for 2 hours. I find this helps them set up faster. It also prevents our kittens from trying to eat them!
If you don’t want to put them in the fridge, let them sit for 4 to 5 hours.
Once they have set up carefully pop them out of the molds.
Storing Homemade Gummies
When I first pull the gummies from their molds I find they are very sticky. They need a bit of time outside of the molds to finish setting.
I recommend placing them on parchment paper and letting them sit for a little while. I usually put them back in the fridge overnight. By morning I can toss them all into a bag or container and they don’t stick to each other anymore.
I keep my gummies in an airtight container in the fridge. They never last more than a few days before they are devoured!
Enjoy your Valentine’s Day Science Experiment making Gummies!
MORE HEARTS SCIENCE EXPERIMENTS

Homemade Gummies For Valentine’s Day
Easy and delicious hearts and flowers gummies for Valentine's Day
Supplies
- 1/2 cup cold water
- 1/4 cup corn syrup
- 1 packet flavoured jello powder
- 2 packets gelatin powder
Instructions
-
Add 1/2 cup of cold water and 1/4 cup of corn syrup together and mix until no longer cloudy.
-
Add to pot with jello and gelatin. Mix until completely blended.
-
Turn on heat to medium low. Stir constantly.
-
Once it starts to bubble remove from heat and pour into smaller heat safe container.
-
Let sit 2 to 3 minutes.
-
Carefully scrape off white top layer.
-
Pour mixture into the molds carefully. It's hot!!
-
Let sit until completely set. 2 to 5 hours.
-
Remove from molds and place on parchment paper. Let sit for a few more hours to lose stickiness.
-
Store in an airtight container. If they last!


