Homemade Christmas Slime
Just the mention of making slime around my kiddo makes their eyes light up and gets their creative juices flowing. I don’t know what it is about slime that excites kids so much, but it is always a win. Plus it is a fun and easy sensory experiment project that you can adapt to any holiday or season. If you keep the ingredients on hand you can have a ready to go project at your fingertips for those days that you need a brain break or a schedule change filler. And during the holidays a Christmas slime break is something we all can use. The ingredients are relatively inexpensive and you can buy them in bulk so you’re ready to go. For this project we are going to make some super fluffy and fun holiday slime recipes!
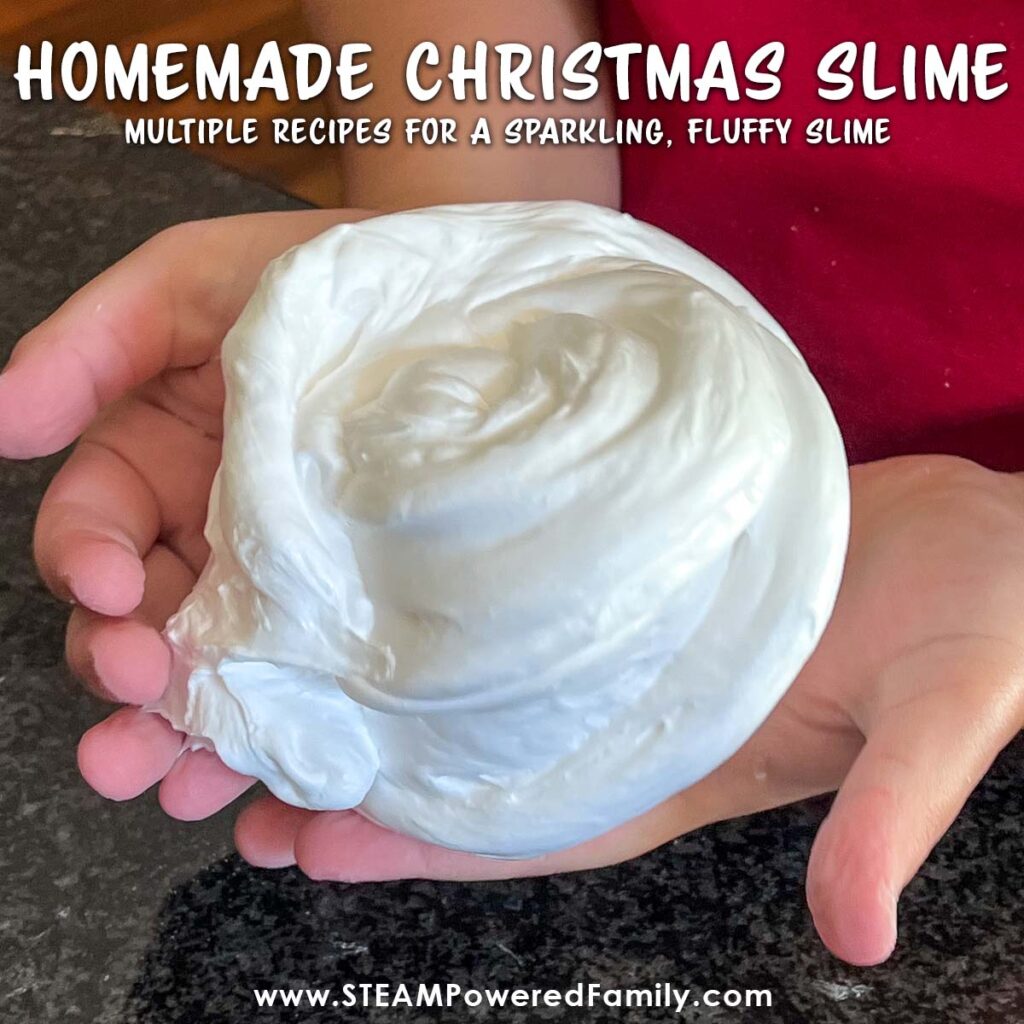
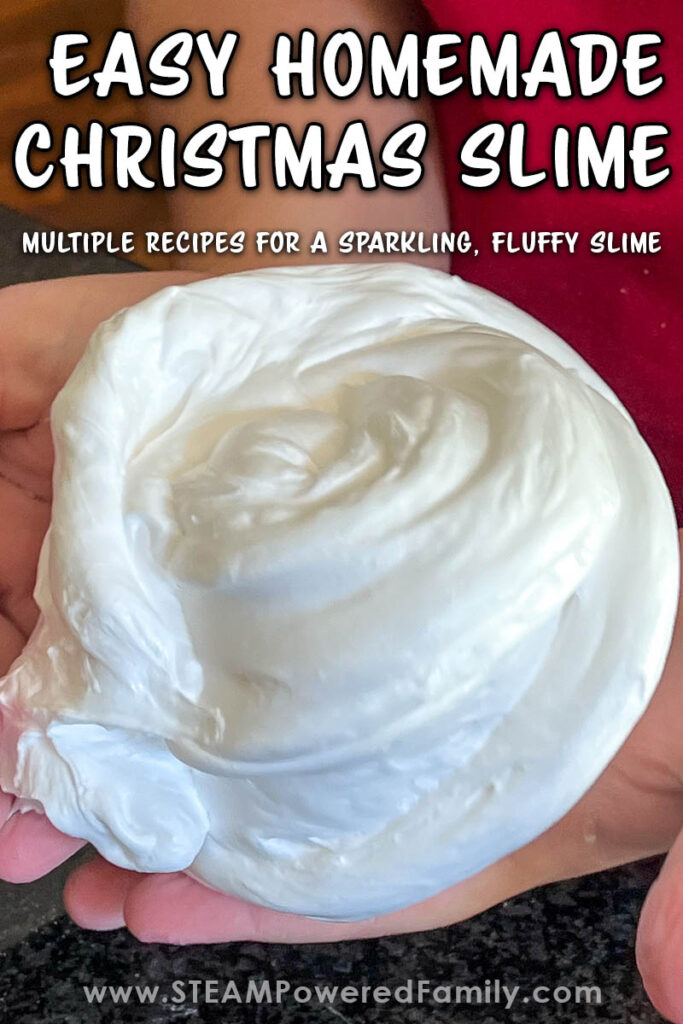
Fluffy Christmas Slime
Disclaimer: This article may contain commission or affiliate links. As an Amazon Influencer I earn from qualifying purchases.
Not seeing our videos? Turn off any adblockers to ensure our video feed can be seen. Or visit our YouTube channel to see if the video has been uploaded there. We are slowly uploading our archives. Thanks!
What is Slime?
Slime is a polymer created through a chemical reaction. When we mix plain old glue and an activator (there are several to choose from) it becomes a new substance.
How does that happen? Let’s talk about polymers. A polymer is a substance that is made up of large molecules which are each made of smaller, repeating blocks known as monomers. Adding another substance to a polymer can rearrange or cross link the molecules forming new chains and making a new substance. You can see the change when the liquid glue and activator become a thicker and stretchy slime! This is a change in viscosity. Viscosity is the way we describe how fast or slow a liquid will move. So the thicker the liquid the slower it will flow!
Holiday Slime Ingredients
There are some very basic ingredients you need to make slime.
- Elmer’s glue
- An Activator which could be: Slime Activator, Contact Lens Solution containing Boric Acid/Sodium Borate, Borax
- Baking Soda
- Shaving Cream (You don’t need this ingredient for regular slime – only the fluffy slime recipe!)
- Extra Items (fun but not necessary) – examples are glitter, charms or food coloring for festive colors
- Peppermint essential oil – optional, but adds that extra sensory input
- Ziploc Bags or a jar with a lid (to store the slime)
- Large bowl
- Baby Oil (helps get sticky bits off of hands)
Holiday Slime Recipes
Let’s get to it! I am including three recipes with three activators, the process is very much the same no matter which you choose:
Pro Tip! if you want colored slime you can mix in the food coloring when you mix the glue and baking soda together.
Christmas Slime Recipes
Fluffy Slime with Slime Activator
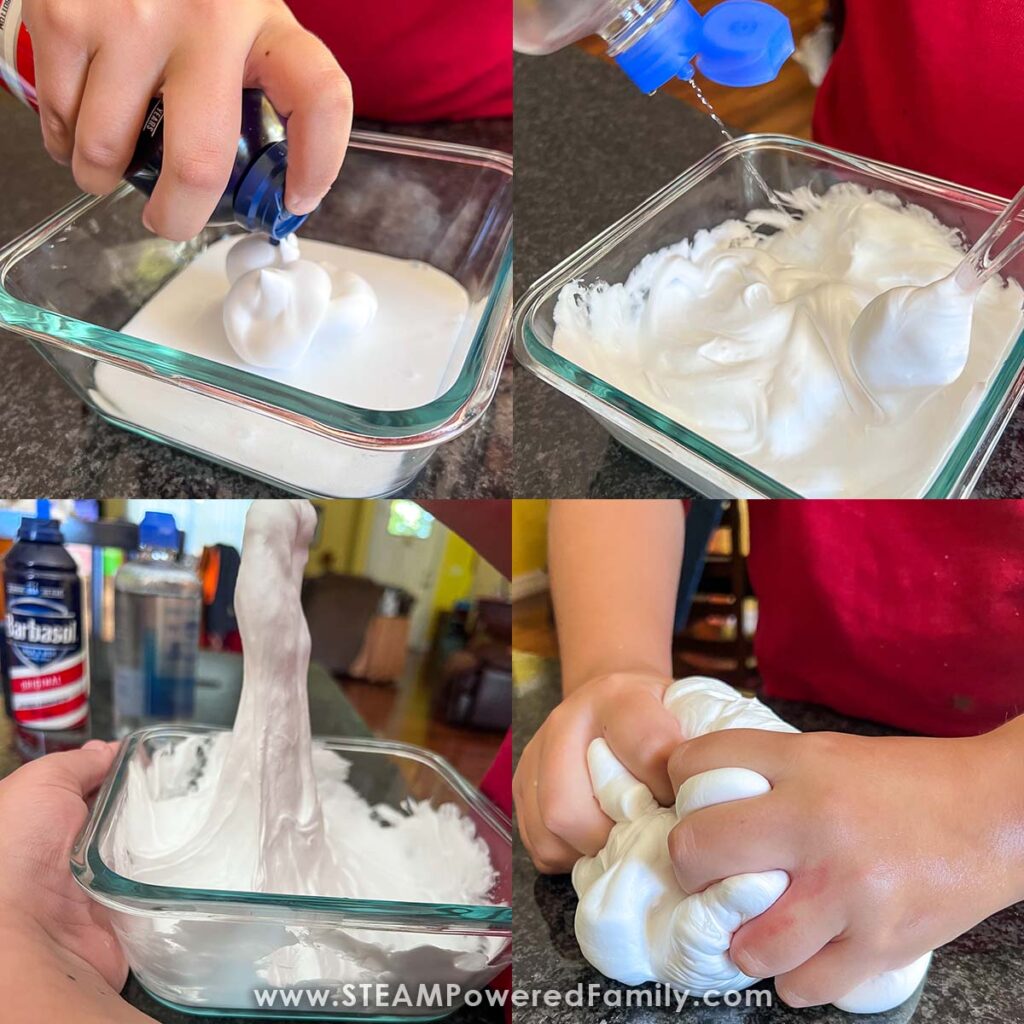
In a bowl, mix together one bottle of school glue (about a half a cup if measuring from a bigger glue bottle) and a half teaspoon of baking soda. Add 2-3 cups of shaving cream (plain old white shaving cream not gel) and mix those three ingredients together. Next, mix in a quarter of a cup of activator slowly, a little at a time until you get the consistency you’re looking for. Once it is mixed you can turn it out on a counter or sheet pan and let the fun commence.
Fluffy Slime Recipe with Contact Lens Solution
This recipe is exactly the same as the first, except you are going to substitute the contact lens solution for the activator again, adding a little at a time to get the consistency you want. If your slime seems too sticky with the contact solution, add another pinch of baking soda to stabilize it.
Fluffy Slime Recipe with Borax
Mix 1 tablespoon of borax into one cup of hot tap water. Stir until the water turns clear. This will ensure that the borax is dissolved. (People will sometimes comment that borax slime is skin irritant. Generally this is because they did not fully dissolve the borax in hot water first). Put a half a cup of glue, a half a teaspoon of baking soda and 2-3 cups of white shaving cream in a bowl and mix it up. Working a couple of tablespoons at a time, mix the borax into the glue solution until it gets beautiful and stretchy!
Make it Extra Festive!
Since we are celebrating the winter holidays, we decided to make this slime into a winter wonderland by adding some sparkly silver/white glitter to the mix. It was so pretty and made it look like we were playing in snow all glittery and white.
After that we decided to add some charms into the mix, we picked a mix of little charms in bright beautiful holiday colors. Note: if you are working with younger children, I would suggest skipping the charms – they were a lot of fun for my 11 year old but could be a choking hazard with smaller kids.
Turn it into a candy cane slime by adding a bit of peppermint essential oil. You can also color half of the slime red so you have a red and white candy cane peppermint slime.
Whether you are making this with your kids or your class you can store it to use again another day – it will last about a week in an airtight container in the refrigerator. My go to for slime storage is a clearly labeled zip top sandwich bag. Just squeeze the air out of the bag and seal it up for another day of play!
I hope you try this magical and mystical fluffy snow slime with your favorite kids!


