Handmade Beeswax Candles – Sushi Candles
Sushi Candles! They look good enough to eat! Making beeswax candles is a fun activity that people of all ages and abilities can enjoy! If you are coming to this post directly, pop over here to the beginning to get details, supply lists and information on how to get started. This post focuses specifically on how to make sushi candles. Previously, instructions have been shared for simple tapers (great for groups or just getting started) and dual colored full tapers. These sushi candles take the cool factor up and are sure to wow!
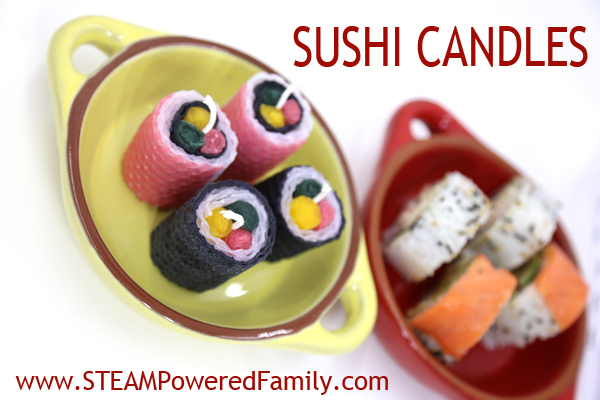
Sushi Candles
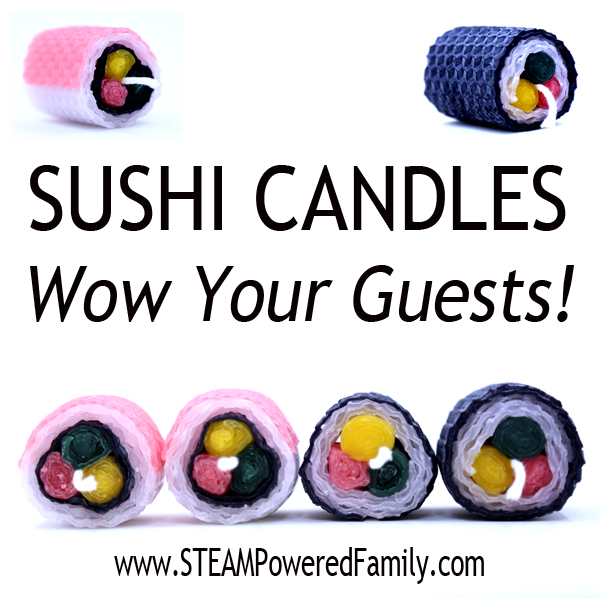
My oldest son and I are HUGE sushi fans. We love making these candles for our sushi dinner parties. They are so much fun and look amazing!
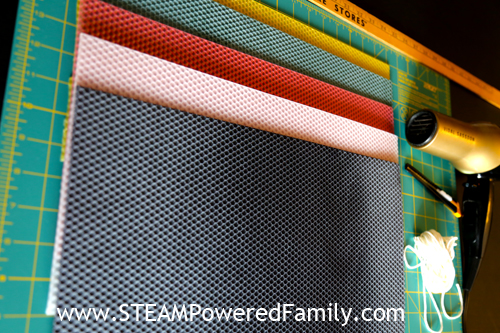
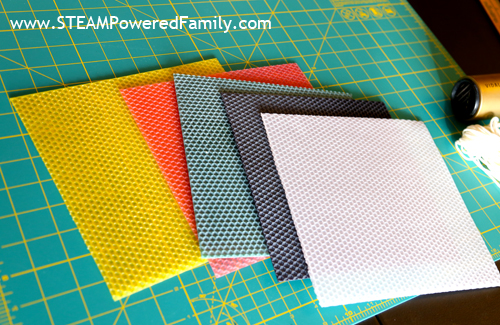
You will need lots of different coloured sheets for these, but you can make a large batch or use the extra pieces to make other designs. You will need the following colours of beeswax sheets: black, white, yellow, pink, and green.
Cut your sheets in half.
Now divide your sheets into 5 equal strips, this is about 1.75″ on my sheets, and cut into strips.
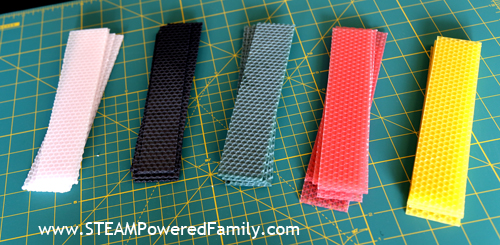
Start with the yellow, pink and green. Take one strip of each and roll it into a nice tight roll.
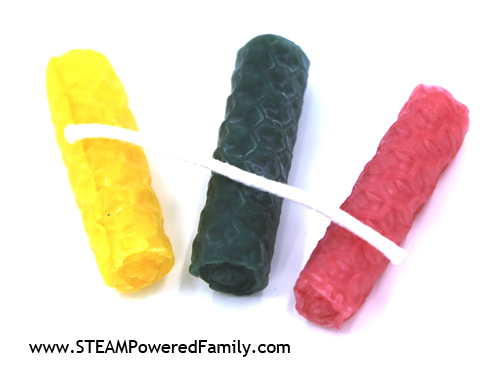
Measure and cut your wick using one of the rolls as a guide.
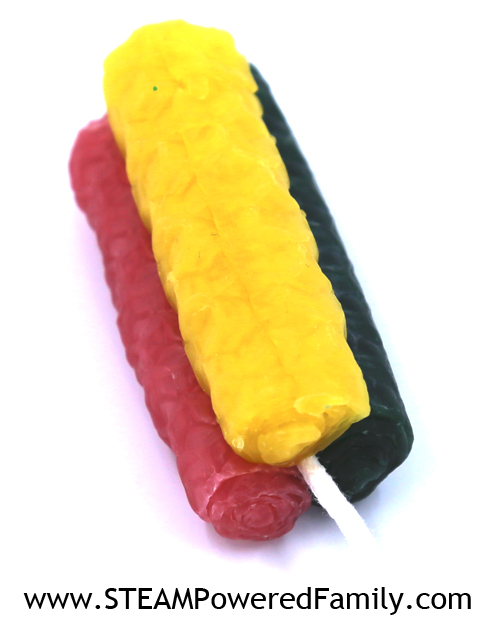
Now warm the three rolls and place the wick in the middle. Press the three rolls tightly around the wick.
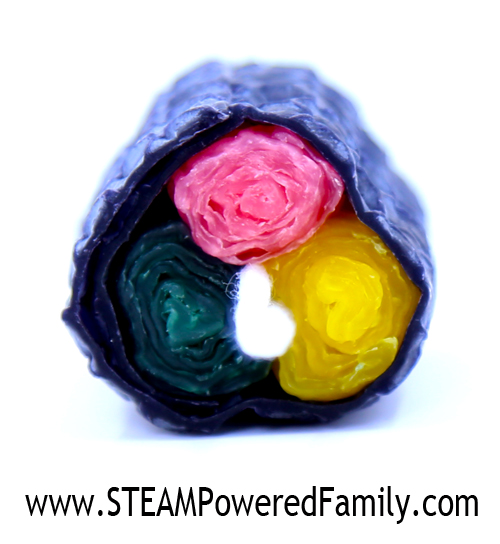
From here you can get creative. Use a sheet of white to create a rice layer or use black to create your seaweed layer. You can also double or triple the rice layers to make the candle bigger.
My son’s favourite sushi has smoked salmon on top so we use a layer of pink on top (one of the strips cut in half).

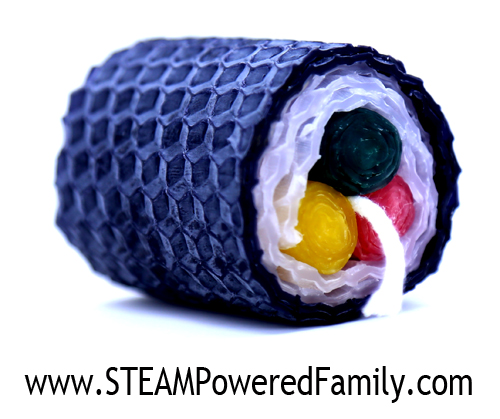
Make sure you heat and seal each of the ends as you complete a roll.
When you are finished, have a sushi party!
Enjoy making sushi candles? Check out the 4 designs in this series.

 Dual Colored Taper
 Handmade Heart Candles
I hope you enjoyed this tutorial on beeswax candle making! I would love to see your creations! Please tag me on social media (Facebook, Twitter, Instagram) with your candle creations!
