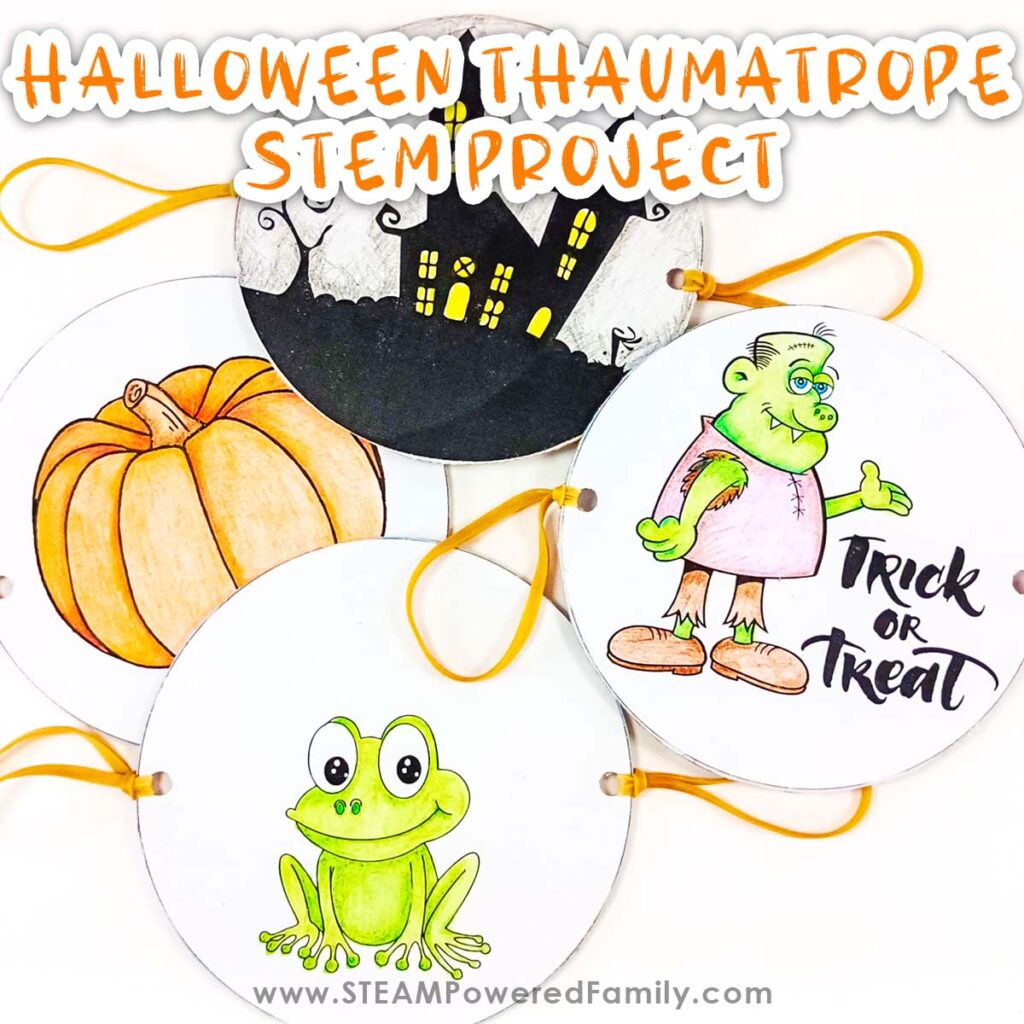
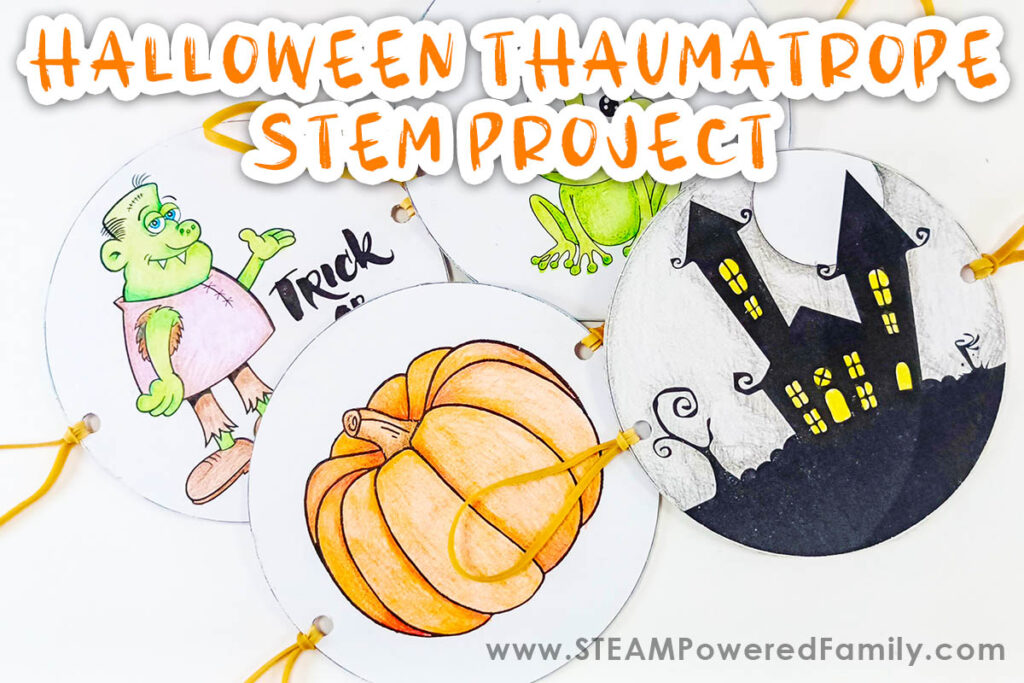
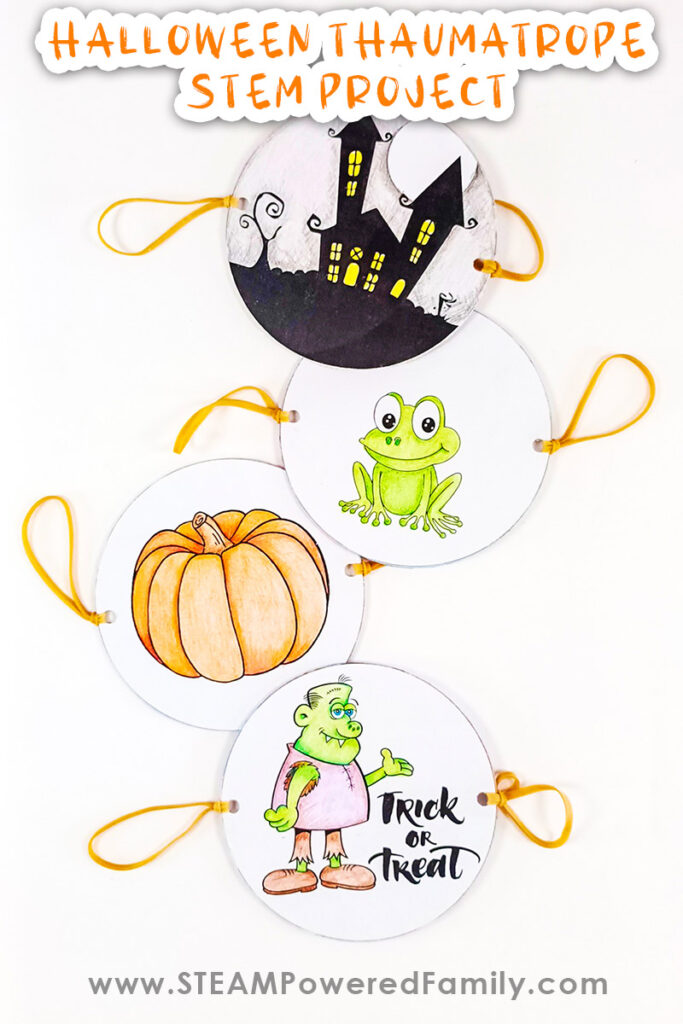
Halloween Thaumatrope
Halloween is coming up and we love a great Halloween STEM project! Today we have a really simple but fun project making Halloween Thaumatropes. These old school animation toys are so much fun to make and they teach kids about optical illusions, how vision works and our minds make sense of what we see, plus they get to make some spooky art!
MAKING THAUMATROPE TOYS FOR HALLOWEEN
Table of Contents
Disclaimer: This article may contain commission, paid partnerships, or affiliate links. We independently review everything we recommend. When you buy through our links, we may earn a commission from qualifying purchases.
What season is the spooky season? Some might call it All-Hallows Eve, All Saints’ Eve, or just simply, Halloween! Whatever you call it, the 31st of October is without a question of a doubt, one of the most popular holidays all over the world.
You have probably been celebrating Halloween your whole life, but there may still be a lot you don’t know about Halloween. Here are some fun facts about Halloween.
FUN FACTS ABOUT HALLOWEEN
- The name “Halloween” originally comes from the name All Hallows’ Eve — the second night of an Irish festival called Samhain. “Hallow” comes from an Old English adjective that means “holy,” and “eve” refers to nighttime. All Hallows’ Eve was eventually shortened to “Halloween”.
- Why are the colors black and orange are associated with Halloween?
Orange signals the harvest of autumn, while black is a symbol of darkness and acts as a reminder that Halloween once was a festival that marked the boundaries between life and death. - The name Jack o’ Lantern came from an Irish folktale about a man called Stingy Jack who tried to fool the devil. His punishment for this trickery, was that he was forced to walk the Earth with only a burning coal in a hollowed turnip to light his way. The name changed to “Jack o’ Lantern” and pumpkins were used instead of turnips.
- Taking candy from strangers on one night a year is not a new tradition. Many years ago, in Scotland and Ireland, this activity was known as “guising”. Children, dressed up in costumes, went door-to-door looking for food or money in exchange for songs, poems, or other “tricks” they performed. Today, the tradition has changed and children to get dressed up and asking for candy instead. In fact, today hardly anyone performs for their candy!
LET’S MAKE THAUMATROPES FOR HALLOWEEN
In this easy-to-do and fun STEM activity, you are going to be an engineer, a magician and learn about science at the same time! We made a regular version of the Thaumatrope and had so much fun, we simply had to make a Halloween version.
This simple toy will keep you entertained for hours, and you will learn about “optical illusions” and “the persistence of vision.”
Halloween Thaumatrope STEM Activity Video
Check out the video tutorial showing how to make these cool Halloween Thaumatropes. If you can’t see the video here, you can find it on the STEAM Powered Family YouTube Channel.
What is a Thaumatrope?
First we should answer the big question… What is a Thaumatrope? The Thaumatrope was invented by a British physician, John Ayrton Paris, in the late 1800’s. It is an optical illusion toy that was made from a paper disk, with a picture on each side. Two pieces of string were attached to either side of the disk and when the strings were twirled quickly between the fingers the two pictures merge together into one. It is said to be one of the earliest forms of animation.
It is also a toy that has fascinated kids for generations.
How to Make Spooky Thaumatropes
Materials & Tools
Glue stick
Old CD and a few pieces of thin cardboard – cereal box or small postage box
Pencil
Scissors
Hole punch
Rubber bands (or you can use string)
Plus you will need our Halloween Thaumatrope templates. These are available to STEAM Powered Family mailing list subscribers. Simply enter your email into the form to unlock this printable.
Thaumatrope Directions
Use the CD to trace a circle onto 4 pieces of cardboard and cut them out. If you don’t have a CD, you can simply use the printable templates once you have cut them out.
Print, decorate and cut out all the template pieces.
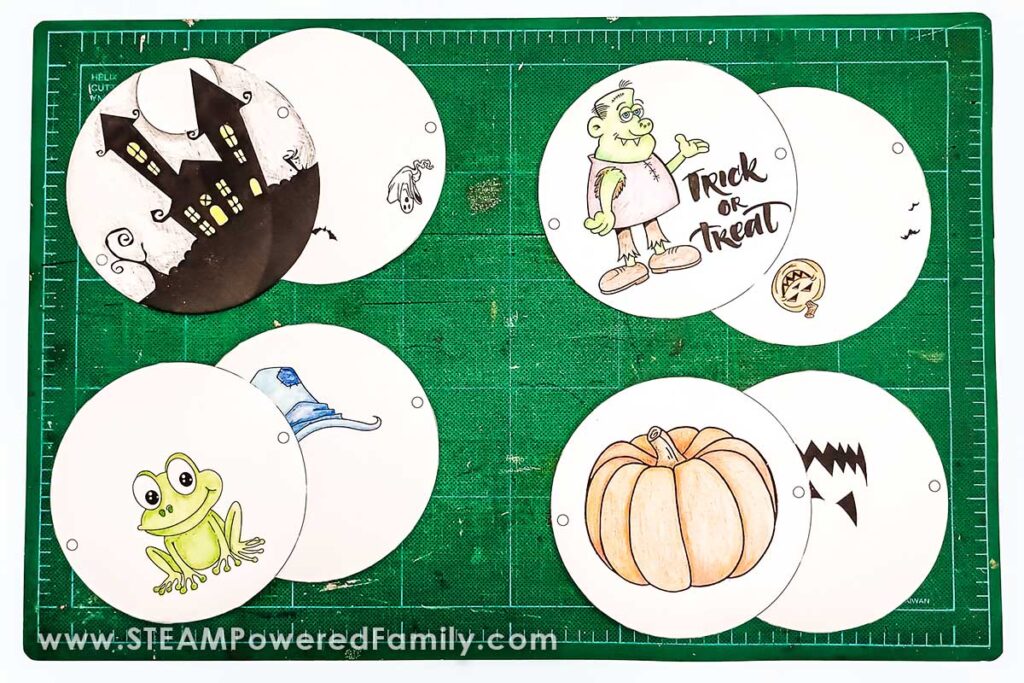
Use a glue stick to glue the templates onto either side of the cardboard, taking note of the orientation of the pictures.
PRO TIPS! When making a Thaumatrope, one picture needs to be placed upside down, for you to see the correct image, when it spins.
Ensure that the circles for the holes on both sides are lined up.
Use a hole punch to punch the two holes on either side of all of the Thaumatropes.
Thread and loop the elastics through each hole or do the same with two doubled pieces of string.
Your Thaumatrope is now ready!
How To Use a Thaumatrope
Hold the elastics or string on either side and wind the thaumatrope up, away from you and simply let go and watch the magic unfold!
The more you wind the thaumatrope up, the better the image will appear.
Go ahead and make the rest of the thaumatropes that were in the template or use the blank template to design your own. The secret, at first, is to keep your designs simple.
JUST BE CREATIVE!
Science Behind a Thaumatrope
This astounding small toy uses the science of “Persistence of Vision.” So, what is Persistence of Vision?
Although the two pictures of the Thaumatrope are on opposite sides of the disk, after you spin them rapidly, your brain does not see the two sides as isolated images, it combines them together to make one drawing! This is known as an “Optical Illusion” or an “Illusion of Motion.” The brain does this to help us understand movement. When watching someone walk across a room, you do not see each little step that is taken but rather one smooth motion.
Animation is a method of creating a moving picture from numerous still pictures put together one after the other and played at a fast speed. This creates an illusion of movement. This happens because our eyes retain each picture for 1/30 of a second, making the two pictures seem like one image.
Critical Thinking Prompts
Let’s build those critical thinking skills with a few prompts you can use with your students.
What happens when you spin the thaumatrope?
What do you see as you look at the circles?
Gradually increase the speed that you spin the Thaumatrope.
What do you notice as the Thaumatrope spins faster?
Continue spinning the circles but try blinking every second.
Does blinking your eyes change the way your drawings look? If so, what are the changes?
Even though there are two different images on either side of the Thaumatrope, when you spin it at top speed, the drawings on the two sides should merge. Your brain does not process the two sides as separate images. Instead, it merges them together to create one image!
Troubleshooting
If you do not see one correct image as the Thaumatrope spins, you have not put the one image upside down. You should check this before you glue your pictures down.
More Thaumatrope Projects
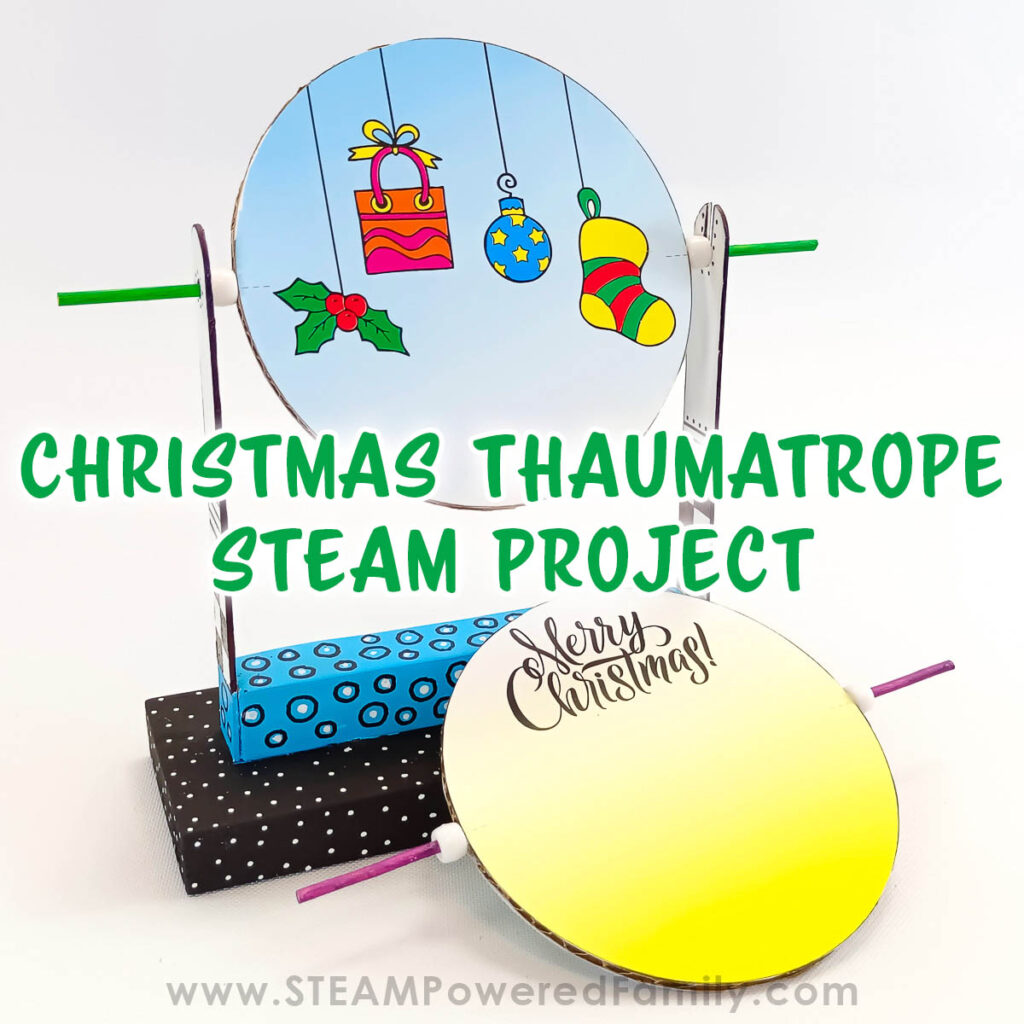
Upgrade your next Thaumatrope project by including a stand. We did this with our Christmas Thaumatropes, but the designs from our Halloween Thaumatropes can be used with the stand design too.
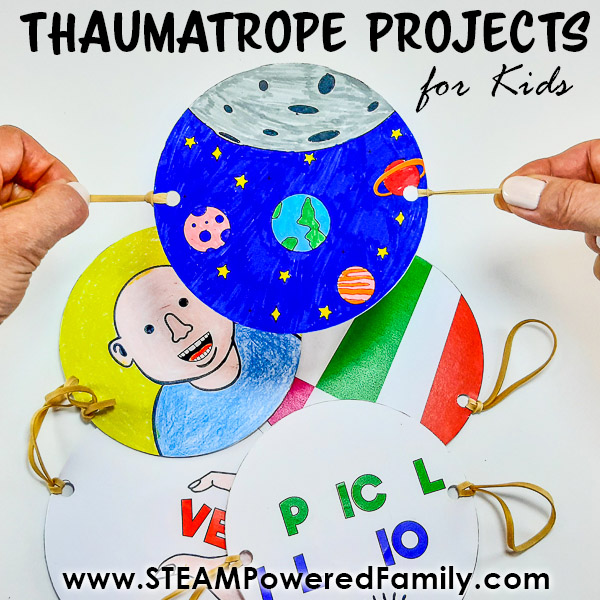
Plus, check out our original, Easy Thaumatrope templates for any time of year.
More Halloween Projects