Hand Model STEM Craft
Kids are fascinated with how their bodies work. So let’s harness that passion and curiosity to learn a bit of biology! In this project we are learning all about hands. We do this by creating a Hand Model STEM Craft that has articulating fingers that move like our fingers move. Kids are obsessed with this fun and educational project!
SKELETON HAND STEM PROJECT
Disclaimer: This article may contain commission or affiliate links. As an Amazon Influencer I earn from qualifying purchases.
Not seeing our videos? Turn off any adblockers to ensure our video feed can be seen. Or visit our YouTube channel to see if the video has been uploaded there. We are slowly uploading our archives. Thanks!
We use our hands all the time, but let’s take a moment to appreciate what an incredible marvel they are!
They move through our world telling us about our surroundings.
They grab and bring things to us.
Hands can crush and or gently stroke.
Using our hands we create art. We also use them to communicate through gestures, sign language and writing.
Hands feed us and clean us.
Our human hands are essential to our way of life, yet work constantly with us barely giving them a second thought.
For many we don’t realize how important our hands are until we are injured or develop mobility issues such as arthritis.
But today we are going to spend some time appreciating and learning all about our all important hands!
The Hand Project
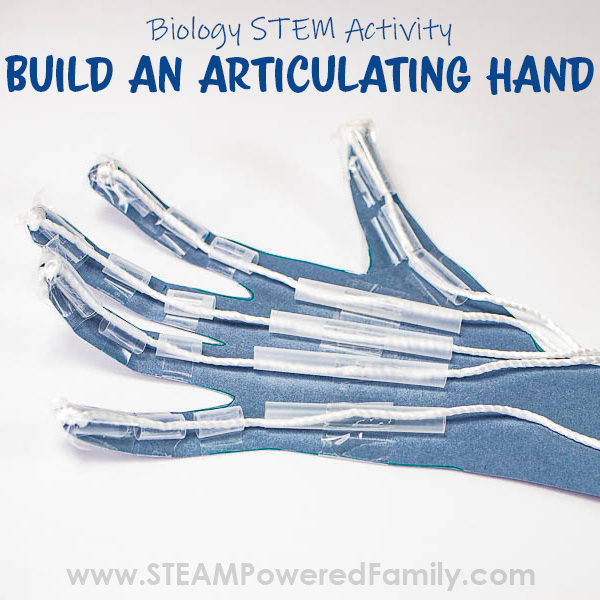
To learn more about the hands we are going to build a model of the hands that articulates and moves and includes bones and tendons.
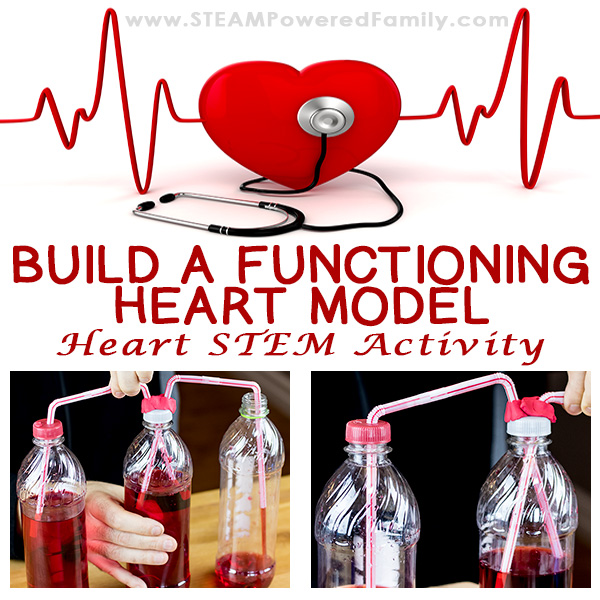
Building these models of the body is something the kids have really enjoyed doing in the past when we made a model of a Beating Heart.
Skeleton Hands For Halloween
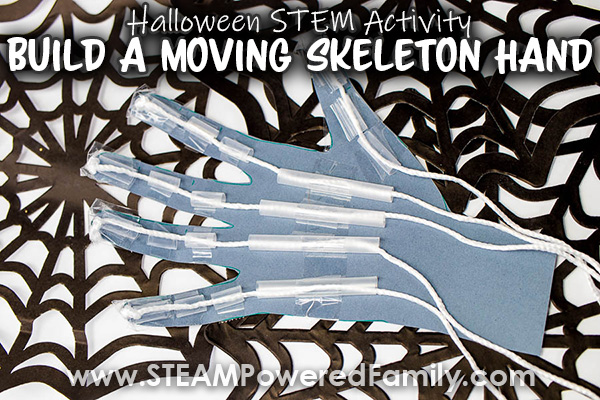
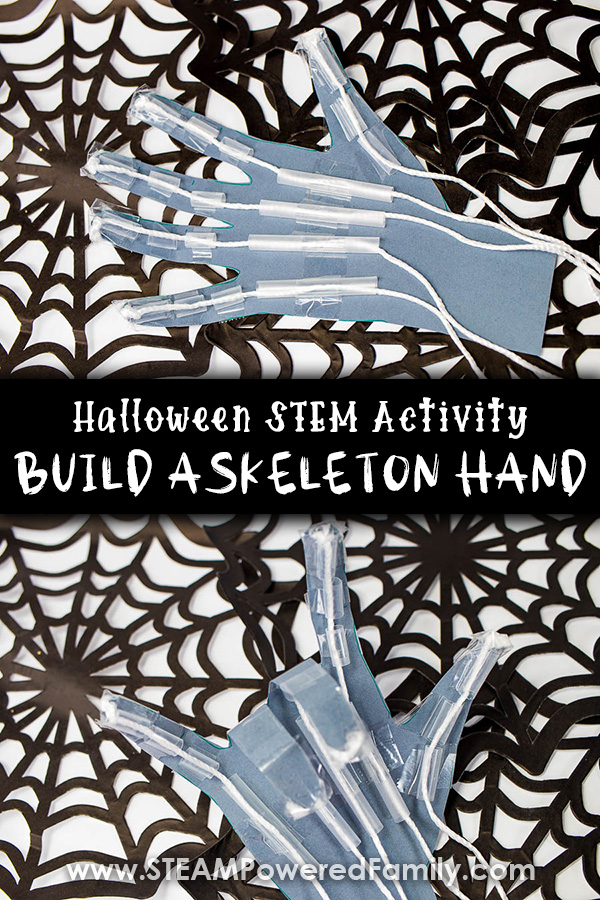
This can be a great project for Halloween. Create skeleton hands and encourage kids to decorate their hands with glow in the dark paint. Or use black construction paper, and paint them with white to look like skeleton hands. Add a stick so kids can hold their hands and move the fingers. Nothing like a skeleton hand poking someone in the shoulder to give them a fright!
Articulating Hand Model STEM Craft
Supplies
Construction Paper
Straws (plastic, paper or make tubes with construction paper)
String
Scissors
Pencil
Tape
Optional:
Beads
Paint or Markers
Glow in the Dark Markers or Paint
Stick (like a chopstick)
Directions
Here is a quick video of all the steps. If you can’t see the video turn off your adblockers as it also blocks our video feeds. If you can’t see the video, your adblockers or firewall are blocking our feed. You can also find this video on the STEAM Powered Family YouTube Channel.
The first step is to make our hand shape using our own hands as the template. Start by tracing your hand on the construction paper and cutting it out.
The Bones
Now we need to determine where all your bones and joints are. To do this place your hand back on the cut out and place a small mark beside each joint. In between those marks are bones.
For each bone cut a section of straw. Cut it a bit shorter so you ensure you leave enough space between the bones for the joints to move. You want to leave a nice sized gap for the best movement of the fingers and thumb.
Do this for all the fingers (4 fingers, 3 bones each equals 12 bones), plus the thumb which has 2 bones. Tape them all into place.
Next we need to stabilize the hand. Take a look at your hands, when you move your fingers you can see the bones in your hands. Now we want to cut straws for those hand bones. Four nice and long below the fingers, plus a shorter one for the thumb. Tape them into place.
NOTE: I had some old plastic straws in our tinker kit that we used for this project. If you want to avoid using plastic you can use paper straws, or use some construction paper to make tubes in place of the straws.
The Tendons
Now we have our bones we need to add the tendons. The tendons are created with our string. Cut a length of string that is slightly more than double the length of the hand. Feed the string through the straws starting at the wrist and going right up to the end of the finger. At the tip of the finger tie a knot. If you wish you can use a bead at the end, especially if you have used larger straws this might help secure your string. Tape the end onto the end of the finger to secure it.
Repeat for the rest of the fingers and the thumb.
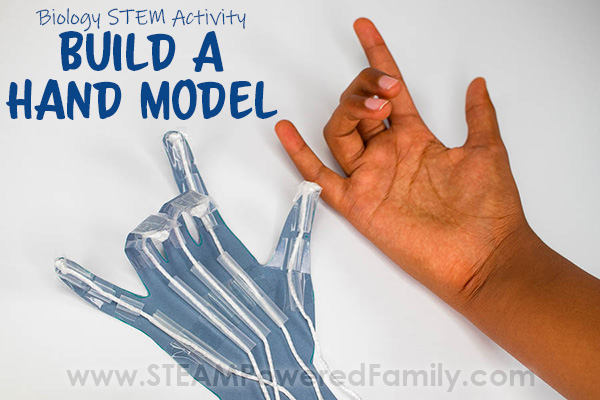
At each joint give the construction paper a little fold. This will help them articulate cleanly.
Your articulating hand model is complete!
My son loved making the sign for “I Love You” with his hand.
Finishing Touches
Some optional things you can do to finish your Hand STEM Craft:
- Have students label all the parts of the hand on their models.
- Add a stick so kids can hold their hands and articulate them (you want to ensure your strings are long enough to accommodate the length of the stick. A chopstick works great!)
- Decorate your hands with a spooky skeleton hand look using black construction paper and white or glow in the dark paint on the back of the hand. A fantastic Halloween Project!
The Science of Human Hands
As we mentioned during our hand model project build there are 3 bones in each of your fingers and 2 in your thumb. These bones are called phalanges. The phalanges connect to 5 bones in the main part of your hand (the palm of your hand), called metacarpals.
It might be shocking to realize but the muscles that move your fingers and thumb are located in your forearm. Long flexor tendons extend from these forearm muscles through your wrist and palm to your fingers and thumb.
Only the thin tendons of these muscles are found directly in the hand. There are actually two sets of tendons that control the movement in your hands and fingers. The extensor tendons used for stretching the hand and straightening the fingers run through the back of the hand to the tips of the fingers. The flexor tendons run through the palms to the fingers and make your fingers curl in or bend and form a fist. In our hand model we only included the flexor tendons which bend the fingers.
Your hands are marvelous creations that also include arteries and veins for transporting blood, plus nerves that are constantly taking in information about the world around us through the sense of touch. Hands are very important to how we understand the world around us!
Aren’t hands amazing?
What are We Learning?
In this activity we are learning about biology and how all these different parts of our hands work together. From bones to tendons to muscles, our hands are incredible!
Students are also learning engineering skills as they master the design and execution of their creations into fully functioning models of the hand. Run into issues? Embrace those mistakes and troubleshoot. In most cases the main issue is the straws are too long. But it could also be the tape is interfering with the movement, or perhaps the straws are not positioned correctly. Work with your students to rework their designs. It is a very important step in becoming a STEMist. Mistakes are powerful learning opportunities!


