Galaxy Bath Bomb Recipe with Activated Charcoal and Science Lesson
We are big sci-fi fans around here, so with our new love of bath bomb making and learning chemistry, we decide to make a galaxy bath bomb! This easy bath bomb recipe was the perfect blend of our sci-fi passions, a love of astronomy, and another chance to do some hands on chemistry that kids love.
GLITTERY BLACK GALAXY BATH BOMB DIY
Making bath bombs is not the most simple of activities, but it is a fantastic way to learn some hands on chemistry. It requires an understanding and knowledge of the chemical reactions, plus a willingness to do some scientific investigations. Which is one of the reasons we love making them so much!
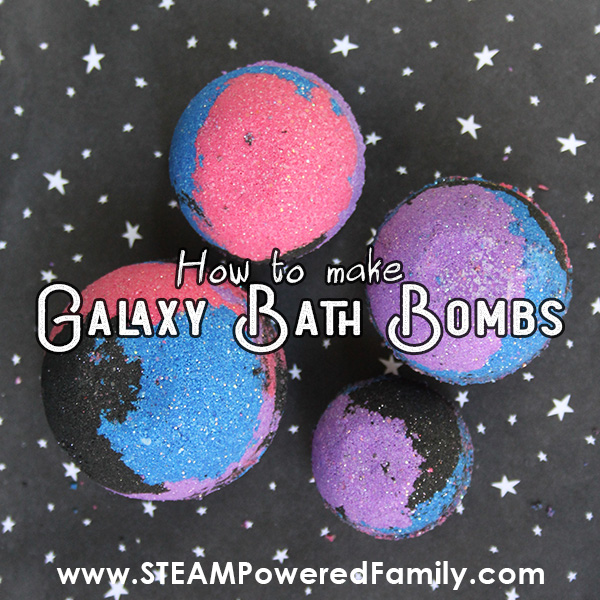
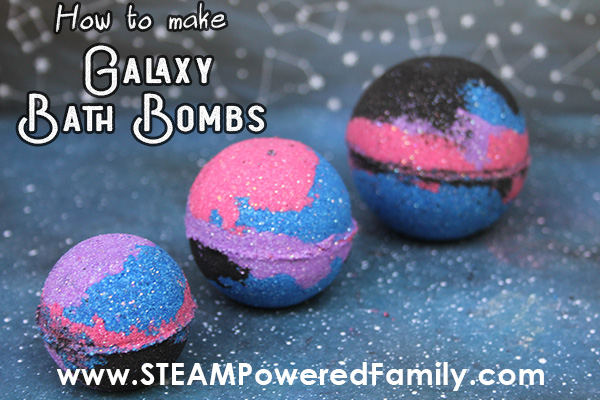
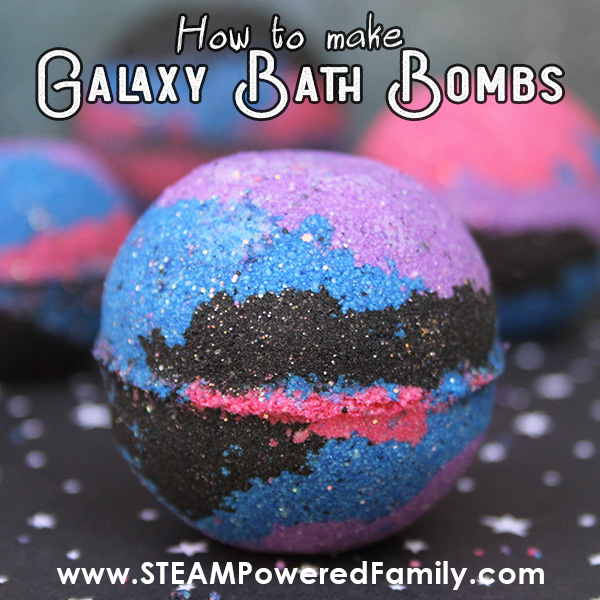
This week we are embracing our love of Doctor Who, Science Fiction and Space to create a Galaxy Bath Bomb. This bath bomb recipe is a black bath bomb, created with activated charcoal, that has highlights of some gorgeous colours mixed in. Just like traveling the cosmos!
Check out our Bat Poop Soap that is also made with activated charcoal and looks so beautiful!
Activated charcoal is great for oily skin. Something my tweens and teens have started to struggle with, like many of their peers. However, it is also a little messy. Definitely be cautious using it in this recipe as it likes to become air borne during the bath bomb making process. Also, we use polysorbate 80 as an emulsifier because activated charcoal doesn’t like to mix with water. If you don’t add polysorbate 80 you will get a black scum on the top of your water and on your bath tub after you drain it. Polysorbate 80 helps it mix into the water. It does the same thing for the coconut oil.
Pro Tip! If this is your first time making bath bombs I recommend not starting with an activated charcoal recipe like Galaxy Bath Bombs. I will explain why in the science section below.
BLACK GALAXY BATH BOMB RECIPE
2 cups baking soda
1 cup citric acid
1/2 cup cornstarch
1/2 cup cream of tartar
3 tablespoons coconut oil
1 tablespoon polysorbate 80
Cedarwood essential oil (or the essential oil of your choice)
Activated charcoal
Purple, Blue and Pink coloring
Glitter
Spray bottle filled with rubbing alcohol
1 large mixing bowl
5 smaller bowls
Bath bomb molds
HOW TO MAKE GALAXY BATH BOMBS
In a large mixing bowl, add the baking soda, citric acid, cornstarch, and the cream of tartar.
In a small bowl mix coconut oil, cedarwood essential oil (or the essential oil of your choice) and the polysorbate 80. Add to the large bowl and mix.
Use your hands to break down any lumps and make sure everything is really mixed in there. This is a great sensory moment for the kids. The mixture is perfect when the mixture sticks together when you press into your hands and feels like wet sand.
Separate the mixture evenly between four bowls.
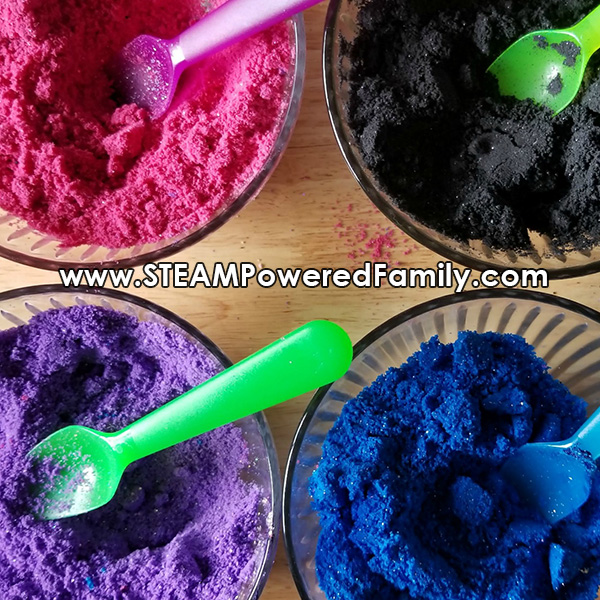
To the first bowl, add the black cosmetic glitter and 1 tablespoon of activated charcoal. Mix ingredients together thoroughly. If your mix is not black enough, add 1/2 tablespoon more of activated charcoal and mix. Repeat until you have a nice black.
Pro Tip! Mix slowly as the charcoal tends to act like flour when you mix too quickly…it becomes airborne!
To bowls 2, 3 and 4 add the purple, blue and pink coloring to one bowl each. Start with just a couple of drops, mix well. Then add a few more. Remember, moisture is our enemy when making bath bombs, so go slow. Add your choice of glitters to each of the three bowls. Mix each bowl well.
Take a bath bomb mold and fill each side with the different colors of the mixture, alternating between the four colors, in any pattern you like. Press both sides together, using a twisting/grinding motion to get rid of any excess mixture. Gently tap each side and carefully remove the bomb.
If you find your mixture is a bit too dry and not binding, spray lightly with rubbing alcohol. This will help it bind and form in the mold better.
Leave molds to harden for at least 24 to 48 hours (depending on your climate). Ensure you leave them to harden in a place that is warm with low humidity. Once hard, store in an airtight container, away from any moisture, until ready to use.
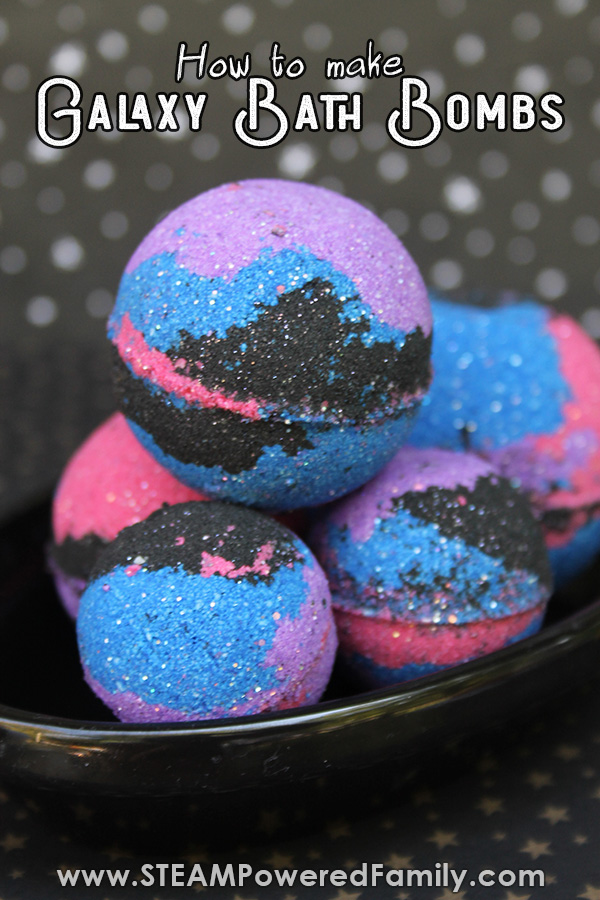
Drop one in the bath water when ready to use! Watch the kid’s faces when they see the bath bombs become a swirl of galaxy colors in the tub!
The Science of Bath Bombs
First up, bath bombs are a fun chemical reaction between acids and bases. The bubbles are Co2 that is released from the chemical reaction. In our recipe here the acid is Citric Acid and Cream of Tartar. The base molecule of cream of tartar is Tartaric acid. Our base is baking soda (which we know from our pH studies and experiments like our Colour Changing Oobleck or Hatching Dino Eggs). When dry the molecules of our acids and bases will not react with each other. They need one more thing to start reacting, water.
When people struggle with making bath bombs it is usually due to water. Either they are not using enough liquid in their recipe and their bath bombs are crumbly, or they have too much moisture which results in early reactions (like puffing up or even erupting before being put in the bath). Keep in mind that this recipe uses activated charcoal which soaks up oils and moisture. So with this recipe you need to be even more careful about the moisture in your recipe and even in the air. If it is a rainy day or very humid, you will need to reduce the moisture in your recipe.
A Bit About Activated Charcoal
There is some cool science in this bath bomb because we have the addition of activated charcoal to create a black bath bomb. The difference between charcoal which is left over from your camp fires and activated charcoal is that activated charcoal goes through a high temperature steam process. This increases the surface area allowing for greater absorption. This makes it great for those with oily skin, but if you have dry skin, you may not want to use activated charcoal as it could be too drying. While making these bath bombs, wash your hands if you get activated charcoal on your skin to remove it. If you leave it on, it will be very drying to your skin.
Activated charcoal and coconut oil don’t mix with water naturally, so we need to add an emulsifier, which helps these mix together to create a nicer bathing experience, plus keeps them from sticking to the sides of the bathtub. The emulsifier we use is polysorbate 80.
Galaxy Bath Bomb Recipe with Activated Charcoal
Learn how to make Galaxy Bath Bombs with activated charcoal that are out of this world! While also learning practical chemistry in this fantastic hands on science lesson for kids.
Supplies
- 2 cups baking soda
- 1 cup citric acid
- 1/2 cup cornstarch
- 1/2 cup cream of tartar
- 3 Tbsp coconut oil
- 1 Tbsp polysorbate 80
- 20 drops cedarwood essential oil
- 1 - 2 Tbsp activated charcoal
- 2-3 drops colouring (purple, blue and pink)
Instructions
-
In a large mixing bowl, add the baking soda, citric acid, cornstarch, and the cream of tartar.
-
In a small bowl mix coconut oil, cedarwood essential oil (or the essential oil of your choice) and the polysorbate 80. Add to the large bowl and mix.
-
Use your hands to break down any lumps and make sure everything is really mixed in there. This is a great sensory moment for the kids. The mixture is perfect when the mixture sticks together when you press into your hands and feels like wet sand.
-
Separate the mixture evenly between four bowls.
-
To the first bowl, add the black cosmetic glitter and 1 tablespoon of activated charcoal. Mix ingredients together thoroughly. If your mix is not black enough, add 1/2 tablespoon more of activated charcoal and mix. Repeat until you have a nice black.
-
To bowls 2, 3 and 4 add the purple, blue and pink coloring to one bowl each. Start with just a couple of drops, mix well. Then add a few more. Remember, moisture is our enemy when making bath bombs, so go slow. Add your choice of glitters to each of the three bowls. Mix each bowl well.
-
Take a bath bomb mold and fill each side with the different colors of the mixture, alternating between the four colors, in any pattern you like. Press both sides together, using a twisting/grinding motion to get rid of any excess mixture. Gently tap each side and carefully remove the bomb.
-
Leave molds to harden for at least 24 to 48 hours (depending on your climate). Once hard, store in an airtight container, away from any moisture, until ready to use.


