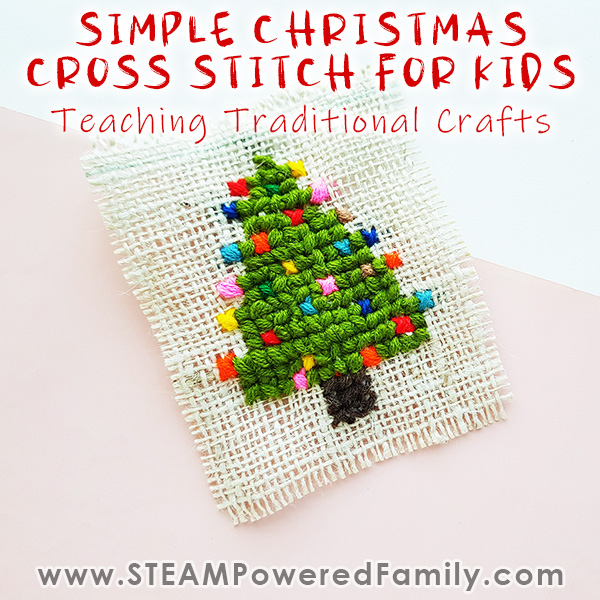
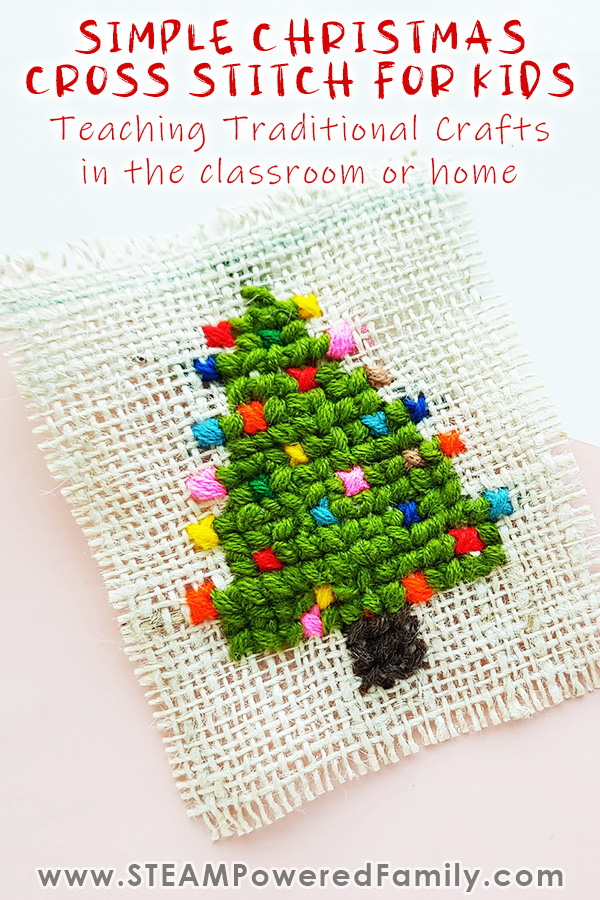
Cross Stitch Project for Kids
As the holidays approach I love embracing traditional activities. Projects that have been done year after year for generations. Growing up I can still see my grandmother and mother curled up with their knitting or cross-stitch or quilting projects. Calming working away on those long dark nights. As a child they would give me little projects to do alongside them. So this year I decided to introduce my kids to cross-stitch with this cute and simple Christmas Cross-Stitch Project.
Christmas Cross Stitch Project for Kids
Table of Contents
Disclaimer: This article may contain commission, paid partnerships, or affiliate links. We independently review everything we recommend. When you buy through our links, we may earn a commission from qualifying purchases.
Need some screen free activities for your kids? Something that will help them build fine motor skills, embrace their creativity, and expose them to traditional crafting?
This simple Christmas Cross Stitch project is perfect!
It uses budget friendly, simple supplies, and the results can be customized so the kids create their own special Christmas Trees.
The final results can be strung with a ribbon and hung on the tree as an ornament, or added to a homemade Christmas card for a gorgeous touch.
What is Cross Stitch?
Cross stitch is a traditional form of counted thread embroidery. It has been around for many centuries, with pieces found in Ancient Egyptian tombs, Medieval burials, and more. This makes it a great project to add to your history lessons with students.
Cross Stitch is also one of the easiest forms of hand embroidery to learn. Cross stitch is comprised of X-shaped stitches done on fabric with an even and open weave like the burlap we used in this project.
Although you can buy some incredible Cross Stitch kits with stunning designs and guides, for this project we wanted to keep it simple and budget friendly, so it can be done at home or in a classroom.
Christmas Cross Stitch Supplies
- Embroidery floss or yarn
- Tapestry needle
- Burlap fabric
- Scissors
- Markers (optional for planning the design)
Directions
With help from Minecraft
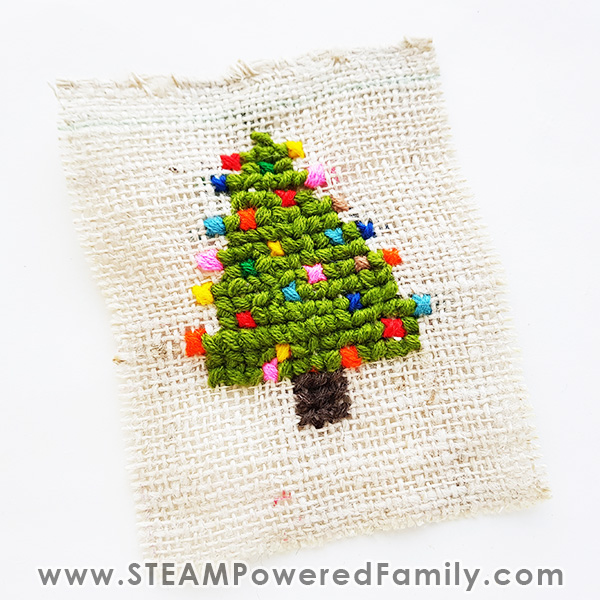
In this project we are making a Christmas tree. The easiest way I found to explain our tree design was to tell my kids to think of it like building in Minecraft. Each “block” is actually going to be an X stitch. Our tree it going to start with one block/stitch at the top, then widen out in each row by an equal amount to create our Christmas Tree shape. We can change the colours of certain blocks/stitches to make decorations on our trees.
Once I explained it this way and they saw this template the lights went on!
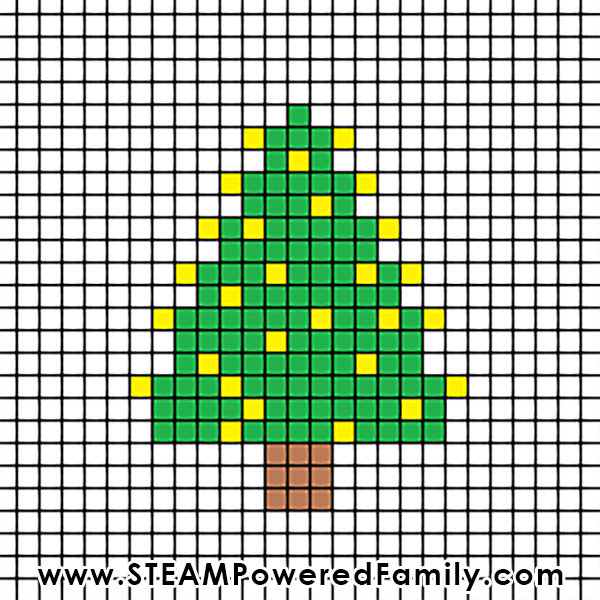
For some kids it helps if they draw their design on their burlap with a marker. This makes it more like the cross stitch kits you can by that have the designs coloured on the fabric so you can follow along. Other kids might prefer to wing it.
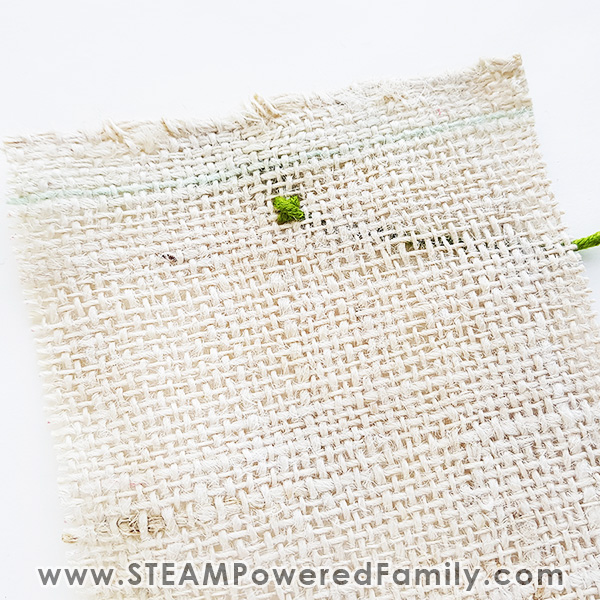
Step 1
Prepare a piece of burlap fabric by cutting it to an appropriate size for your project. Approximately 3″x5″ is what we used. Select different colored yarn or embroidery floss for the craft. Prepare the tapestry needle with green yarn to stitch the tree pattern. Start the work by doing 1 cross-stitch near a side and right in the middle of the thread counts of the fabric.
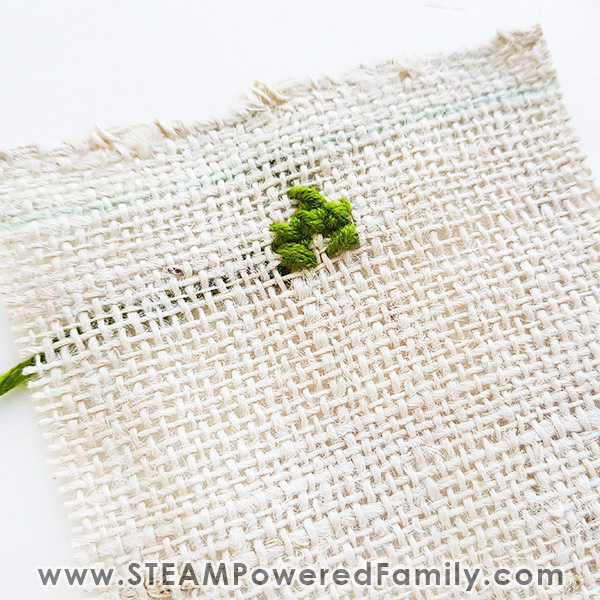
Step 2
Draw the needle to the next row and work 3 cross-stitches. For the 3rd row work 2 cross-stitches by keeping a space for another stitch in the middle.
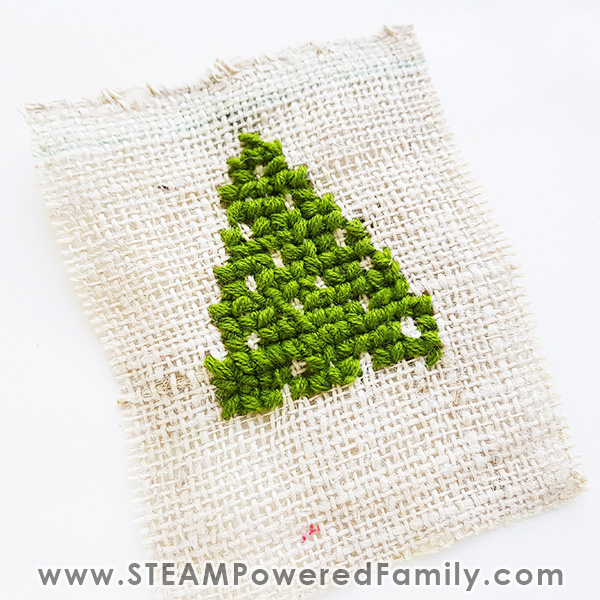
Step 3
Continue to stitch towards the bottom side of the fabric and after every 2 or 3 rows increase the number of stitches equally on both sides. Follow the template to keep spaces for the colorful stitches. Continue until the green parts of the tree are done.
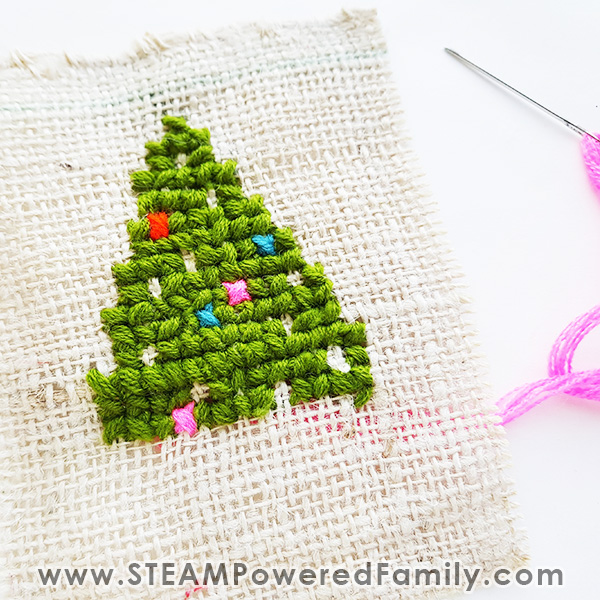
Step 4
Grab different colored floss or yarn to fill the blank spaces with cross-stitches. Use as many bright and fun colors as you like to make the stitched Christmas tree look festive and uniquely you!
Step 5
Use brown floss or yarn to stitch the trunk of the tree on the bottom side of it. Once you’re done, bring the needle to the backside and draw the strand through random stitches. Cut off extra strand after that. You are all done!
Displaying Your Cross Stitch
Once your kids complete their cross stitch they will want to display it!
You can add a ribbon (stitch it on or glue) so you can hang it as an ornament.
It can be glued onto the front of a folded piece of cardstock to create a beautiful homemade Christmas card.
Adventurous kids could add a backing and stuff it to create a small pillow. Tip – Add a bit of essential oil to turn it into a fragrant satchel.
Most of all enjoy embracing a screen free project that families have been creating together for centuries!
More Christmas Projects