Spinning Snowflake Card
This is such a fun and COOL activity! Did you see what I did there? Snowflake… cool??? Ahem… well this is very cool STEM that your kids are going to love! They get to engineer a card for the holidays that SPINS when opened. How cool is that? We’ve got everything you need for this special project, so read on and let’s make a Spinning STEM Snowflake Card!
Spinning Snowflake Card STEM Craft
Disclaimer: This article may contain commission or affiliate links. As an Amazon Influencer I earn from qualifying purchases.
Not seeing our videos? Turn off any adblockers to ensure our video feed can be seen. Or visit our YouTube channel to see if the video has been uploaded there. We are slowly uploading our archives. Thanks!
Kids love a project with a great WOW factor. Something that they can show others and will genuinely get gasps of delight and astonishment.
This STEM craft is exactly that kind of wow worthy activity.
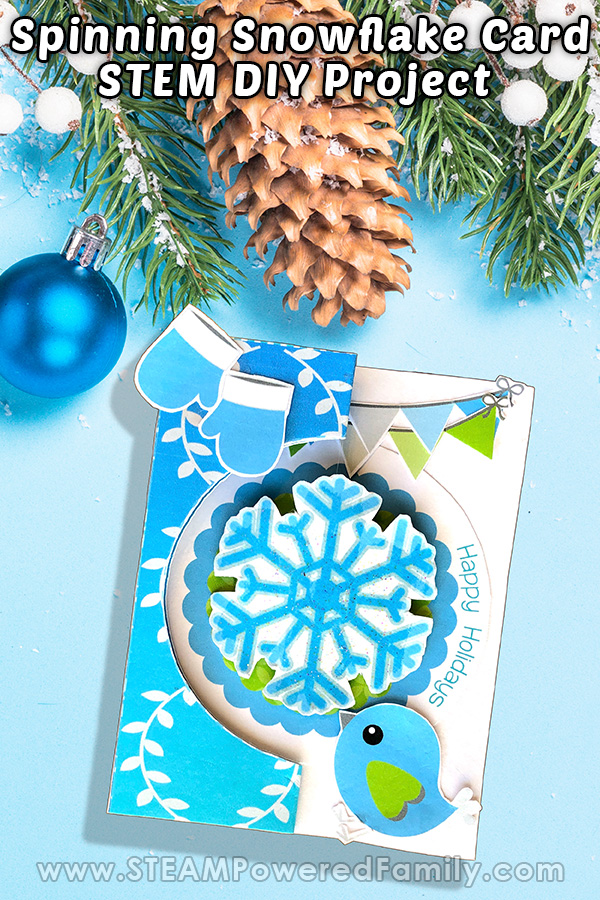
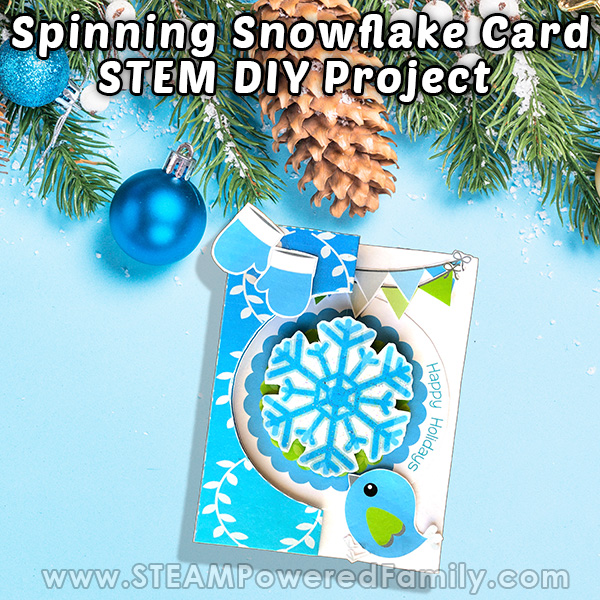
In this project, kids will engineer and design a holiday card with a cute little bird and a snowflake that spins when the card opens.
Does this astounding feat in engineering sound too hard? Nope, we have all the details and templates to make this project a resounding, wow worth, holiday STEM success!
The Holidays
As we are all aware, there are so many holidays at this time of year. We want all kids, of all backgrounds and cultures, to enjoy this paper STEM engineering project. So with that in mind we kept things simple with a Happy Holidays, snowflake and a cute little bird. Why the bird? Because it is adorable!
Spinning Card Supplies
For this STEM craft you will need:
Template (see below to access)
White Cardstock
A Printer that can print on Cardstock
Scissors (for really exact work with your older kids you can use an exacto knife and cutting board)
Glue (white glue or glue stick will work)
Fishing Line or Thread
Glitter Mod Podge or Glitter Glue (optional)
Free Printable Template
Members of the STEAM Powered Family Mailing List get this STEM Craft template free along with many other printables, resources and more. Join now and instantly unlock your free printable:
Video Directions
We have a handy video showing how to make these cards! Check it out! If you can’t see it, turn off any adblockers to run the video.
Step By Step Directions
Print both sheets out on cardstock and trim any excess white margins left by printer.
Cut the first page in half along the dotted line.
With the printed side down, fold & crease the bottom half in half (line up edges). This is your card base.
Cut out the top patterned rectangle (with the white circle).
Apply a small amount of glue to the back left and right edges of the rectangle. Leave the top and bottom areas glue free.
Glue this rectangle to the left side of card, lining up the edges carefully, blank sides facing each other. Trim if necessary to get a perfect fit. Allow the glue to dry.
Next, fold and crease the glued together pieces (on left side of card) in half backwards, forming a Z-shaped fold for the card.
Carefully cut out the circle, while pieces are folded back in half. Follow the half circle shape.
Confused? Check the video!
Cut out both snowflakes, “Happy Holidays” circle, and other accessories.
Glue the ”Happy Holidays” circle in the center of the right side of card.
Cut about 8 inches of fishing line or thin thread.
Center this thread in the middle of a snowflake, on the blank side. Glue into place. At the same time, glue the other snowflake directly on top, carefully lining up the edges. Let dry.
If you want to add some sparkle, paint a little sparkle Mod Podge or glitter glue over the snowflake. Let dry.
Add the bird, garland and mitten accessories.
Carefully open the unglued sections of the top left card, at top & bottom of the circle cut-out space. Place the thread from each end of the snowflake through these holes. While keeping thread taut on each end, place a small amount of glue in the holes and press together, with thread inside.
For added security, wrap each thread end to the back of card and into back crease. Add some glue and secure thread by pressing crease back together. Allow to dry. Trim extra thread.
It’s time for the magic!
Making Your Card Spin
To make your snowflake spin, twist it in one direction a few times. Kind of like when you spin around on the swings. Then close the card. When you open the card, the snowflake will spin! Just like when you let go on the swing and spin!
The Lessons
(Engineering and Physics)
With this activity we are engineering our 3D card. It involves intricate steps that must be done correctly to ensure the final project works perfectly. One key part of the engineering process is aligning the structure and anchors of the fishing line, plus ensuring it is well secured and straight. Kids will be challenged to use their critical thinking and problem solving skills with this project.
Next we have some really fun physics at work that makes our card spin. As we mentioned above you will need to wind up the snowflake. This will create what is known as Potential Energy. The snowflake is just waiting to spin, but it can’t because the energy is being held by the closed card. Once the card is opened, the snowflake is freed and the potential energy transforms to kinetic energy and the snowflake spins.
Happy STEM Crafting this Holiday Season!
