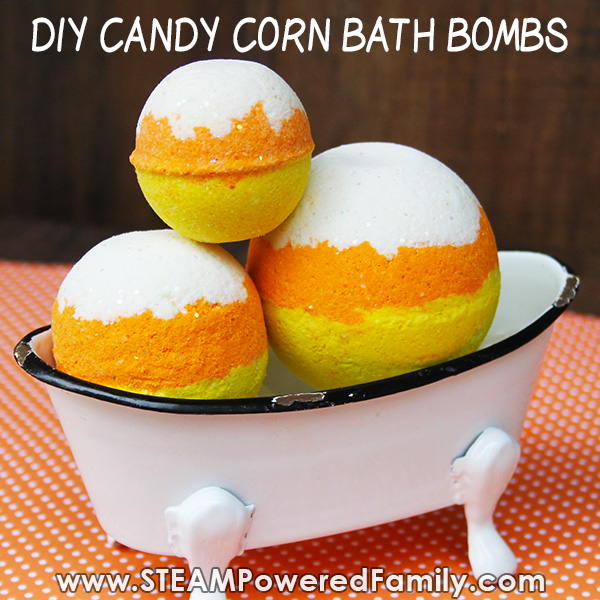
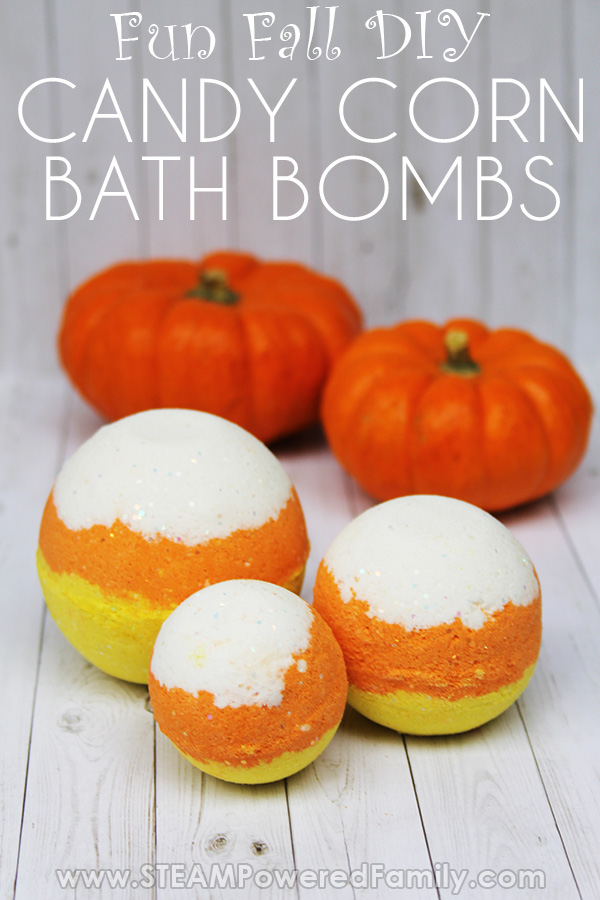
Candy Corn Bath Bombs DIY Fall Project and Chemistry Lesson
Bath bombs are a fantastic way to explore chemistry. Kids love using these fizzy creations, but they are also quite expensive. With this DIY recipe you can make your own bath bombs for about a dollar each. This recipe is inspired by a fall favourite, Candy Corn! So let’s jump into a fall chemistry project, get the kids excited – and clean – with DIY Candy Corn Bath Bombs.
DIY BATH BOMB RECIPE – CANDY CORN STYLE FOR FALL
I’ll be honest, I am not a huge Candy Corn fan. Sure, when this time of year rolls around I usually try a couple, but they are not a treat I crave.
What they do mean to me though is the arrival of autumn, the kick off of fall festivals, and most of all… the imminent arrival of Halloween!
Halloween is a big deal around here. Every year we do lots of activities to celebrate which is how our incredibly popular 31 Days of Halloween STEM Activities article came to be. I needed a place to share all our awesome plans and ideas!
The problem is that every year I need to come up with new ideas. Sure some the kids are happy to repeat year after year, but they are also getting older and want to try new things and develop new skills.
My boys LOVE chemistry, they also love bath bombs, so it makes sense they should learn how to make their very own bath bombs. It’s a fantastic chemistry lesson, plus it saves so much money. Buying a bath bomb is about $5 here, but I can make them for less than a dollar a bath bomb.
That’s some smart math my kids can totally get behind.
So for Halloween we bring you budget friendly, DIY Bath Bombs – Candy Corn Style!
Need another Candy Corn inspired project? Check out our Candy Corn Homemade Soaps
Candy Corn Bath Bombs Recipe & Supplies
This recipe makes 3 large, 2 medium and 3 small bath bombs. Results will vary depending on the size of the molds you use.
2 cups baking soda
1 cup citric acid
1/2 cup cornstarch
1/4 cup SLSA
3 tablespoons coconut oil
1 tablespoon polysorbate 80
Candy Corn fragrance scent
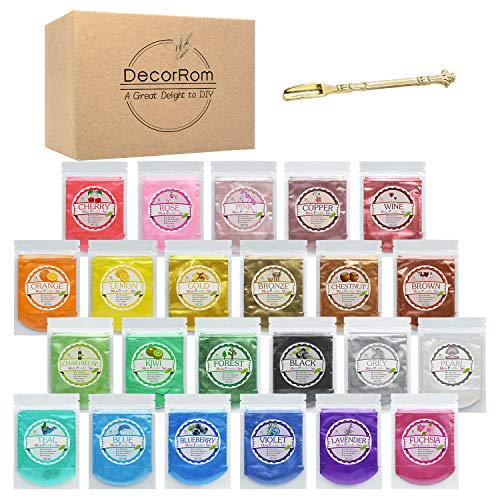
White Pearl, Yellow and Orange mica powder
Glitter (optional)
Spray bottle filled with rubbing alcohol
1 large mixing bowl
3 smaller bowls
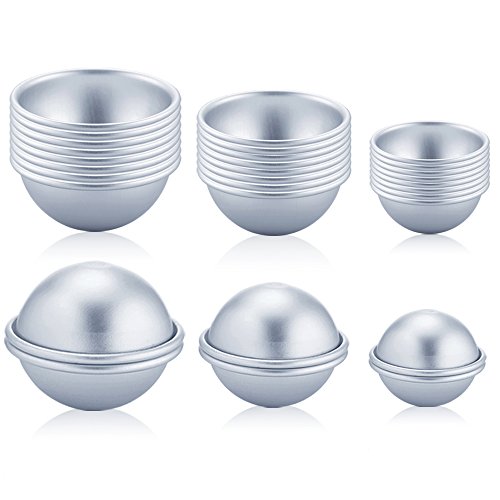
Bath bomb molds


EASY STEP-BY-STEP CANDY CORN BATH BOMB DIRECTIONS
In a large mixing bowl, add baking soda, citric acid, cornstarch, and the SLSA.
Add coconut oil and the polysorbate 80. Polysorbate 80 is an emulsifier that helps the coconut oil disperse more evenly in your bath water and prevents the mica from sticking to the side of the tub. Which means easier clean up!
Add a few drops of candy corn fragrance and glitter (if desired) and mix all the ingredients together.
Pro Tip! If you run into issues, try mixing the coconut oil and polysorbate 80 together with the fragrance in a small container. Once combined, add that to the dry mix.
Use your hands to break down any lumps and make sure everything is nicely mixed in. This also helps with fine motor coordination and strengthening, plus makes it a more sensory experience for the kids.
Separate the mixture evenly between three bowls.
Add the white pearl mica to one bowl, the yellow to the next and the orange to the third. Mix the mica powders thoroughly into each bowl.
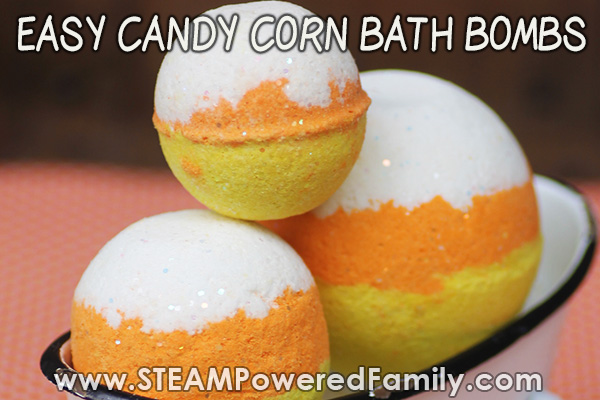
Take a bath bomb mold and fill one side about 1/4 full with the white mixture and pat gently. Fill to the top with the orange. Add the yellow to the other side of the mold about 2-3 of the way and gently press down. Fill the remainder of the mold with orange.
Press both sides together, using a twisting/grinding motion to get rid of any excess mixture. Gently tap each side and carefully remove the bomb.
Leave molds to harden 24-48 hours.
Store in an airtight container until ready to use. You can also put them in little plastic gift bags and tie with a ribbon to make a wonderful, candy free Halloween gift or party favour.
Drop one into a warm bath and watch the chemistry in action!
BATH BOMB CHEMISTRY SCIENCE LESSON
This bath bomb recipe uses the ingredient Sodium Lauryl Sulfoacetate (SLSA). SLSA is a surfactant that helps create a LOT of extra bubbles when used in bath bombs. We find SLSA results in way more bubbles in our bath over recipes that don’t use SLSA. This results in a bath bomb fizzy fun to kick off your bath but then a wonderful, fragrant, bubble bath after. Another big benefit of using SLSA is that it helps trap the fragrance of the essential oils, helping the wonderful aromas last longer. So although it doesn’t play a role in the chemical reaction, it does make a big difference in the bath time experience.
What is the role of Polysorbate 80? It is a surfactant, emulsifier, and solubilizer and it’s main function in this bath bomb recipe is to help the oils mix with water. Something they normally would not do naturally. It also helps evenly spread the mica colours through the water creating more vibrant colours in the bath water, plus it keeps the colours off the sides of the tub and the skin. Basically it acts as a mixing agent, helping to mix everything together to give you a nicer bath bomb experience.
So what is the chemical reaction in this bath bomb recipe? It’s a good old fashion acid-base reaction between citric acid and baking soda with water as the activator for the reaction. Those little bubbles dancing around in the water are actually CO2 gas.
EXPLORE MORE ACID-BASE CHEMISTRY REACTIONS