Bird Feeder STEM Project for Kids – Summer Fun Learning
We just love watching the birds at our house, they hop around the yard finding things in the lawn, we have a few who nest in the trees, there are some that will visit and line up along the garage roof waiting patiently for a visit to our bird feeder. We also have an abundance of squirrels who will bully their way onto the feeder and scare the birds. I was watching the little guys one day and thinking that I should add more feeders around the yard so everyone had somewhere to go!
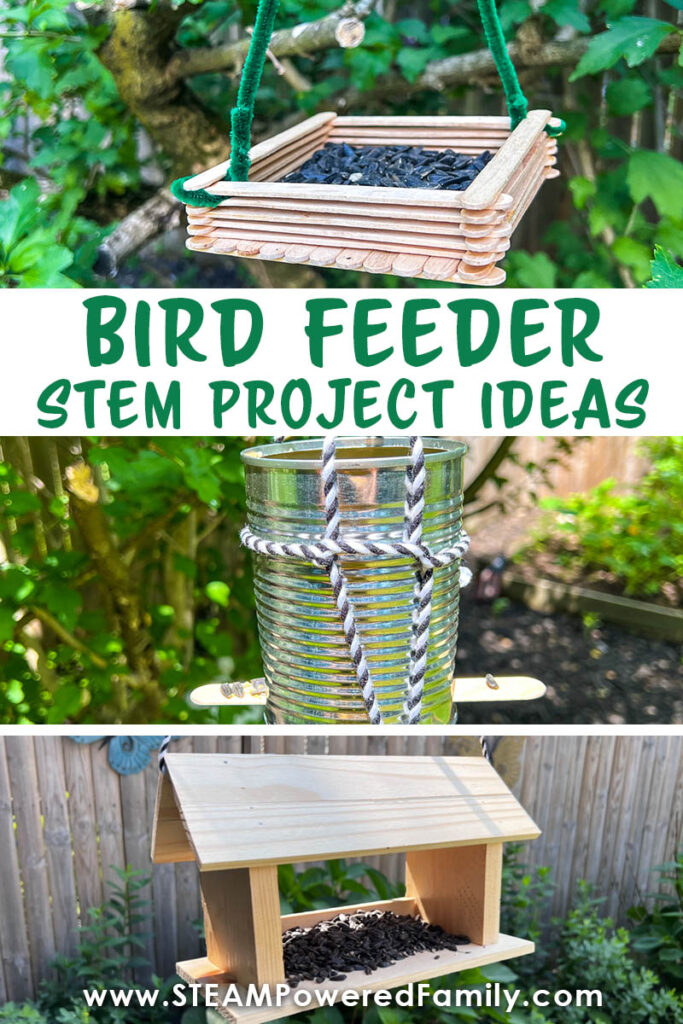
3 Hanging Bird Feeder Ideas
Disclaimer: This article may contain commission or affiliate links. As an Amazon Influencer I earn from qualifying purchases.
Not seeing our videos? Turn off any adblockers to ensure our video feed can be seen. Or visit our YouTube channel to see if the video has been uploaded there. We are slowly uploading our archives. Thanks!
A hanging bird feeder is a super simple and fun STEM project that kids of any age can build. They can be engineered out of simple recyclables, crafted from popsicle sticks (plus if it’s a summer STEM activity you can snack on the popsicles instead of buying craft sticks!) or build one easily with simple tools.
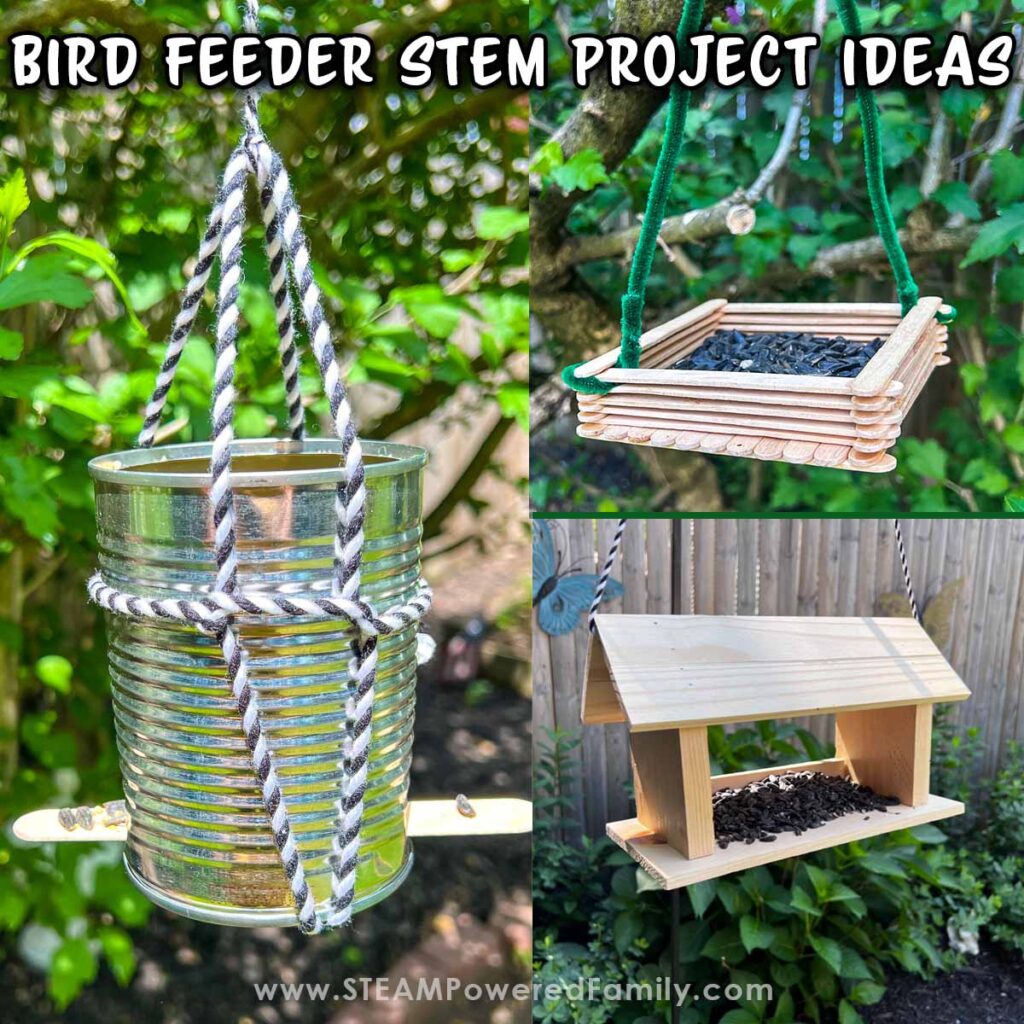
We came up with three different bird feeder designs that are perfect for kids to build, and that the birds love.
Pro Tip! For all of these projects you will need birdseed. Visit your local garden store to find the perfect seeds for the species in your area.
Recycled Can Feeder
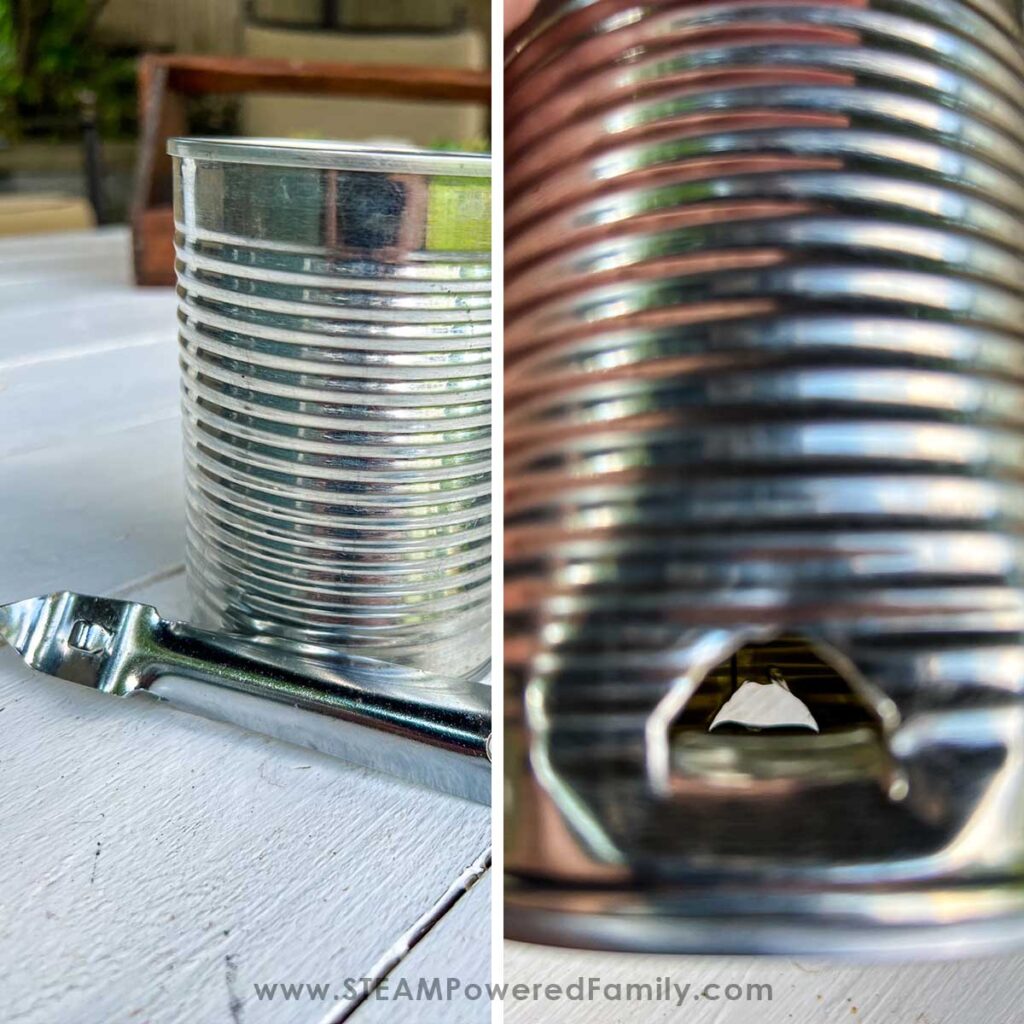
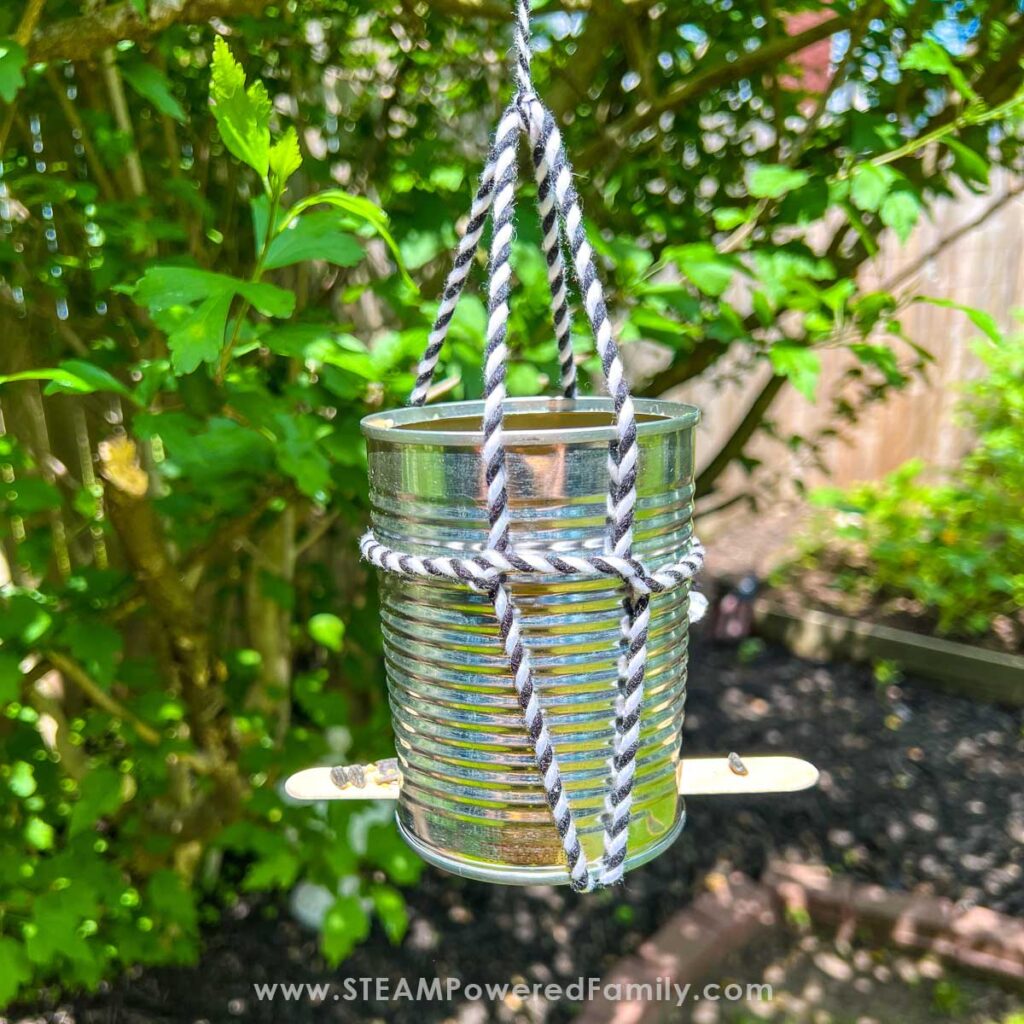
For the first feeder I was thinking of my tiniest visitors, the ones who get scared away by the bigger birds and squirrels. This one only requires a tin can, a can opener with the pointy end commonly known as a “church key” and some string to hang it!
Supplies
Recycled Tin Can (Any size)
Church Key Type Can Opener
String
Fat Craft Sticks
Directions
We think the can is a great option because the tiny birds seem to be intrigued by shiny things and we certainly want to attract those tiny friends!
Start off by washing the can well and ensuring it has no sharp edges.
Punch the pointed end of the can opener through the can near the base to make little openings for the bird to feed through. Depending on the size of can you choose you can punch a hole on each side or several all the way around the base. We chose to do two holes directly across from each other.
Slide two fat craft sticks into the holes on each side so there is a perch for the birds to land on.
Block the two holes and fill the can with birdseed.
Carefully unblock the holes and use some string to hang it from a pole or branch and wait for the birds to come have lunch.
So quick and easy and the little bird love it!
DIY Craft Stick Bird Feeder
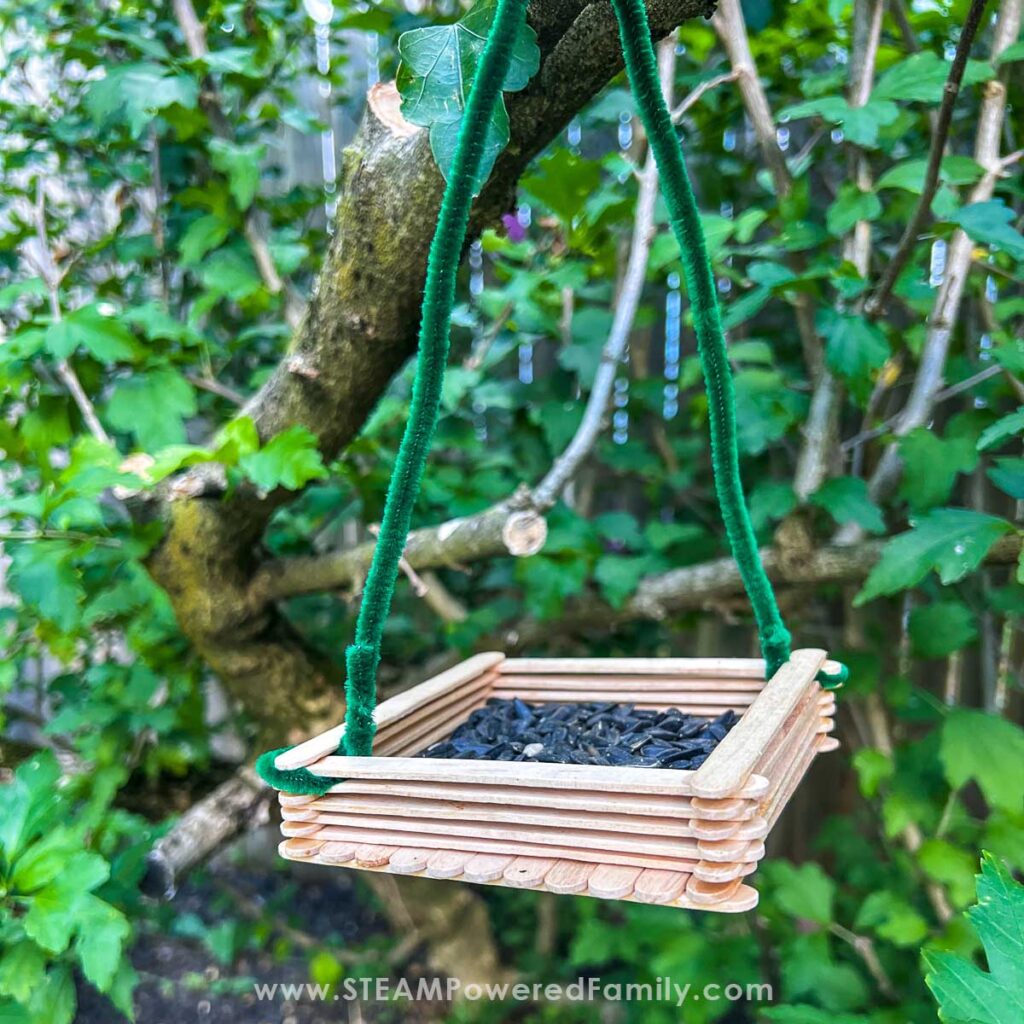
For the second feeder we decided to make a popsicle stick feeder but leave it more open like a dish. For this feeder you just need popsicle or craft sticks, glue and something to hang it with – we opted for pipe cleaners for this one.
Supplies
Craft Sticks
Wood Glue
Pipe Cleaners
Directions
This is a great project to do with craft sticks for the kids.
Build the base
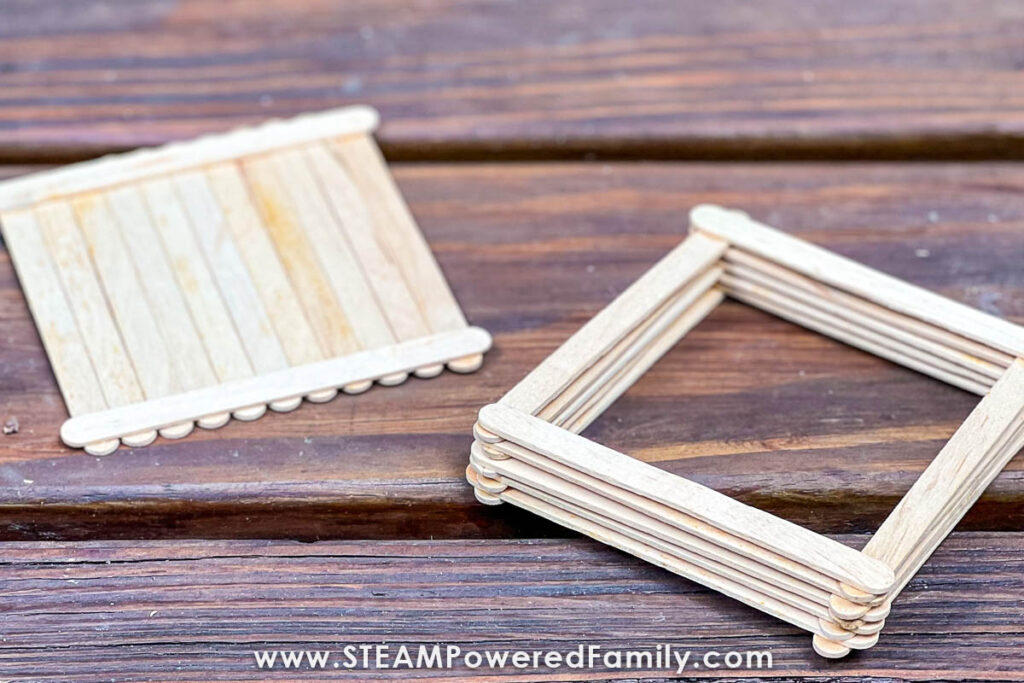
My daughter decided that we should make the base similar to a raft so that it would be able to hold the seed and give strength and structure to the dish. To do this she laid two popsicle sticks on the table parallel to each other and a couple of inches apart and then ran glue along the entire length of the stick. Then she proceeded to lay sticks going the opposite direction the entire length of the first sticks.
Build the Walls
While we let the glue dry on the base we built a log cabin type of structure. Lay two sticks parallel to each other and use a third stick to measure the distance they should be apart, we want them to stack at the corners, alternating directions as we go. Once we have the correct distance it was as easy as gluing the four corners and placing the next two sticks in the opposite directions and repeating this pattern until it was as tall as you wanted it to go. We made ours shallow but you could easily make it taller depending on the design that you and your child wanted to go with. Let all of the glue dry thoroughly.
Assemble and Glue
Once the two parts are dry you can glue the walls to the base. You could certainly build the entire thing as one structure rather than in two parts (which is how I would have done it). Lilli wanted to build them separately and then glue them together – often, kids see things differently than we do and there was no reason one would be better than the other structurally so we just rolled with it. Once the feeder is done you could paint or decorate it, we decided to leave it natural so it blended into the trees.
Add the Hangers
We slipped the pipe cleaners into the little spaces between the slats, filled it up and hung it from a sturdy branch.
This feeder looks so cute nestled in the leaves and the squirrels haven’t seemed to bother this one at all!
A More Traditional Bird Feeder Design
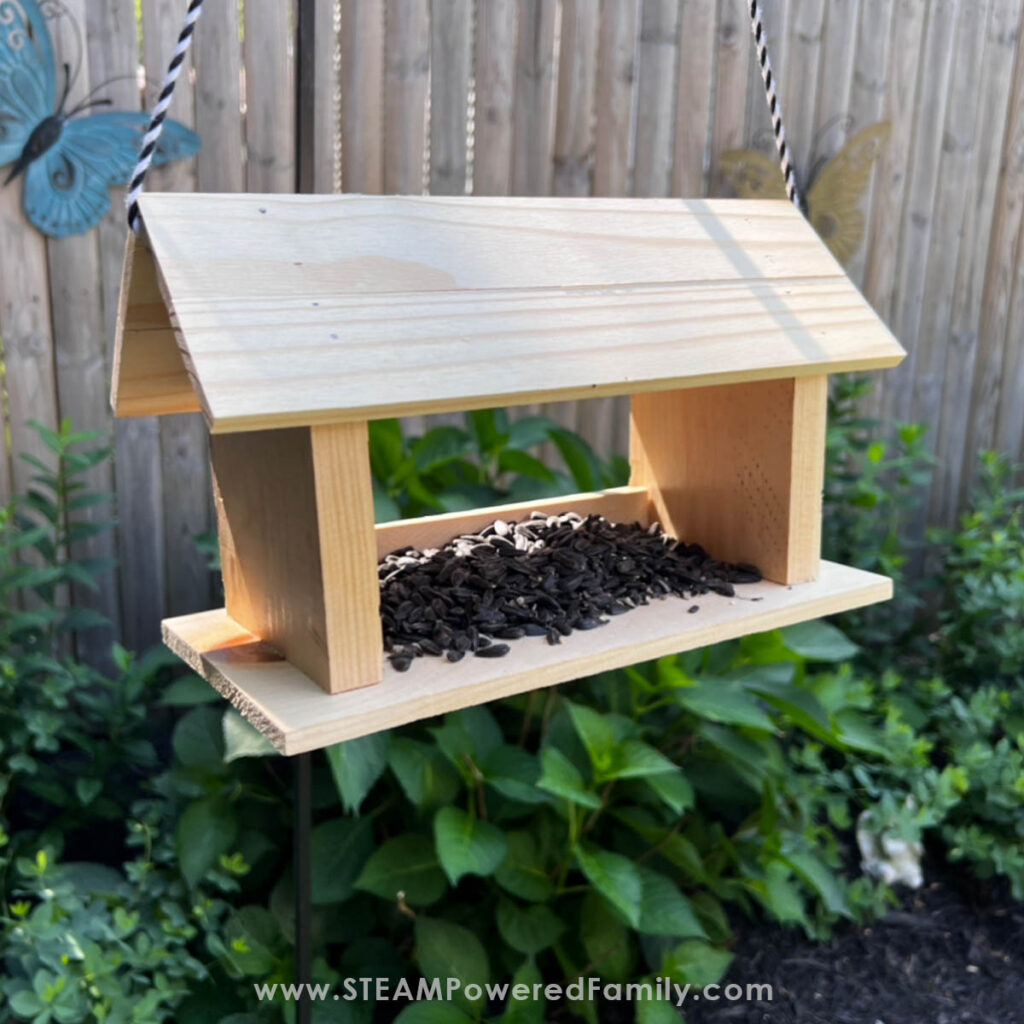
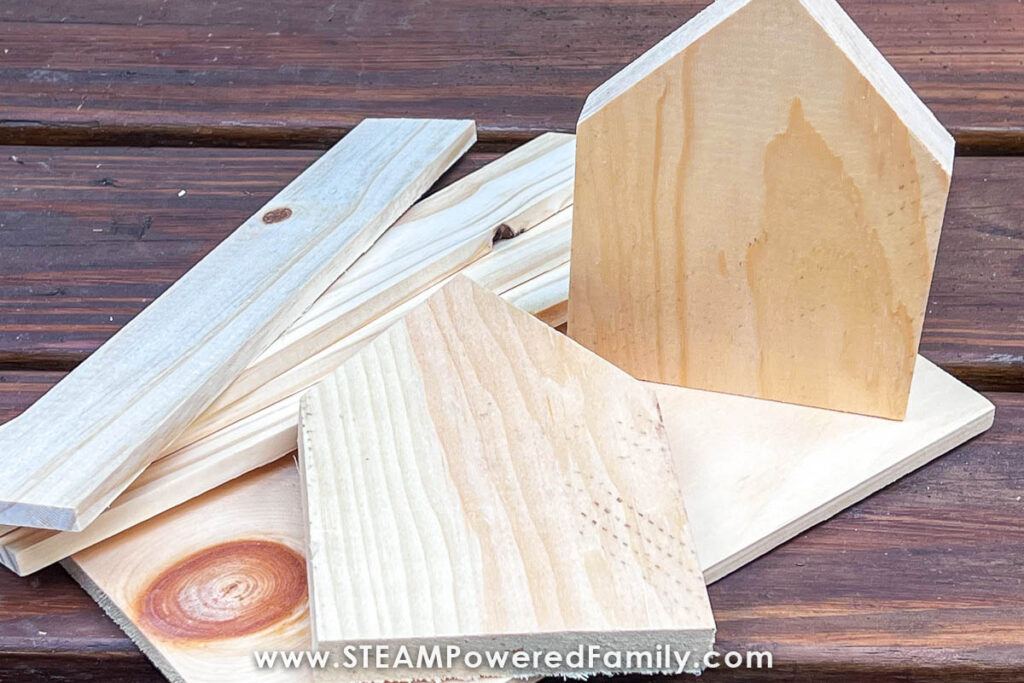
Our last design was a more traditional feeder inspired by a trip to the local dollar store. While shopping I spotted these great raw wood shapes and slats (we used these same type of wood pieces when we made our 3-D butterfly life cycle model). The little house cut outs reminded me of a feeder that my grandmother used to have – open on both sides with a little house shape at each end and a cute little roof on it. I had my inspiration!
To assemble this design you need a base piece, two end blocks (we used the little houses but you could certainly just use blocks and slats or larger pieces to make a roof.
Supplies
Pre Cut wood pieces from your local craft or dollar store or cut your own from scraps
Hammer
Small Nails
Wood Glue (Optional)
Door Shim, Paint Stick or Craft Sticks (Optional)
Waterbased Polyurethane
String
Directions
If you don’t have precut pieces, have an adult help to cut out the pieces from scraps of wood.
Use a hammer and small nails to connect the base plate to the bottom of the house shapes. Add some glue to the seams before you nail for extra stability if you would like but it’s not necessary.
After the base is secured and both ends are in place, line your roof slats up and secure them in place the same way.
Once our design was complete we realized the birdseed could easily fall out, it needed a low back piece to help hold the birdseed in. For this I used a door shim but a paint stick or even craft sticks would work just as well.
To finish this design we sprayed the whole thing with a clear coat of poly to help it last longer.
Finally we filled it with seed and hung it from a pole hook in the yard so bigger birds could get to it and we would have a nice view of the neighborhood birds feeding.
Making bird feeders was a fantastic STEM Project that also lends itself very well to learning more about the natural environment around our home. We can learn about wildlife and birds in our area, making it a great compliment to an Earth Sciences study. Plus, we had so much fun making the feeders.
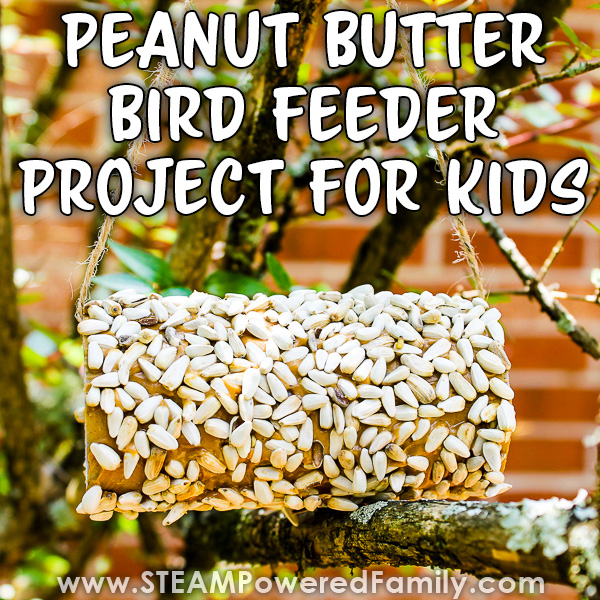
Simple Peanut Butter Bird Feeder
OK, so we explored some more challenging Bird Feeder building projects, but if you want to do a quick and simple bird feeder, try this Peanut Butter Bird Feeder project. Kids and birds love it!
These are just a few ideas, challenge your kids to discover what bird feeder design ideas they can come up with and engineer.
More Outdoor Projects for Kids
