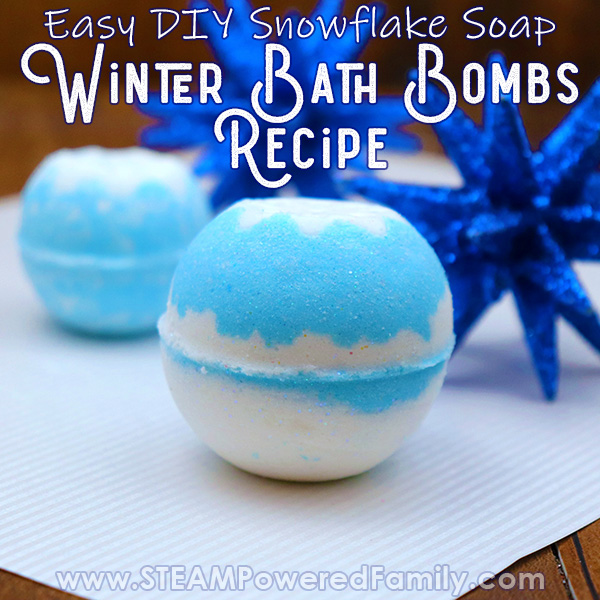
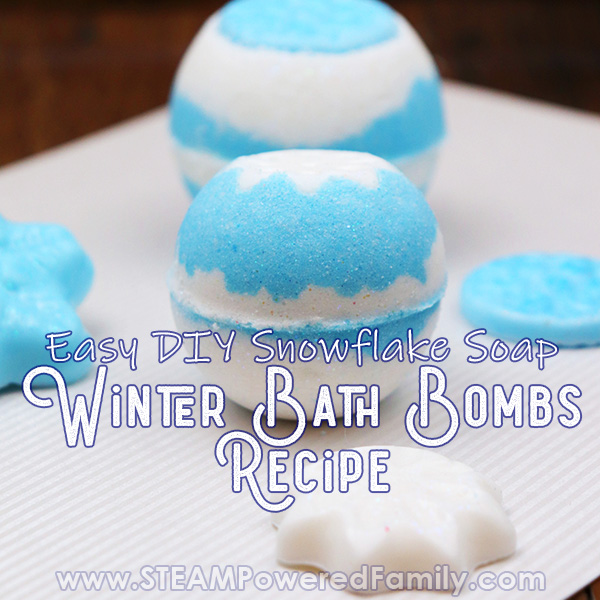
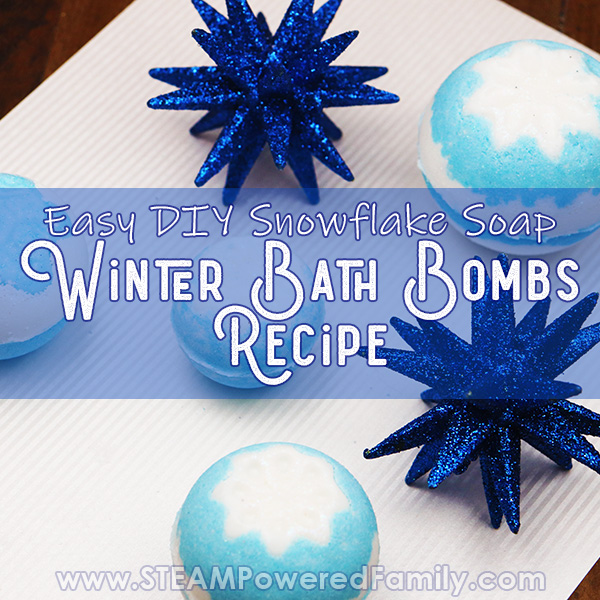
Luxurious Winter Bath Bomb Recipe With Soap Snowflake
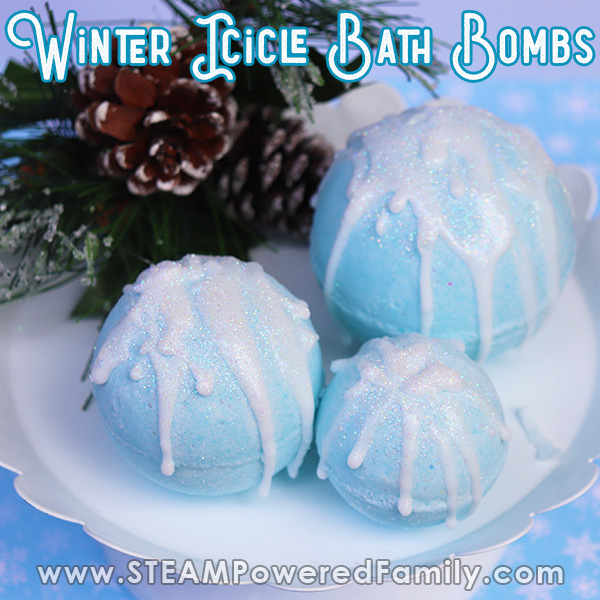
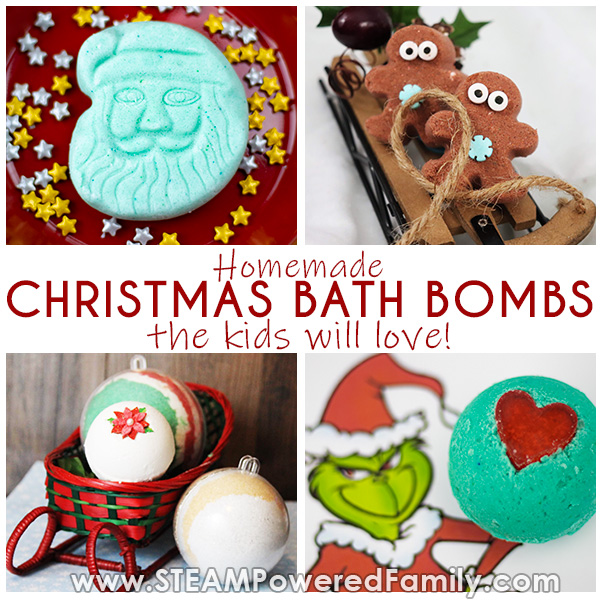
Looking for a winter STEM activity? This blue and white winter bath bomb recipe is the perfect STEAM activity to do with the kids. With it’s soap snowflake it is similar to our very popular Grinch Bath Bomb with it’s red heart soap. Then the gorgeous blues and whites of this bath bomb capture the beauty of a winter day, similar to our Icicle Storm Bath Bombs. We’ve talked about how bath bomb making inspires creativity and this is a great example of taking inspiration from our previous recipes to create cool new bath bomb recipes.
Blue and White Winter Bath Bomb Recipe with Snowflake Soap
Disclaimer: This article contains affiliate and commission links.
What is a Bath Fizzy (bath bomb)?
Bath bombs often also go by the name bath fizzy. They are these cool little balls (or they can be made in other shapes), that when added to warm bath water fizz and bubble everywhere in a fragrant, fun explosion. Bath bombs make bath time fun. Although kids love them, adults do too. My personal favourite is the bath fizzy that ends in a fragrant, soothing foam bath.
What Makes A Bath Bomb Fizz?
So what makes that wonderful fizzy reaction? Remember those awesome vinegar and baking soda eruptions we love so much? It is a very similar acid-base reaction. In this recipe our acids are citric acid and cream of tartar, and our base is baking soda. While in dry form the acids and bases can mingle without any reaction. It needs water to trigger the reaction. That’s what makes bath bombs so much fun. They seem so simple and ordinary, until you drop them in your bath tub, then all the excitement happens!
Learn more about acid-base reactions with this activity.

Bath Bomb Making for Science Class
Making bath bombs involves some fascinating science. Not only do you have the fun acid-base reactions, but there are a few other ingredients that are truly fascinating to learn about.
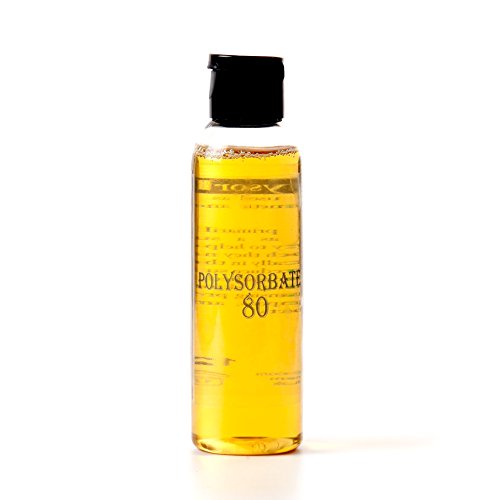
First we have polysorbate 80. Ask anyone if water and oil mix and they know the answer is a big, fat nope! So how do we get the oils in our bath bomb to mix with the water instead of becoming a scummy slime floating on top of our water? The secret is an emulsifier called polysorbate 80.
Next we have Sodium Laurel Sulfoacetate (SLSA) which is a surfactant. This ingredient helps capture the CO2 gas bubbles released by the acid-base reaction and form a wonderful foamy bubble bath as your bath bomb erupts. This ingredient is my favourite, it makes for such a luxurious bath experience.
So for your next science class why not try bath bomb making and learn some fascinating science!
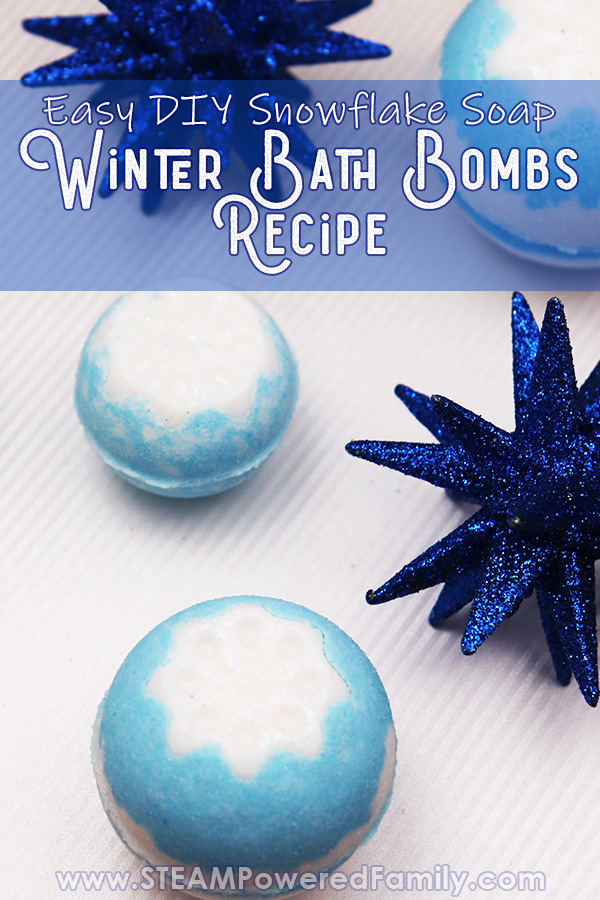
Blue and White Winter Bath Bomb with Soap Snowflakes
Now onto our bath bomb recipe of the day, Winter Bath Bombs With Snowflake Soaps. I really enjoy these types of bath bombs because the little soaps are perfect for one time use to help get those kiddos clean. And since they came off the bath bomb, there will be no arguments at all about using the soap. The kids will be having far too much fun to complain. Plus, if they helped you make the bath bomb, they will be even more excited to use their creations.
Winter Bath Bomb Recipe
1.5 cups baking soda
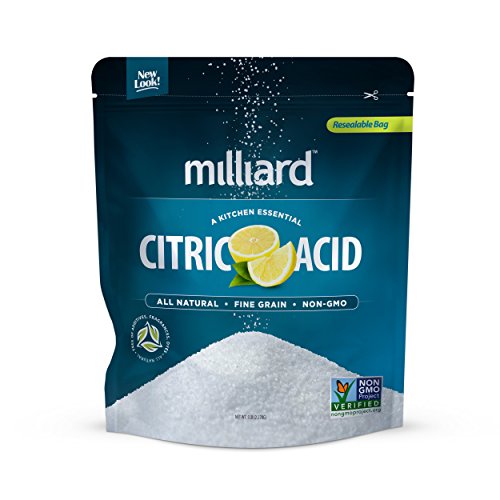
1 cup citric acid
1 cup SLSA (Sodium Laurel Sulfoacetate)
1/4 cup cornstarch
1/4 cup cream of tartar
1/4-1/3 cup coconut oil
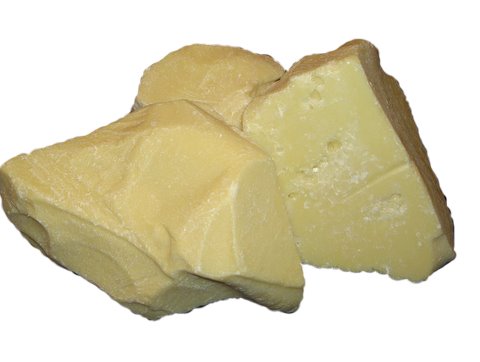
2 tablespoons Cocoa butter
2 tablespoons polysorbate 80
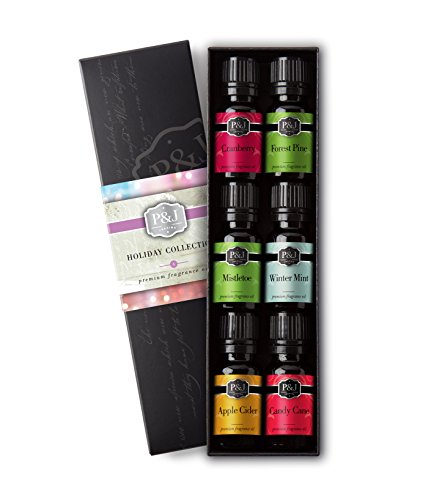
Wintermint scented oil
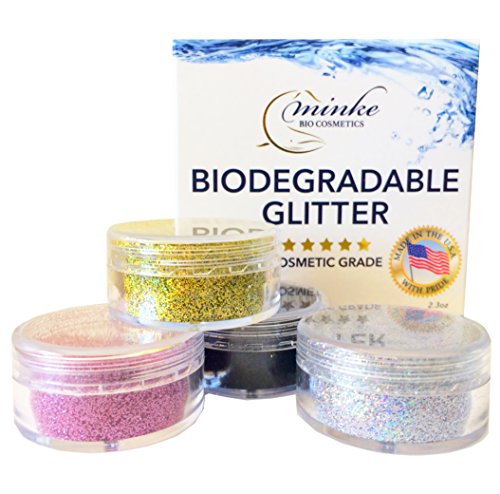
glitter
White and blue pearlescent mica powder
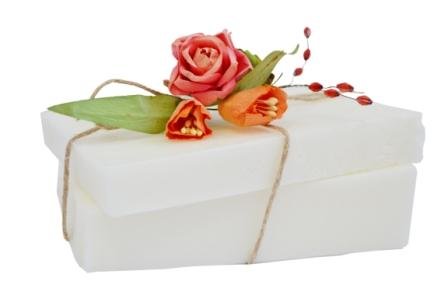
White melt and pour soap base
Small snowflake mold
Spray bottle of rubbing alcohol
1 large mixing bowl
3 small bowls
2 measuring cups
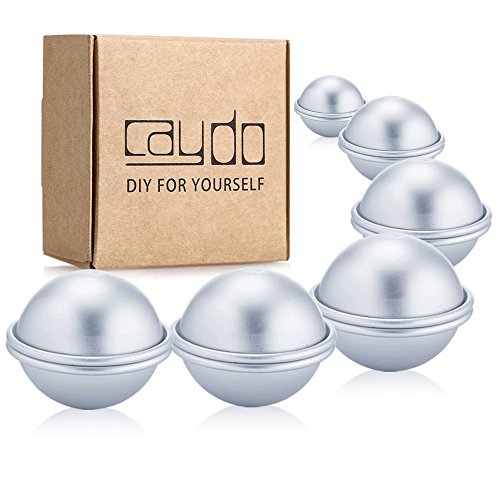
Bath Bomb Molds


Step By Step Directions for Making Winter Snowflake Bath Bombs
Soap Snowflake Directions
Sprinkle a bit of glitter into snowflake mold. Melt 4-6 cubes of the white soap base in your microwave for 30 seconds. If soap is not completely melted, melt in 15 second bursts until melted all the way. Separate mixture into to measuring cups.
Add 1/2 teaspoon white mica powder into first measuring cup. Sprinkle about 1/2 -1 teaspoon of white glitter into container. Pour soap into mold and spray with rubbing alcohol to avoid bubbles. Repeat with the blue mica and glitter. Allow to harden while making bath bomb mixture.
Bath Bomb Mix Recipe
Add dry ingredients to a large bowl. Whisk until well combined.
In a small bowl mix coconut oil and cocoa butter. You will need to melt these in the microwave for a few seconds. Then add scented oil and polysorbate 80. Mix well, then add to the large bowl with all the dry ingredients. Blend everything together.
A note on the coconut oil: Start with a 1/4 cup and reserve the rest to use if needed. If you live in a dry climate, like I do, you will need the extra coconut oil or your mixture will be too dry.
Using your hands (disposable gloves are very handy, especially once you add the mica powder), break down any clumps and really work everything together until it is completely blended. You will know when the mixture is perfect when it feels like wet sand and you can press the mixture together in your hands and it stays together. If it doesn’t, you may be like me and need that extra coconut oil we mentioned earlier. Simply add it a bit at a time and mix well until it starts to hold a shape when you squish it.
Separate the mixture into the two smaller bowls. Add 1 tablespoon white mica powder and glitter to one and the blue mica and glitter to the other. Mix thoroughly.
Carefully pop the soaps out of the molds. Take a soap and place it upside down in one side of a large bath bomb mold. Sprinkle enough bath bomb mixture to cover the snowflake. Fill the mold the rest of the way until slightly overflowing. Fill the other side of the mold.
Press molds together and using a grinding motion, get rid of the excess mixture. Once it is sticking nicely, tap the bath bomb mold end gently to help it release. This step is by far the hardest part of bath bomb making. There is a real technique to it that will only come with practice.
Allow the bath bombs to dry for 48 hours or until hard.
Storing and Using Bath Bombs
Once your bath bombs have dried completely store them in an air tight container. Exposure to any moisture, even humidity in the air, can cause the reaction to start.
Bath bombs should be used as soon as possible for the best reaction. Ours never last more than 2 weeks. I would definitely plan to use them within a couple of months of making them. This is good to know if you are planning on gifting them.
When you are ready to use your bath bomb, simply fill your tub with warm water and climb in. Then drop in your bath bomb. You can enjoy the fizzy fun as your foam bubble bath starts to develop. Eventually your little snowflake soap will be released so you can use it.
Enjoy your wonderful bath bomb experience!

MORE BATH BOMB RECIPES


Winter Bath Bomb Recipe with Soap Snowflake
A wonderfully luxurious bath bomb that includes a sweet snowflake soap.
Supplies
- 1.5 cups baking soda
- 1 cup citric acid
- 1 cup SLSA
- 1/4 cup cornstarch
- 1/4 cup cream of tartar
- 1/4 cup coconut oil
- 2 tbsp cocoa butter
- 2 tbsp polysorbate 80
- wintermint scented oil
- glitter
- blue and white mica powder
- white melt and pour soap base
Instructions
-
Sprinkle a bit of glitter into snowflake mold. Melt 4-6 cubes of the white soap base in your microwave for 30 seconds. If soap is not completely melted, melt in 15 second bursts until melted all the way. Separate mixture into to measuring cups.
-
Add 1/2 teaspoon white mica powder into first measuring cup. Sprinkle about 1/2 -1 teaspoon of white glitter into container. Pour soap into mold and spray with rubbing alcohol to avoid bubbles. Repeat with the blue mica and glitter. Allow to harden while making bath bomb mixture.
-
Add dry ingredients to a large bowl. Whisk until well combined.
-
In a small bowl mix coconut oil and cocoa butter. You will need to melt these in the microwave for a few seconds. Then add scented oil and polysorbate 80. Mix well, then add to the large bowl with all the dry ingredients. Blend everything together.
-
Break down any clumps and really work everything together until it is completely blended. You will know when the mixture is perfect when it feels like wet sand and you can press the mixture together in your hands and it stays together.
-
Separate the mixture into the two smaller bowls. Add 1 tablespoon white mica powder and glitter to one and the blue mica and glitter to the other. Mix thoroughly.
-
Carefully pop the soaps out of the molds. Take a soap and place it upside down in one side of a large bath bomb mold. Sprinkle enough bath bomb mixture to cover the snowflake. Fill the mold the rest of the way until slightly overflowing. Fill the other side of the mold.
-
Press molds together and using a grinding motion, get rid of the excess mixture. Once it is sticking nicely, tap the bath bomb mold end gently to help it release.
-
Allow the bath bombs to dry for 48 hours or until hard.