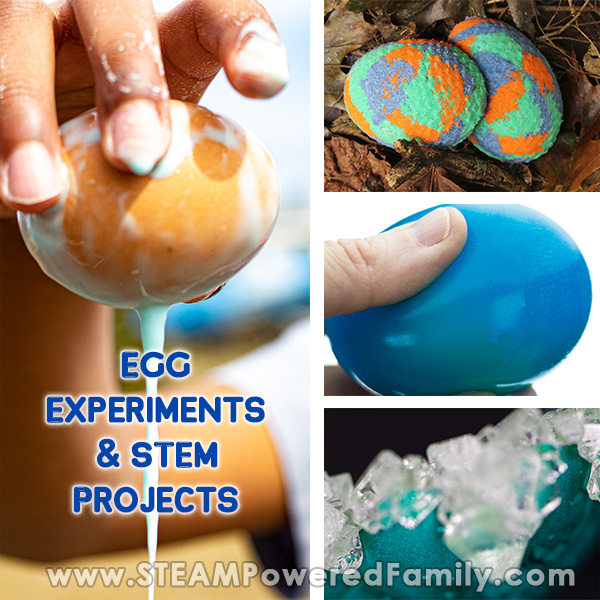
How To Naturally Dye Easter Eggs
Easter is coming, and with it the chance for kids to get creative with eggs! It is also a chance for students to learn some fun and unique ways to create a beautiful Easter Egg that doesn’t involve store bought kits. I love getting out of the box with our decorating and including some fun lessons for the kids.
Homemade Egg Dye
Easter Kitchen Science
Disclaimer: This article may contain commission or affiliate links. As an Amazon Influencer I earn from qualifying purchases.
Not seeing our videos? Turn off any adblockers to ensure our video feed can be seen. Or visit our YouTube channel to see if the video has been uploaded there. We are slowly uploading our archives. Thanks!
I love exploring how we can create our own supplies and products with the kids. Yes, there are easy box kits everywhere for dying Easter eggs. Plus you can grab food dye at the store and make those Easter eggs quick and easy.
But there is something about putting more effort into the process that makes the creations so much more special.
My kids also love learning about how certain things from nature have been used in history (long before we could run to the store for mass produced stuff!). For instance berries have been used throughout history as a natural dye.
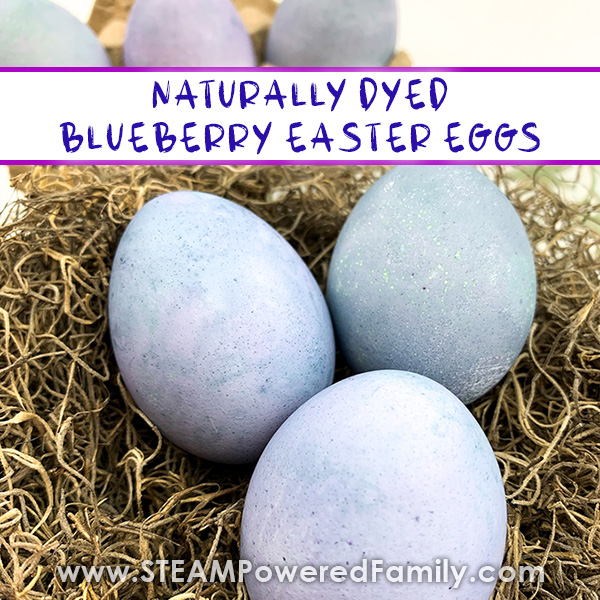
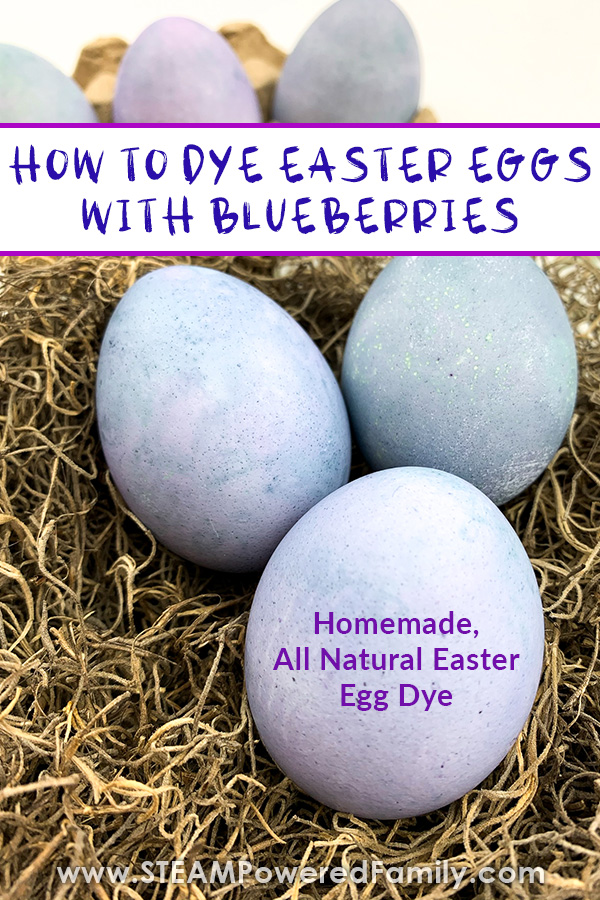
In particular, blueberries result in gorgeous purpley-blues.
I personally LOVE purples. So it was only natural that we would pick blueberries to create gorgeous purple Easter Eggs naturally!
Homemade Easter Egg Dye
The beauty of this project is that you can use lots of different fruits and even some vegetables and spices to create a homemade dye. This means you can pick what is available where you live and explore how different foods dye the Easter eggs different colours.
We love a good scientific investigation!
Some options you can explore for creating homemade dye include:
- Blueberries
- Cherries
- Blackcurrents
- Raspberries
- Strawberries
- Orange Peel
- Kale (especially the stalks)
- Beetroot
- Onion skins
- Spinach
- Turmeric Powder
You can use frozen fruits and vegetables, they don’t need to be fresh. Plus you can mix them up to get even more colour variations.
This is your Easter egg dying process, let the kids explore and use their natural curiosity and passion for scientific investigation!
Supplies
Boiled eggs
1 cup blueberries
1 cup water
½ cup vinegar
Spoon
Paper towel lined tray
Medium sized pot – caution, it may stain your pot!
Colander
Pitcher
Cups or containers for vinegar and blueberry juice (needs to be just big enough to get the eggs in and out, and have them fully submerged.
Gloves – we are working with dye! So unless you want coloured, fingers, use some disposable gloves.
Parchment paper or other protective covering for the table you don’t mind getting dye on.
Stovetop
Directions
I highly recommend covering your work area to ensure no surfaces get stained. We are working with dyes, staining is what we want! But only on the eggs. So protect your children’s clothing as well or have them wear old clothes that you don’t mind getting stained. Any tools you use, may also get stained, so use caution and leave your favourite mixing spoon in the drawer! Finally wear gloves so you don’t stain your hands. Depending on your kids, their age and abilities, you may also want to have them wear eye protection. You know your kids the best. Always use common sense and adult supervision when doing any activities with your kids.
Only older kids, who are capable and responsible, should make the dye as we are working with boiling liquid. Younger kids can help with the dyeing of the eggs.
Making the Blueberry Dye
Pour the blueberries into the pot. Add the water.
On the stovetop, bring to a boil. Stirring regularly.
Reduce heat to low, cover and let simmer. The longer you let it simmer, the darker your dye colours will be. Aim for about 5 minutes. Turn off the stove and remove the pot from the heat. Allow it to cool completely.
Place a colander over a pitcher or bowl. Once the mixture is cool, pour it into the colander to separate the skins from the juice.
Discard the skins of the blueberries in your composting.
Dyeing the Eggs
Pour the blueberry juice into a cup for dyeing. You’ll want it big enough to allow the whole egg to fit easily into the cup, but deep enough to submerge your egg completely.
In a second cup, add the vinegar.
Prepare a tray by lining it with paper towels.
Dip an egg into the vinegar for a few seconds. Don’t leave it in too long! See Observations at the end of this article for more on the chemical reaction you will notice if you look closely!
Then gently slide the egg into the blueberry juice. Let sit for about 30 seconds.
Take the egg out of the juice using a spoon and place the egg on a paper towel lined tray.
Roll the egg around on the paper towel to remove the remaining juice. (Try not to rub the egg with the paper towels to avoid removing or smearing the coloring.) Allow the eggs to dry naturally once the excess juice is removed.
Pro Tip! Try not to leave the egg in one place on the paper towel or you may end up with a lighter ‘stain’ or print from the paper towel on one side of the egg. For this project, I propped the eggs up against the tray once the excess juice was removed and the bottom of the egg was dried well.
Repeat the steps until all your eggs are dyed!
Observations
As you are colouring your Easter Eggs, ask the kids for their observations. What do they notice about the colours?
Why Vinegar?
One question your children might have, is why do we dip the egg in vinegar first? The answer relates back to chemistry. The natural dyes are an acid dye, this means it bonds using hydrogen, and this chemical process only works in an acidic environment.
Vinegar is acidic and contains around 3% acetic acid. Since eggs are made out of calcium carbonate, the calcium in the shell reacts with the acid in the vinegar to make carbon dioxide. If you look closely you may notice some bubbles when you dipped your egg in the vinegar. This is the chemical reaction.
To really explore this fascinating science, check out the Egg in Vinegar Experiment which results in dyed, naked, bouncy eggs! We also did a Halloween version that was a lot of fun.
Extension Activity
To explore how vinegar affects your natural egg dyeing process, create a few cups with diluted vinegar in addition to one that is only vinegar. You could do half and half, or maybe 3/4 vinegar – 1/4 water. Then dye your eggs using the diluted vinegar cups and compare the results. This is fantastic investigative science!
Have a great time with your homemade Easter Egg dye!
More Inspired Learning