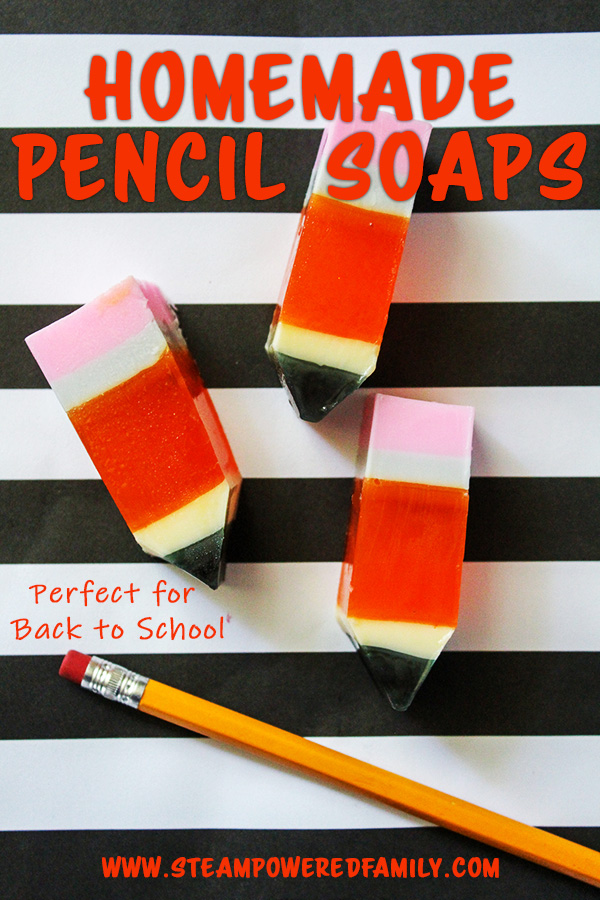
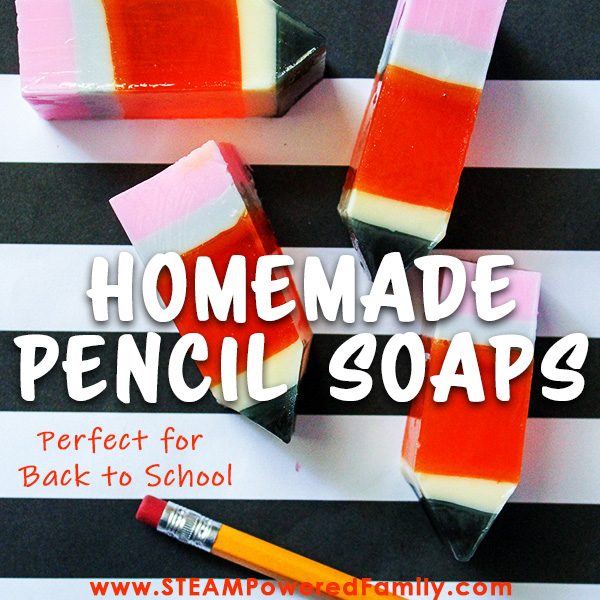
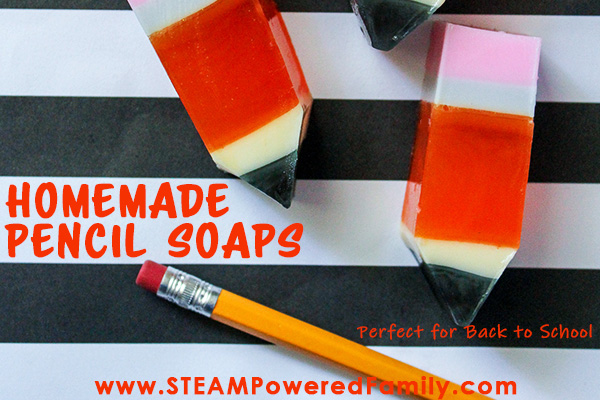
How To Make Pencil Soaps For Back To School
The countdown is on! In only a few weeks it is back to school time here. I love to make this time of year a little extra special. It’s a time of new beginnings for the kids and little touches go a long way. So what screams ‘back to school’ more than surprising the kids with some pencil soaps beside the sink!
HOW TO MAKE PENCIL SOAPS FOR BACK TO SCHOOL
Table of Contents
Disclaimer: This post contains affiliate links
These little soaps are completely adorable and perfect for this time of year. The best part is that we love soap making and it is so easy. This is a project you can do with the kids. Just remember that adult supervision is required and ensure you are being safe. You know your kids the best, and their level of ability. Use common sense and keep them safe. I recommend this project for kids 8 years old and up. Adults or responsible older kids should do all the cutting and heating steps.
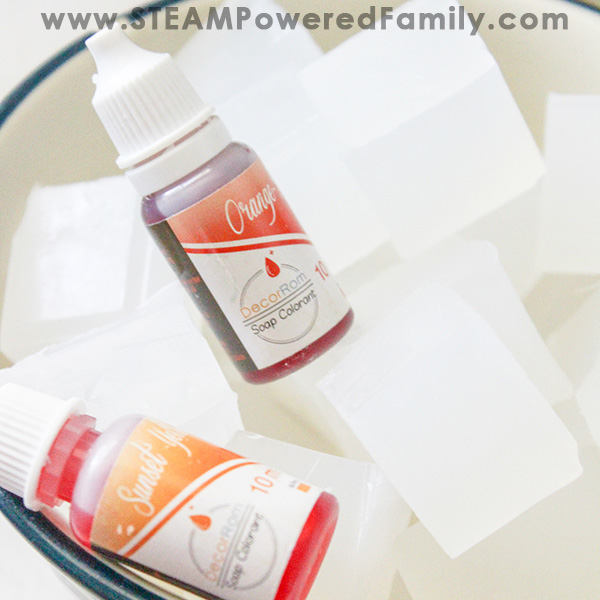
Supplies for Homemade Pencil Soaps
1 package of white soap base
1 package of opaque soap base
Soap colorings – black, amber, orange red, rose pink, and sunset yellow
Essential oil – Use your preferred scent or leave it scentless
Cosmetic grade glitter – gold
Soap Mold
5 Bowls
Microwave
Craft sticks or spoons
Sharp knife
Cutting board
Soap Expressions By Candlewic. Shea Butter GlycerinSoap Expressions – Clear Glycerin Soap Base
18 Color Bath Bomb Soap Dye with
SoapNaturals Cosmetic Grade Glitter for Bath Bombs
DD-life Flexible Rectangular Soap Silicone Loaf Mold
The Difference Between This And Other Soap Projects
As we have learned with other soap projects, soap making can be easy, fun and a fantastic kids activity. Although still super easy and fun, this soap making project is a little different from when we made our Star Wars Soap, Jelly Soaps or Honey Oatmeal Soap, since we are working with layers. This means it will require patience. If you rush, your layers won’t set and you will end up with some really wacky looking pencil soaps!
In total, our pencil soaps have 5 layers. The first layer is our black pencil tip. Second layer is the sharpened “wood” part of the pencil. Next we have the main shaft of the pencil. On top of that we have a grey layer to represent the metal part that holds the eraser. Which means we top it all off with a pink layer for the eraser.
Pro Tip! Soap base comes in a grid of squares. This makes it super easy to do our measurements. Simply cut along the lines of the rows, this is how we did our measurements.
Step by Step Directions For Making Back to School Pencil Soaps
Layer 1 – The Pencil Tip
Add 2 rows of the opaque soap base to a bowl. Breaking the rows into the squares will make it easier to fit in the bowl and melt.
Microwave for 30 second intervals, stirring between each one, until melted. Use a spoon or craft stick to stir.
Once melted add a few drops of black colouring and stir. You want a dark graphite colour, so adjust the amount of colouring as needed until you achieve the right shade.
Add 2 drops of essential oil. Stir.
Pour into the soap mold, then allow it to set for 15 to 20 minutes.
Layer 2 – Sharpened Wood
Add 2 rows of white soap base to a clean bowl.
Heat the same way we did with the first layer. Once melted add a few drops of amber colouring. This amber mixed with the white will create a cream colour similar to the wood portion of a pencil.
Add 2 drops of essential oil, mix well.
Pour over the first layer and let set for 15 to 20 minutes.
Layer 3 – The Pencil Shaft
This is the largest portion of our pencil soaps. So we will need 4 rows of opaque soap base. Use a larger bowl if needed.
Melt again in the microwave in 30 second intervals, stirring in between.
Add orange red colouring until the desired colour is reached. Add a table spoon of commercial grade cosmetic glitter (if desired). Since this is an opaque layer, the glitter looks really beautiful in the soap. Just like it did in our Jelly Soaps.
Add 4 drops of essential oil and mix well.
Pour over the cream layer and let set for 20 to 30 minutes. This is a thicker layer and will require more time.
Layer 4 – The Metal Eraser Holder
This next layer is quite thin. Add only 1 row of white soap base to your bowl. Melt.
Add a few drops of black colouring to create a grey colour like the metal piece on a pencil.
Pour this layer over the orange layer and let set for 15 minutes.
Layer 5 – The Eraser
The final layer! Add 2 rows of white soap base to a bowl.
Melt in the microwave in 30 second increments, stirring as you go. Add pink colouring until the desired colour is achieved. Add 2 drops of essential oil. Mix well.
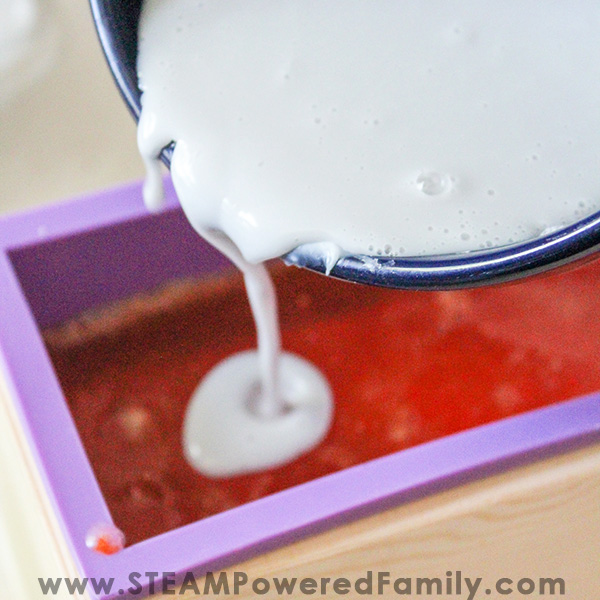
Pour into the mold.
If bubbles form, carefully scrape them off with a knife. Or you can use a spray bottle with rubbing alcohol and spray the soap, just like we did when making our soap jellies.
Let sit or put in the refrigerator (especially if you live somewhere with really hot temperatures). It will take about 3 hours to set up, or you can leave it over night.
Shaping the Pencil Soaps
Once the soap is completely set it is time to create our pencil shapes. You will need a sharp knife and cut safe surface.
Carefully remove the soap from the mold.
Cut the soap into even bars, then cut each bar into thirds. On the bottom two layers (forming the pencil point), carefully cut at an angle to form the point of your pencil.
Voila! Pencil Soaps to get clean for back to school. These would be great to use at home or in the classroom.