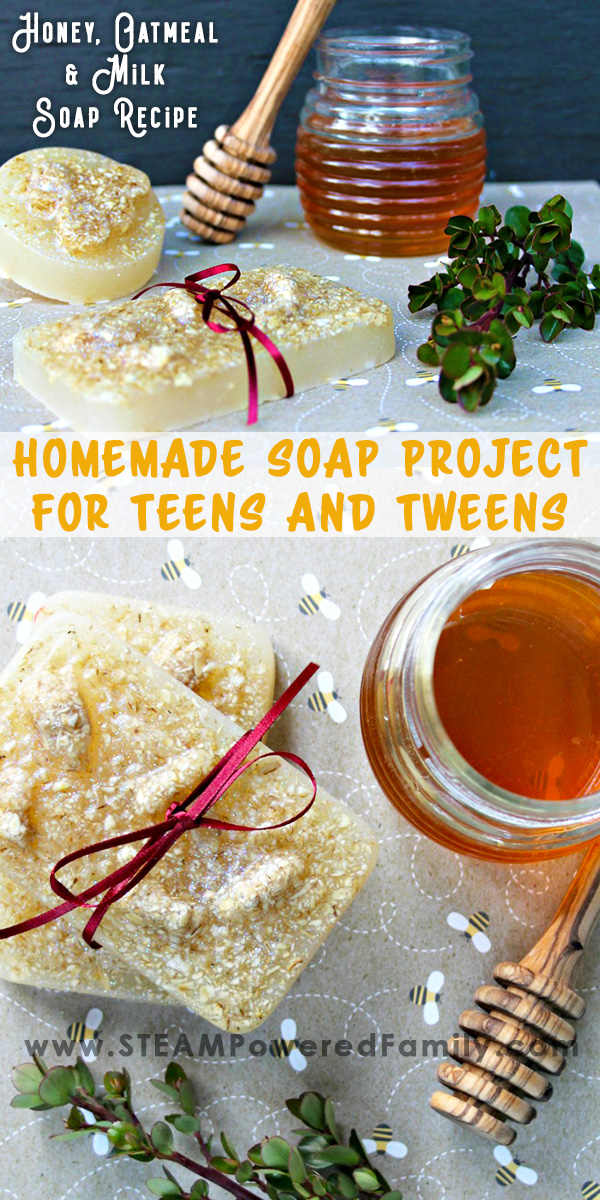
Easy Homemade Soap Recipe For Teens and Tweens
Homemade soap. Perhaps that seems like something no one has done since the middle ages, but making your own soap is actually really fun. This simple method is a fantastic project for tweens and teens and creates a soap that is great for exfoliating and moisturizing. Best of all it is so easy! Great for a classroom or group project.
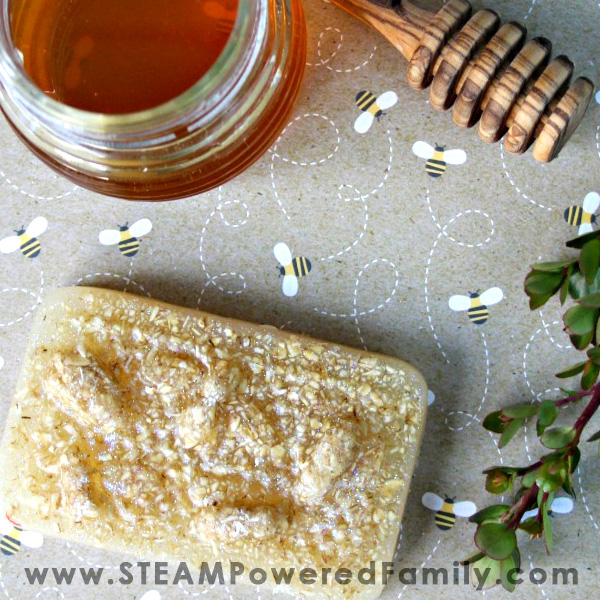
Homemade Soap Project For Tweens and Teens – Oatmeal, Honey and Milk Soap Recipe

Disclaimer: This post contains affiliate links
As my kids get older I want them to start learning more practical skills. Things that give them a greater appreciation for where things come from, how they are made, and the labour that goes into creating quality items.
It amazes me when I meet kids that don’t know where their food comes from (or think it’s the grocery store). Or chat with adults who have no clue how items they use every day are made.
So it’s important to me that my kids get to know our butcher and how he prepares our meats, that they work in the garden to see how plants grow, that they join me in the kitchen so they can learn how to prepare meals. Most of all, I want them to experience making every day items like soap or bath bombs. We also send them out to help in the forge on a regular basis!
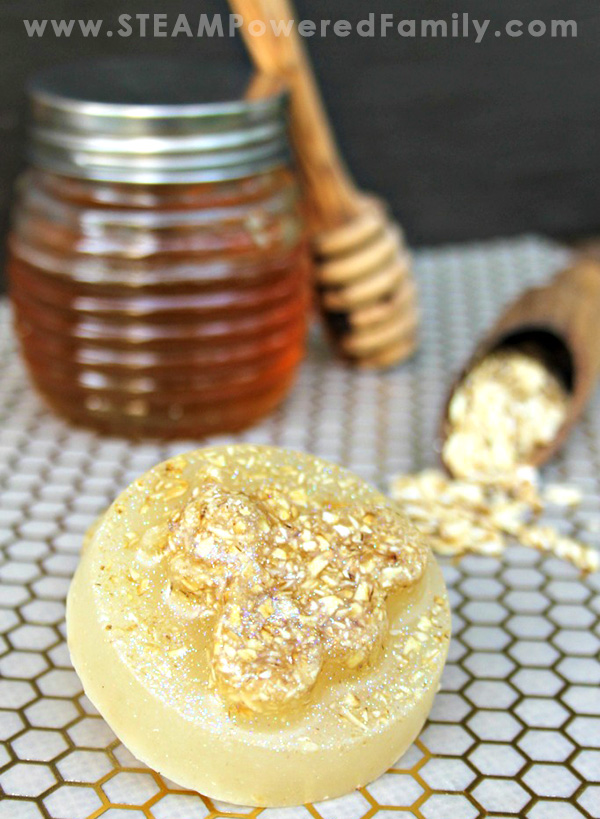
Benefits of Making Your Own Soap
There are some BIG benefits to learning how to make things like soap.
Save Money Making Soap
First of all, it is a huge money saver. Sure you can buy the really cheap, horrible stuff that is filled with garbage, but if you want to buy good quality soaps they are pricey! Making them yourself will save you a ton of money and you can make a bunch at a time to last you a long time.
Know all the ingredients (great for allergies!)
Second, you control the ingredients. If you have allergies or sensitivities, like I do, often buying even good quality soaps and beauty products is a scary process. You need to read all the ingredients, quiz the maker (if you are buying direct from the maker), and do a ton of research into all the different ways ingredients can be worded. When you make it yourself you know exactly what went into it.
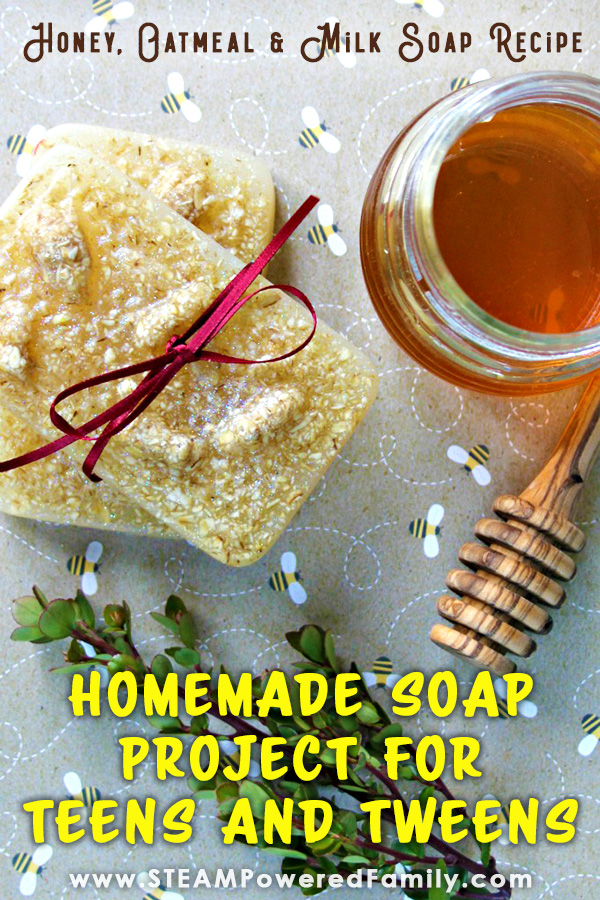
Make The Soap Perfect… For You!
Third, customize to make it perfect for you! This is such a great benefit of making your own soaps. You become familiar with the recipe and your own preferences. Perhaps you like a little more honey, or a little less oats, or maybe want to add a dash of your favourite essential oil? Whatever it is, you can play and make your soap perfect for you and your skin.
Give Amazing Gifts
It can be hard to find the perfect gift for teachers, friends, mom, Christmas or just because someone is awesome. Homemade soap is a gorgeous gift that will always be appreciated. Pair it with a little card explaining what is in it and how you made it, wrap it up in some pretty ribbons and paper, and you have a beautiful gift.
Work with Friends
Making these homemade soap bars is a great classroom, camp or at home project. It takes a little over 2 hours to make the soap. If you are a little short on time, make the soap (about 20 to 30 minutes), let it sit overnight and pop it out of the molds and package them the next day. This is a great solution for teachers. So get together with your friends and make it a fun project to do together!
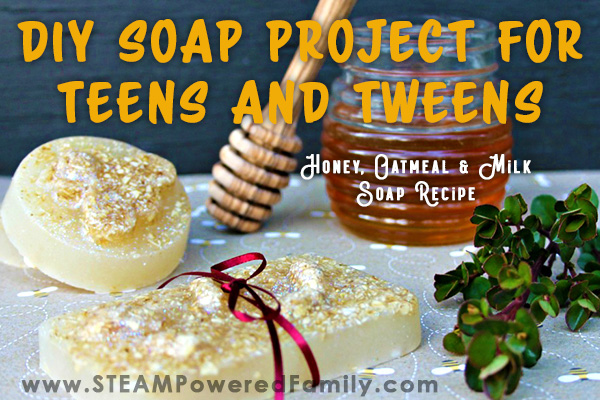
Ingredients For Homemade Oatmeal, Milk and Honey Soap
½ pound glycerin soap base (we prefer clear but others work too)
¼ cup cream or goats milk
1/3 cup honey
1 tablespoon coconut oil
1/3 cup oats, ground, reserve 1-2 tablespoons
1 teaspoon sweet almond oil
Tools Needed For Soap Making
Spray bottle of rubbing alcohol
Soap mold (any shape works!)
Sharp knife
Cutting Board
Microwave safe bowl
Microwave
Measuring cups and spoons
Food Processor (this can be done ahead of time for classrooms or camps)
Spoon
Homemade Soap Recipe For Teens and Tweens
Before we jump into the step by step, here is a quick video of the process.
Step 1
Cut the soap base into squares and place into a microwave safe bowl. Heat at 30 second intervals until melted.
Step 2
Add coconut oil to the bowl. Stir. Add sweet almond oil, stir. Add honey and stir. Add cream, stir.
Step 3
Add oats to food processor and pulse until a fairly fine powder.
Step 4
Add about 3/4 of the oats to soap mixture. At this time you can also add cosmetic glitter or a couple of drops of essential oils, if you wish. Stir.
Step 5
Spray the bottom of the soap mold with the rubbing alcohol to avoid bubbles.
Step 6
Sprinkle a few pinches of oats into the bottom of each mold.
Step 7
Gently pour soap mixture into mold. Using a measuring cup with a pour spout will make this job a little easier.
Step 8
Sprinkle a bit of oats on the top, then spray the top of the soap with the rubbing alcohol.
Step 9
Let it sit and harden for approximately 2 hours. Once hard, gently pop out the soaps and store in an airtight container or sealable bag until ready to use.
Step 10
Enjoy your soaps or gift them!
