Halloween Skittles Experiment
Halloween is coming up FAST! And Halloween means ghosts and ghouls, witches and wizard… oh and most of all…. candy! One of the best ways we have found to use up the Halloween Candy is to do science experiments. Kids love these candy experiments, they are learning with some fascinating hands on projects, plus it uses up some of those sugary treats so we don’t eat quite so much!
Halloween Science Experiments with Candy
Table of Contents
Disclaimer: This article may contain commission, paid partnerships, or affiliate links. We independently review everything we recommend. When you buy through our links, we may earn a commission from qualifying purchases.
I don’t know what things are like around your kids but it seems like the Halloween candy crazy starts weeks before Halloween arrives. It helps that my kids are HUGE Halloween fans, so every year we celebrate Halloween for a full month, incorporating a Halloween theme into most of our lessons and activities.
Science is a super easy and fun subject to dive into for Halloween. With all the excitement around Halloween, sometimes I want a simple science experiment with big WOW factor. Something the kids can do themselves over and over again.
After the huge success of our Starry Night inspired Skittles Experiment, I thought we would revisit it but this time with a Halloween theme.
The results were so much fun!
Best of all, my kids happily surrendered a bunch of candy to be used in the name of science. WIN-WIN!
Halloween Skittles Science
Supplies
For this experiment all you need is a shallow dish or plate. White with no patterns is best so you can really see the colours of the experiment.
Warm water – think somewhere between room temperature and bath water temperature. If you want to dig into the science further, experiment with different water temperatures and see how it affects your results. Hint – it’s fascinating!
Skittles in Halloween colours – we used orange, dark purple (we couldn’t find black) and green.
Assorted other hard candies for further lab work!
Directions
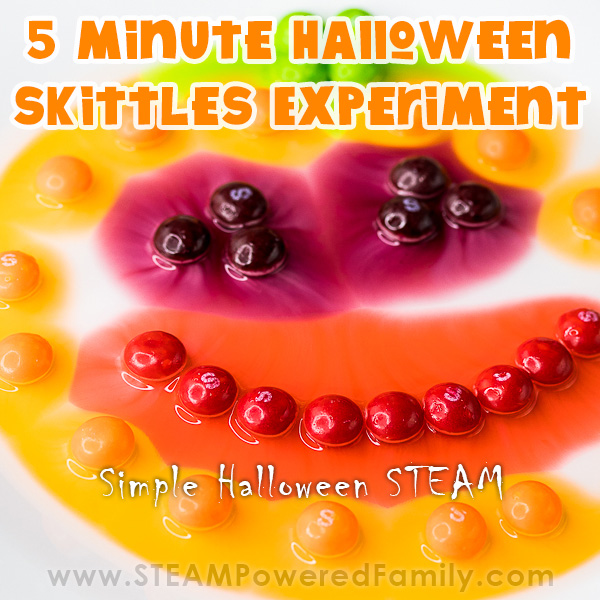
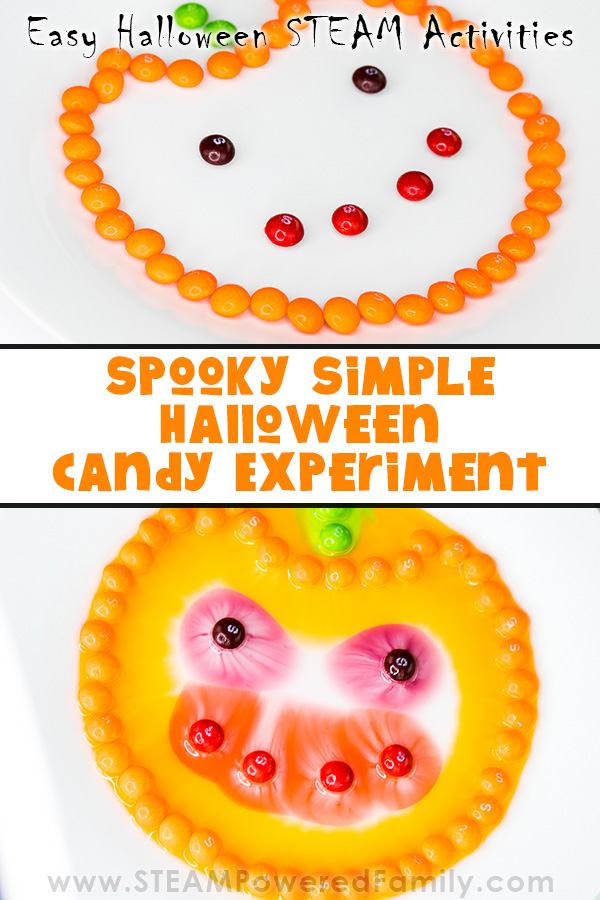
Doing this experiment is quite simple. Start by creating Halloween designs on the plate with your Skittles. Keep in mind that concentration affects the colour travel. So if you want your pumpkin to have more orange, use lots of orange skittles together. For lesser colours, use fewer pieces.
Use different coloured Skittles, this is key for this experiment!
We created pumpkins and bats for our designs.
When your design is ready, add water. You don’t need to submerge the candy, just a thin layer of water across the whole plate is perfect.
Wait and watch!
Over the next few minutes you will see some stunning colours traveling across the plate to create gorgeous art.
But the key is to notice that the colours don’t mix and certain colours dominate.
Repeat the experiment and watch for patterns in how the colours move about.
The Science Behind Skittles Experiment
The science behind why the colors do not mix is known as water stratification. Each color of Skittle has a slightly different chemical make up which, when dissolved, creates a water solution that has slightly different properties such as density, salinity, and oxygenation. This creates a barrier that prevents the water from mixing and is why salt water and fresh water do not mix.
Another scientific property that is at work here is called concentration gradient. Simply put this is the process where molecules will move from high concentration to lower concentration areas. We see this as the colors move through the water and why we recommend using lots of orange Skittles of you want your Halloween pumpkin to be mostly orange.
Check out our video to see how all of our experiments unfolded. It’s gorgeous!!!!!
Extension Activity
Halloween Science With Other Candies
So now we have mastered the Skittles Experiment the kids wondered if it would work with other candies. We just happened to have a bunch of Jelly Beans, so we set to work, applied our scientific method, and explored how changing our candy affected our results.
Our favourite part of using Jelly Bean Halloween Candy in our science experiments was that we had a few new colours to work with in the Jelly Beans. Namely Black and White.
We tried pumpkins again, but this time decided to try our hand at a ghost as well!
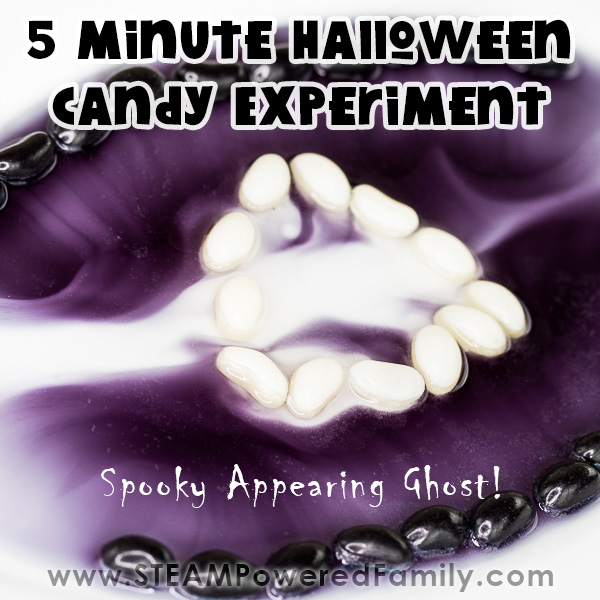
We discovered that Jelly Beans don’t saturate the colours as much, in fact the orange turns is so diluted it looks yellow. With Skittles the orange was quite vibrant.
Besides the colours not being as vibrant, the science concepts still applied and we created gorgeous art using candy science once again!
This Skittles (and Jelly Bean) Halloween Science Experiment was easy, fun and the kids loved it! It qualifies as a wonderful STEAM project as the kids need to really think about their designs and how many candies to use, so the science creates the art how they like it. This involved some trial and error and some great lessons!
We recommend trying this with any hard candies you find in your trick or treat bags! It is definitely a must do as part of your Halloween Science and STEAM activities.
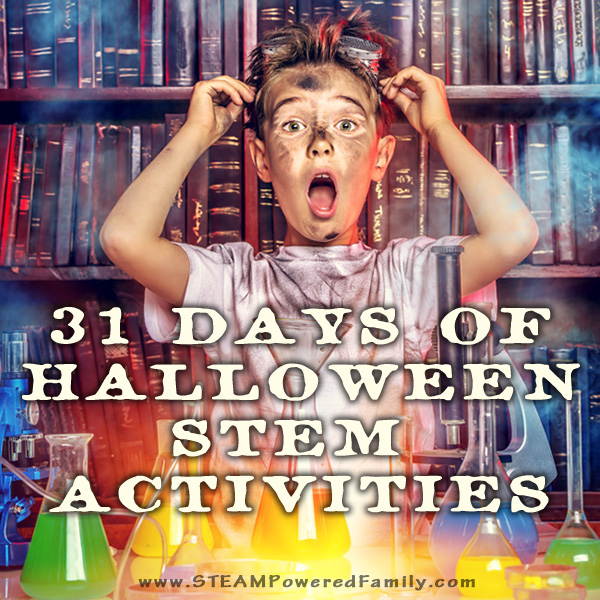
Looking for more Halloween STEM Activities? Check out our 31 Days of Halloween STEM Activities resource. It’s packed with spooky fun STEM and STEAM activities for your little scientists!
Have a fantastic Halloween and enjoy this fun and educational way to use some of that Halloween Candy!
More Halloween Experiments