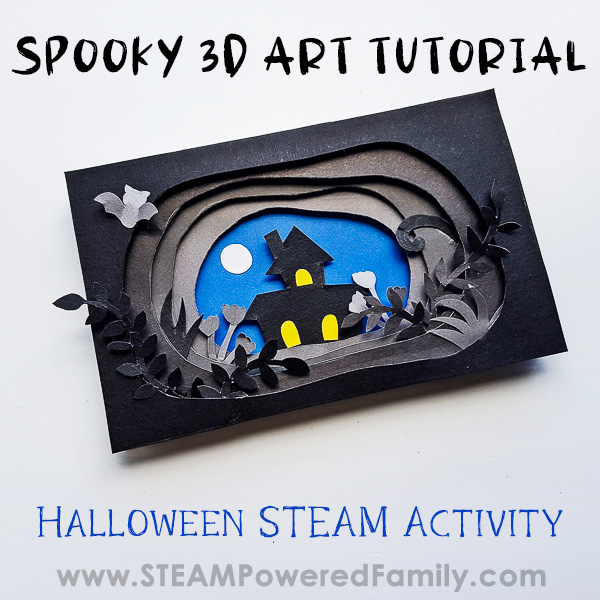
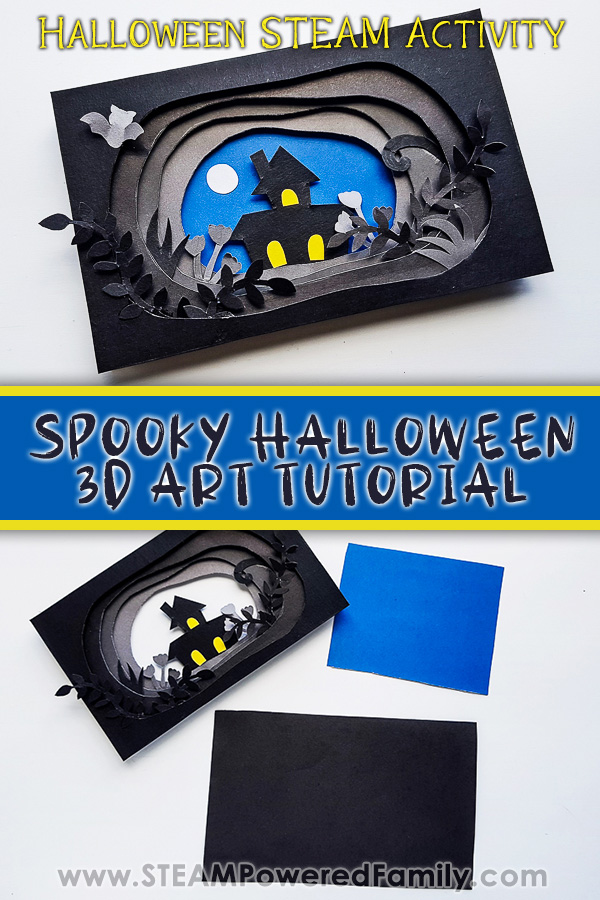
Halloween Tunnel Book 3D Art Project
Halloween is coming and every year I try to find something new to bring to our 31 Days of Halloween STEM Activities challenge. This year we have brought in a more art to our STEM and STEAMed up our Halloween! First with some Halloween Line Art projects that used a great deal of math, and now with a Halloween 3D Art build that involves some engineering and science as we explore moving from 2D to 3D, or 2 dimensions (ie. flat) to 3 dimensions by adding depth to our art. This is the perfect Halloween STEAM project for upper elementary, tweens and teens.
Spooky 3D Halloween Art Project Tutorial
Table of Contents

Disclaimer: This article may contain commission, paid partnerships, or affiliate links. We independently review everything we recommend. When you buy through our links, we may earn a commission from qualifying purchases.
Does anyone else struggle to get their kids to do “crafts”. I know I do. But I’ve discovered if I can go beyond the simple stuff to make things that are dynamic, suddenly they show more interest and drive to participate. And how do I do this? By bringing in STEM – Science, Technology, Engineering, and Math to our Arts. Otherwise known as STEAM.
In this activity we are exploring dimensions and optical illusions. We have done this before with our Benham Disc – Zeotrope activity and it really fascinated the kids. This activity may not be quite as dynamic and interactive, but it is Halloween themed. So that also gives it bonus points with my reluctant crafters.
In this 3D Halloween Art Project we are building a spooky Halloween scene in three dimensions. 2 dimension art is flat. There are techniques we can use to give the appearance of depth, but it is always going to be a flat piece. In this project we are working in three dimensions: height, width, and depth.
And depth makes all the difference in adding to the cool factor with my kids.
Spooky 3D Art Halloween STEAM Project Supplies
For this project you will need some basic supplies.
Templates (access them for free as a member of the STEAM Powered Family mailing list)
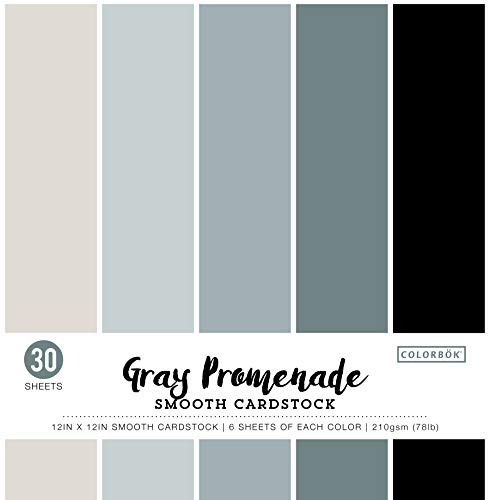
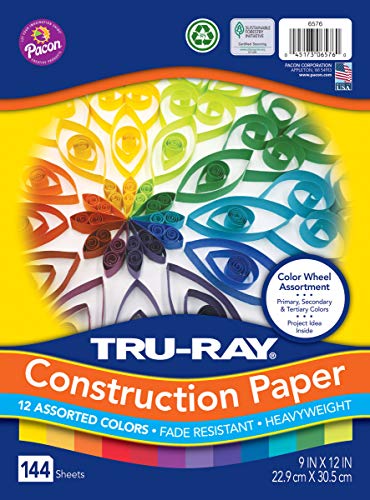
Coloured craft papers
Pencil
Scissors
X-acto knife
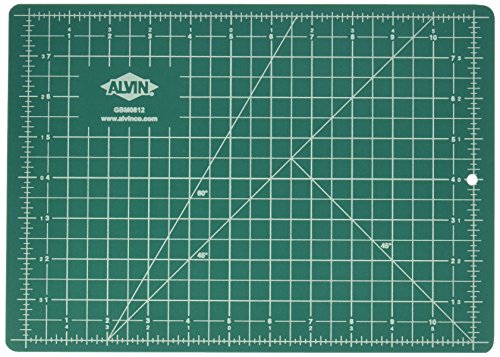
Cutting board
Craft glue
Craft foam board
Grab your templates here:


Detailed tutorial – 3D Halloween ART
Check out a quick video showing each step in our project visually. Then get the details below.
Step 1
Pick your colours! We used 3 shades of grey, black, yellow and blue for our design, but you can pick whatever colours your prefer for your design. This 3D Art Tutorial has 4 layers, so you’ll need 4 different shades or colours of papers. Cut all 4 sheets to 5.5 inches X 3.5 inches.
Step 2
Take the sheet selected for the front layer. Use a pencil to draw the front layer pattern on the sheet from the given template (or create your own unique designs!).
One by one trace the layer patterns onto each sheet. Be conscience of your colour sequence while tracing the patterns to ensure you have a nice flow from one layer to the next. This will add to the depth effect.
Step 3
Use an x-acto knife and cutting board to cut out the traced patterns. This should only be done by an adult or responsible older children under adult supervision. X-acto knives are very sharp, always use caution.
The front layer cutout should be the biggest and the rest of patterns should get smaller towards the bottom layer.
Step 4
Grab some craft foam board sheets and trace the canvas frame layout on them. Cut them to create the frames. We’ll need 4 frames for this art.
Step 5
Grab the bottom layer and a foam board frame. Apply thin lines of glue along the foam board frame.
Step 6
Carefully place the bottom layer paper on the glued frame, making sure to match all 4 sides of the paper with the board frame.
Step 7
Flip the frame attached paper to the frame’s end. Apply a layer of glue along the frame and grab the second bottom paper layer.
Step 8
Place the second bottom layer on the frame like we did in the previous step.
Step 9
Attach another frame on the second bottom layer and then attach the 3rd bottom layer on the frame. And at last, attach the front layer, making sure to attach a frame between each paper layer.
Step 10
Trace and cut out the other items (leaves, grass, bat, moon, haunted house, plants etc.).
Step 11
Take any one of the plant or grass cutouts and attach them to the back side of any layer.
Step 12
Grab each item one by one and attach them to each layer to create a 3D scene.
Step 13
Select a paper for the empty background. You can either cut the paper to the layer size (5.5 inches X 3.5 inches) or cut to the size to fill the background space (the bottom layer cutout). Also cut out a thick paper layer for the back side of the 3D art to give it some structure and support.
Step 14
Attach the background paper on the back side paper.
Step 15
Attach the 3D art piece on the background paper prepared in the previous step. Allow the glue to dry and then frame it.
STEAM Extensions
Encourage your students to take this project a bit further with some explorations and experimentation.
Explore depth perception and how it affects the appearance of the art work by changing the thickness of the foam. You can do this by adding a double layer of foam between the layers. How does it affect the look of the piece?
Or what if you remove the foam and make it flat? Does the art still appear to have depth?
How does the image look different if you use a gradient of colours vs contrasting colours for the layers? Does it affect the perception of depth?
Depth perception is related to perspective. What happens if you change the size of some of the features within the art piece. Does it make the items seem closer? Further away?
Can you come up with your own spooky Halloween designs you can do in 3D? Maybe a pumpkin or a ghost?
What other ways can you build your 3D designs? Get creative!
Most of all play and explore and learn with your 3D creations this Halloween!

MORE HALLOWEEN PROJECTS FOR KIDS